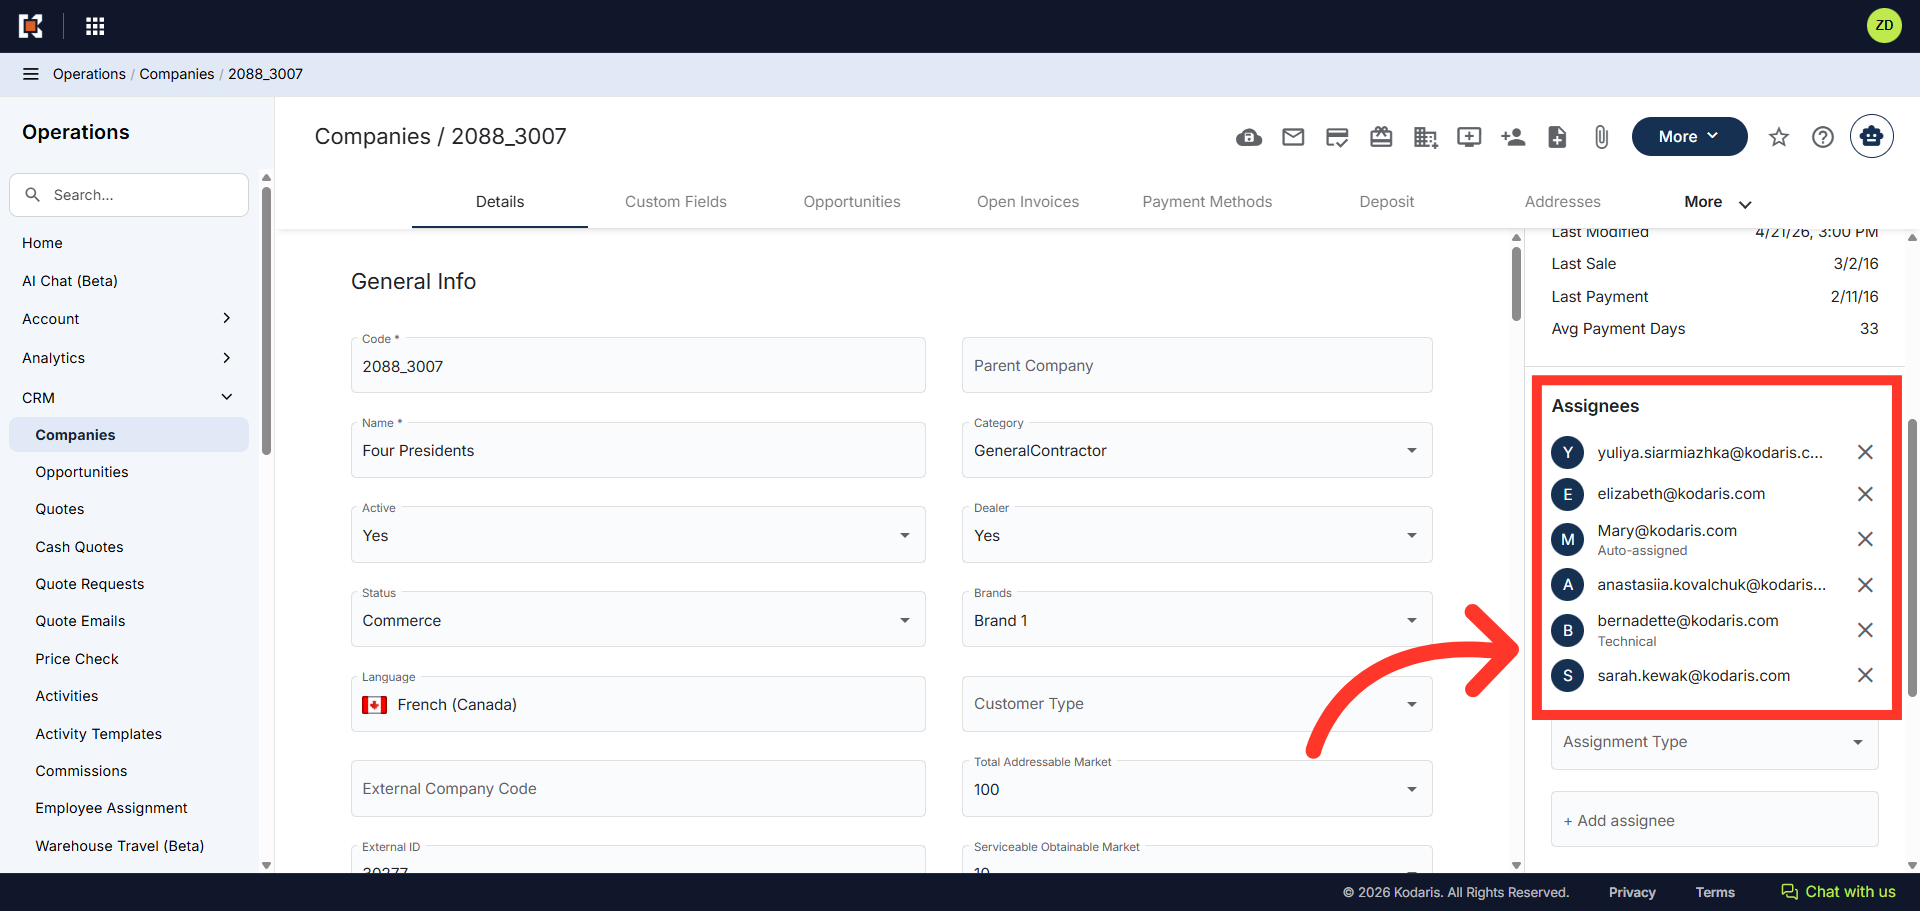
Operations Operations - Restrict Employees to Their Assigned Companies
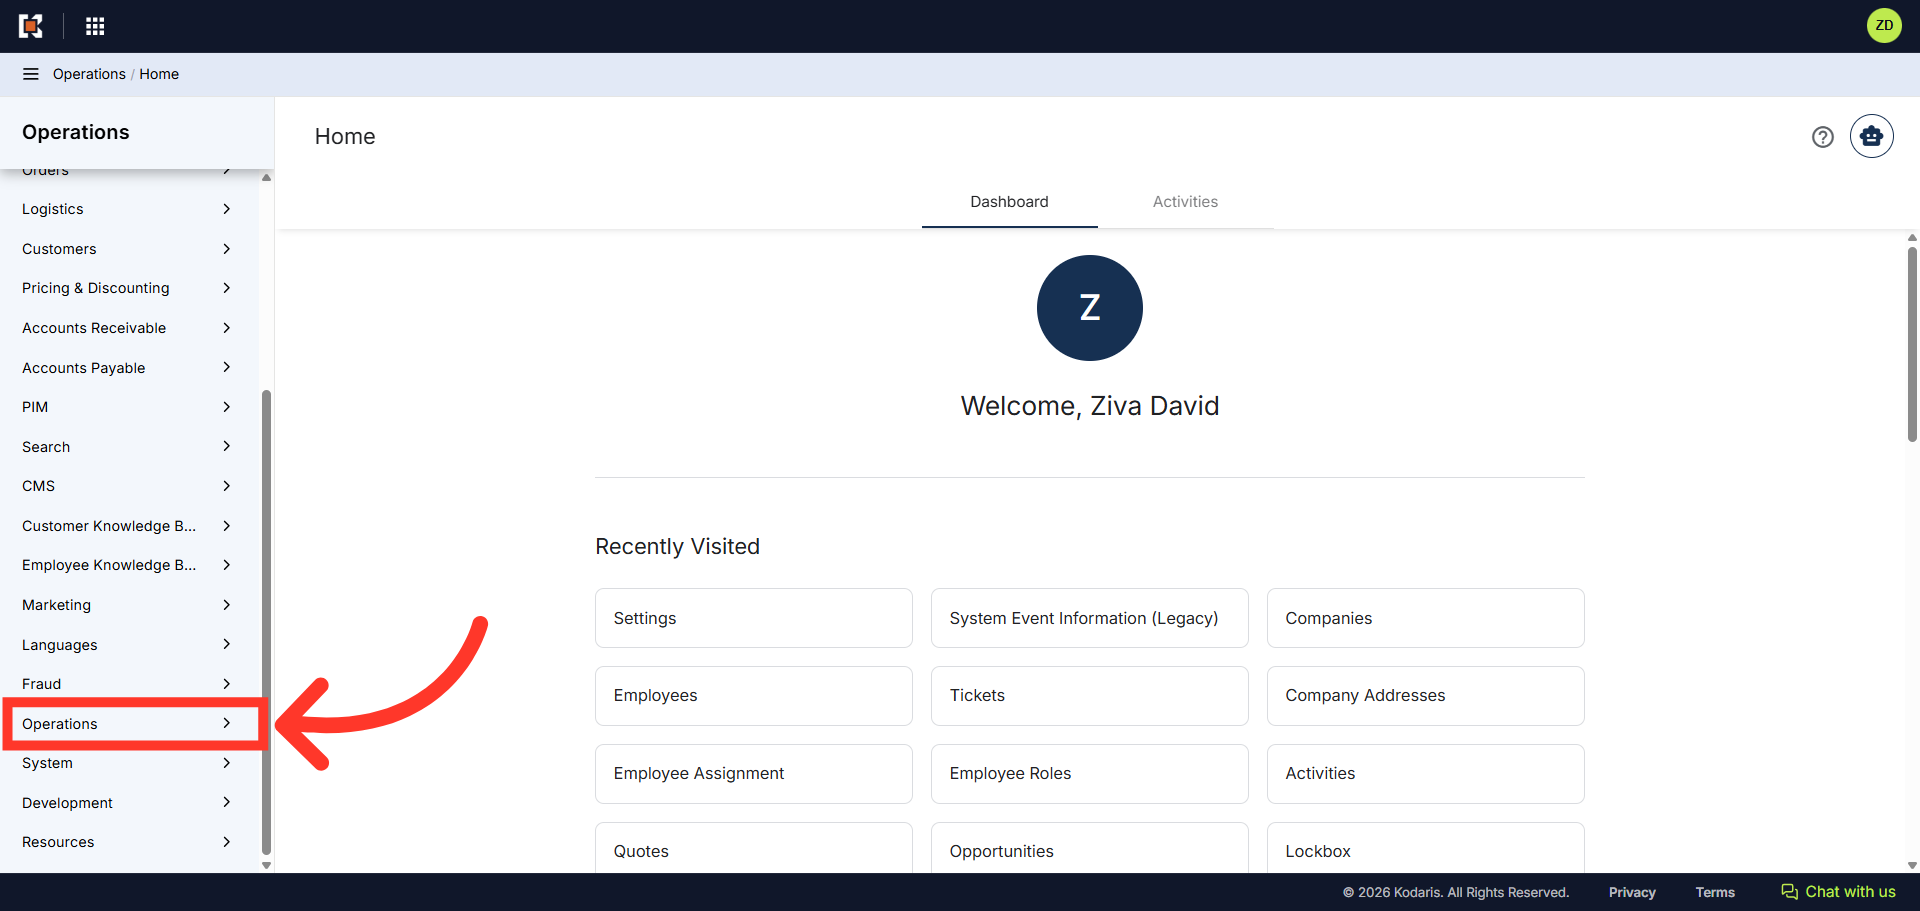
Navigate to "Operations"
You can restrict access to the companies that employees can view using role based permissions in the Operations Portal. First, navigate to the "Operations" section.
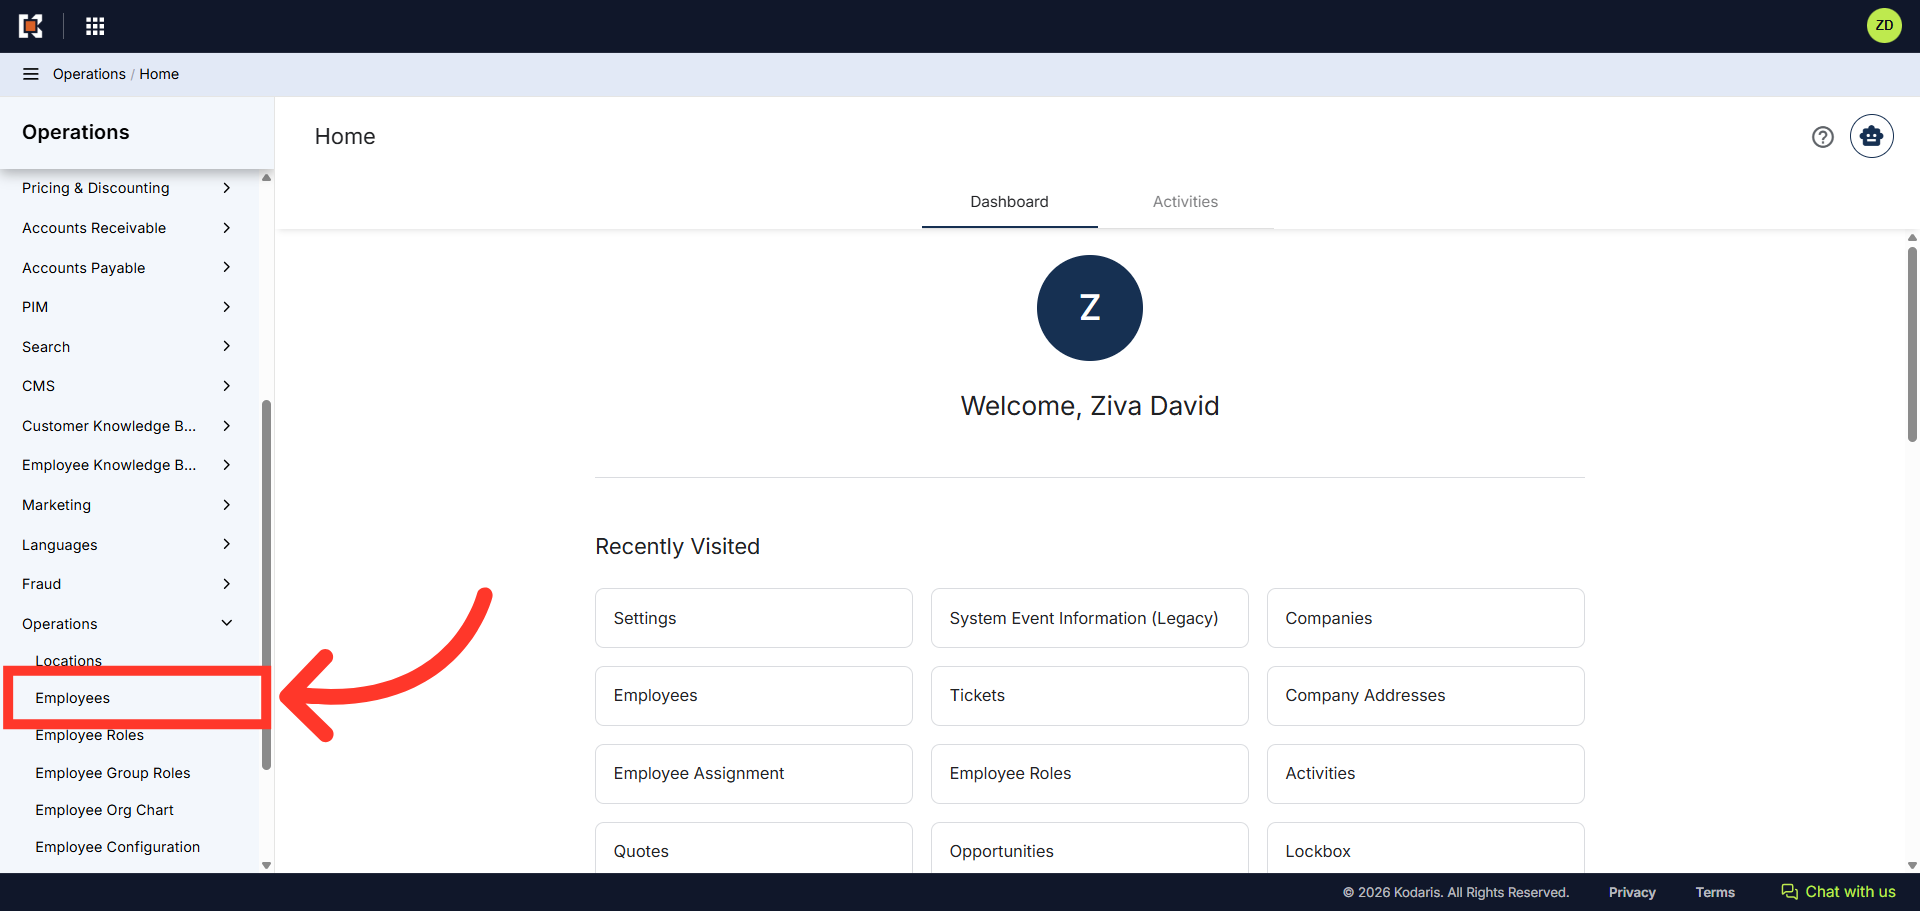
Click "Employees"
Then, click "Employees". In order to access and update "Employees" you will need to be set up as a "superuser" or have the role of: "administratorEdit".
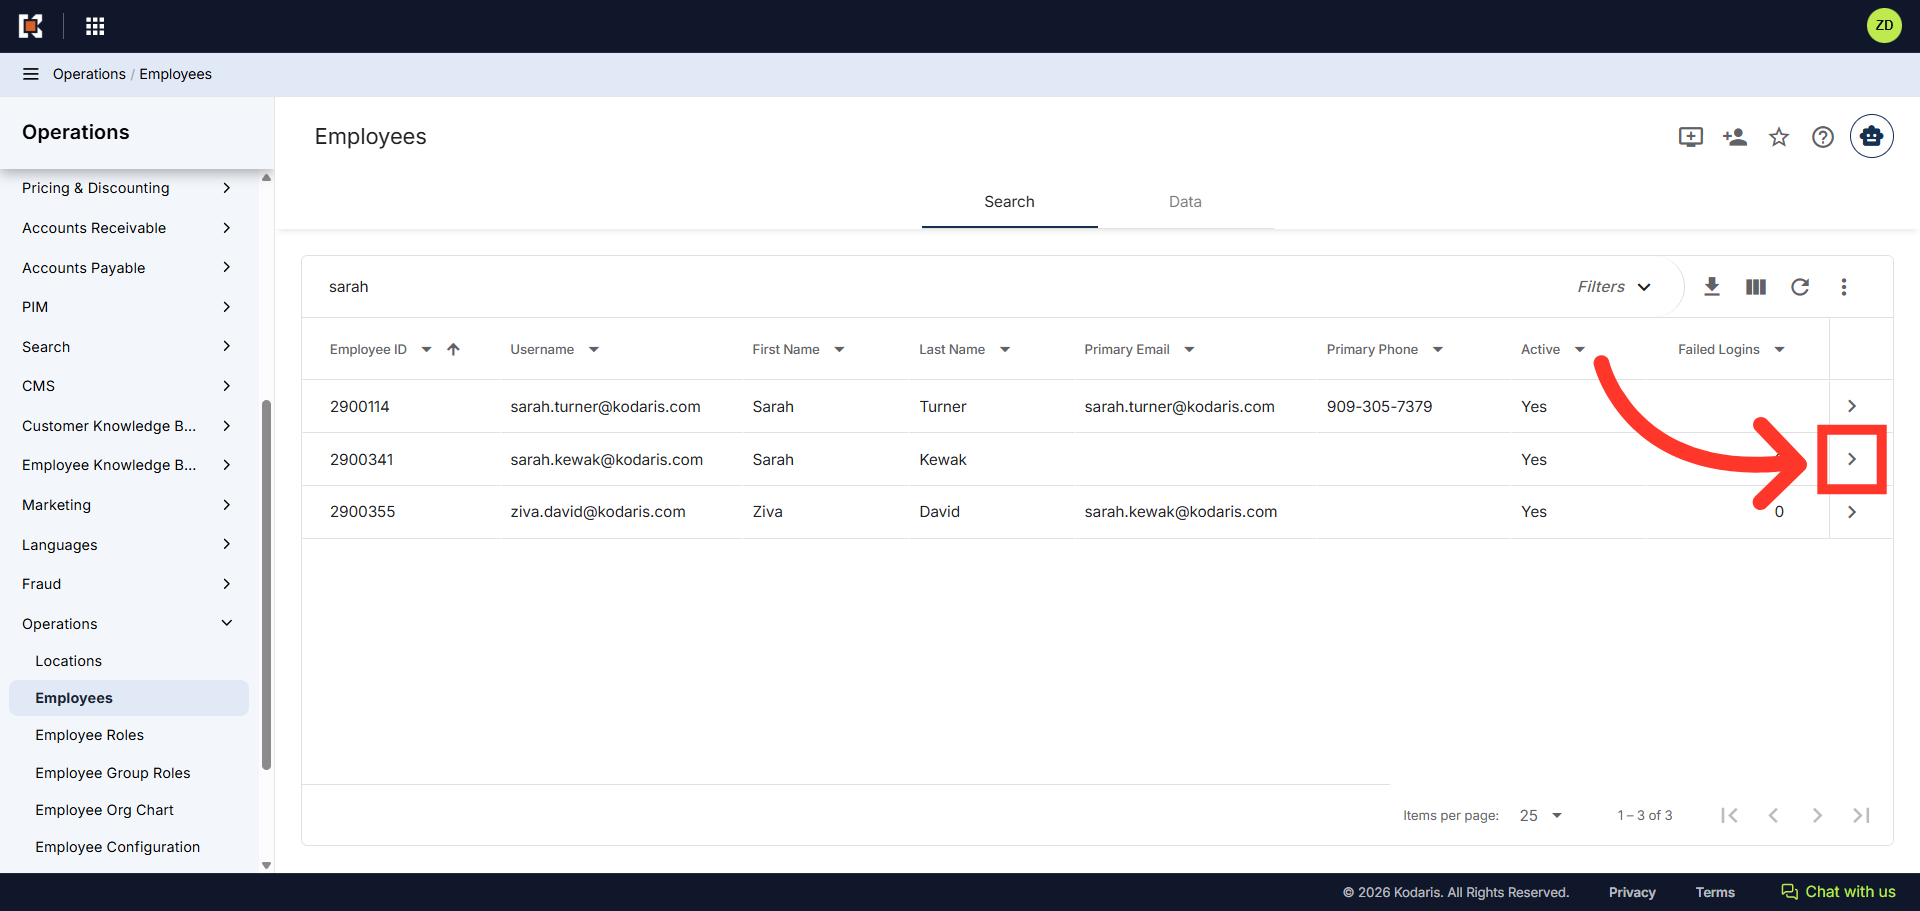
Click the More Details Icon
Next, click the more details icon on the employee you wish to add permissions to.
Click "Roles"
Then, click the "Roles" tab at the top of the Details page.
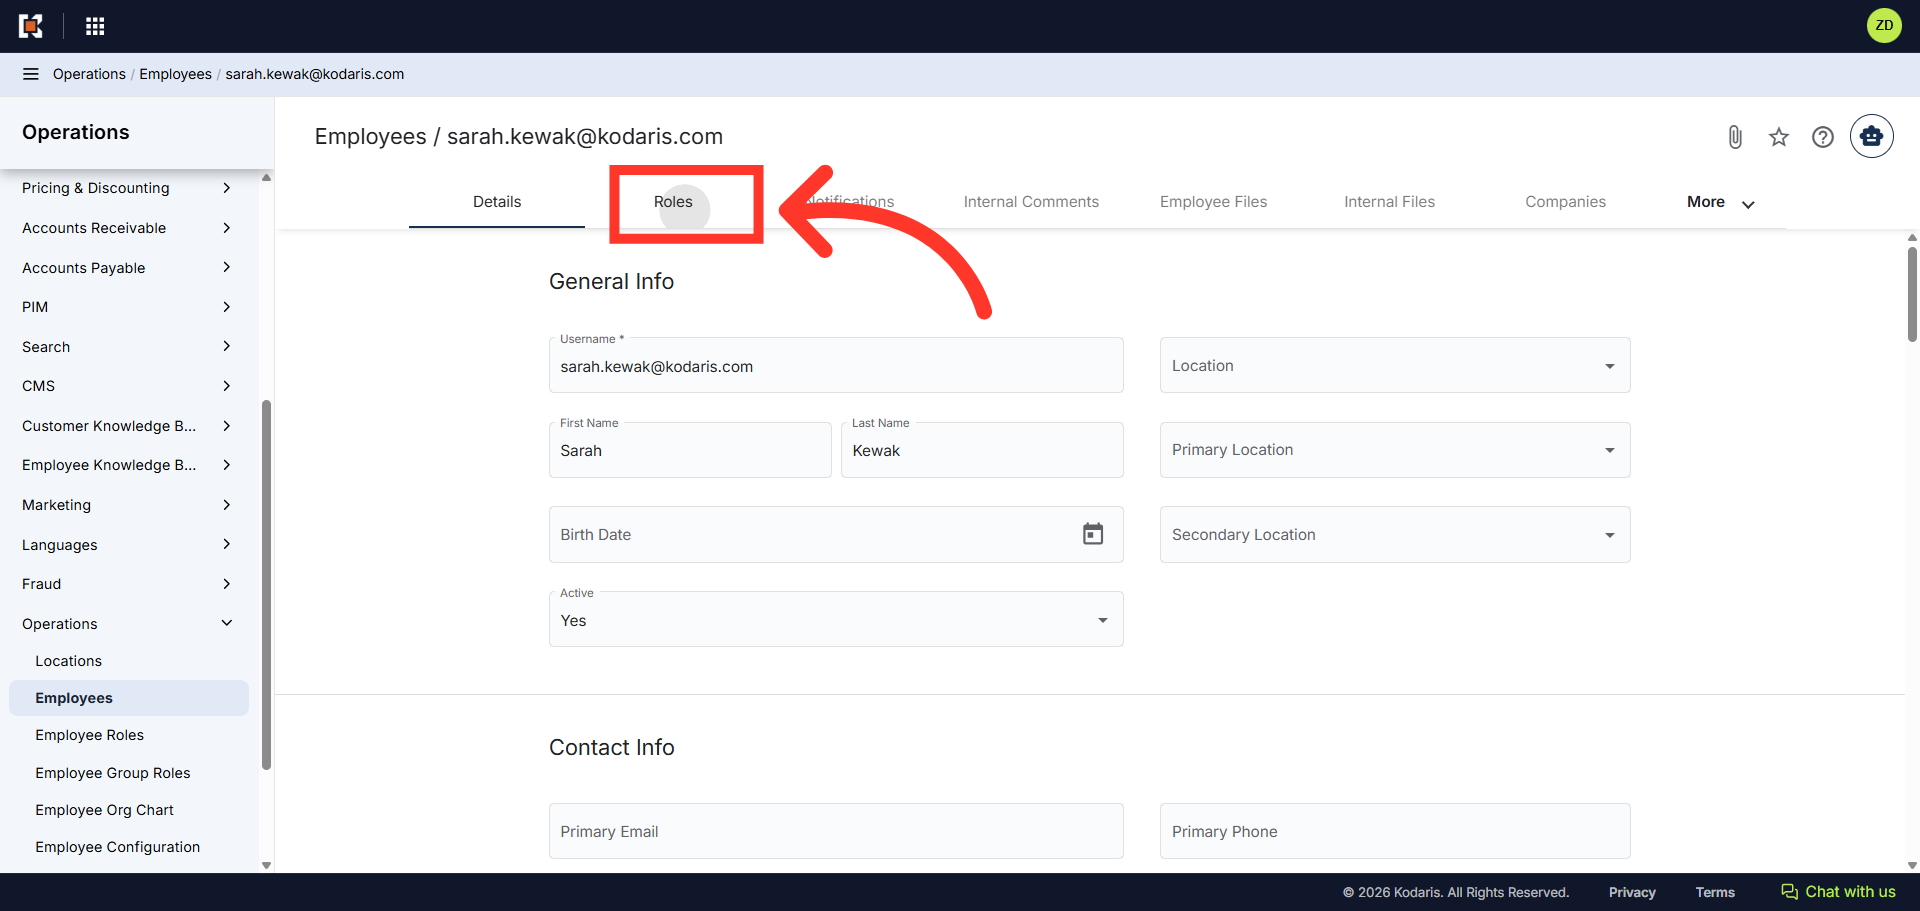
Click the "+Assign role" Field
Click the "+ Assign role" field to begin typing a new role.
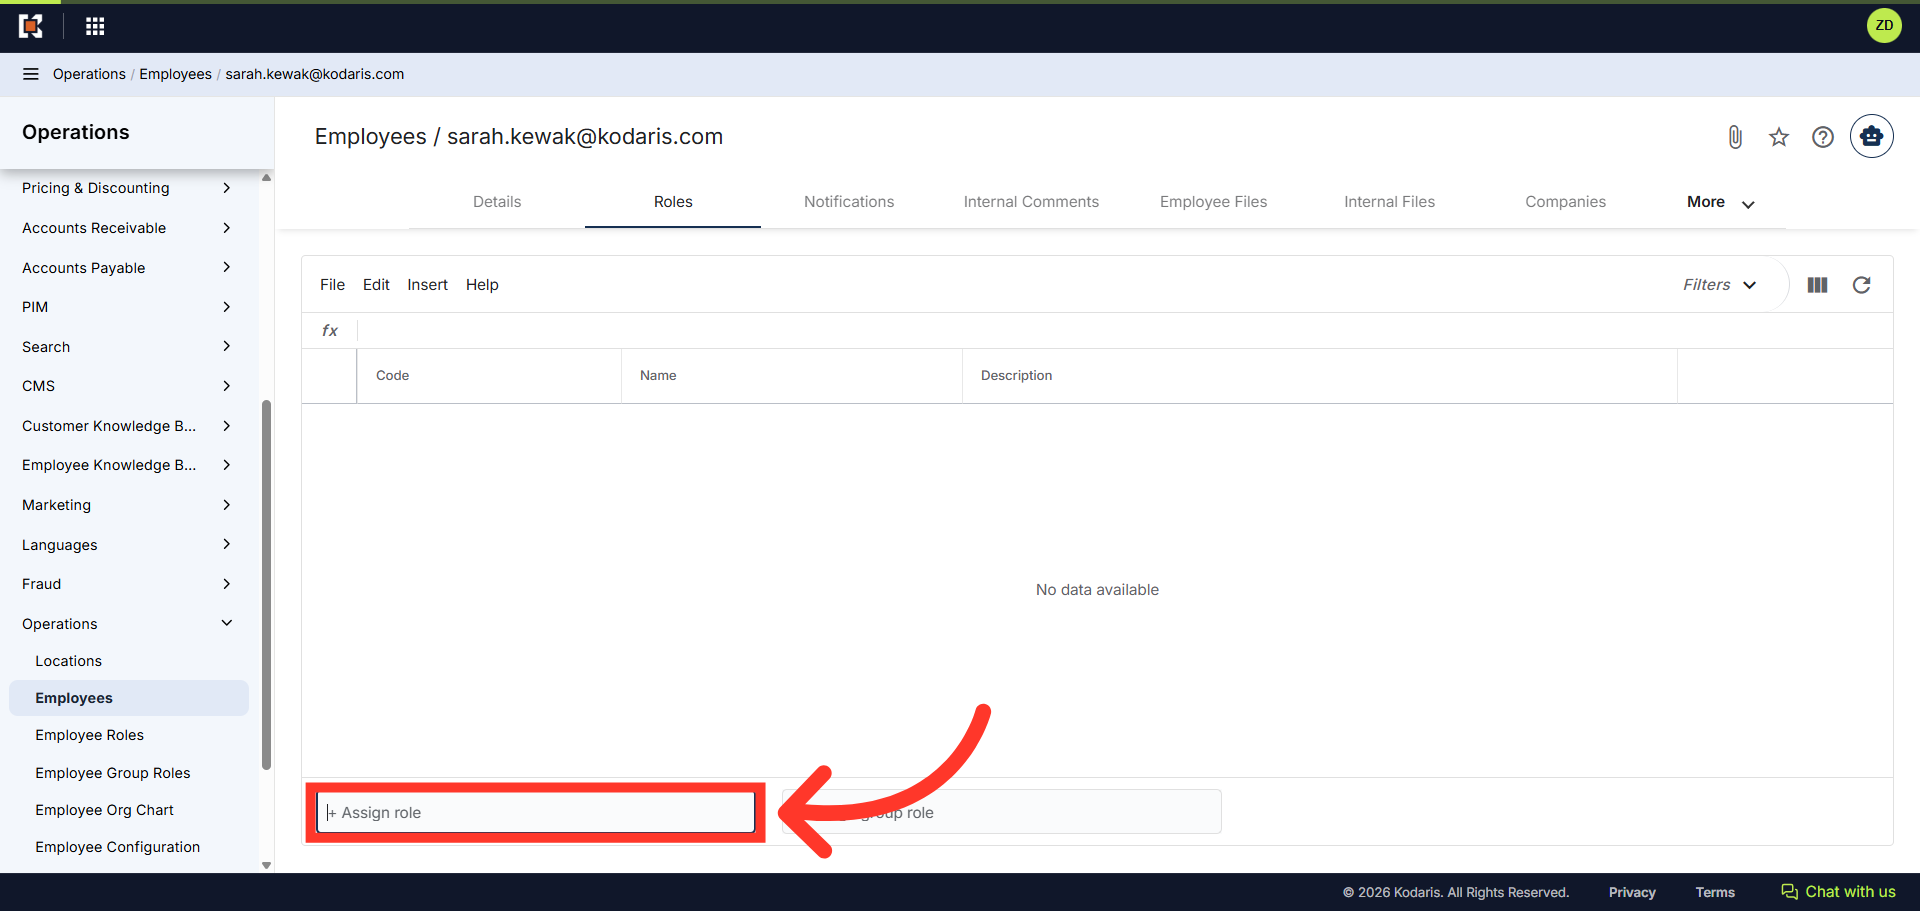
Click "crmCompanyView"
Enter the role "crmCompanyView" and select the option in the menu that auto-populates as you type. This role grants the employee the ability to view only assigned companies.
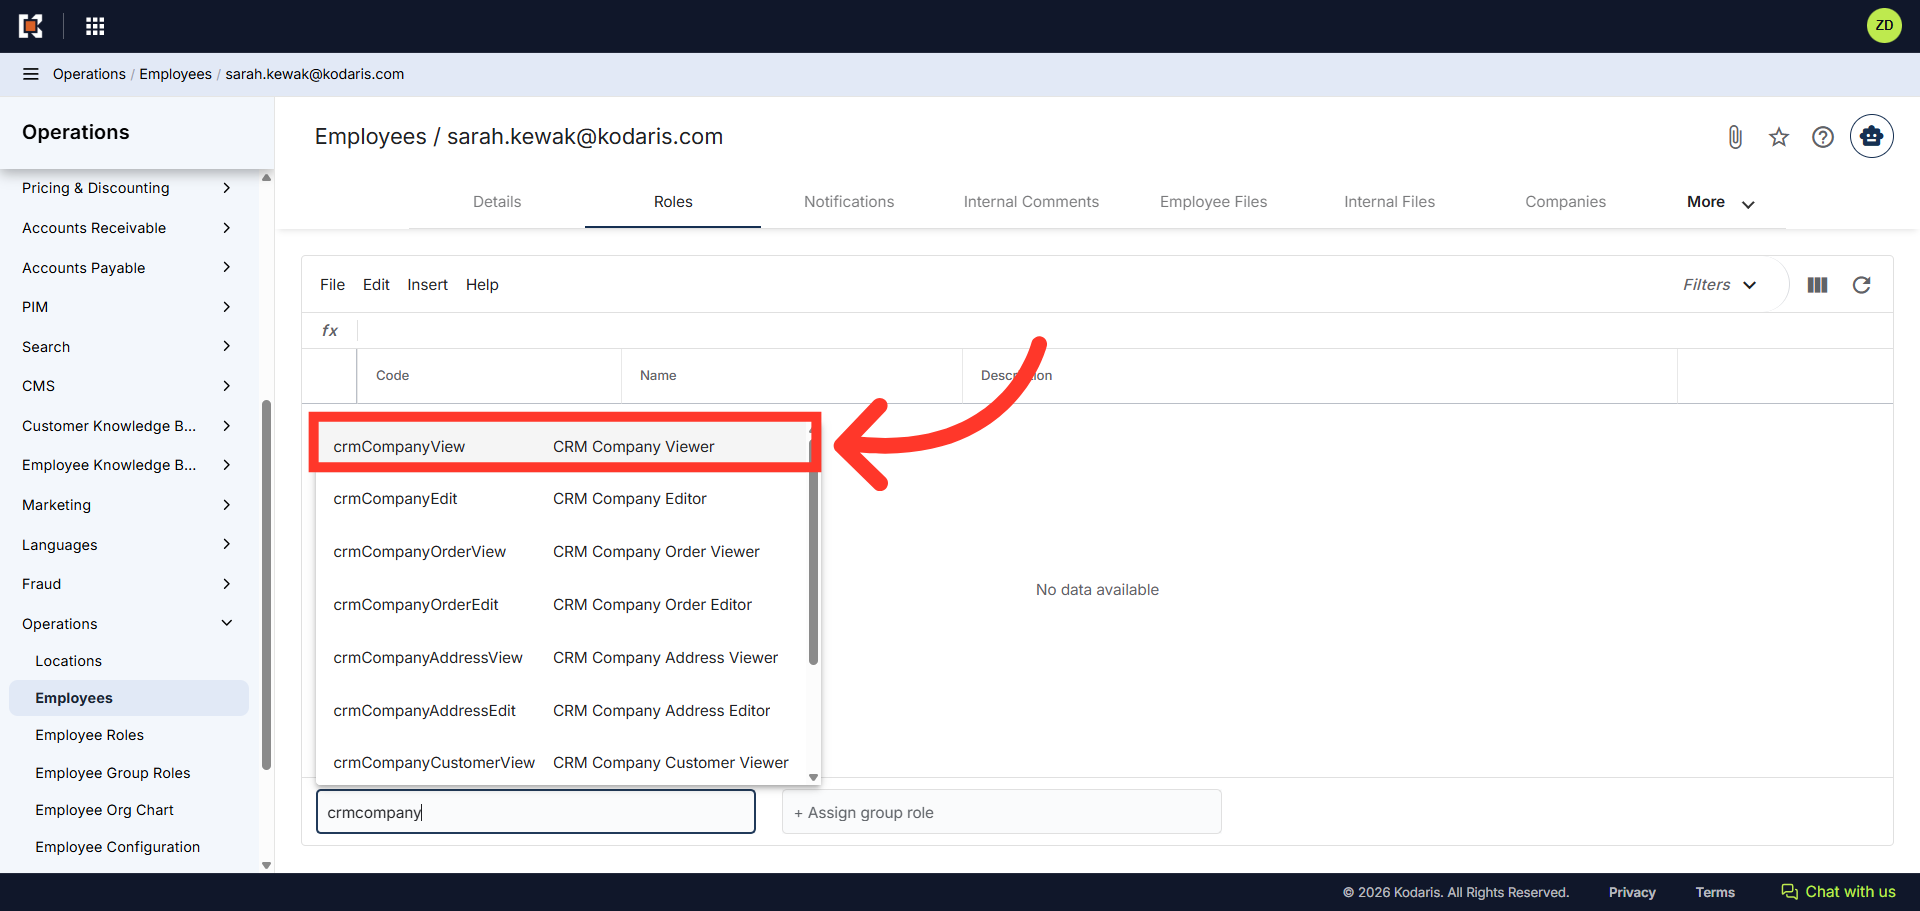
Click the "+Assign role" Field
Click in the "+ Assign role" field again to add an additional role.
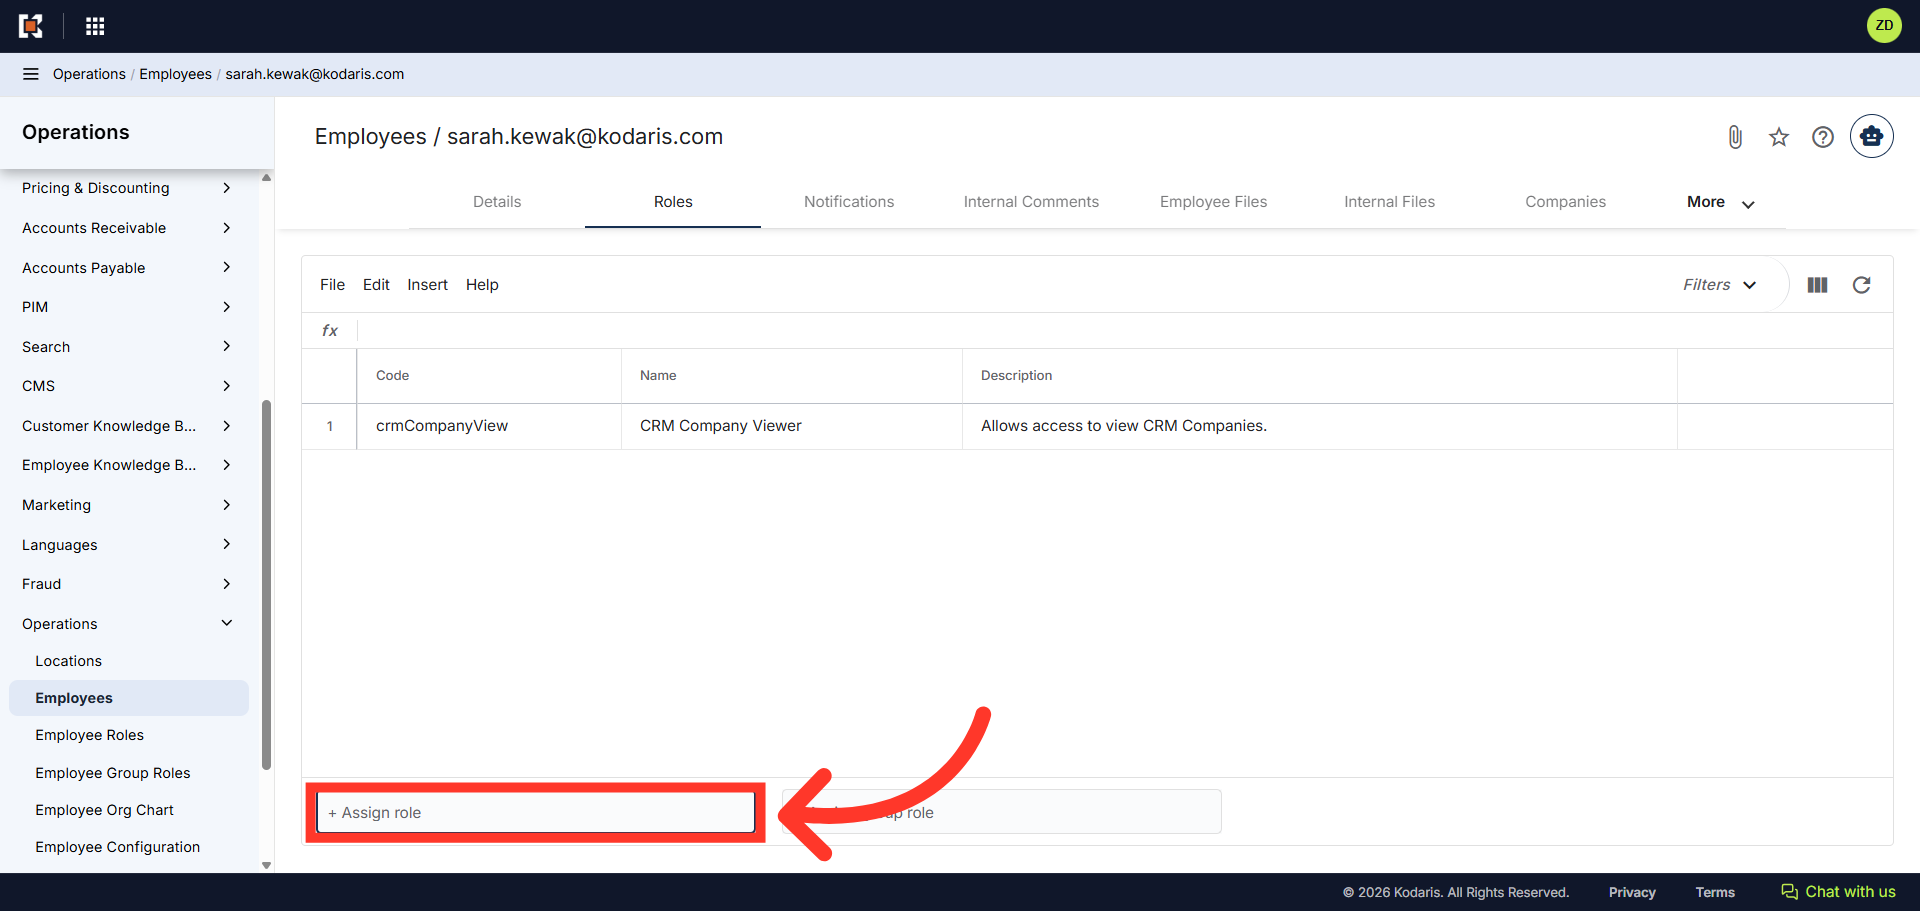
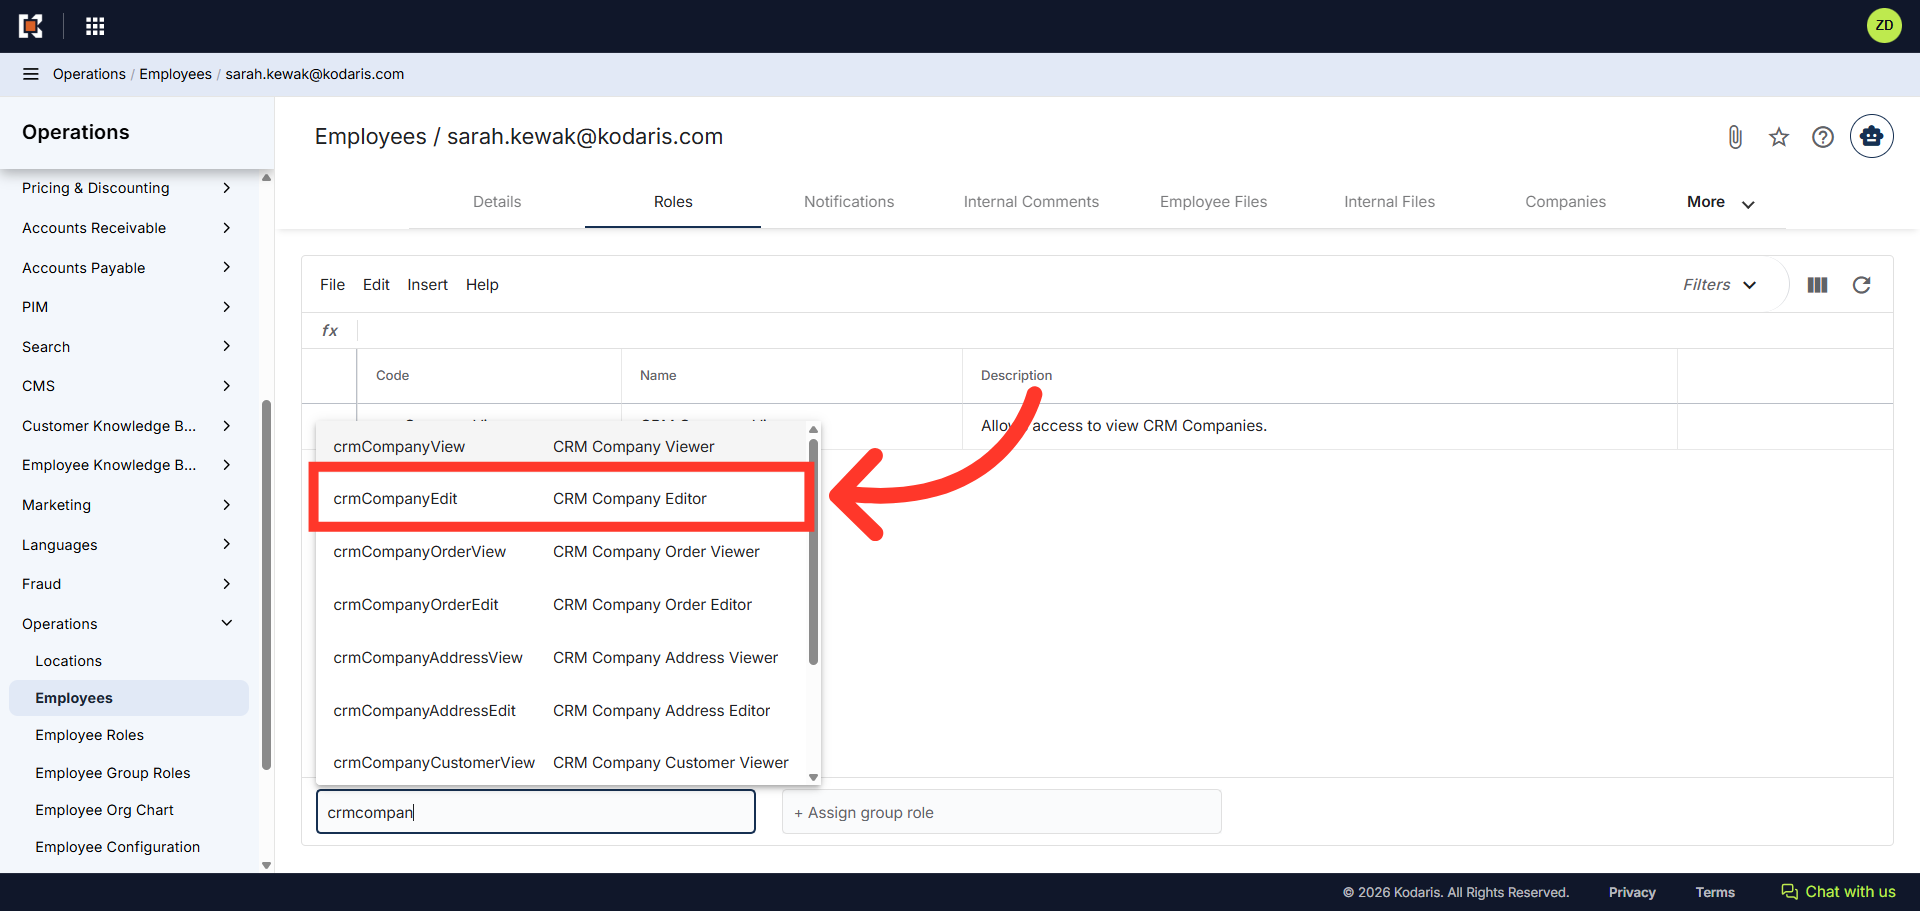
Click "crmCompanyEdit"
Enter the role "crmCompanyEdit" and select the option in the menu that auto-populates as you type. This role grants the employee the ability to edit assigned company information.
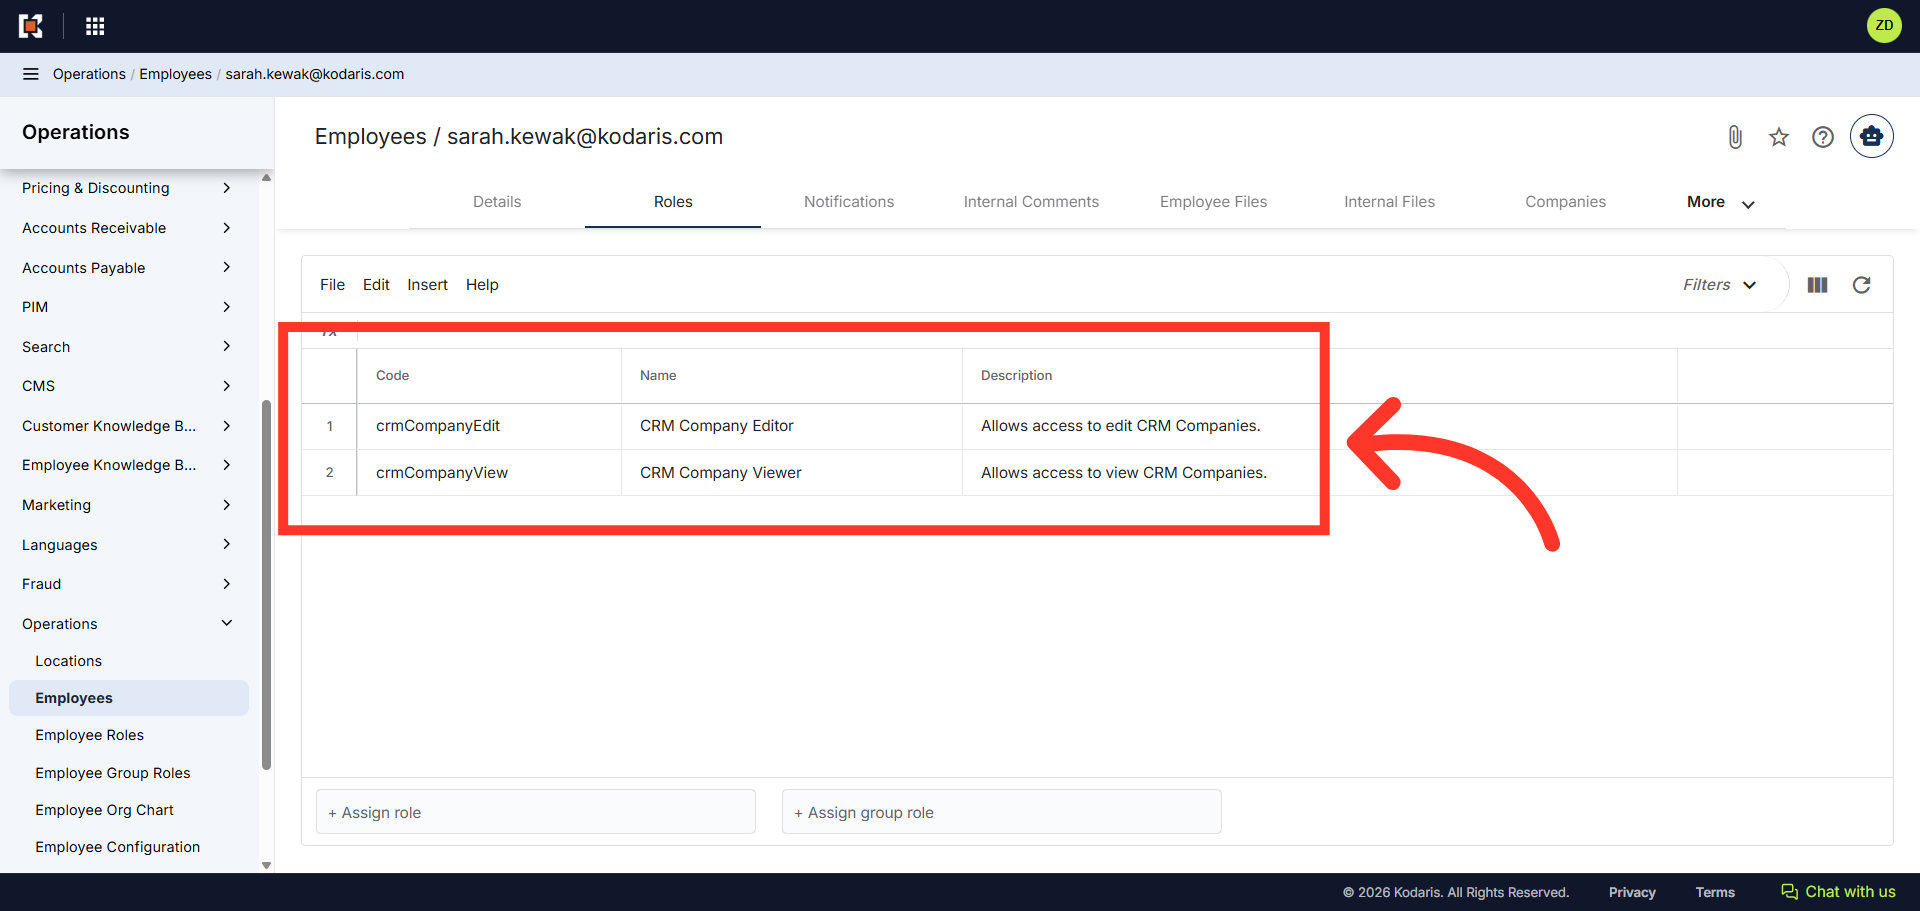
Review Role Permissions
The two roles have been assigned to the employee.
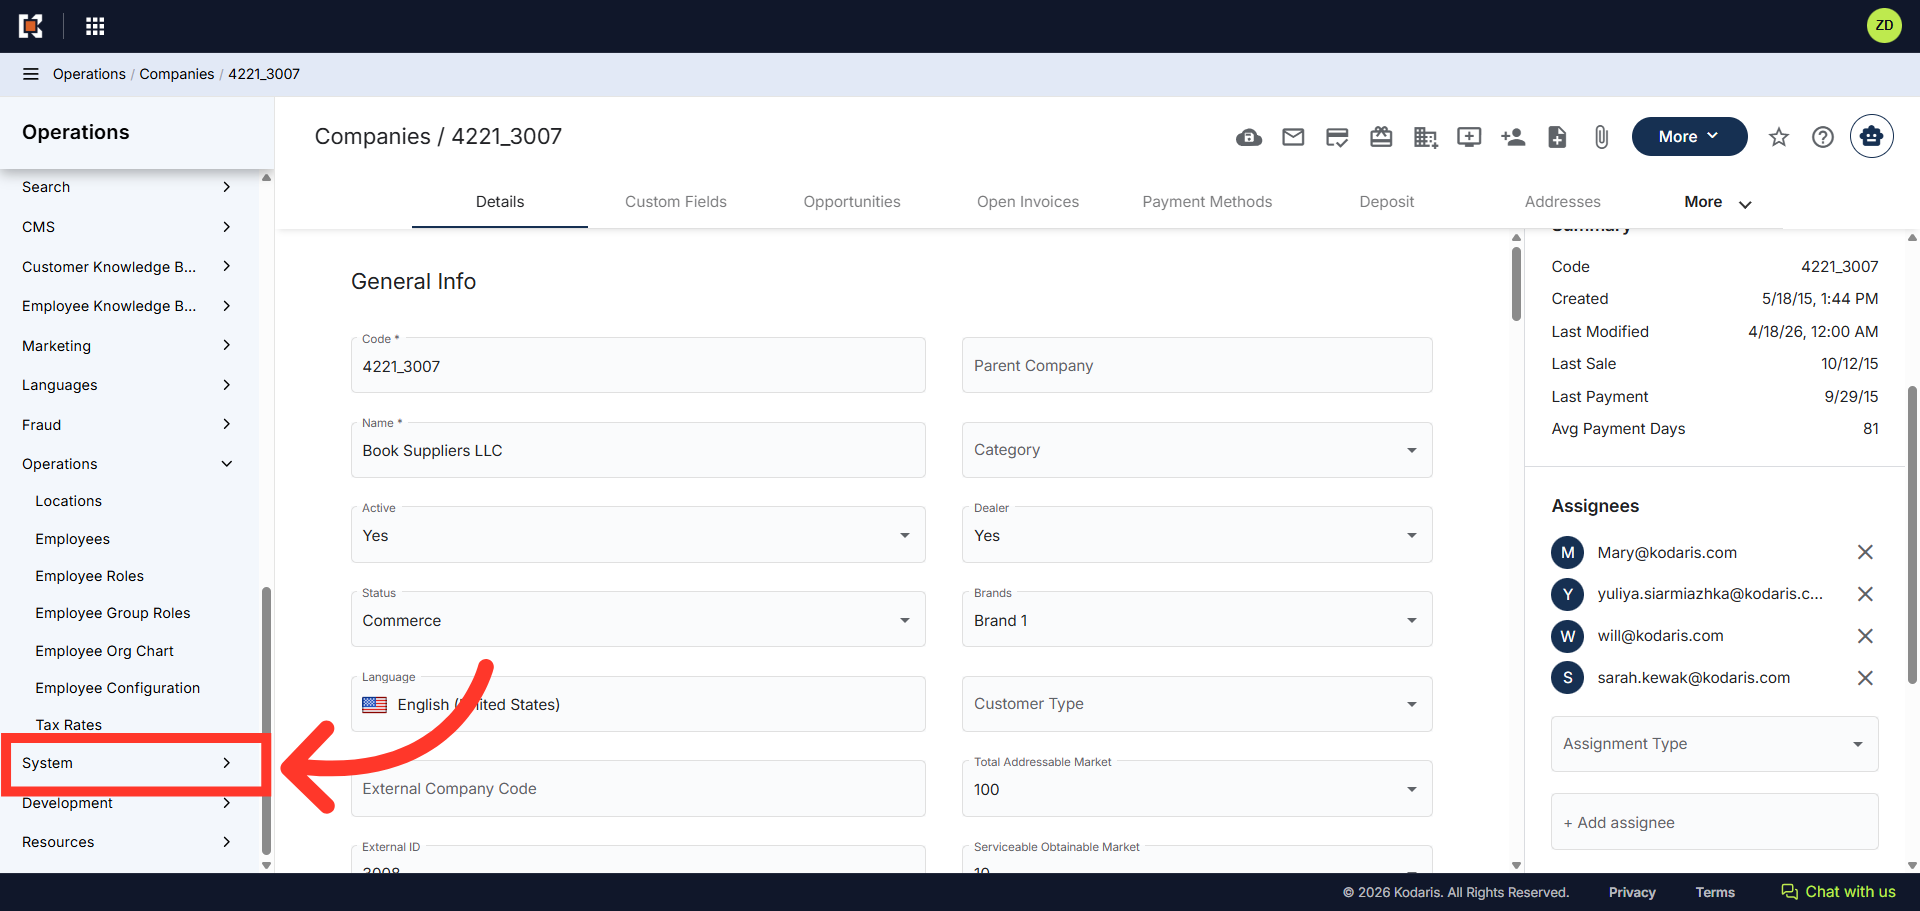
Navigate to "System"
Next, we need to enable the feature by enabling the setting that restricts the view to the employee to assigned companies. Navigate to "System".
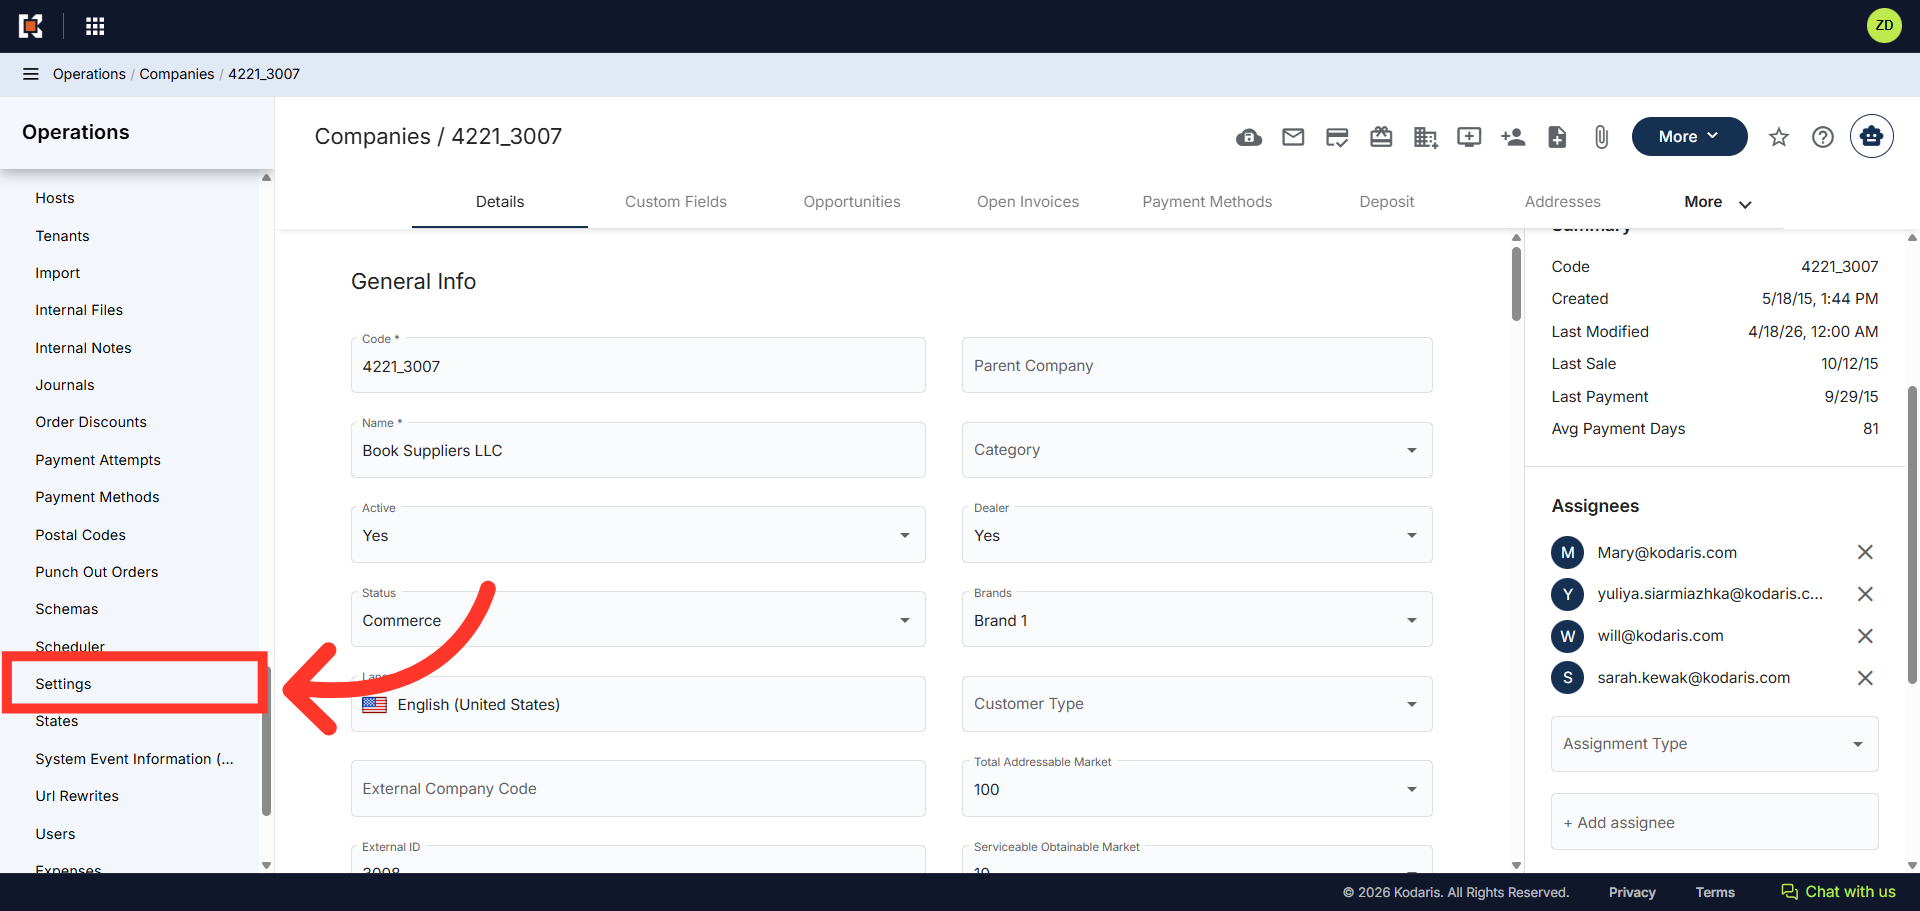
Click "Settings"
Then, click "Settings". In order to access and edit settings, you will need to be set up either as an "administrator" or a "superuser", or have the following role: "settingEdit".
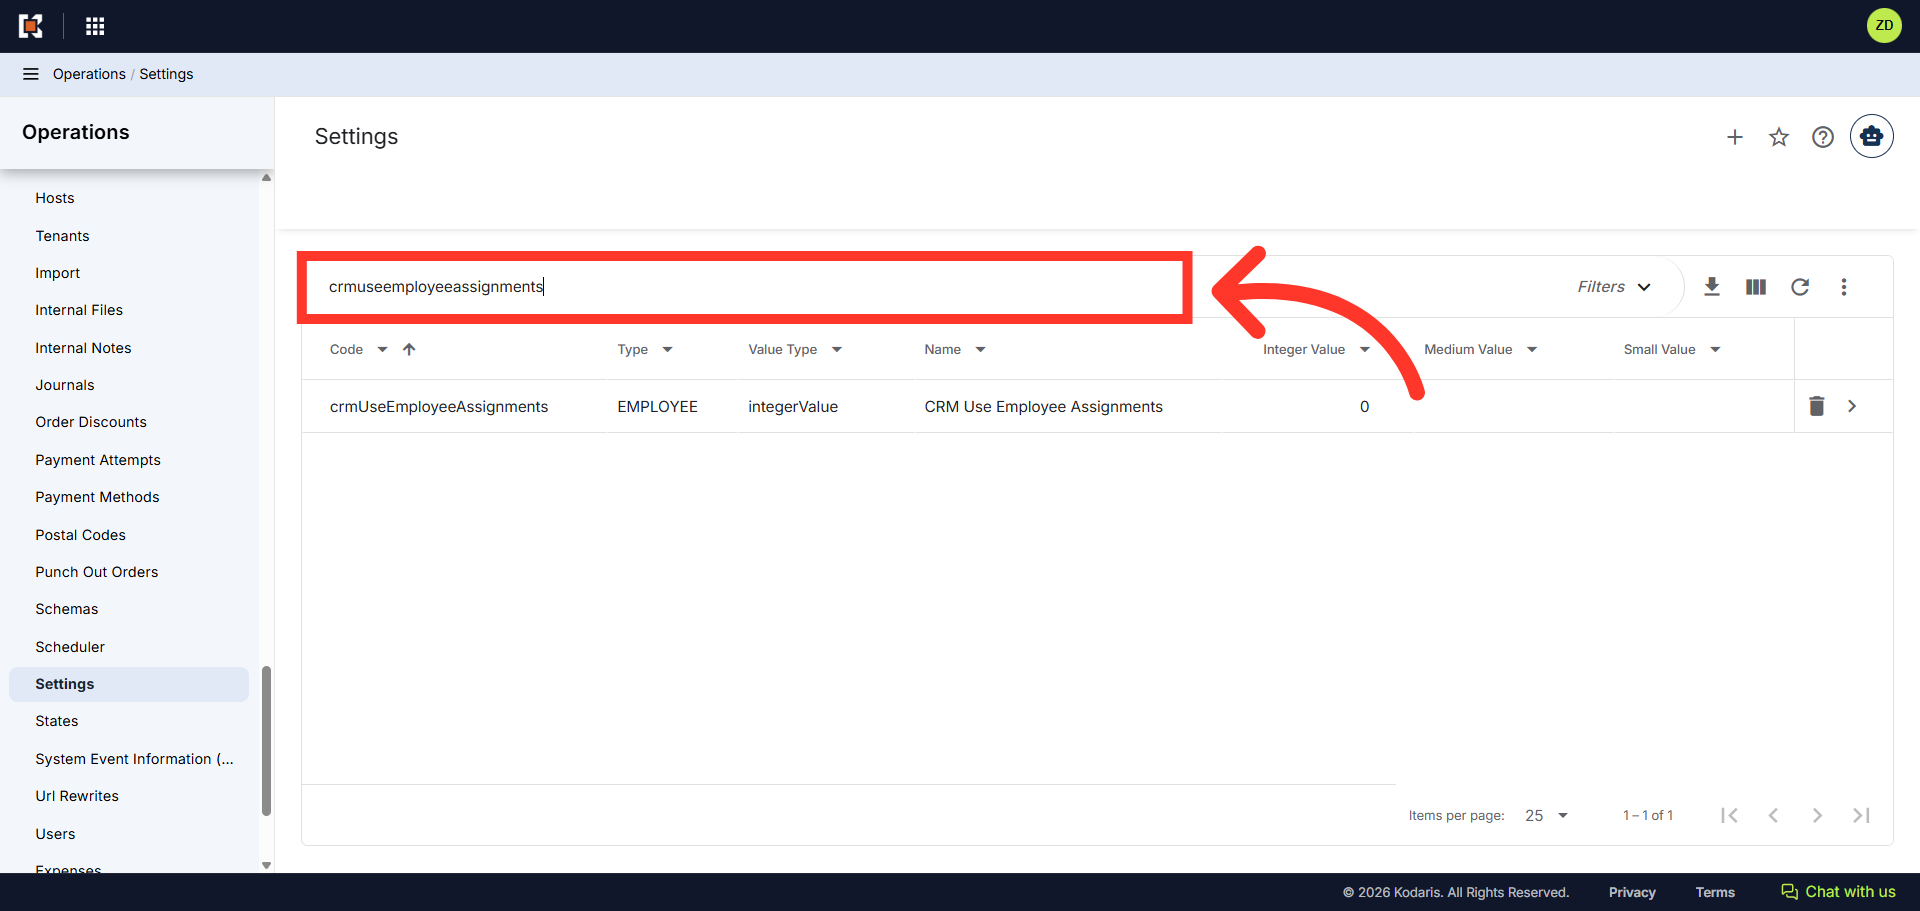
Enter "crmUseEmployeeAssignments"
Search for the setting "crmUseEmployeeAssignments" in the search field.
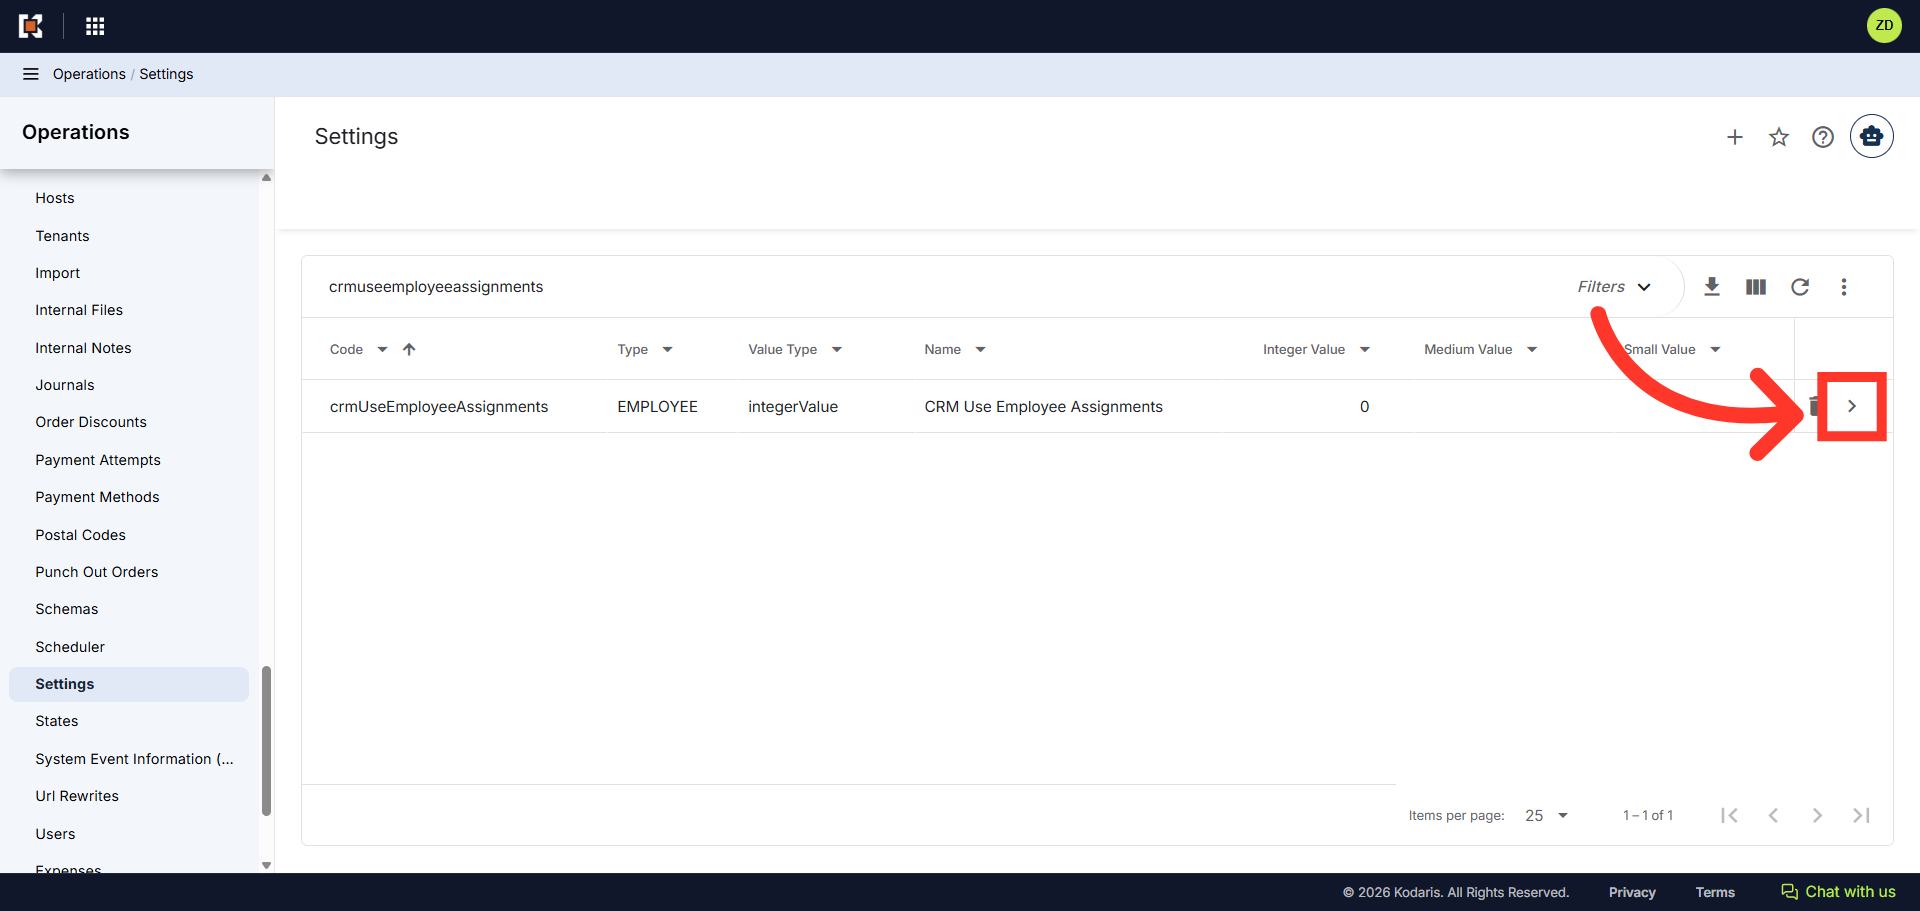
Click the More Details Icon
Click the more details icon to view the details of the setting.
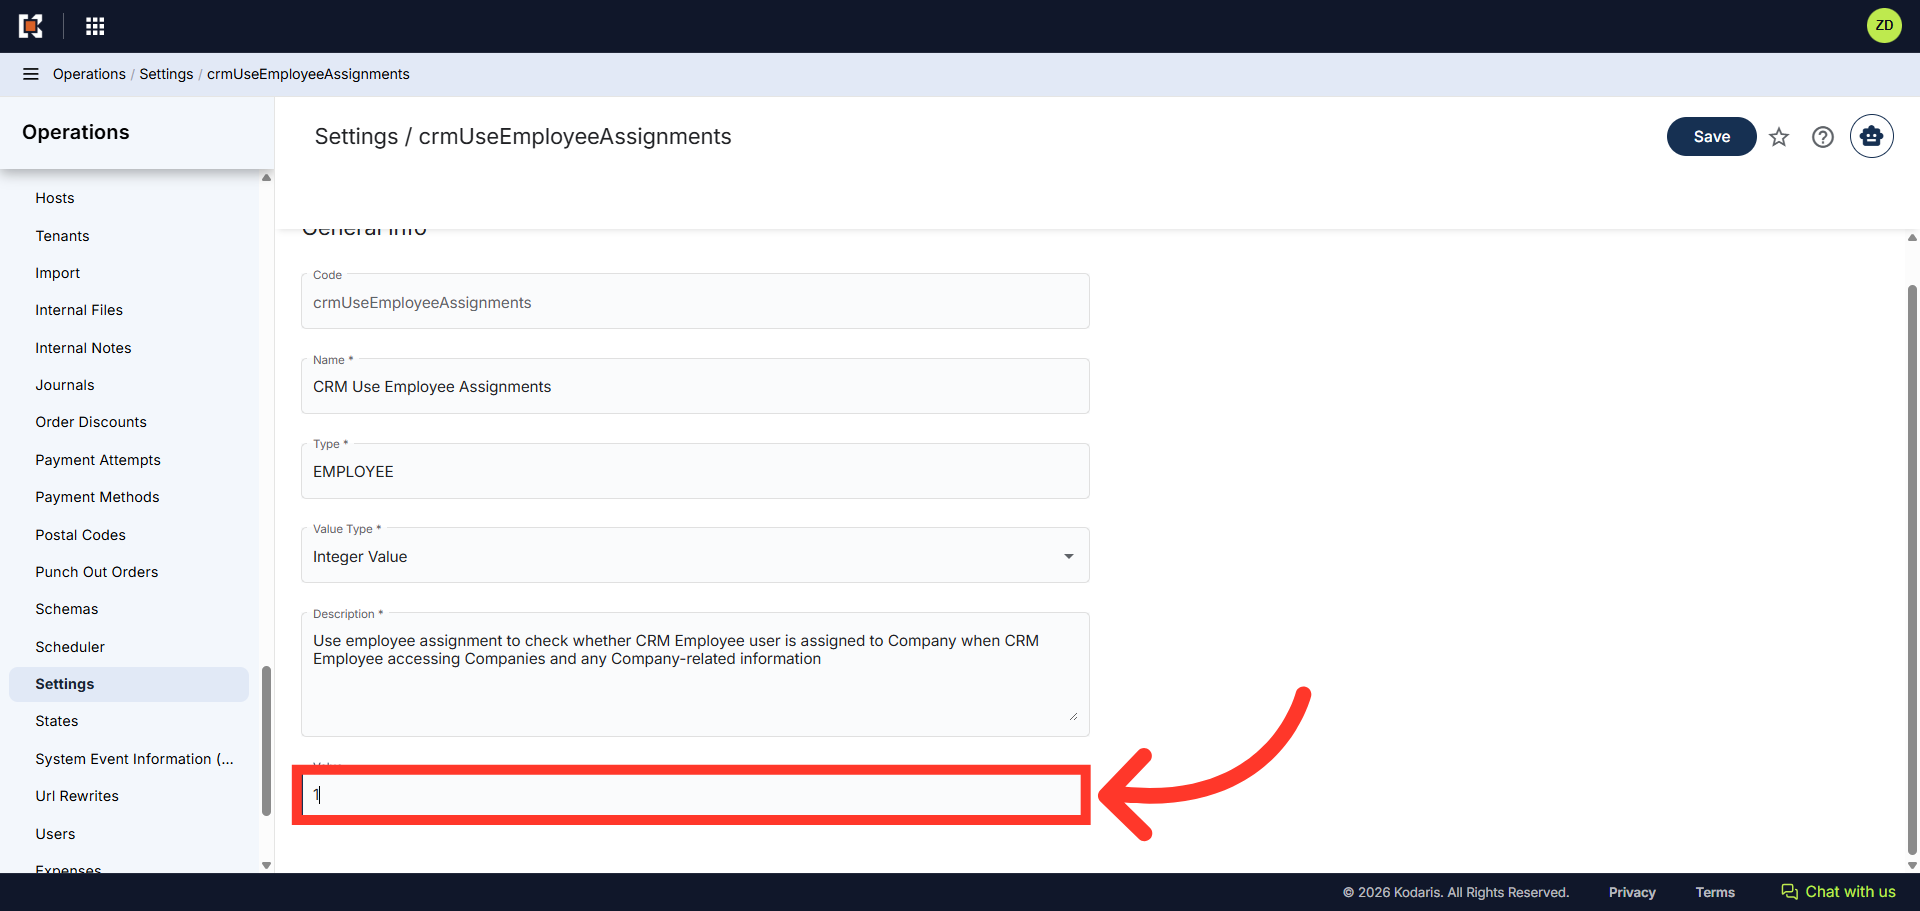
Enter "1"
Scroll down to the "Value" field and enter "1" to enable the feature.
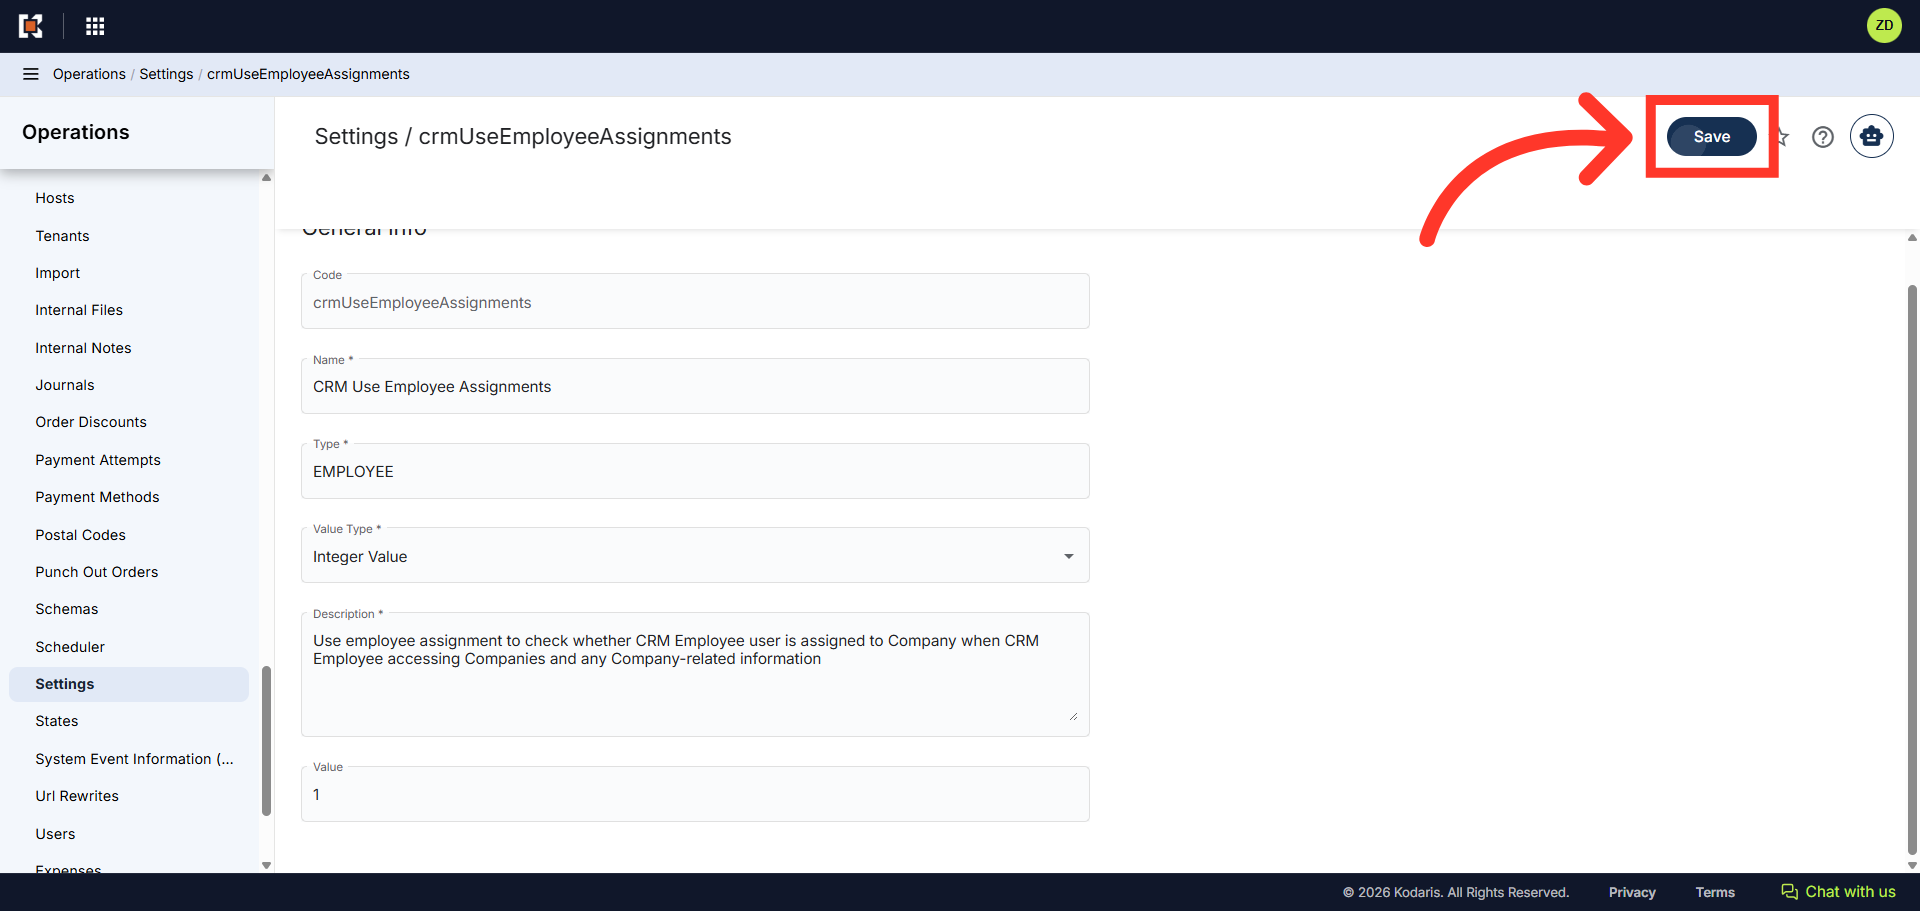
Click "Save"
Click "Save" to apply changes made. The feature is now enabled and the employee will only have access to Companies assigned to them.
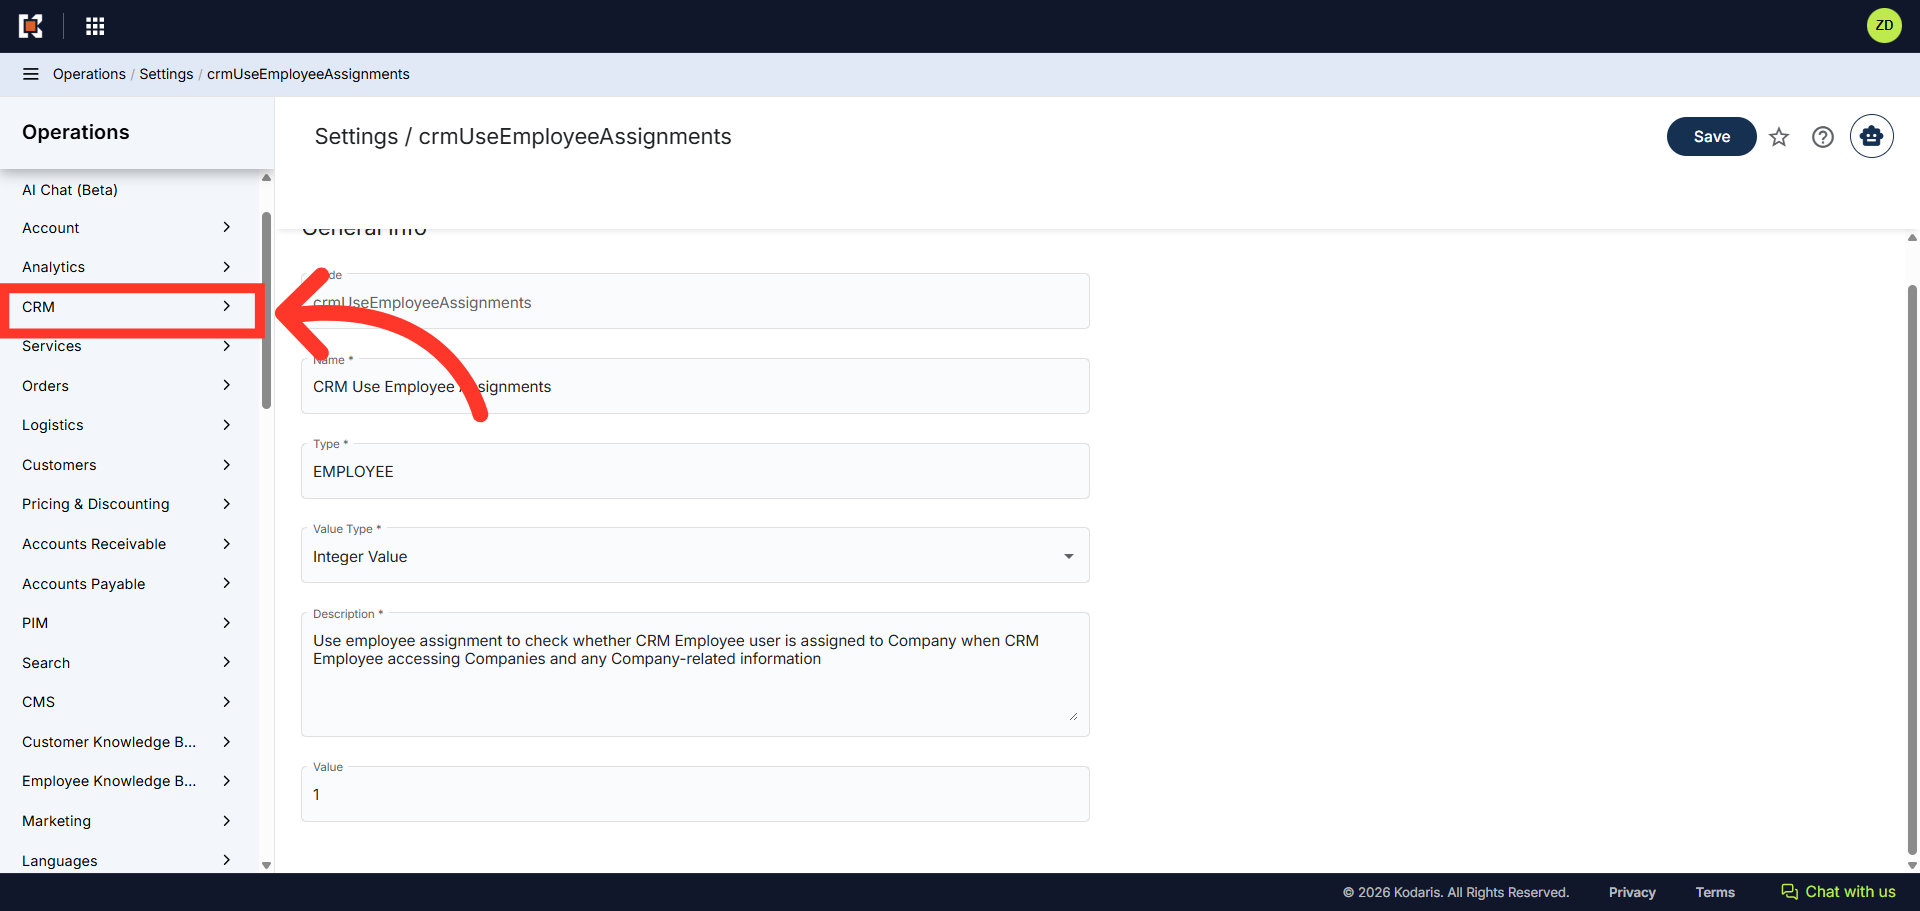
Navigate to "CRM"
Finally, we need to assign employees to Companies. Navigate to the "CRM" section.
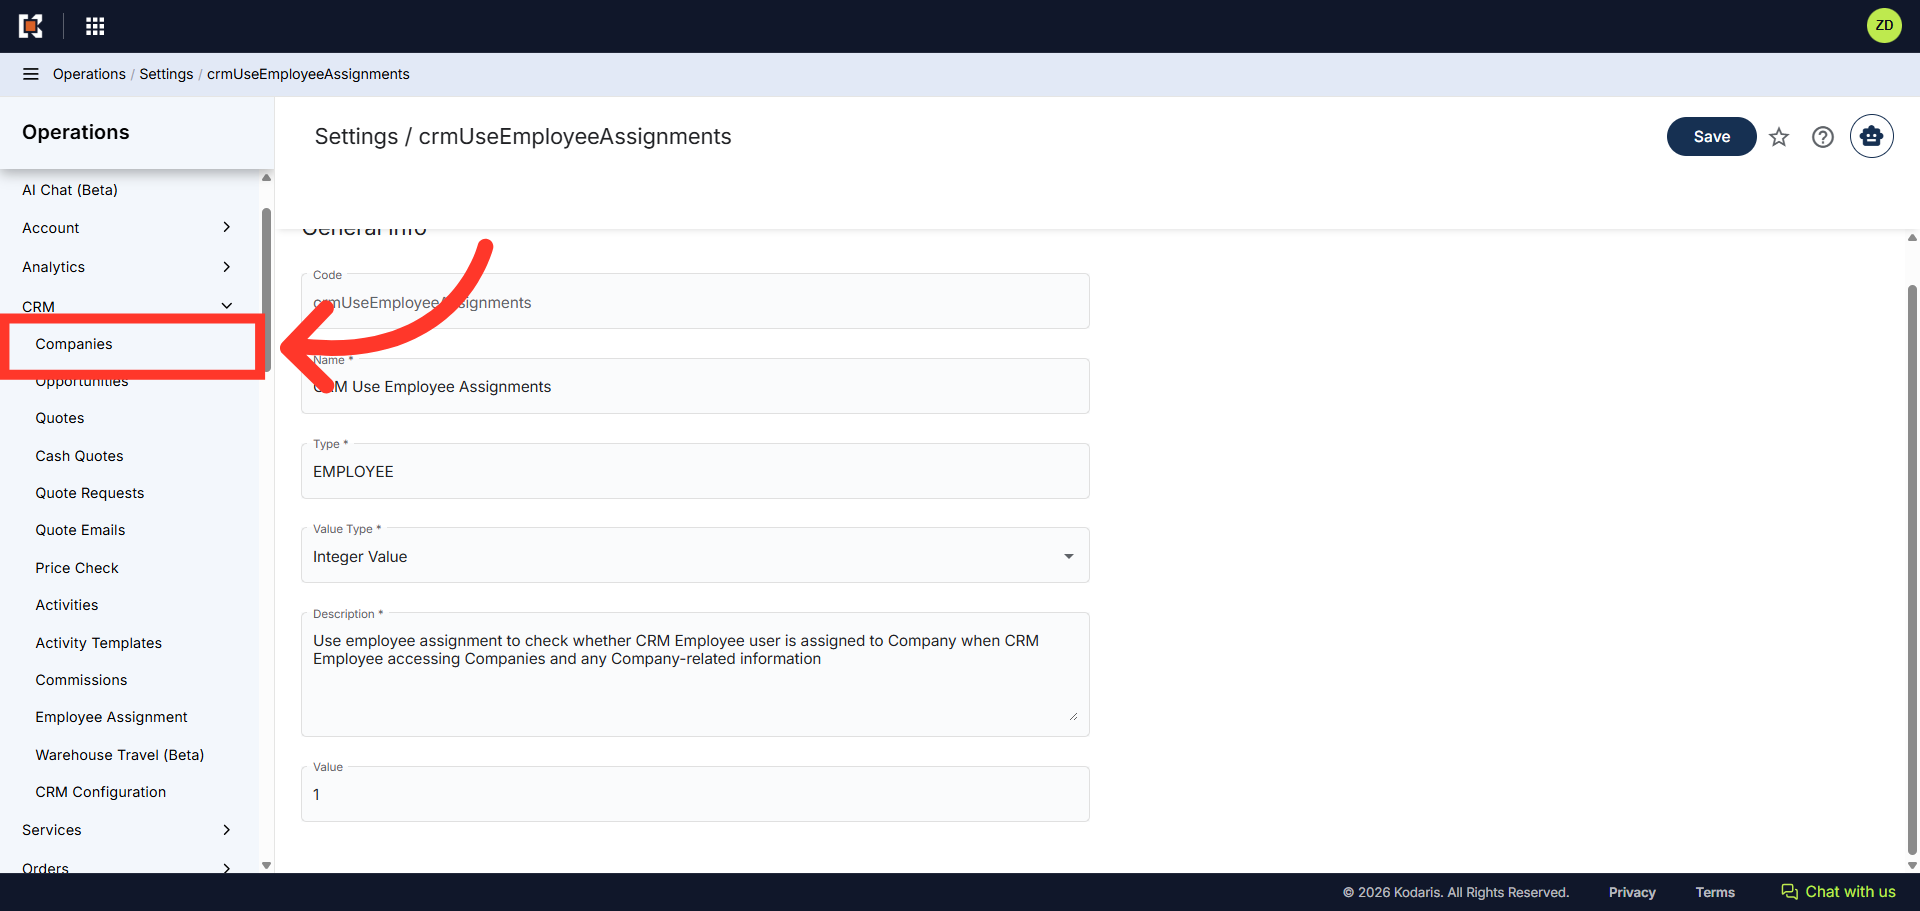
Click "Companies"
Then, click "Companies".
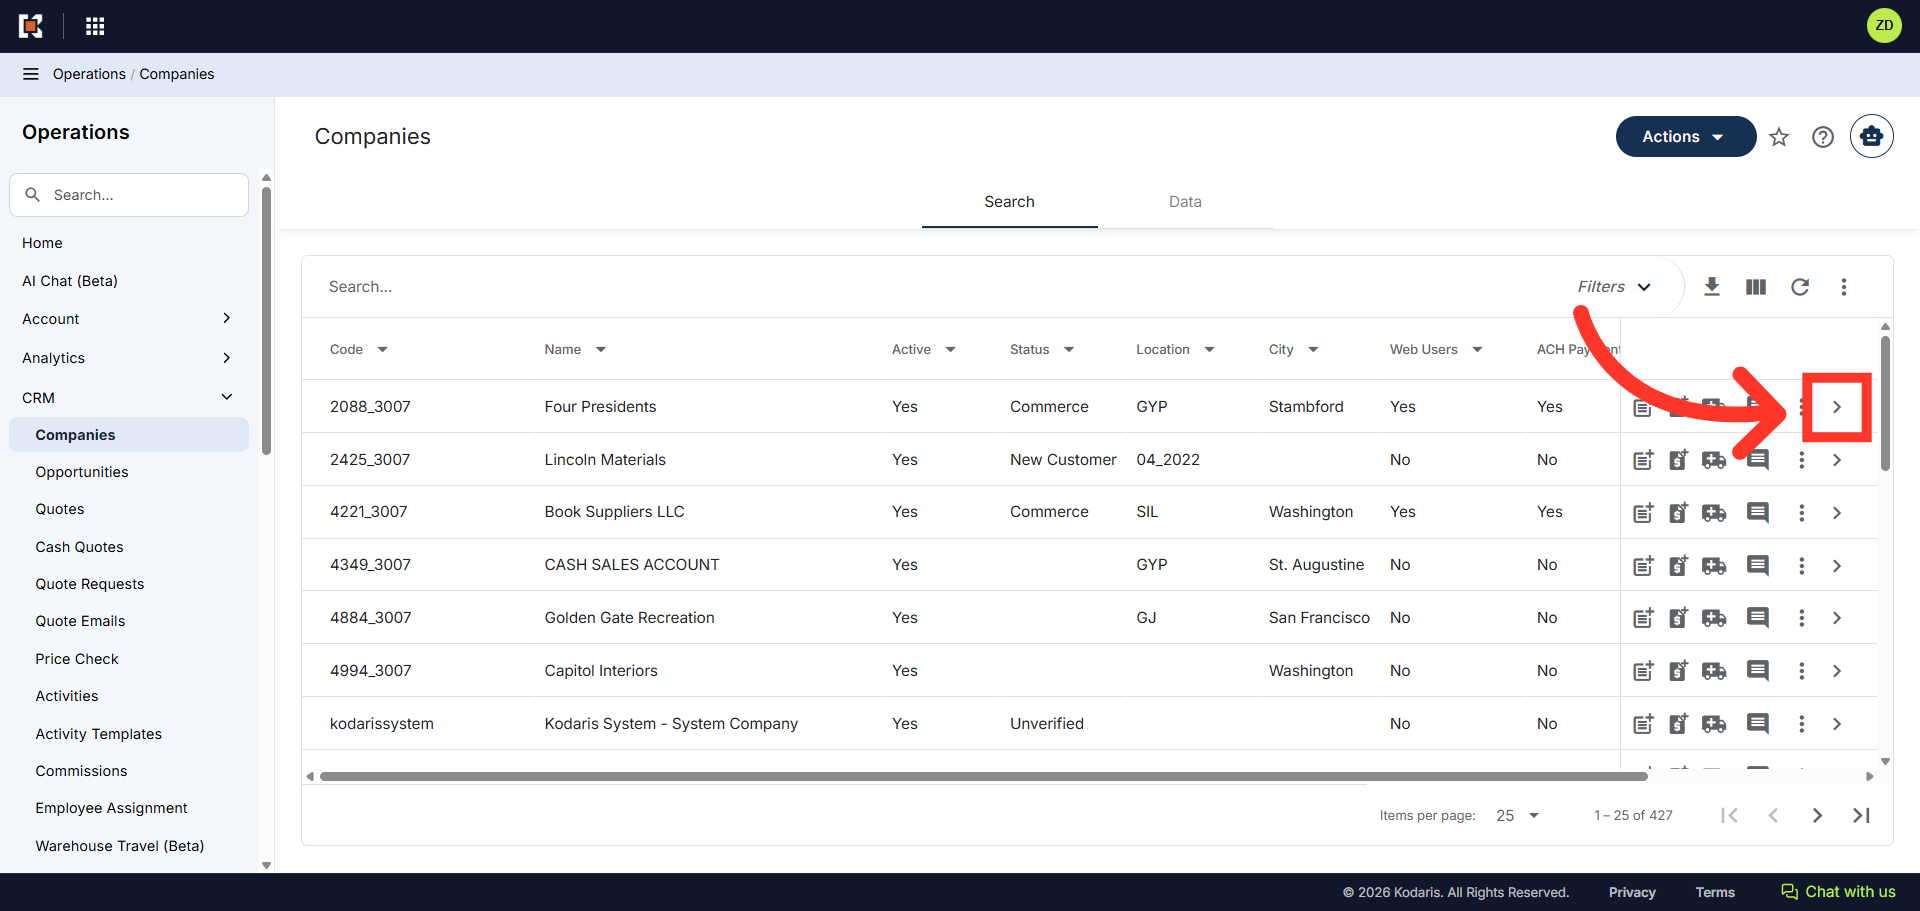
Click the More Details Icon
Click the more details icon on the company you wish to add the employee to. In this example we will use, Four Presidents.
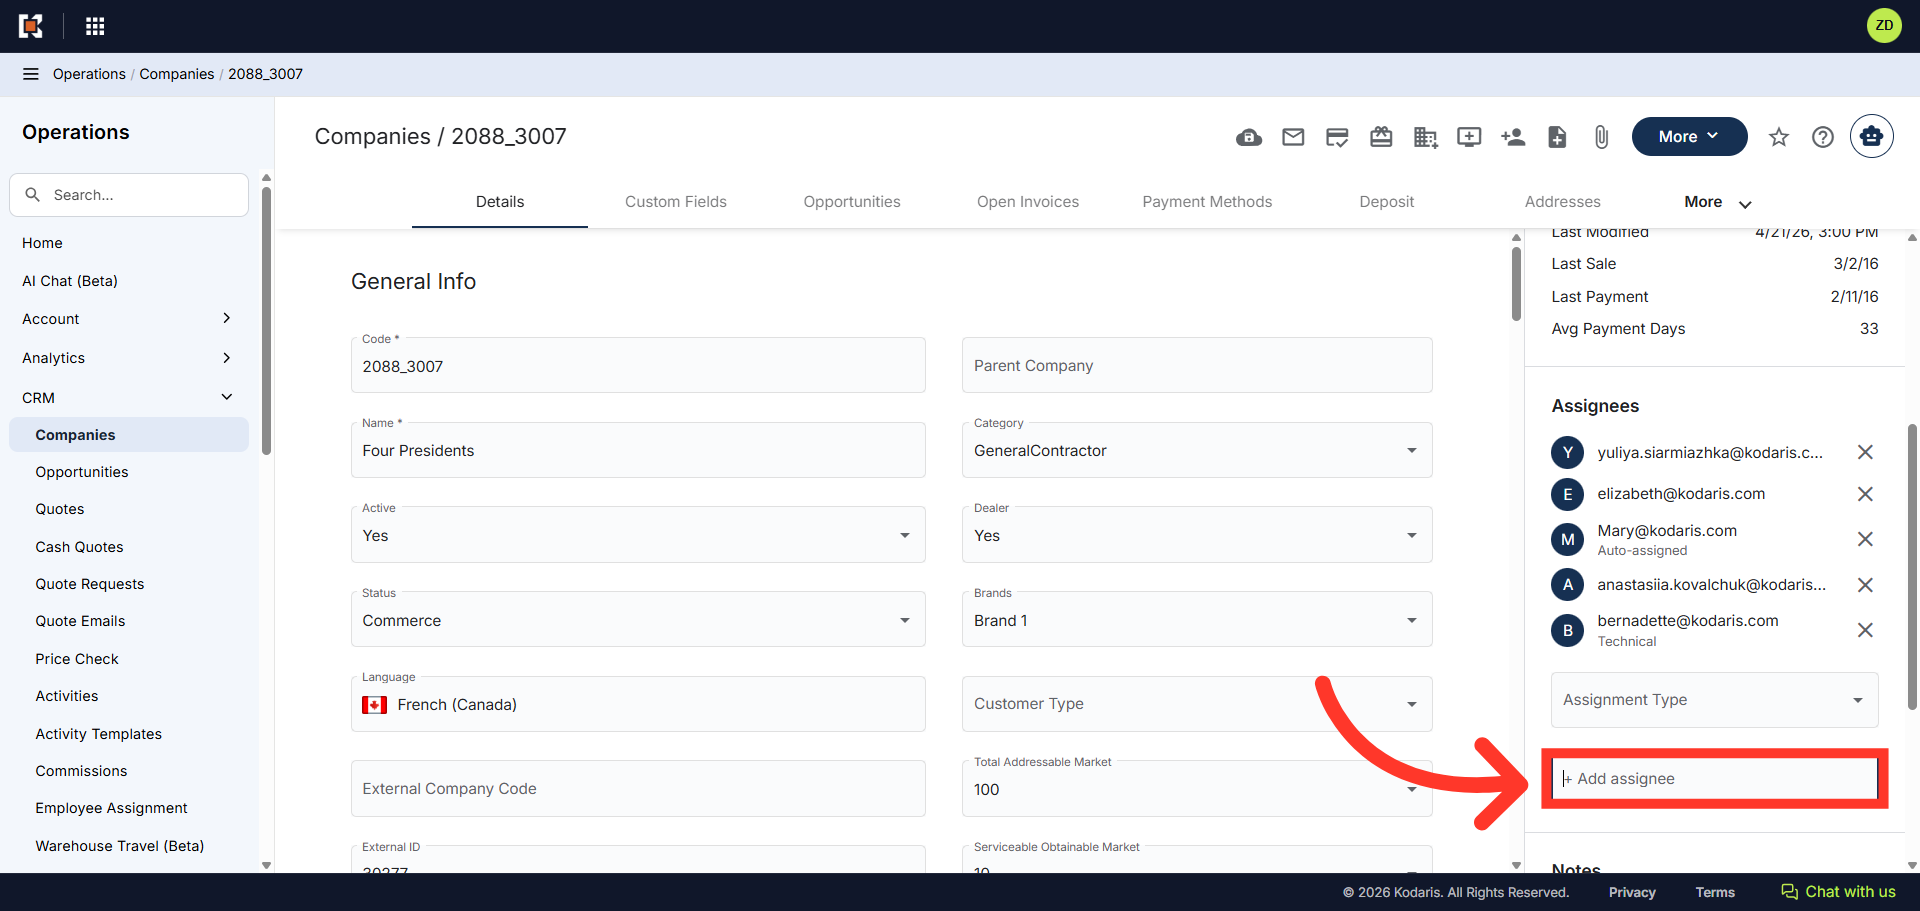
Click "+Add assignee"
Next, click "+ Add assignee" to assign a new employee to the company.
Enter Assignee Name
Enter the employee email address in the "Assignee" field and select it from the auto-populated menu.
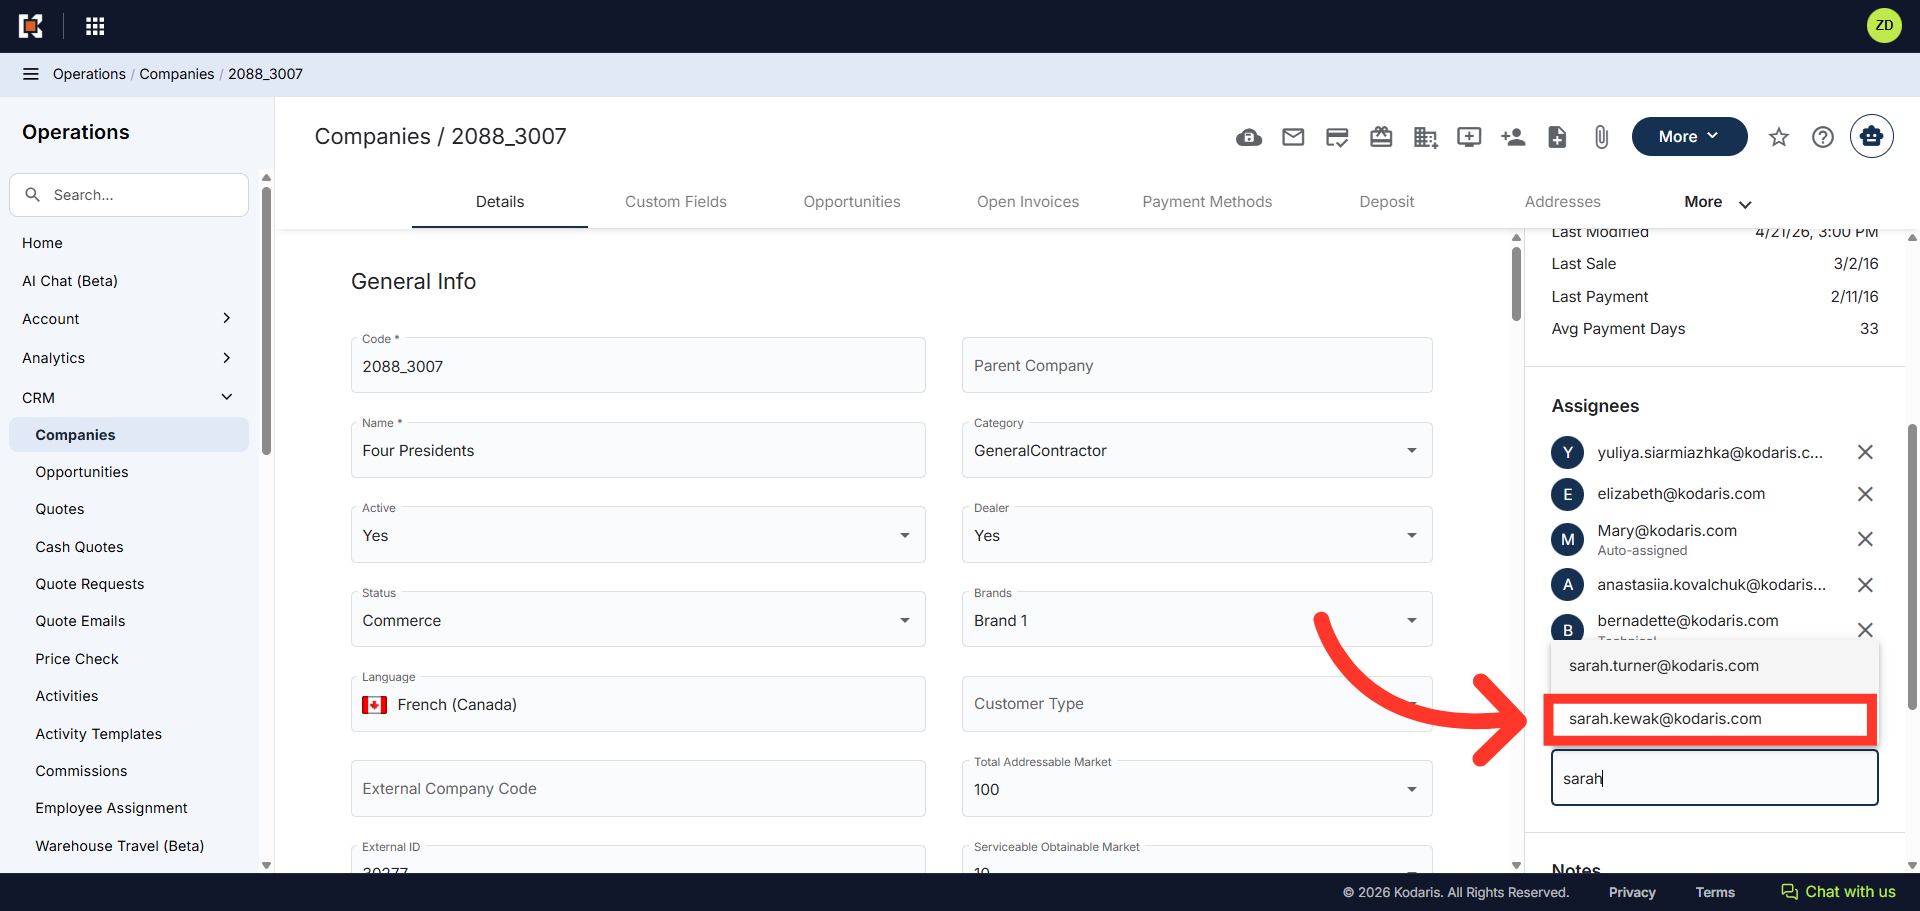
Verify Employee Assignment
You can see the employee has been assigned to the company. Repeat the process for all Companies the employee will be assigned to.