Operations Multilingual - Translate Attributes by Import
Navigate to "PIM"
To mass update attribute translations by import, navigate to "PIM" section in the Operations Portal.

Click "Attribute Languages"
Then, go to "Attribute Languages". In order to access and update "Attribute Languages" you will need to be set up either as an "administrator" or a "superuser", or have the roles of: "facetGroupView" and "facetGroupEdit".

Click on the "Show/Hide Columns" icon
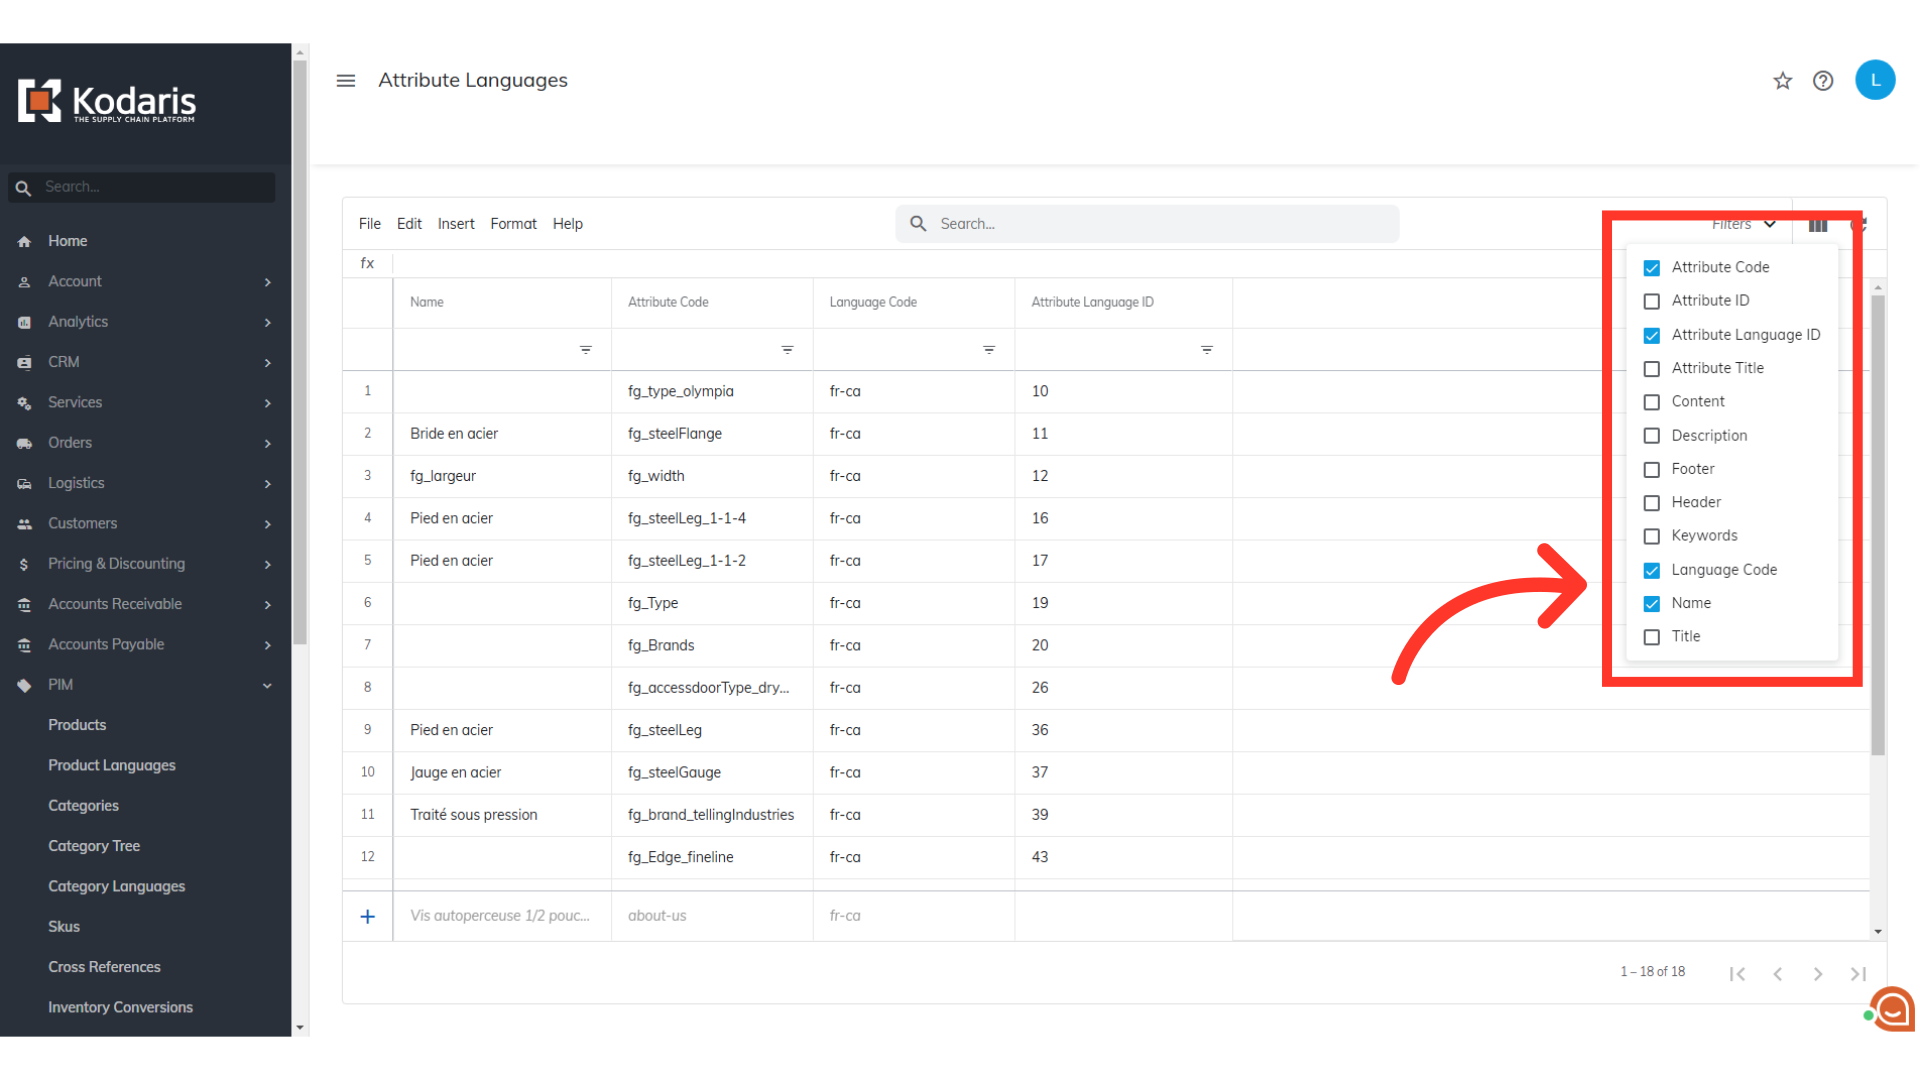
In order to import data, it is helpful to first export data to make sure that you have the correct header rows that you will use for the import. Click on the "Show/Hide Columns" icon.

Select the needed columns
To update attribute languages via import, you will need to select "Language Code", "Attribute Code", and any columns that you would like to update by import. The "Language Code" and "Attribute Code" are both required when importing. In this example, we are also selecting the "Name" column.
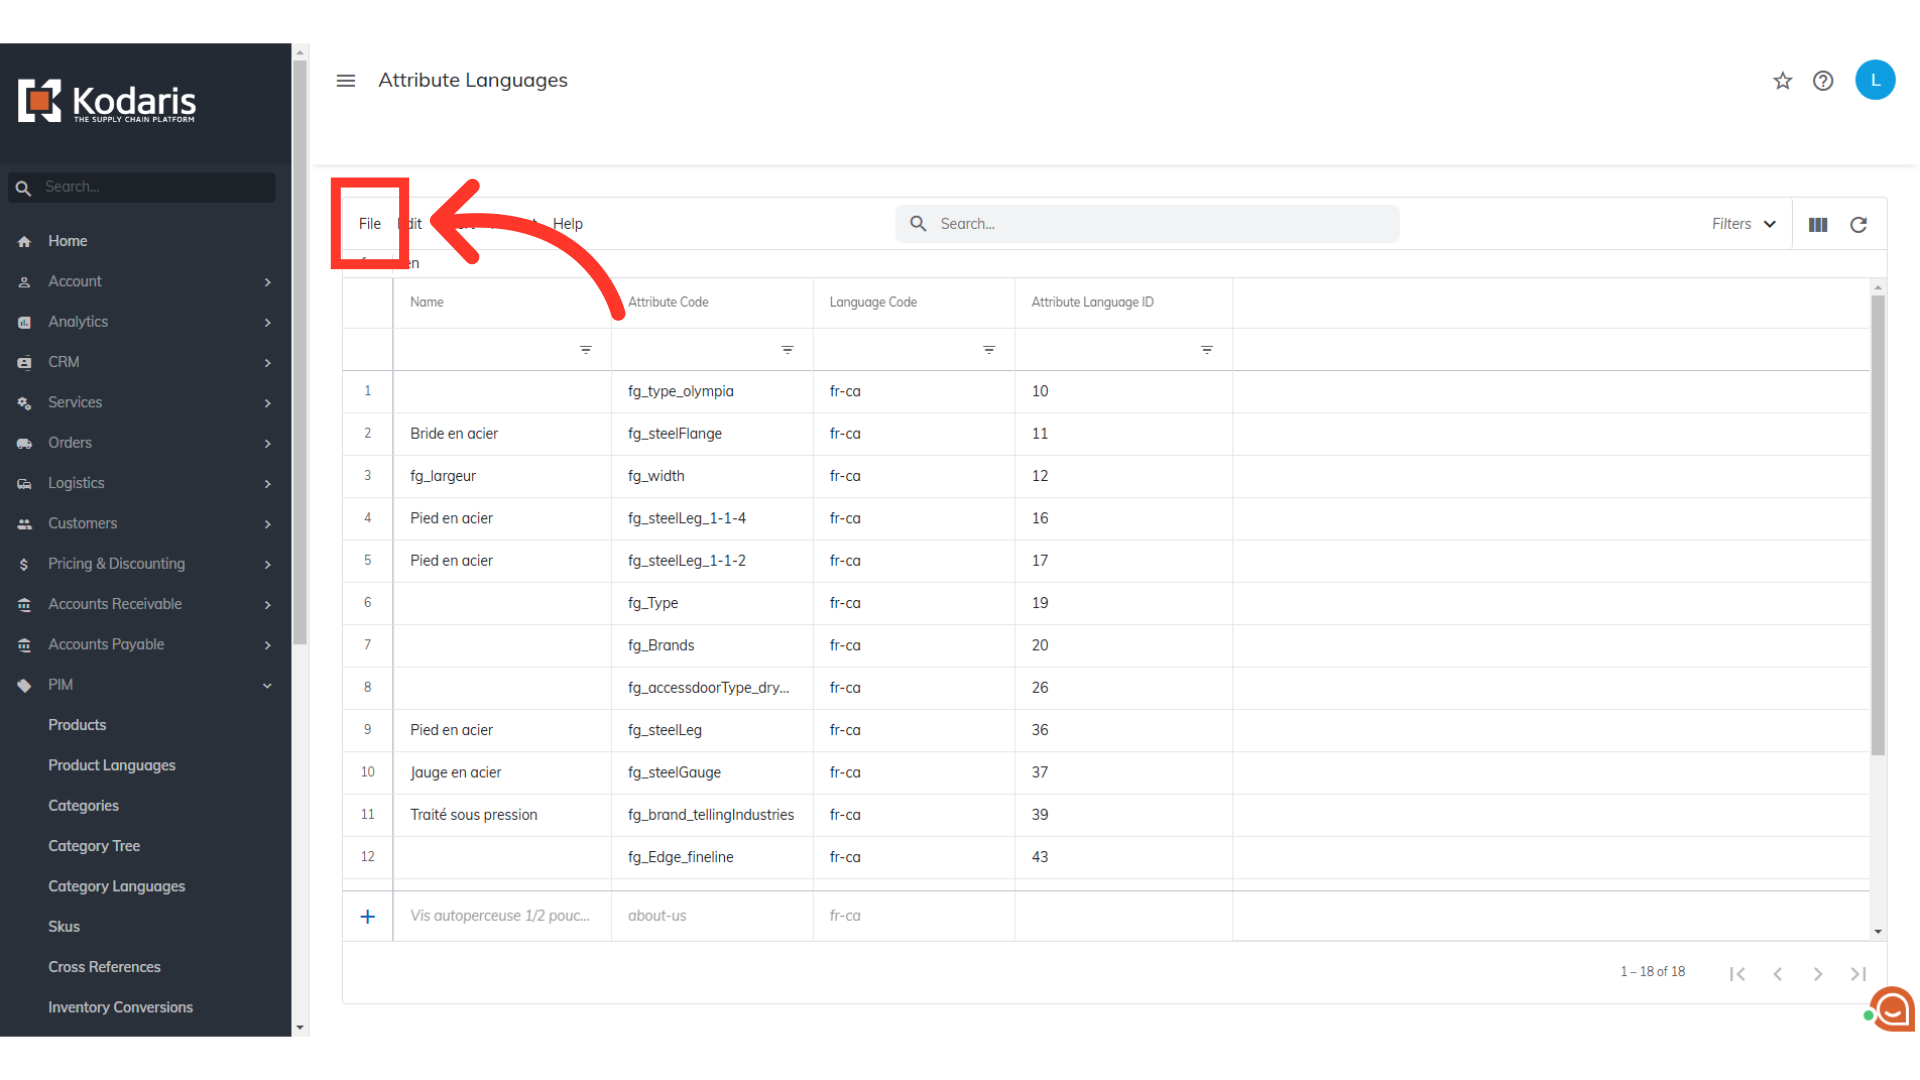
Select "File"
Select "File".

Choose "Export"
Then, choose "Export".

Rename the file, if preferred
Rename the file, if preferred.

Click "Save"
Click "Save" to start the export.

Exported File
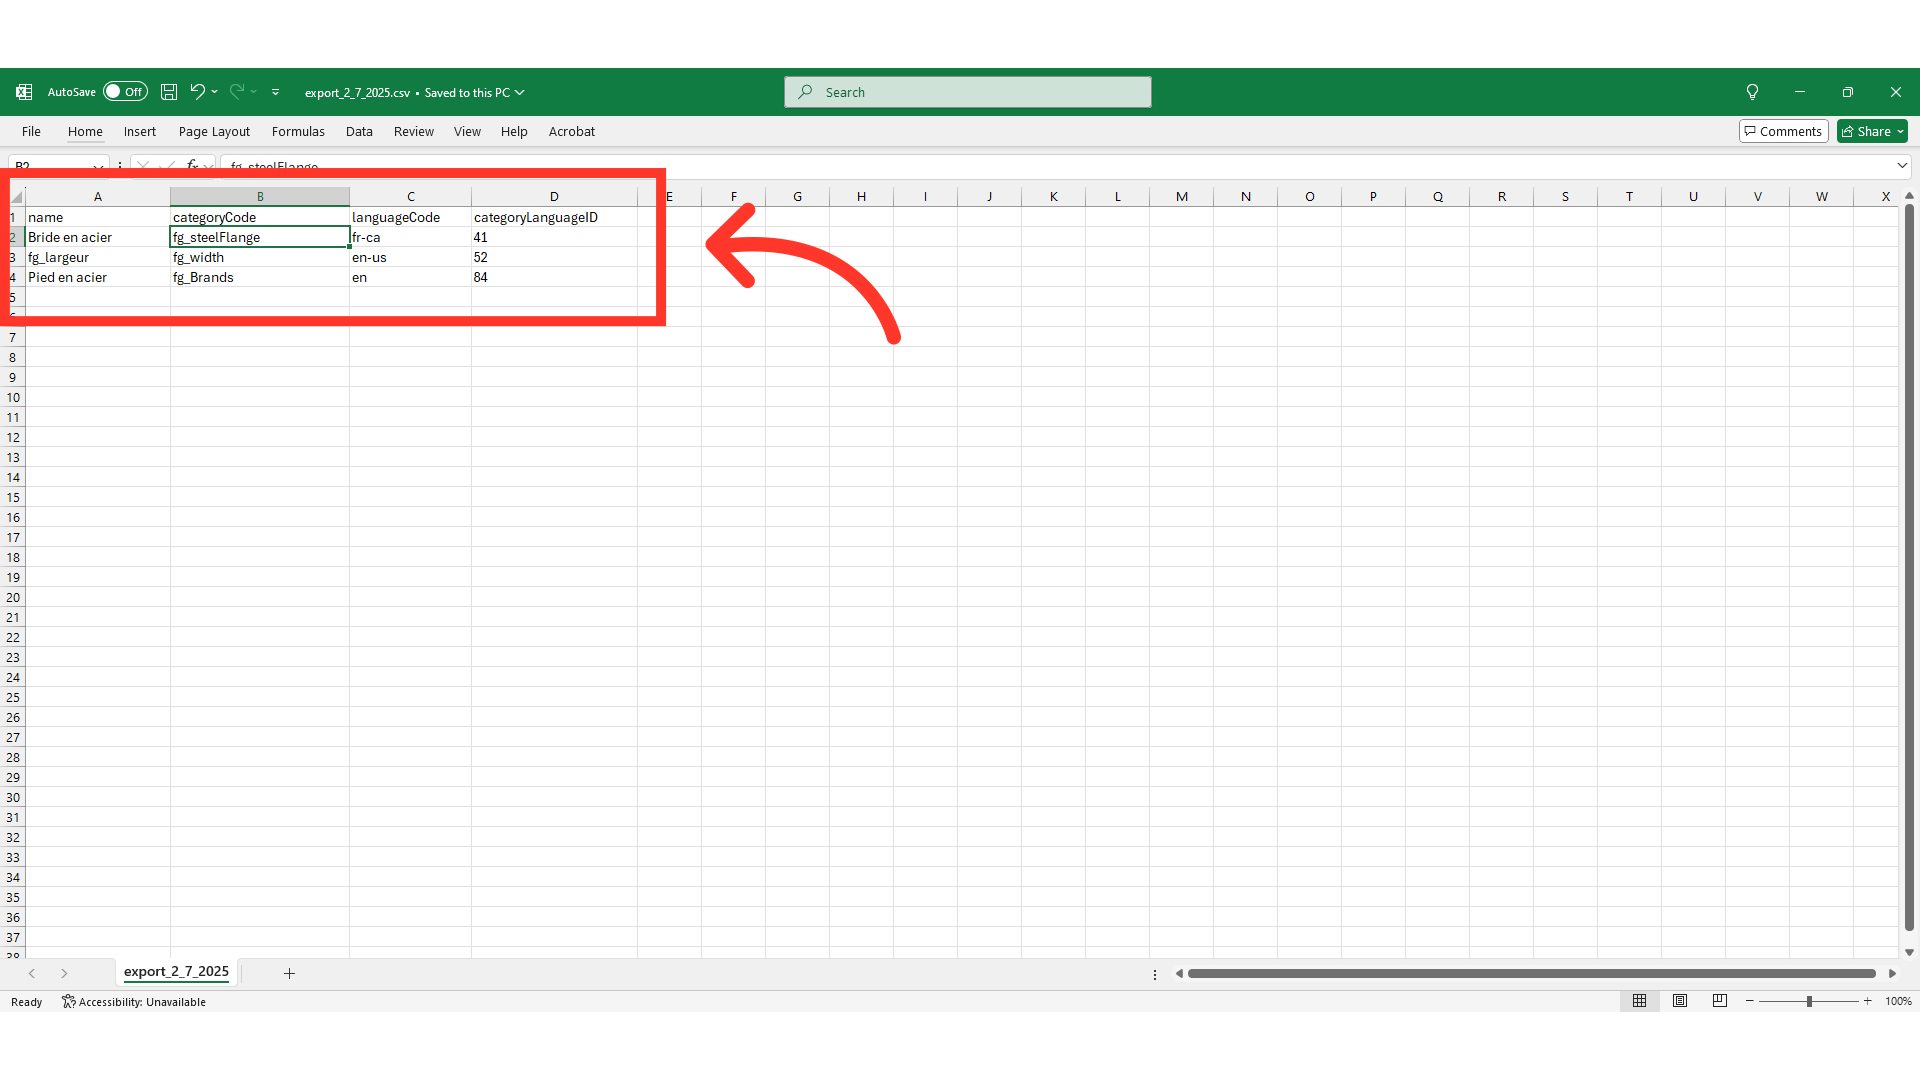
The exported file will include the column data that was selected and the header row that is needed to import data back into the operations portal.
"categoryCode" = Attribute Code languageCode = Language Code
Update your spreadsheet accordingly. Remember that "categoryCode" in the export is the "Attribute Code" in the grid and the "languageCode" in the spreadsheet is the "Language Code".

"categoryCode = Attribute Code
The "Category Code" column contains the "Attribute Code" and is required when importing as it is an identifying factor when matching information. This field should not be edited.

"languageCode" = Language Code
The "languageCode" column shows the language code and is required when importing as it is an identifying factor when matching information. This field should not be edited.

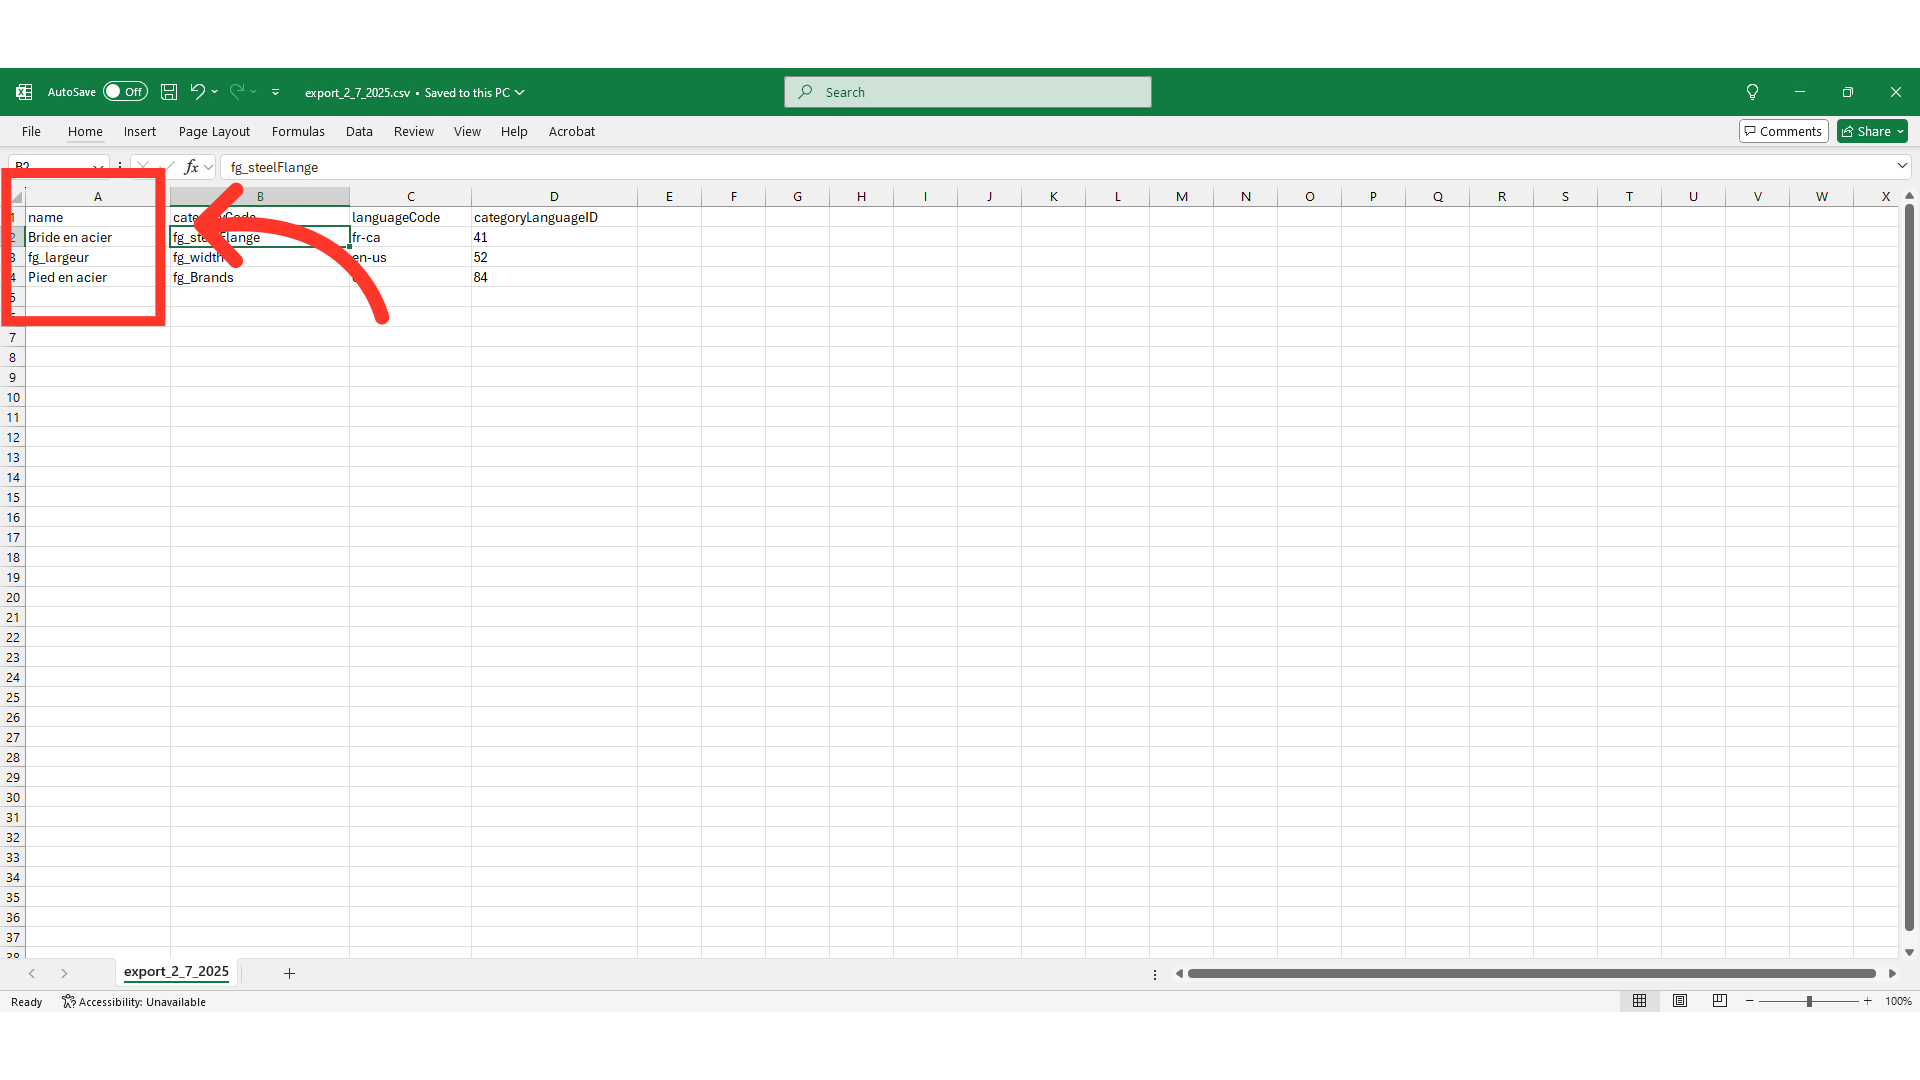
"name" = Attribute Name
The "name" column shows the name of the attribute and can be updated if it needs to be translated.
Click "File"
Once the the spreadsheet has been updated and ready to import, go back to the "Attribute Languages" screen and click on "File".
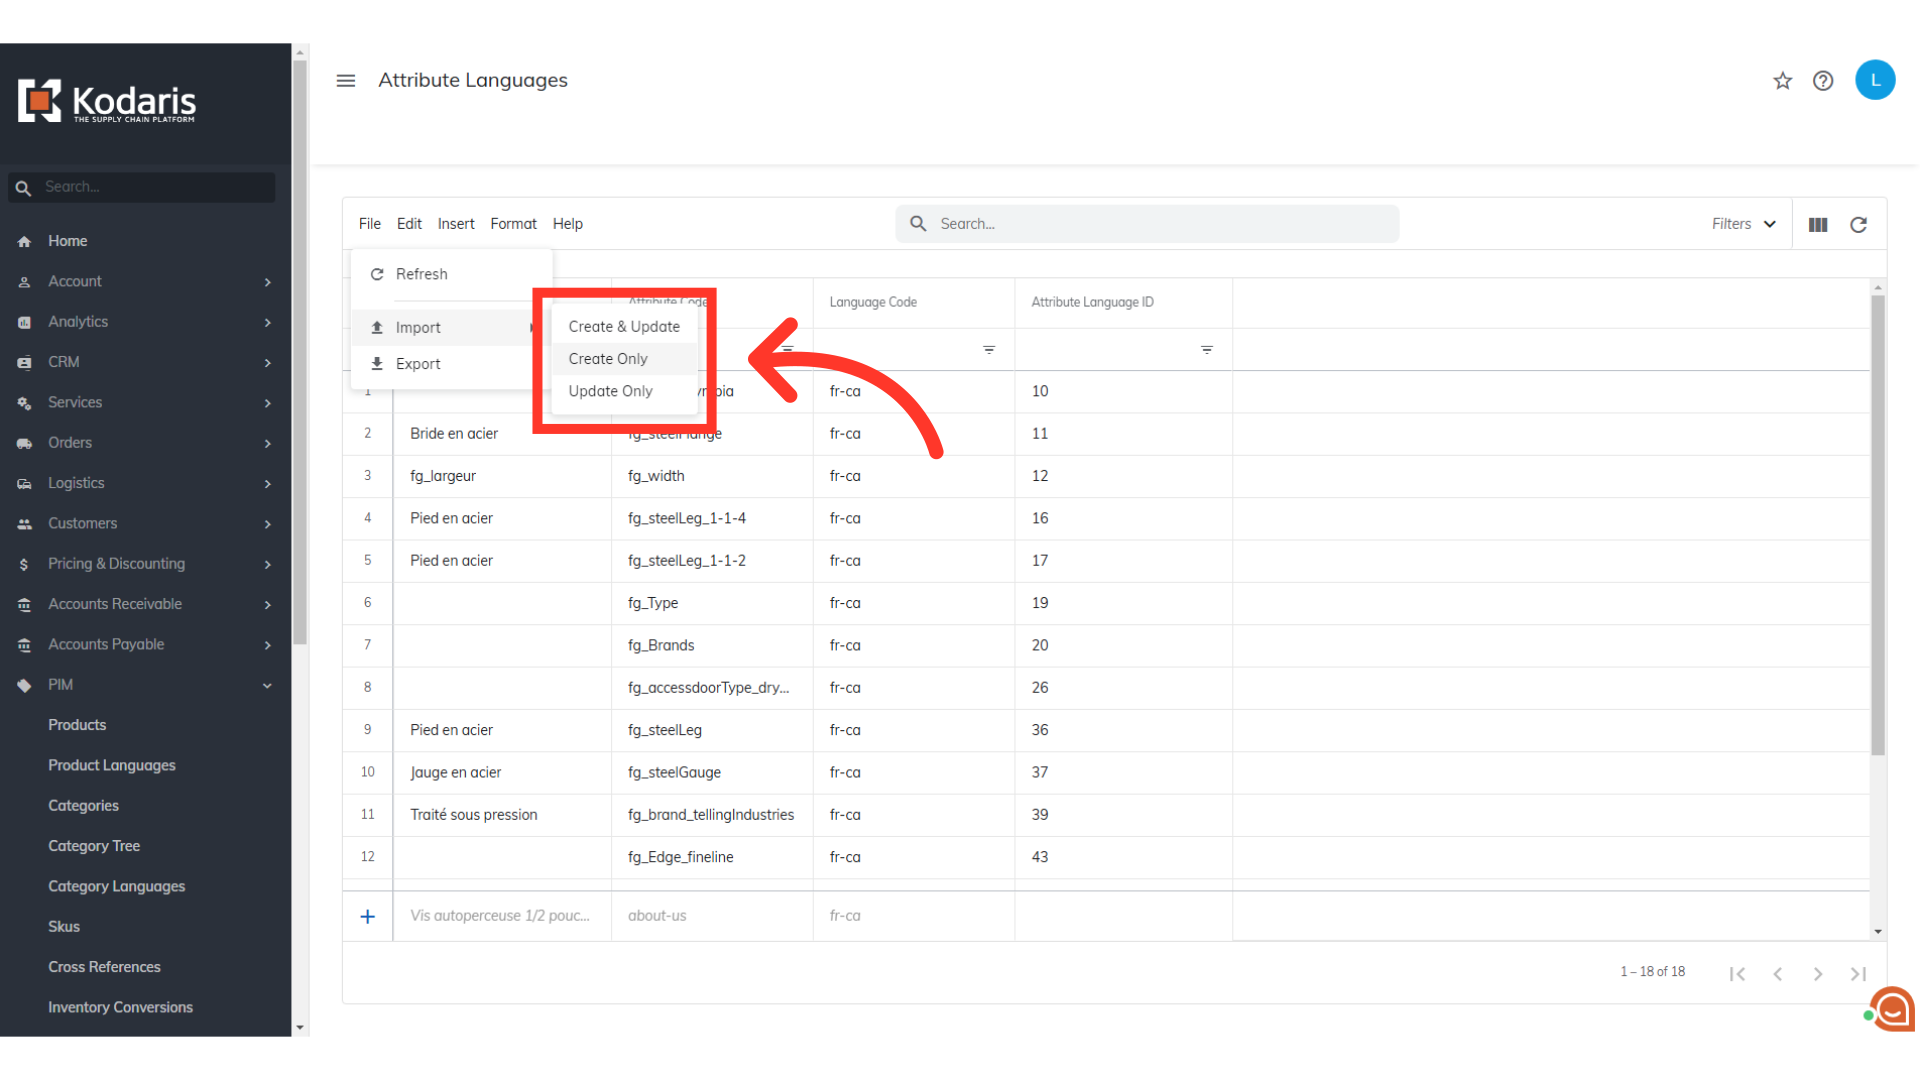
Click "Import"
Then, click "Import".

Select import type
Select the import type. Since we are only updating data with this import, you will want to select "Update Only".
Select the CSV file and click "Open"
Select the CSV file on your computer and click "Open" to start the import. Please be sure that you select the correct file, as there are no rollbacks for imports.

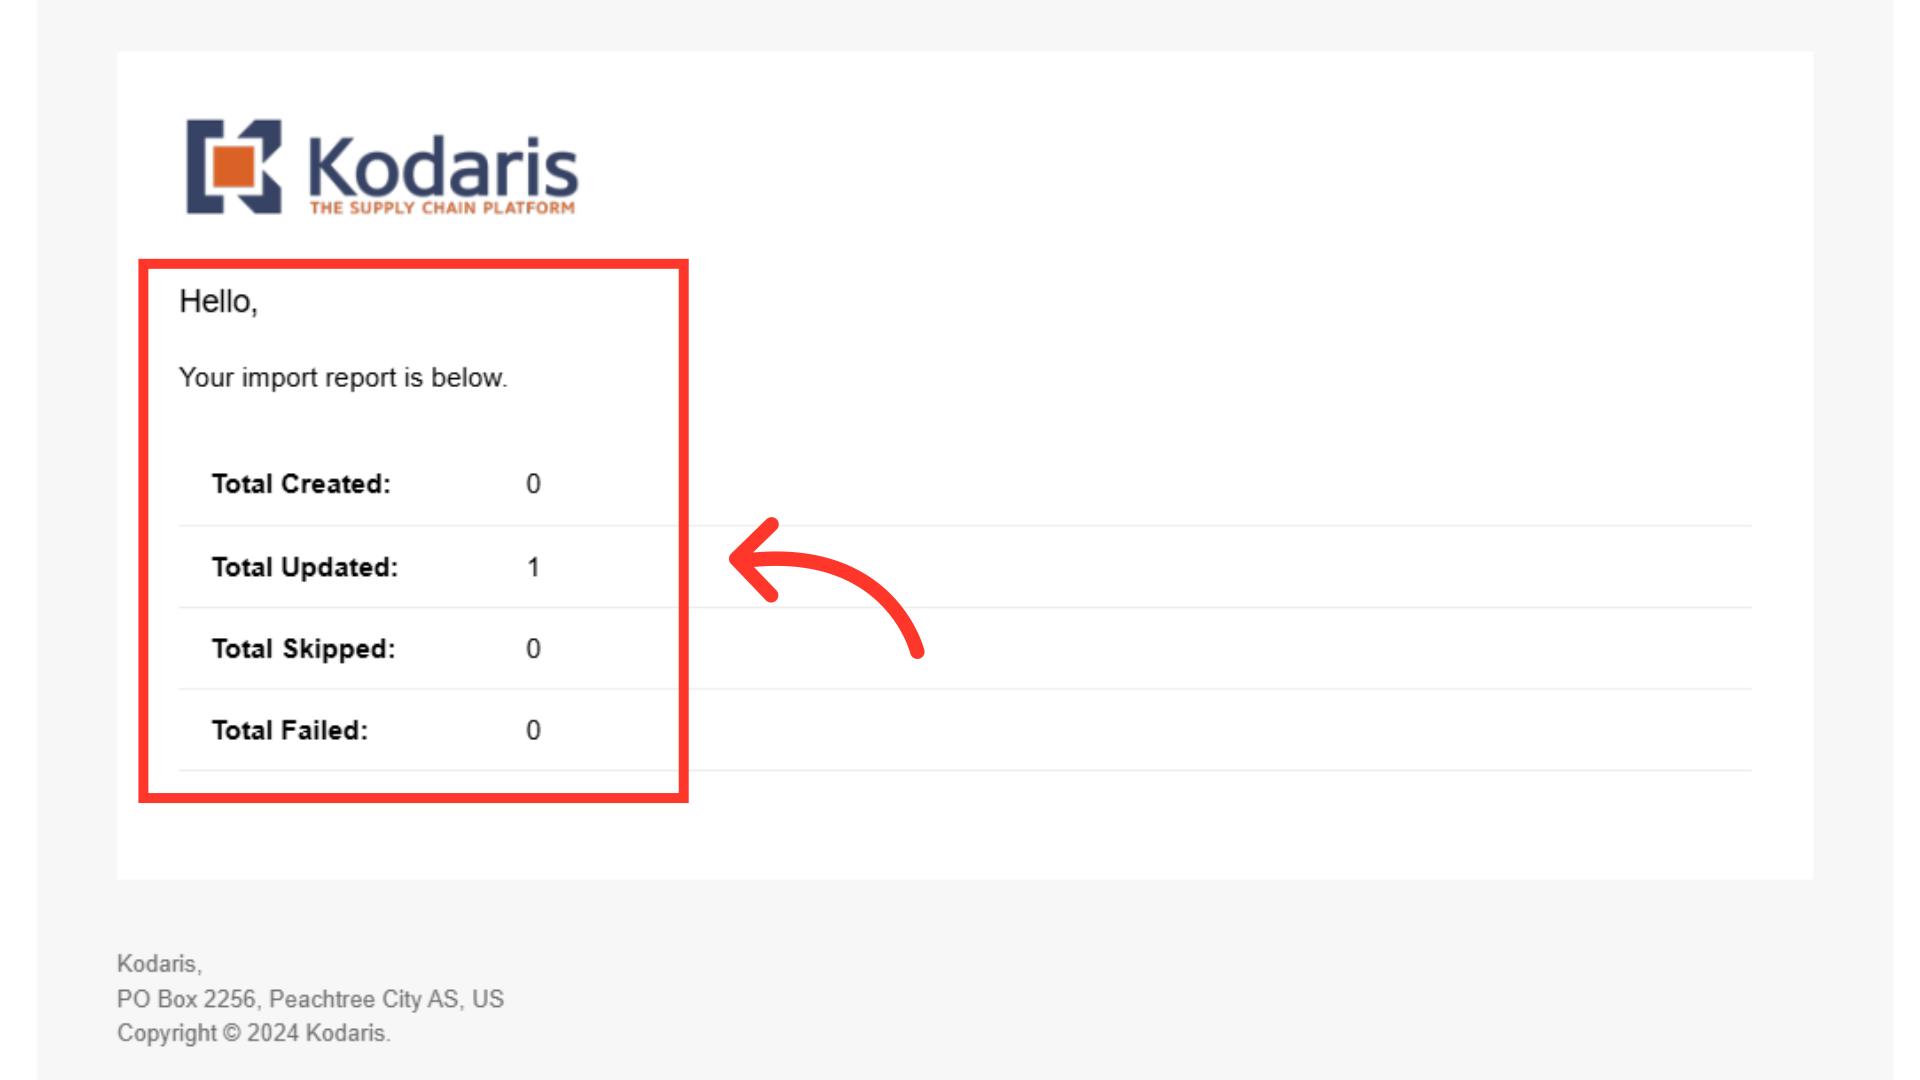
Email Report
Once the import is complete, you should receive an email report containing data counts of created, updated, skipped, and failed. You can also verify the changes made by checking the "Attribute Languages" screen.