Customer Portal - Setting a Default Customer View
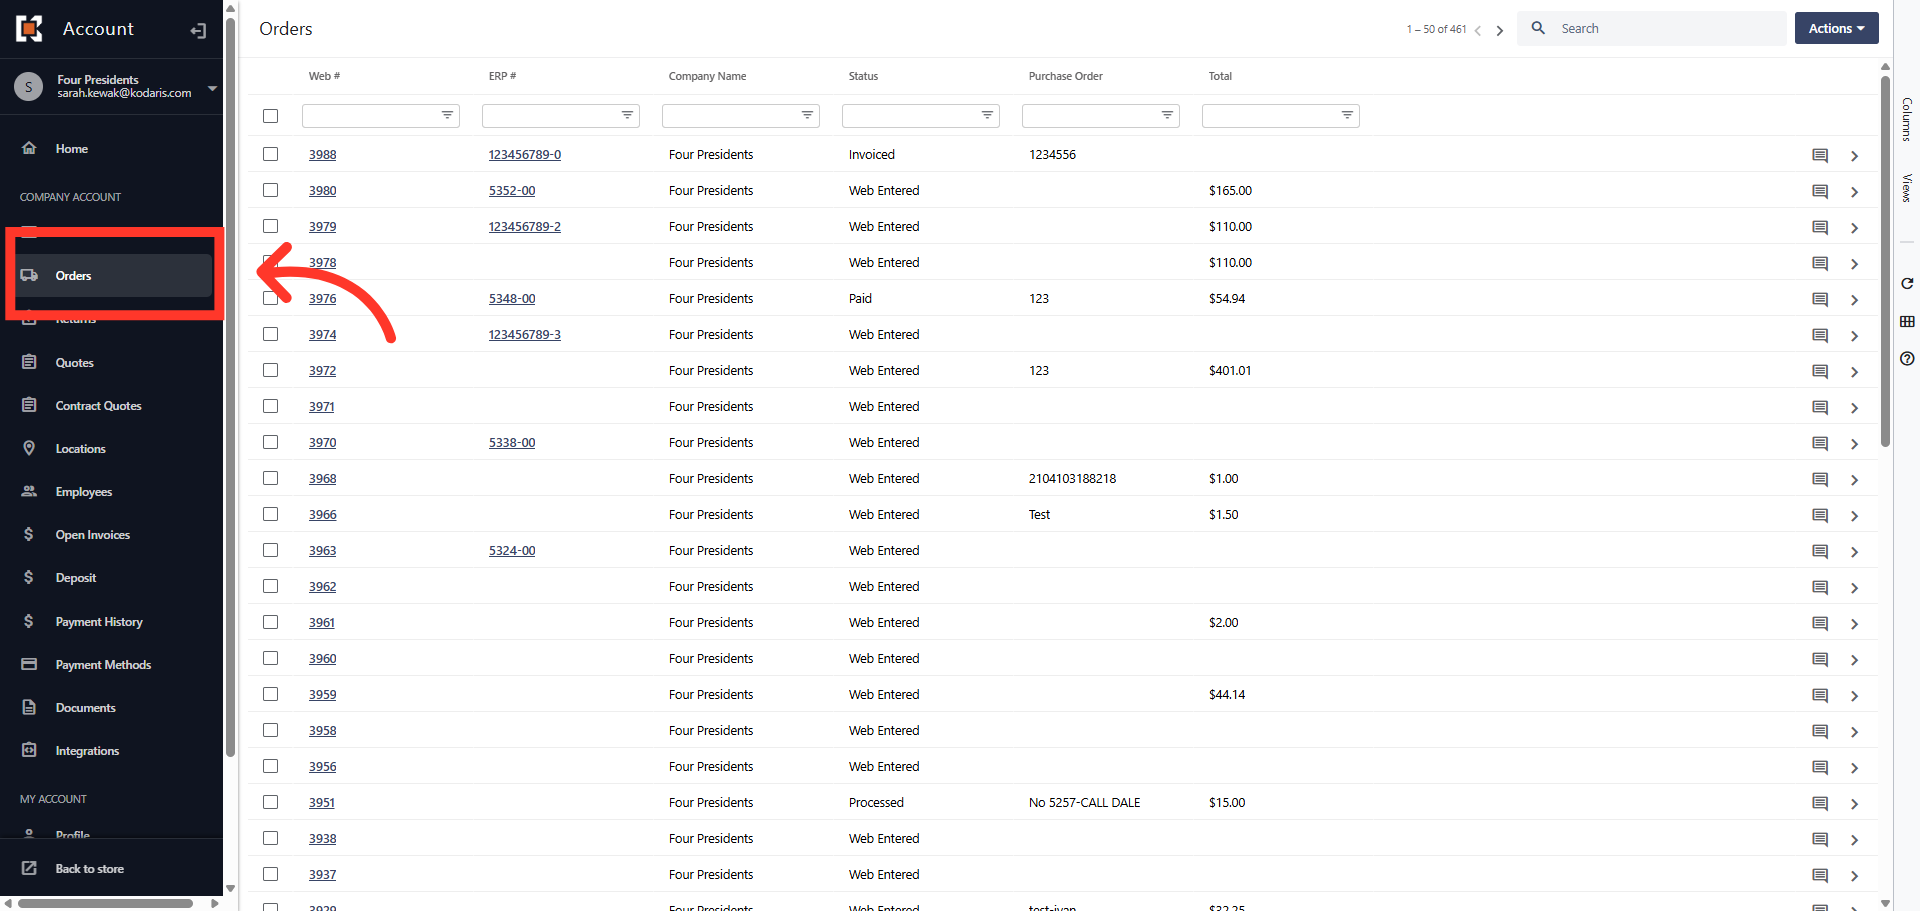
Go to the "Orders" tab
To create a "Default Custom View" for all of your customers in the customer portal, the user logging into the customer portal to configure this will need the role of "customerPortalCustomize". The user will also need to make sure they have a customer log in where their user name matches their employee username. To start, go to the "Orders" tab in your Customer Portal.
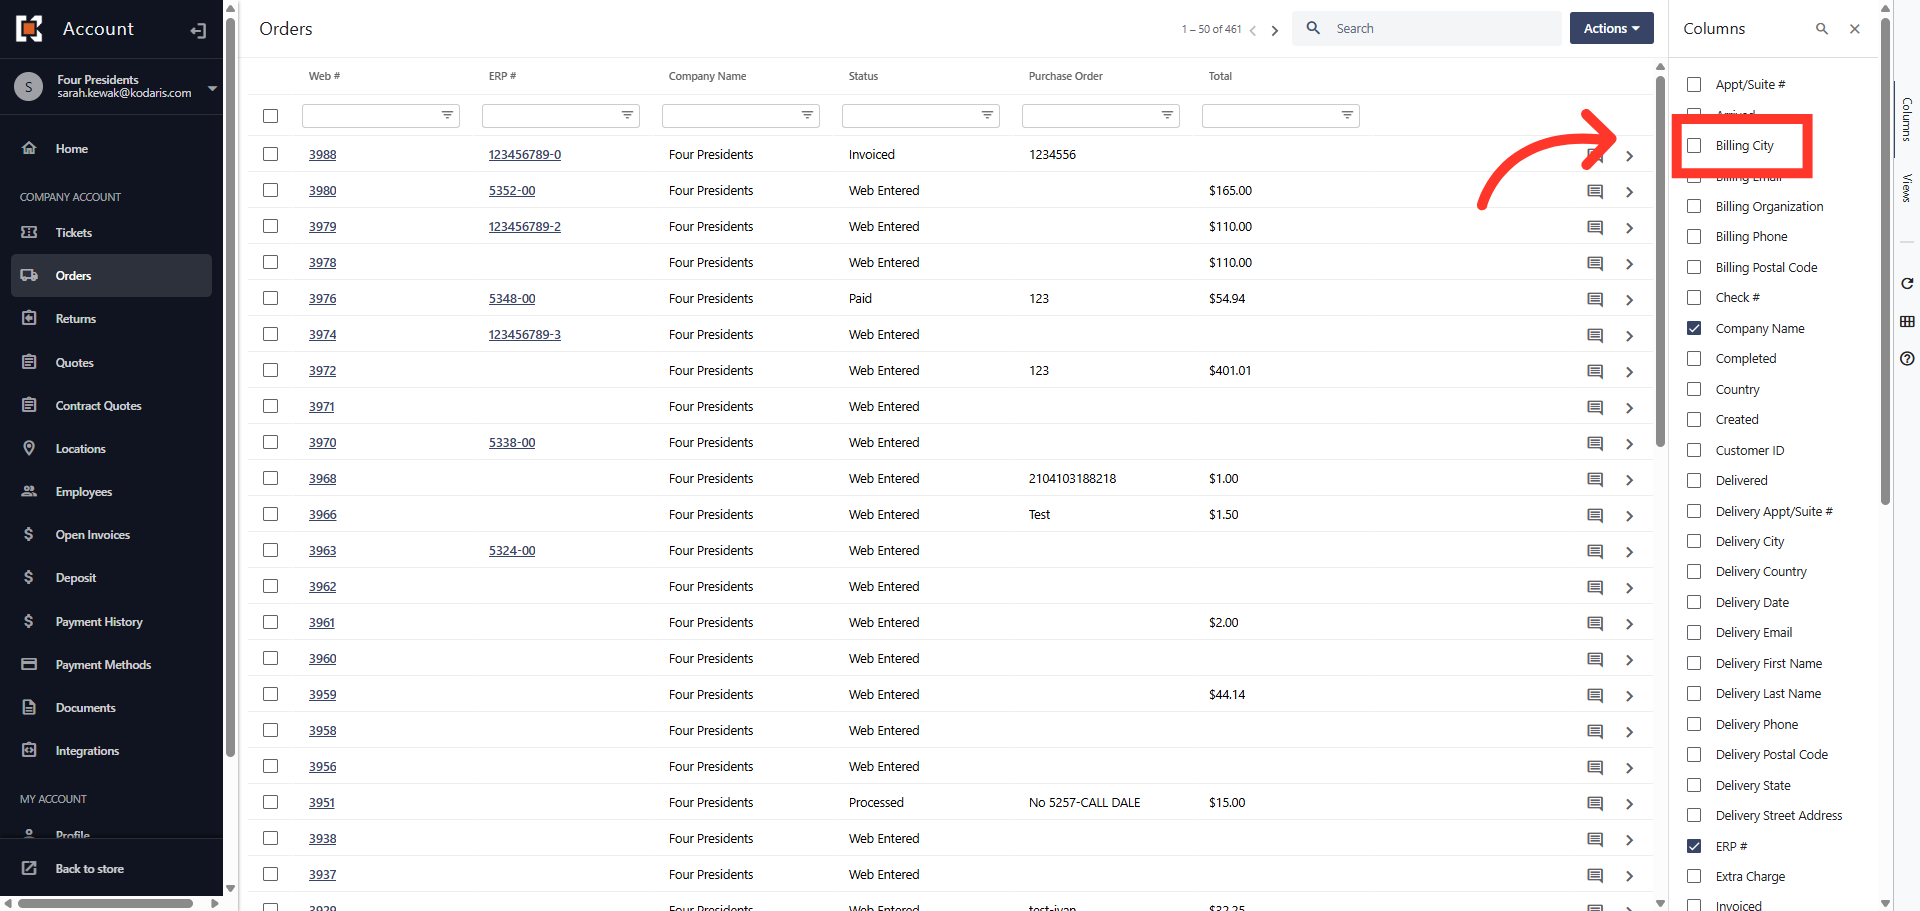
Click "Columns" tab
On the right hand "View" toolbar, click the "Columns" tab to display the available columns that can be added to the view.

Select Column Headers
You can select or unselect as many column headers as you need to display in the view. For this example, the "Billing City" will be added by clicking the checkbox.
Click "Views"
You will notice, the "Billing City" column has been added to the view. Next, click the "Views" tab.

Click "Add View"
In the "Views" menu, click "Add View".

Add the title to the default custom view
In the "Add View" dialog box, click in the required "Title" field and enter a name for the new default custom view.

Click "Default"
Next, click the "Default" checkbox to set this view as the default view.

Click "System"
Then, click the "System" checkbox to make this view available to all companies.

Click "Add"
Now, click the "Add" button to create the new custom view.

View the Saved View
The default custom view is now displayed in the "Views" menu. This newly created default view will automatically be applied to all of your customers.
