Customer Portal - View Full Payment History
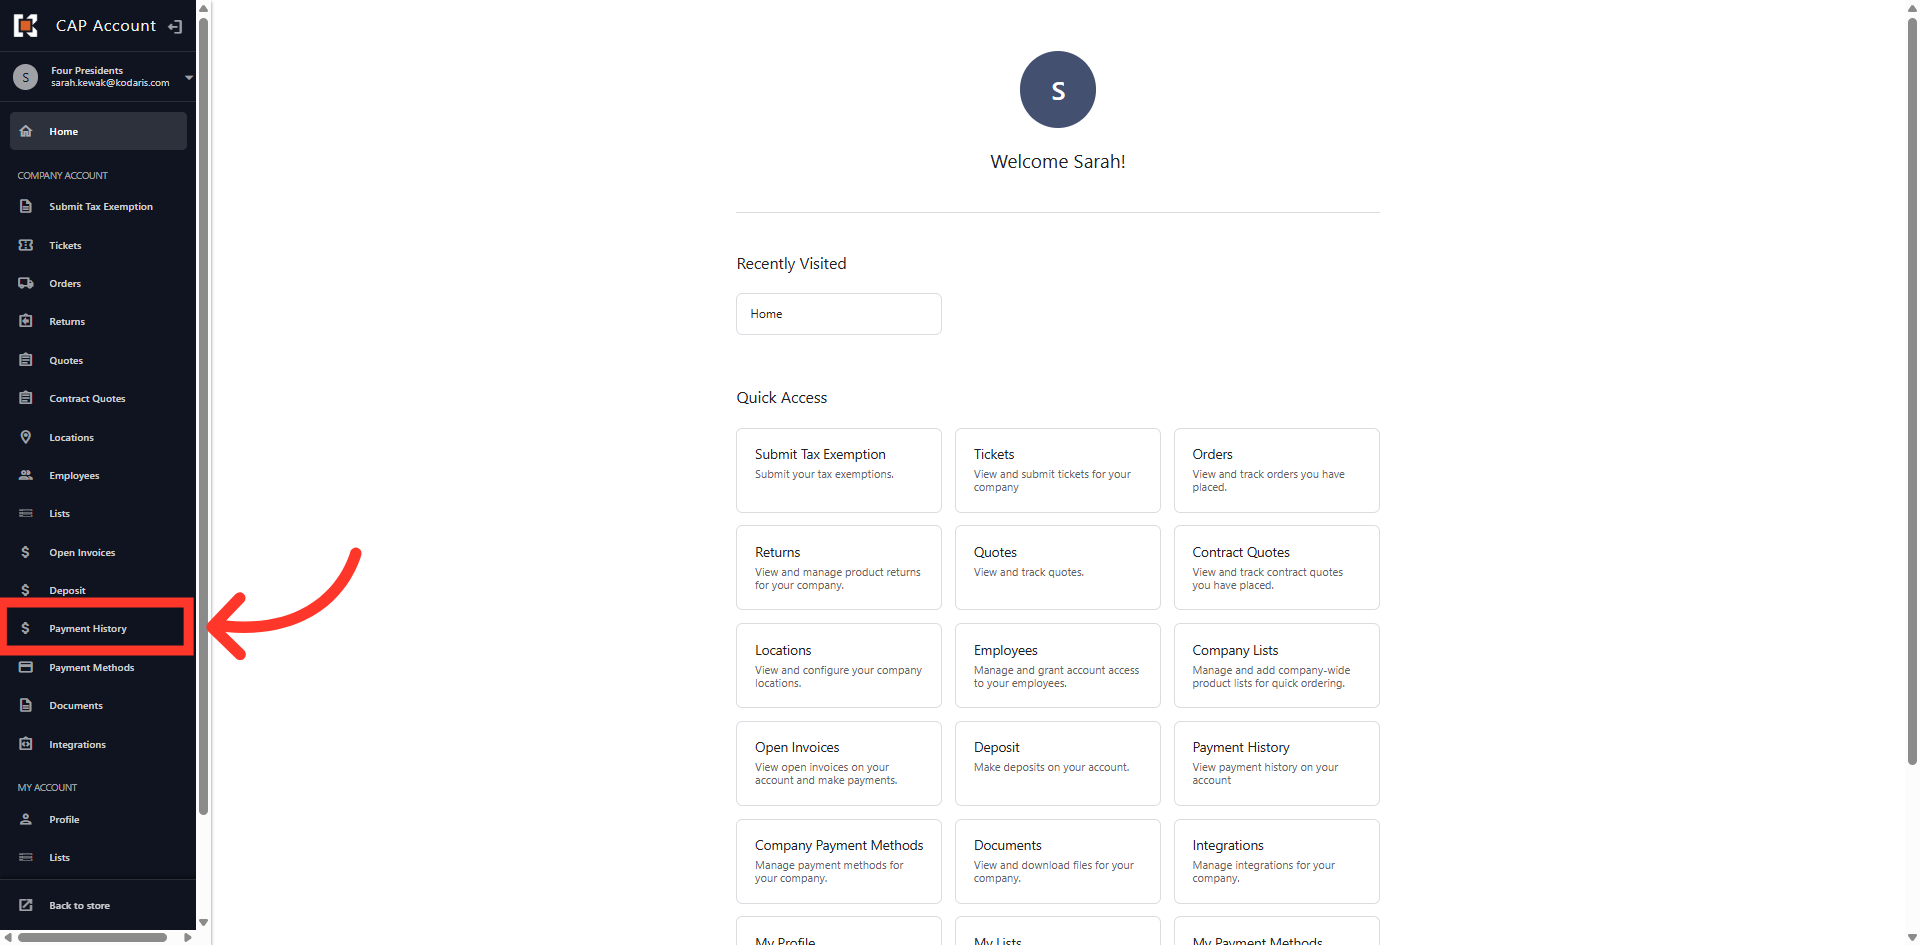
Navigate To Payment Section
You can track and review payment transactions made in Kodaris by using the Payment History section in the Customer Portal. First, navigate to the "Payment History" section. In order view "Payment History" you will need the "Accounts Payable" permission.
Open Payment History Tab
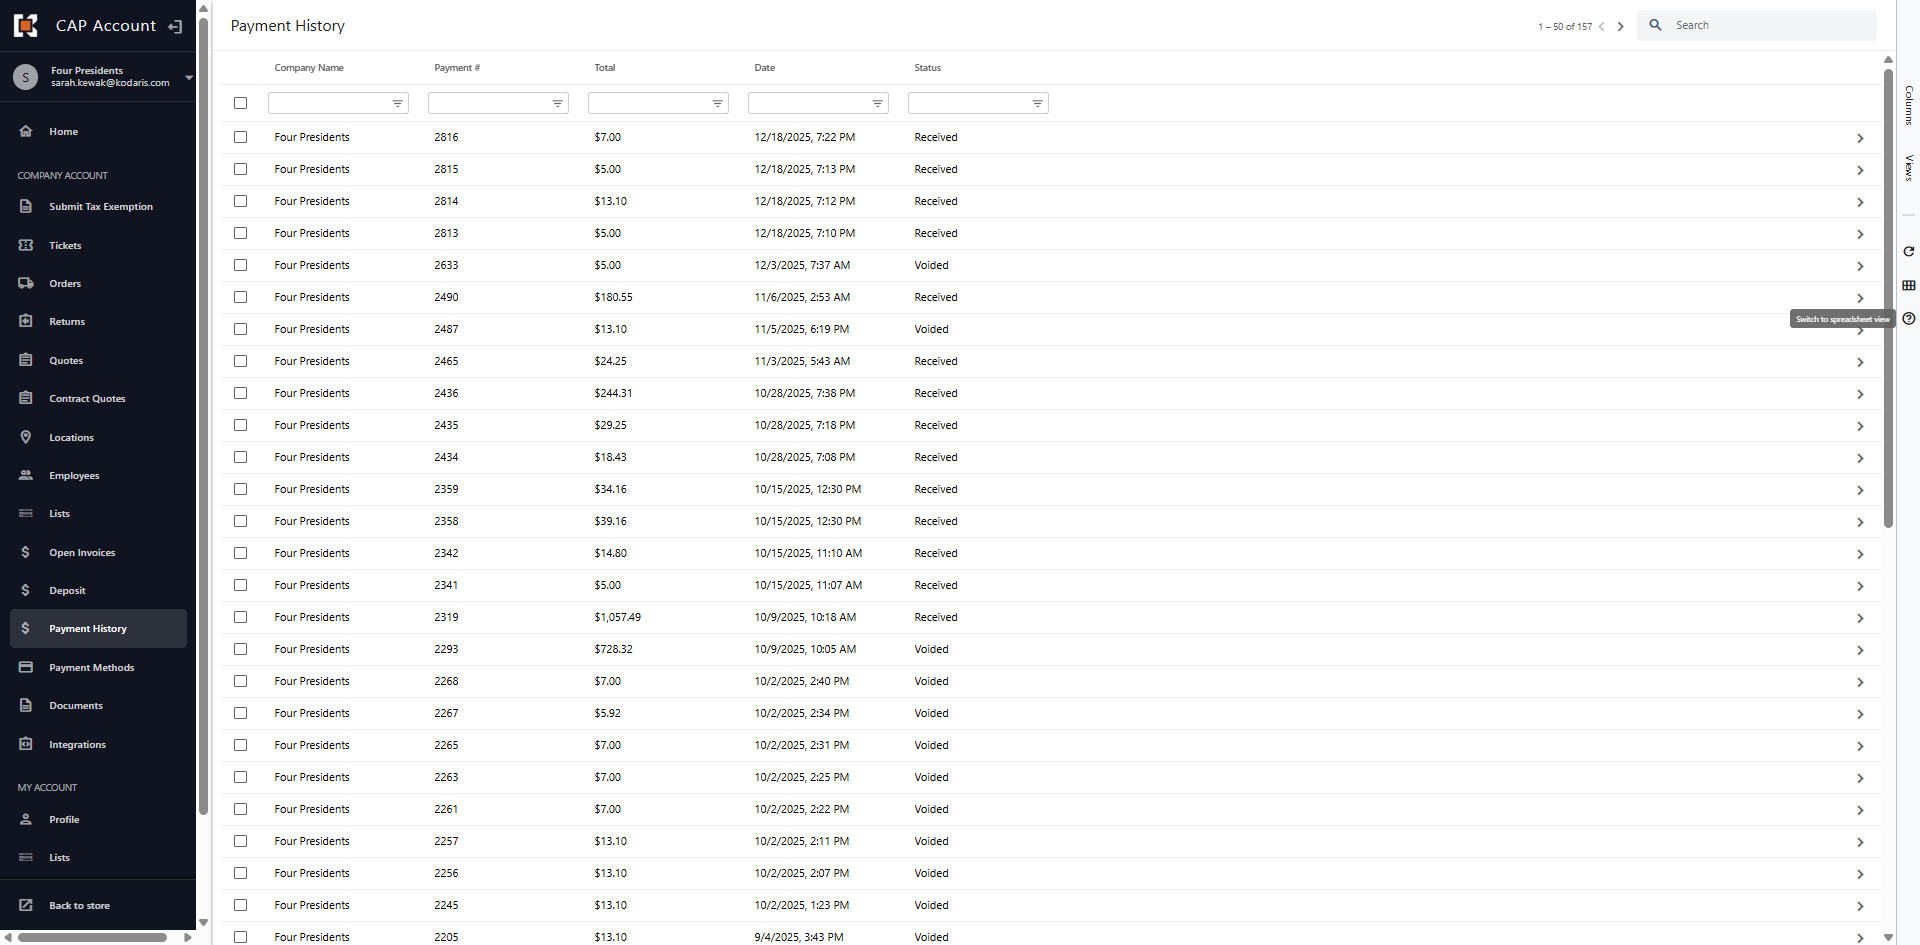
The Payment History dashboard lists all payment transactions for the company. You can select from the grid view or search for a specific payment using the column headers.
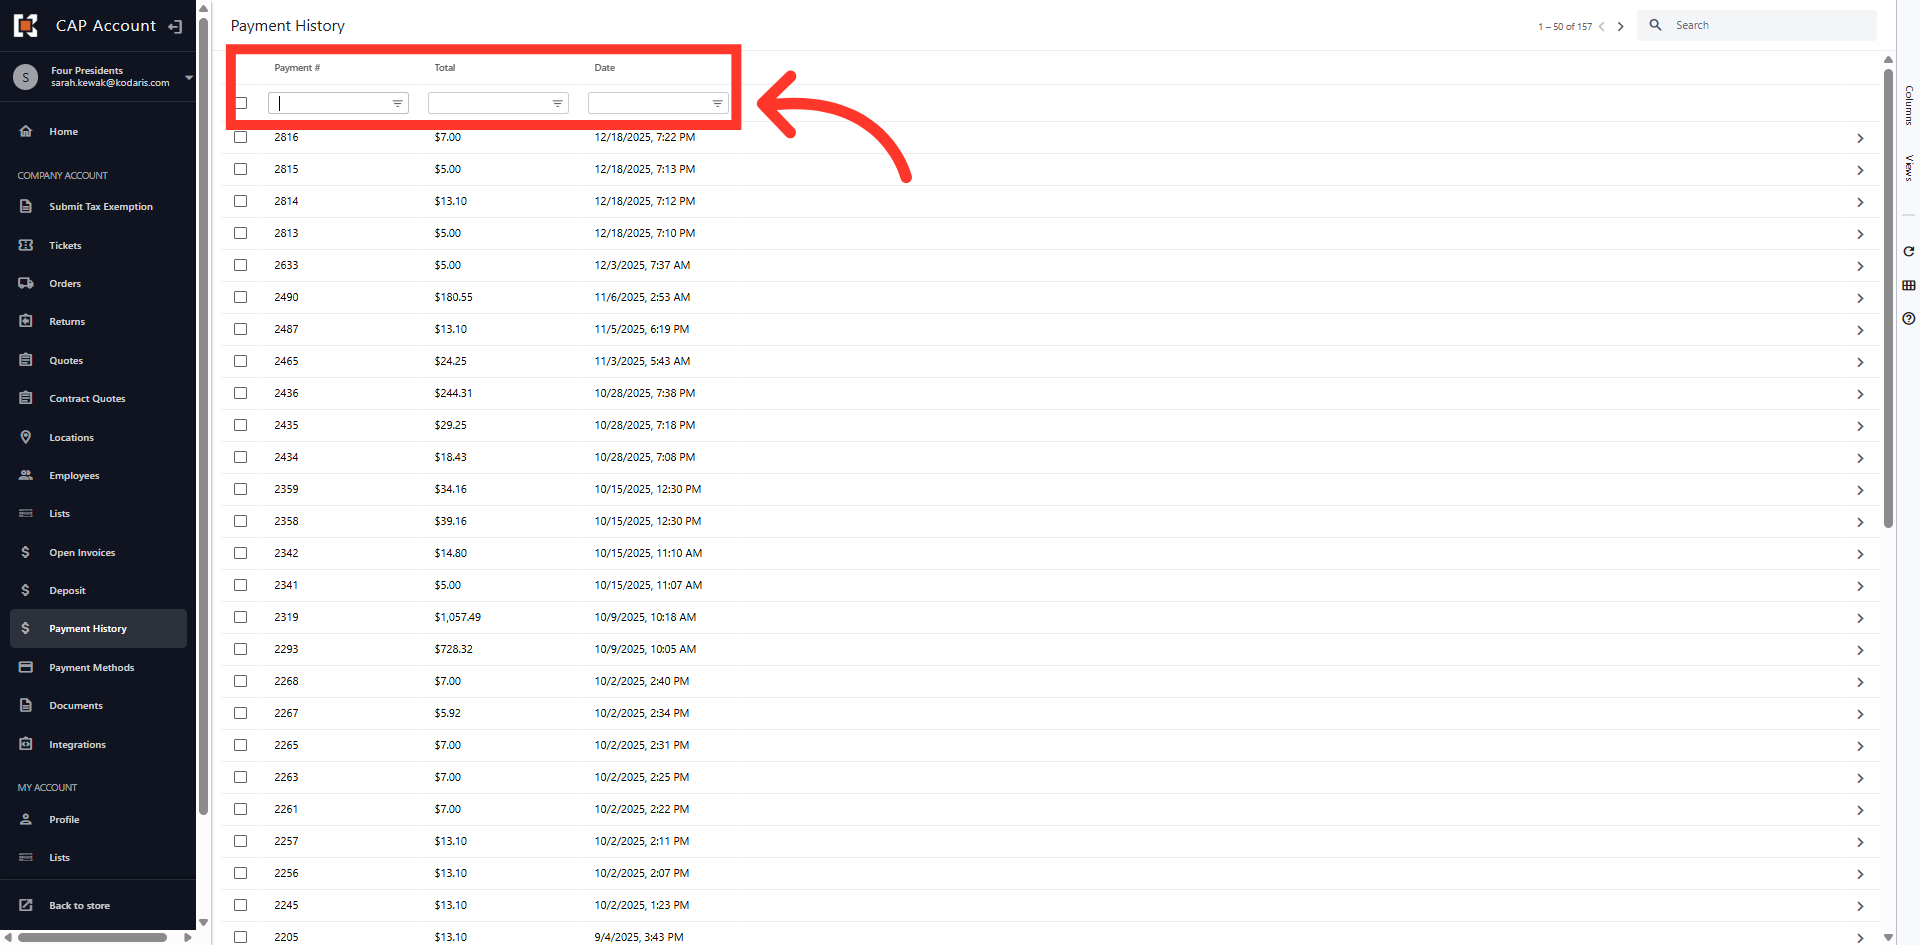
Access Detailed Payment Records
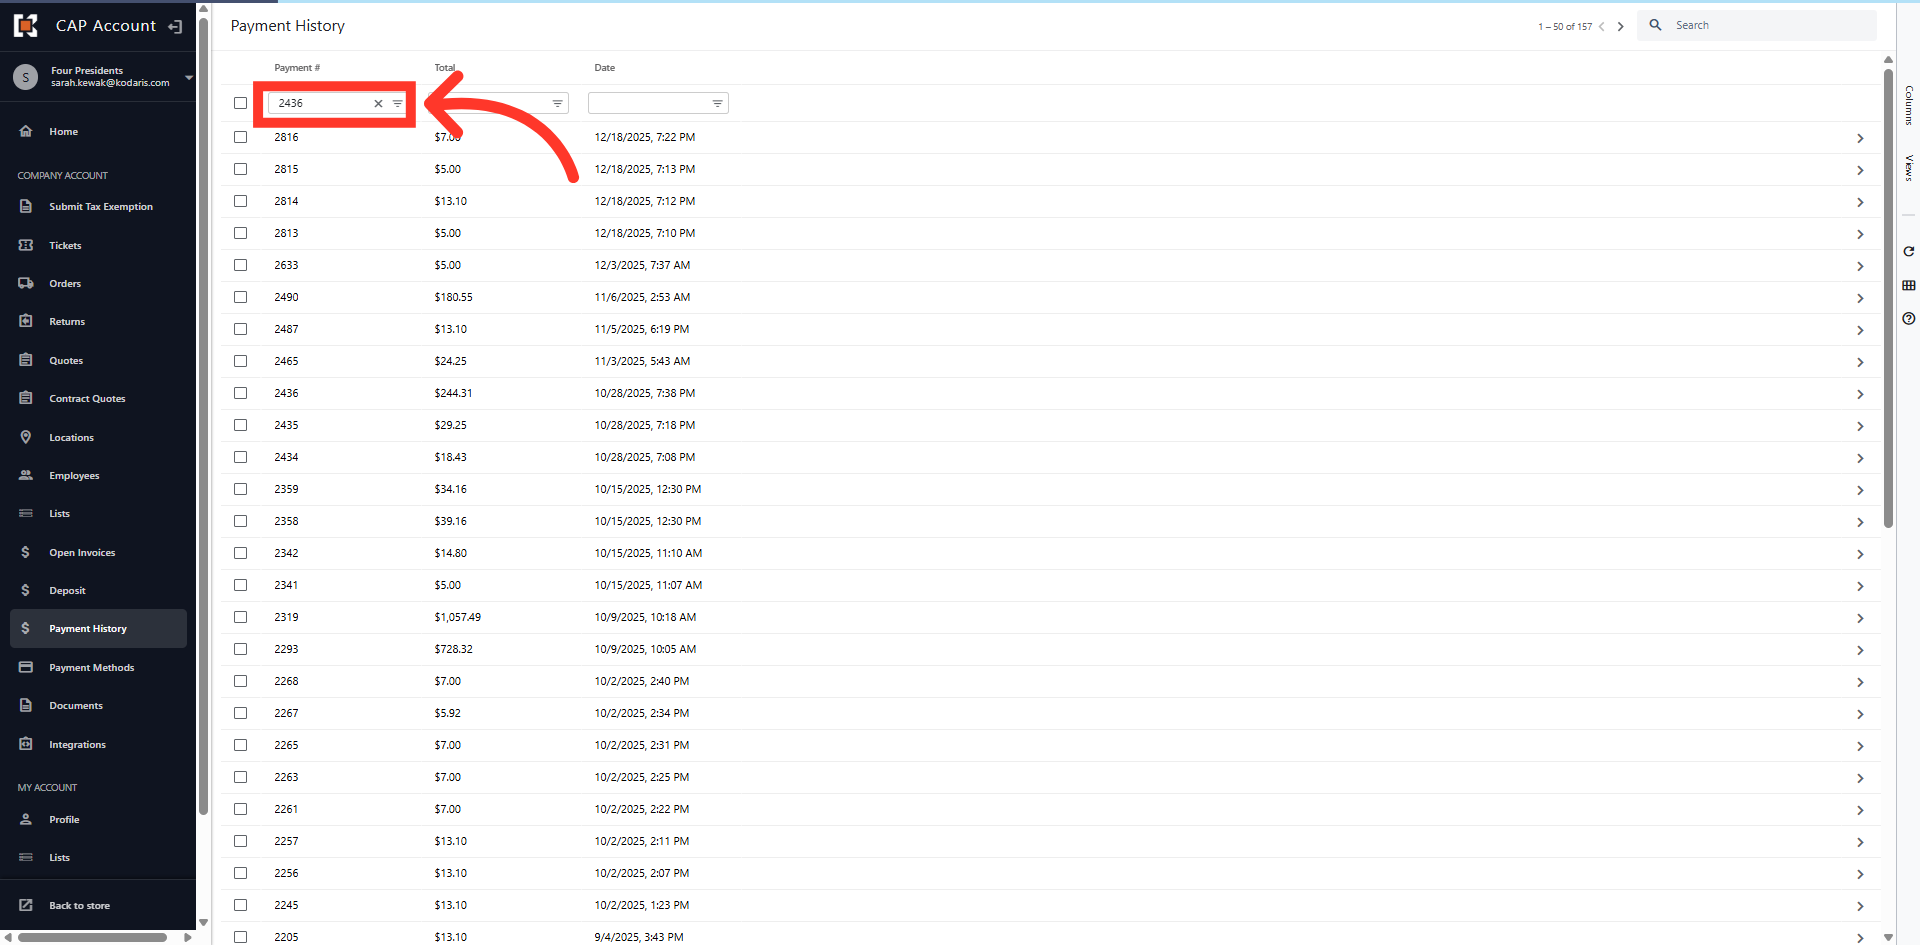
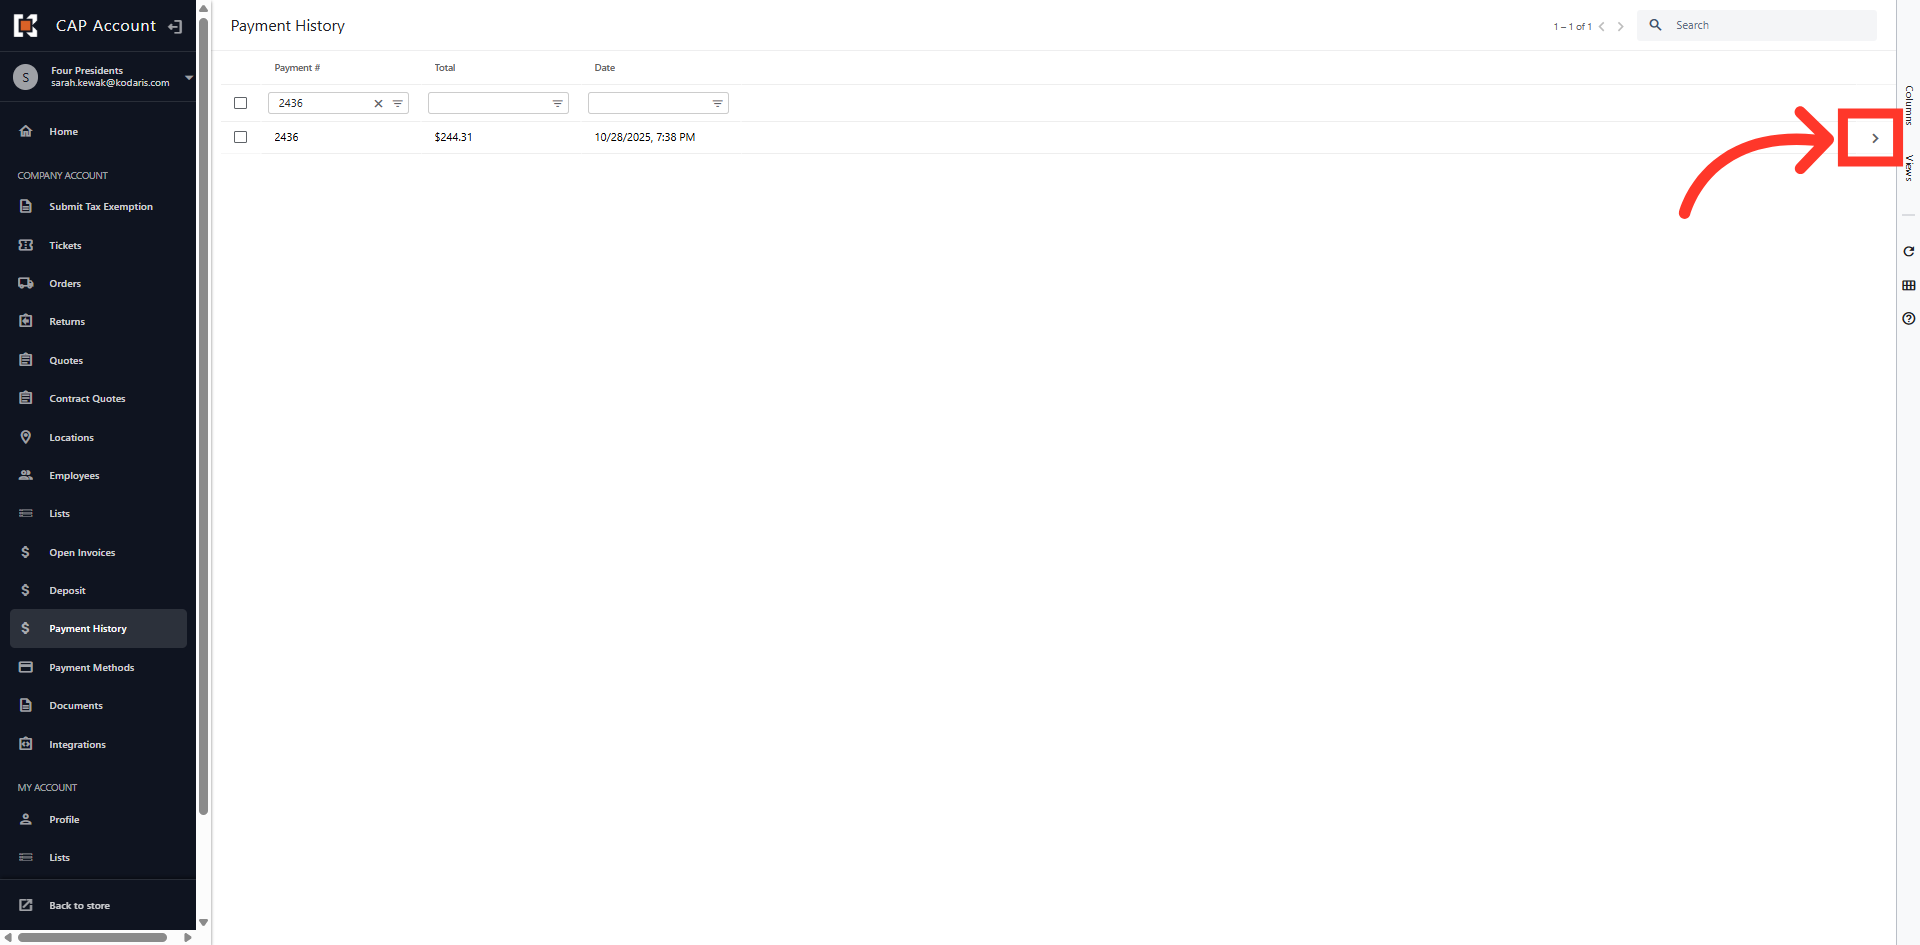
In this example, we will search for a specific payment. Enter a payment number in the Payment # column filter and hit enter.
Click the more details icon
Click the more details icon to view the payment details.
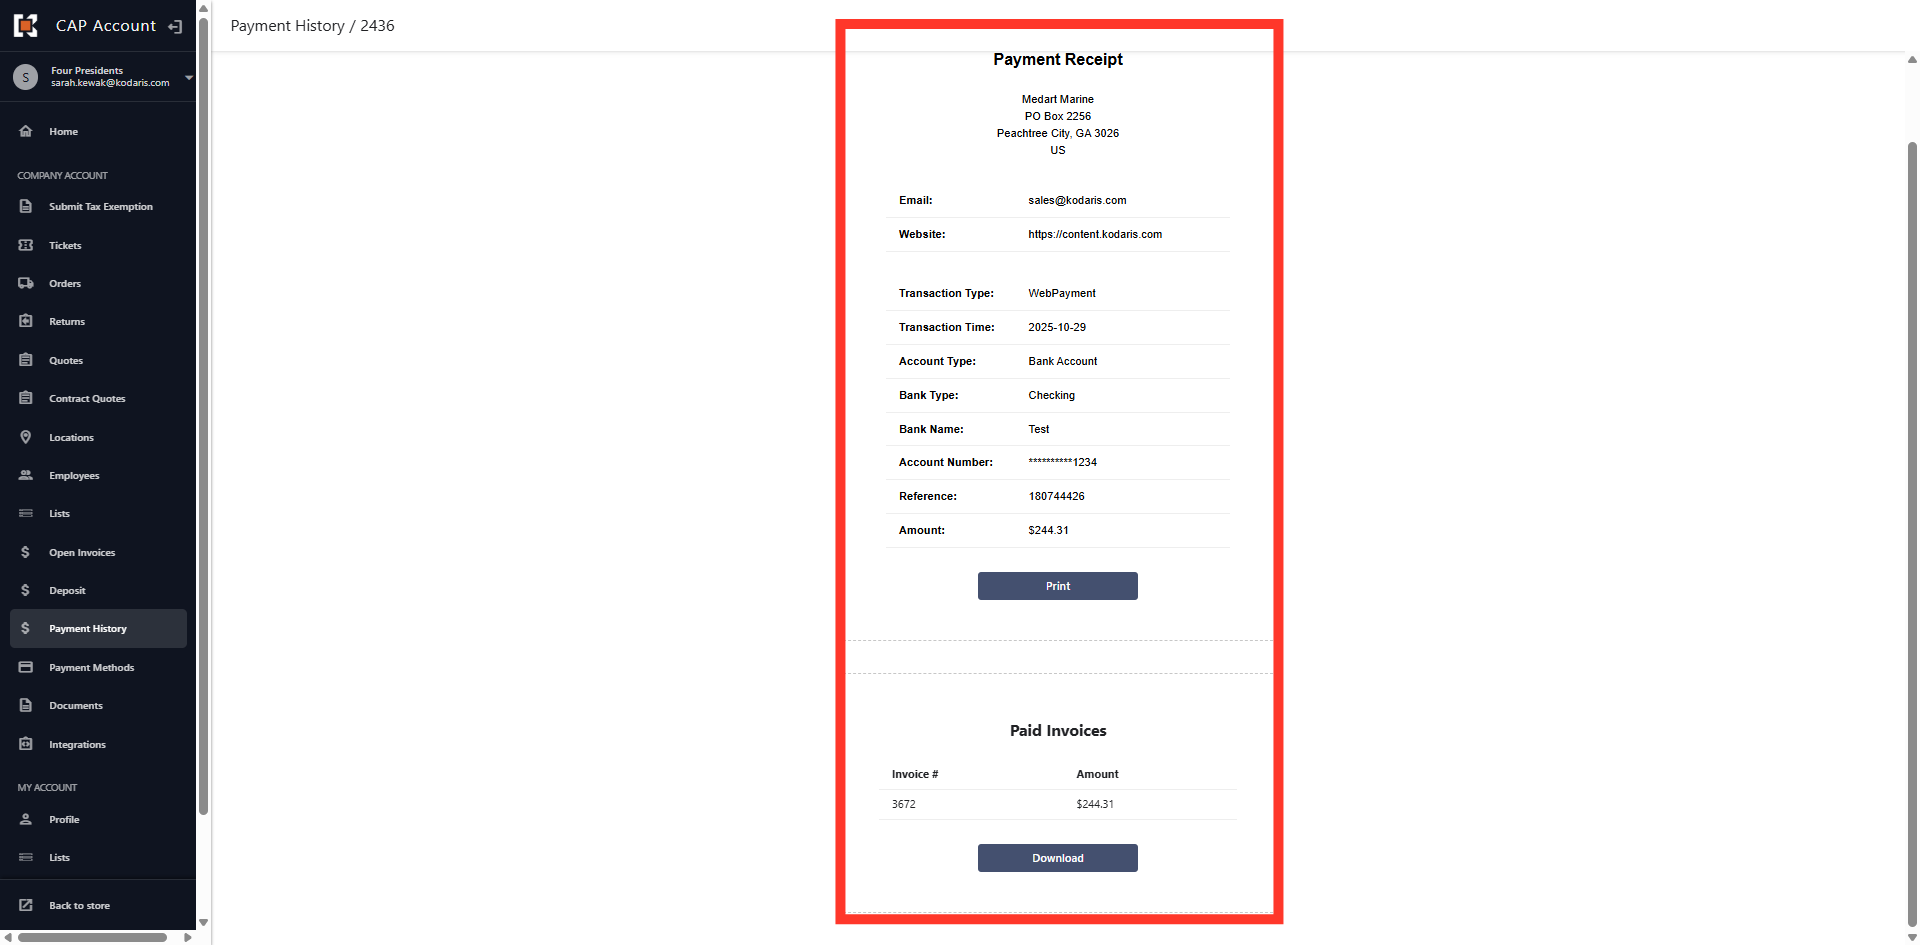
View Payment Details
Here you can view the payment details, as well as print or download a copy of the receipt.
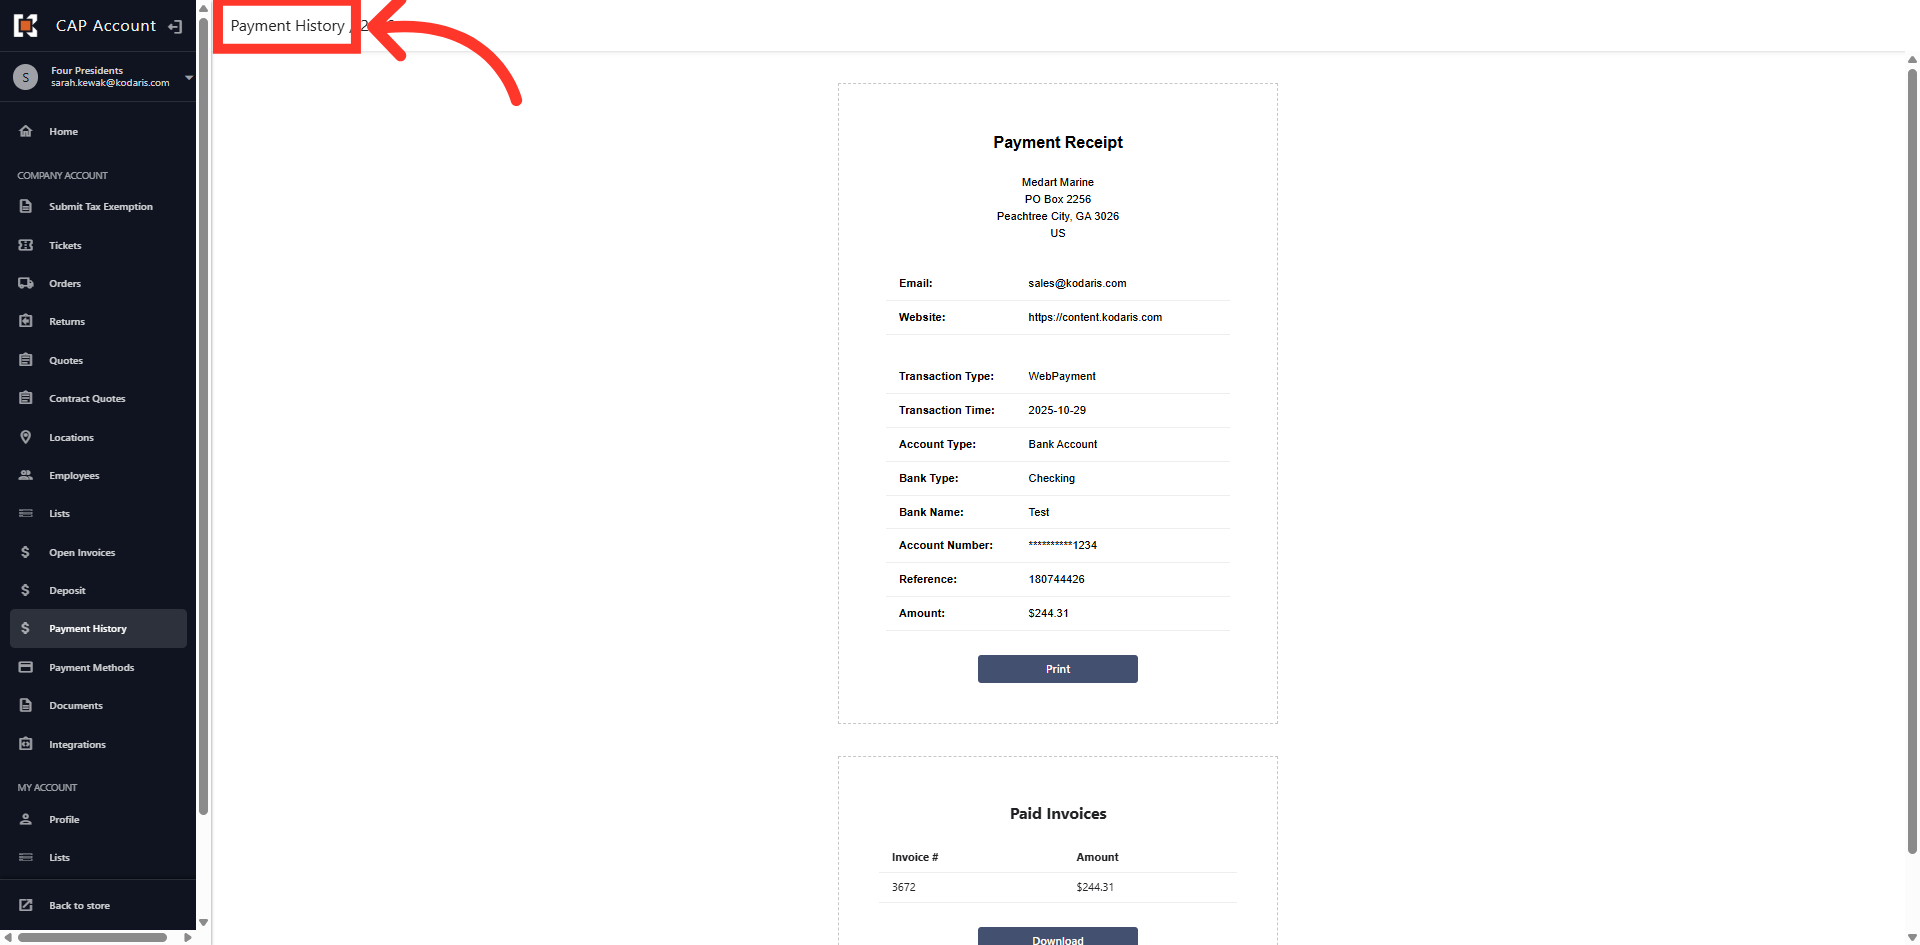
Click "Payment History" bread crumb
To navigate back to the Payment History dashboard, click the "Payment History" at the top of your screen.
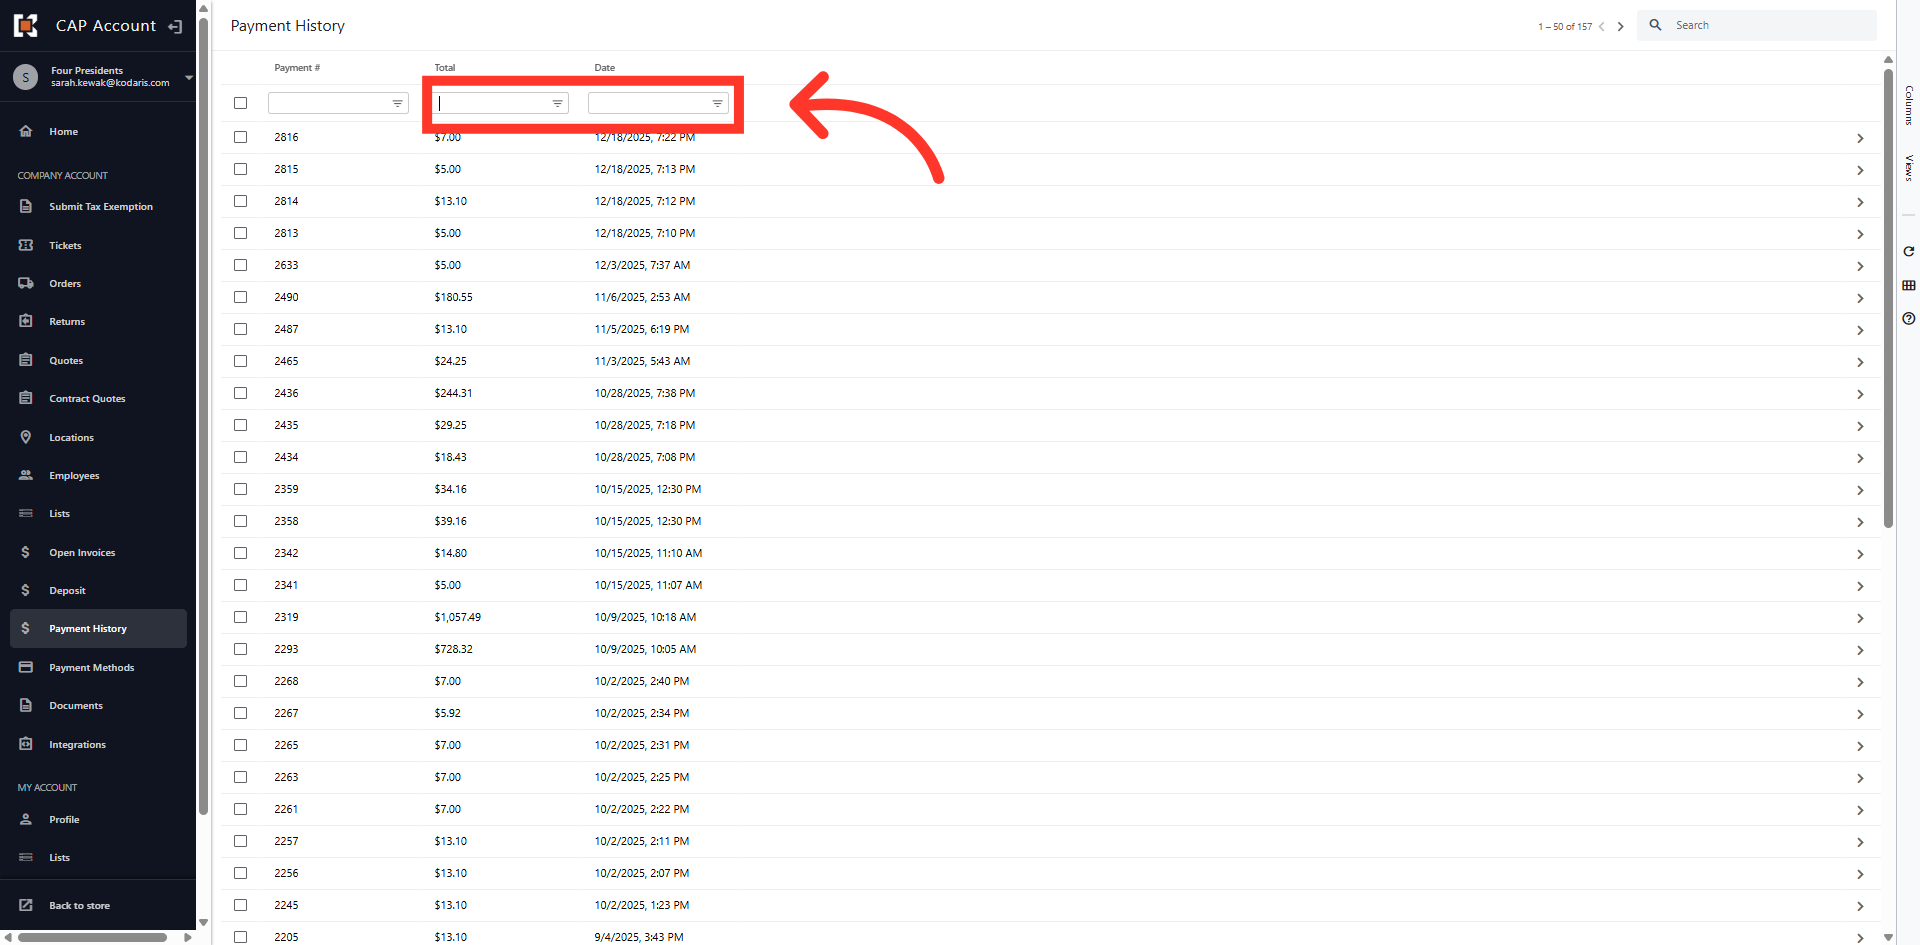
Filter Columns
You can search for an invoice using the "Total" and Date" columns as well.
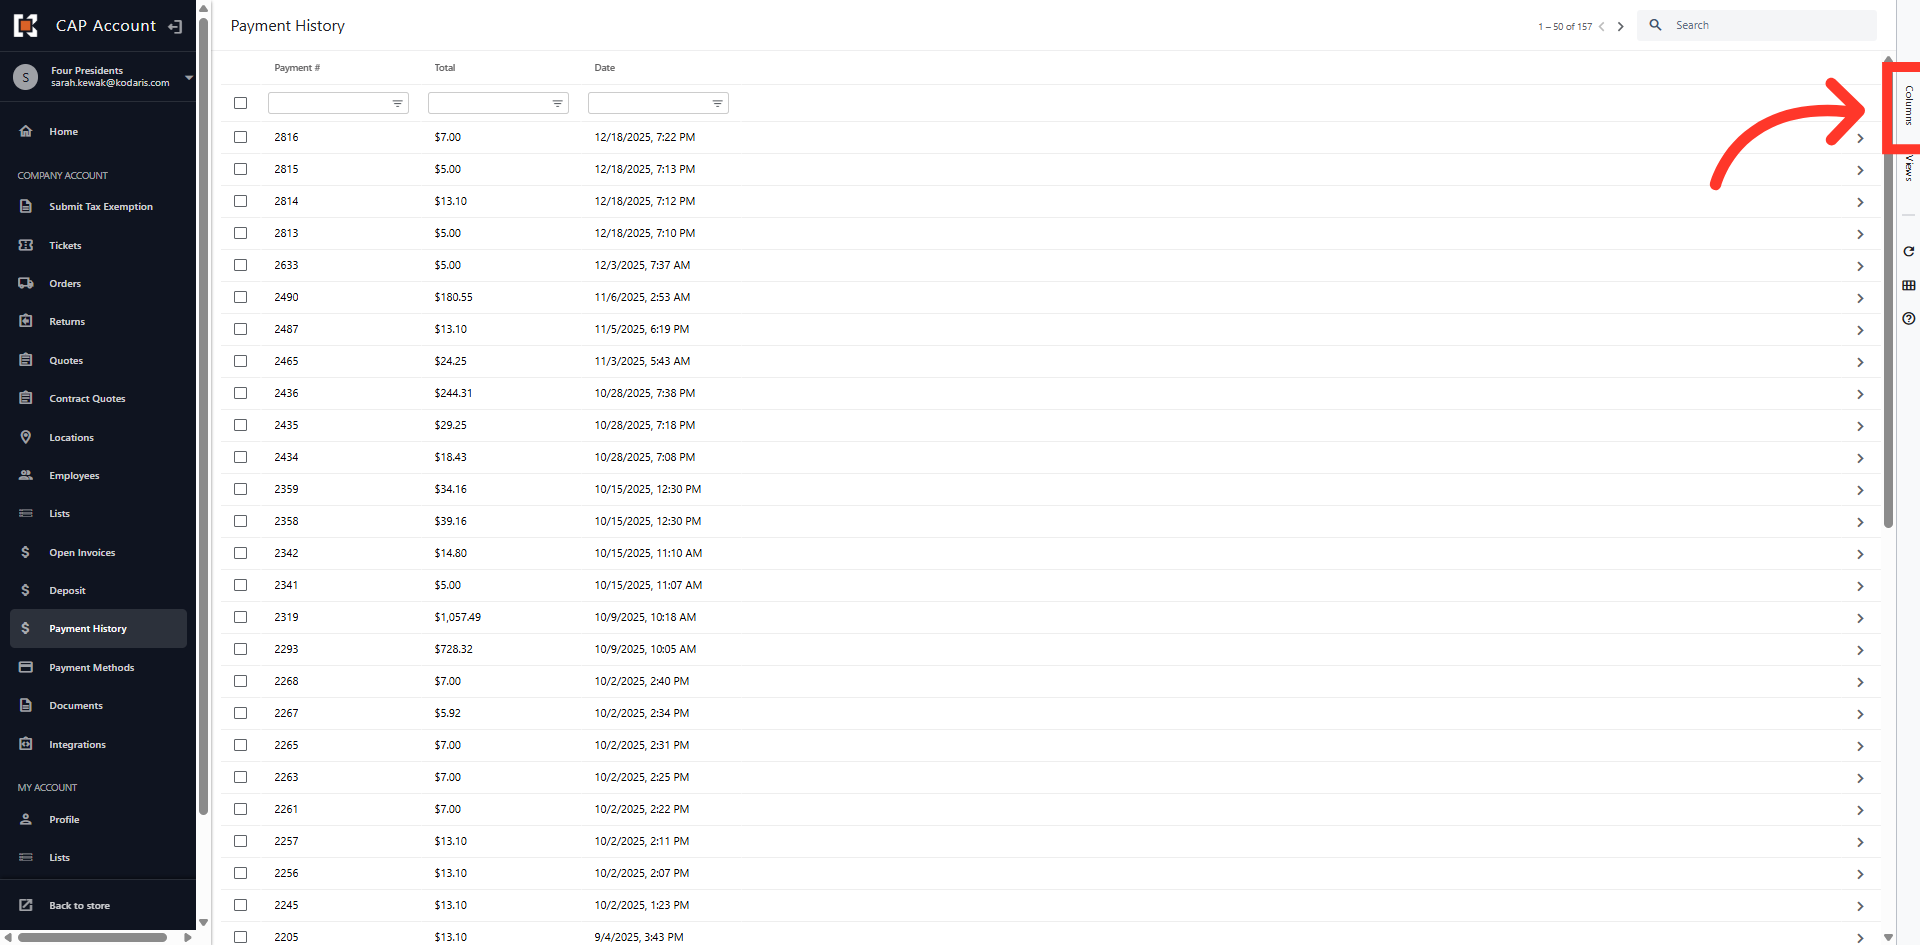
Click "Columns"
You can customize your Payment History view by clicking on the "Columns" tab on the right hand side of the grid.
Add Column Headers
Here, you can add or remove columns by clicking the check box associated with the column header name.
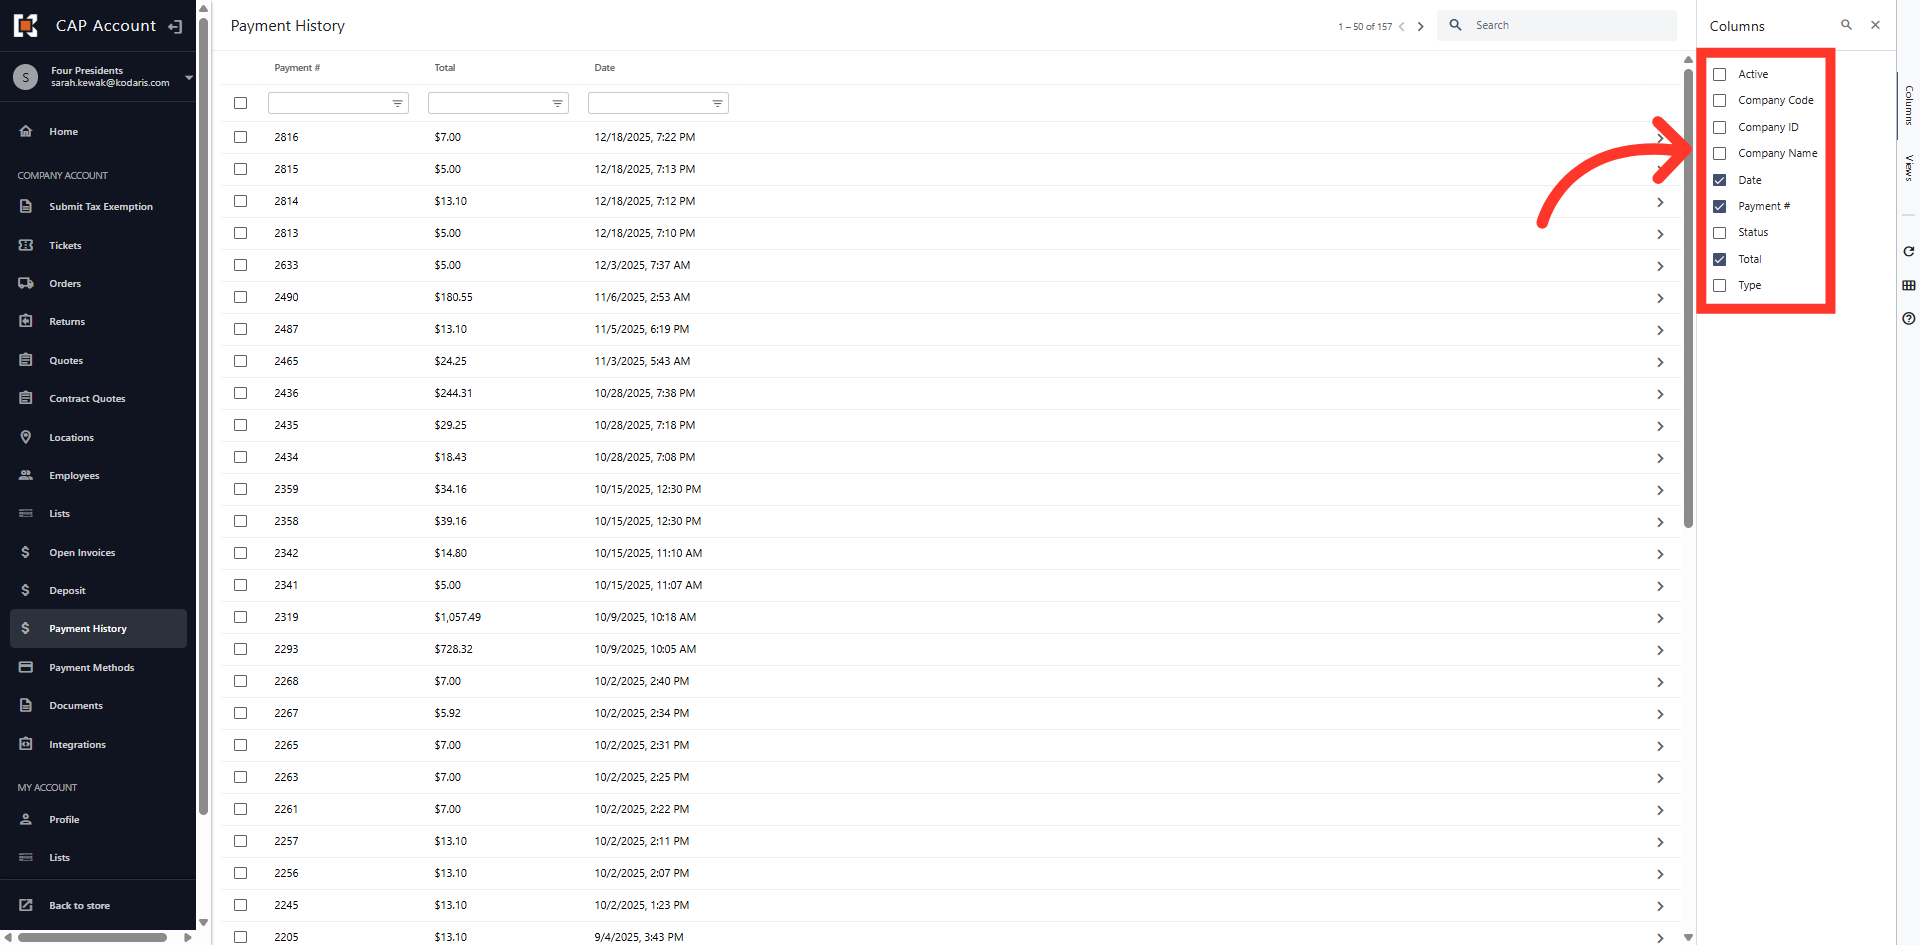
Select Options
In this example we will add Company Name and Status to our view.
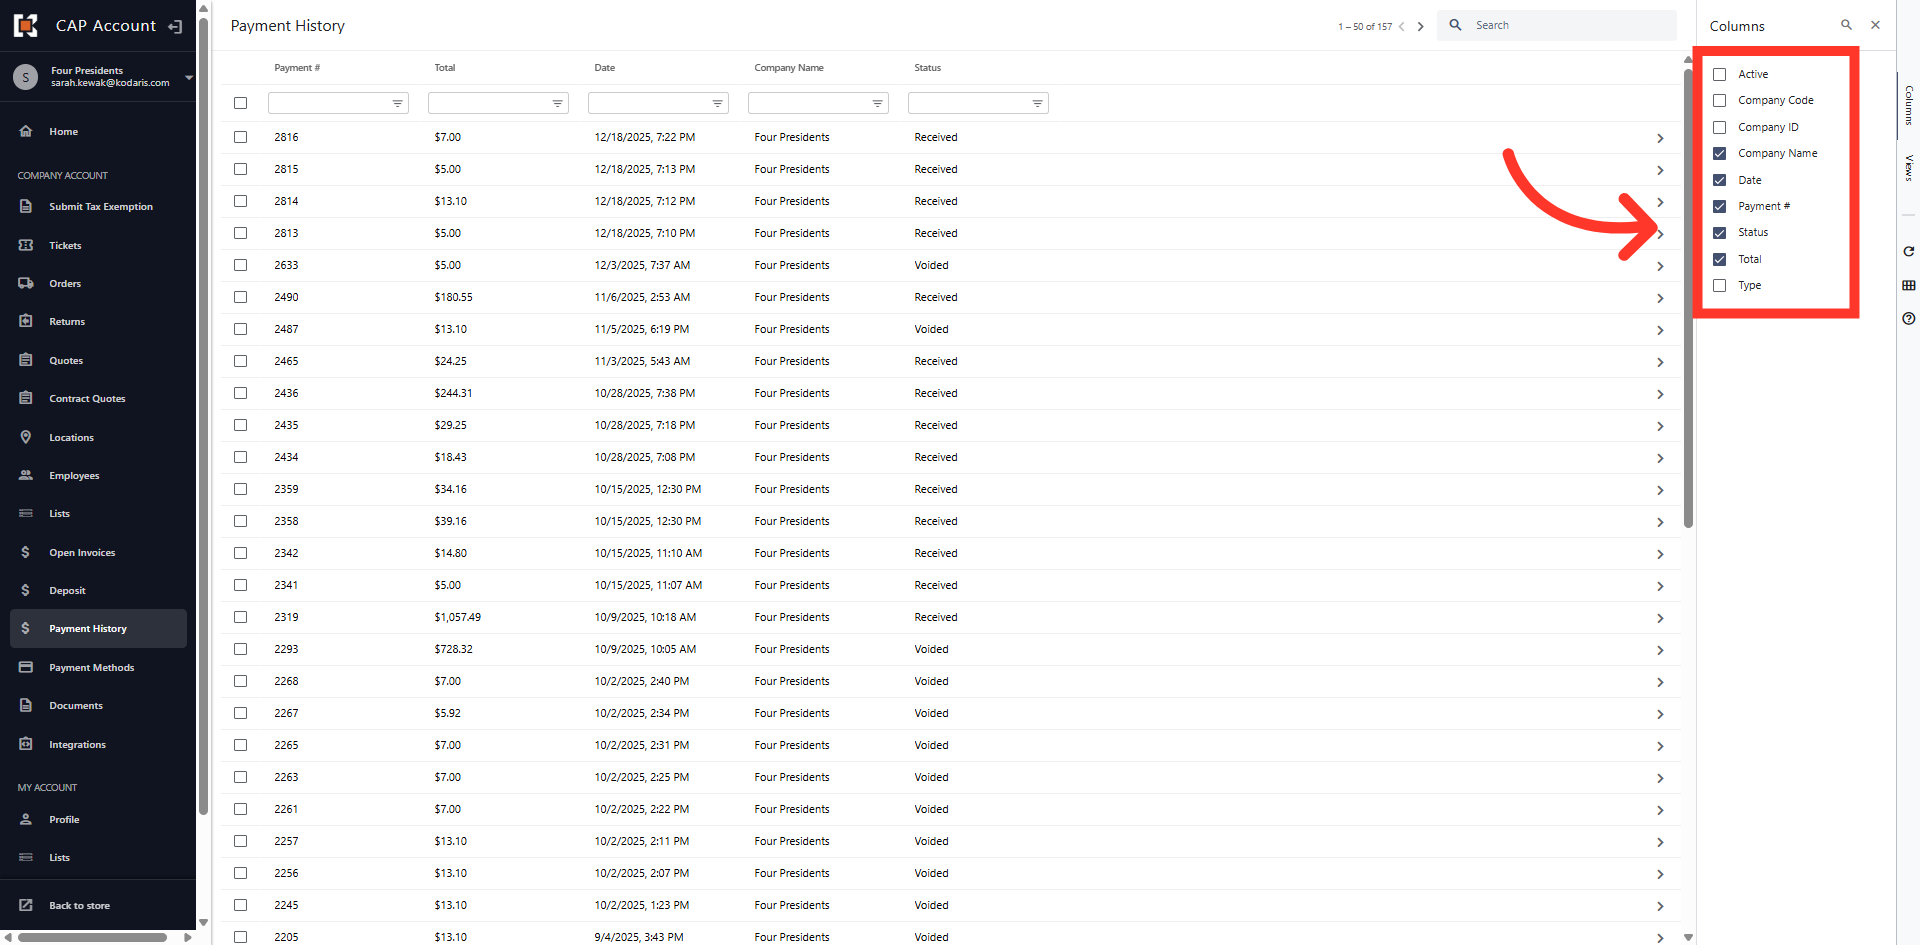
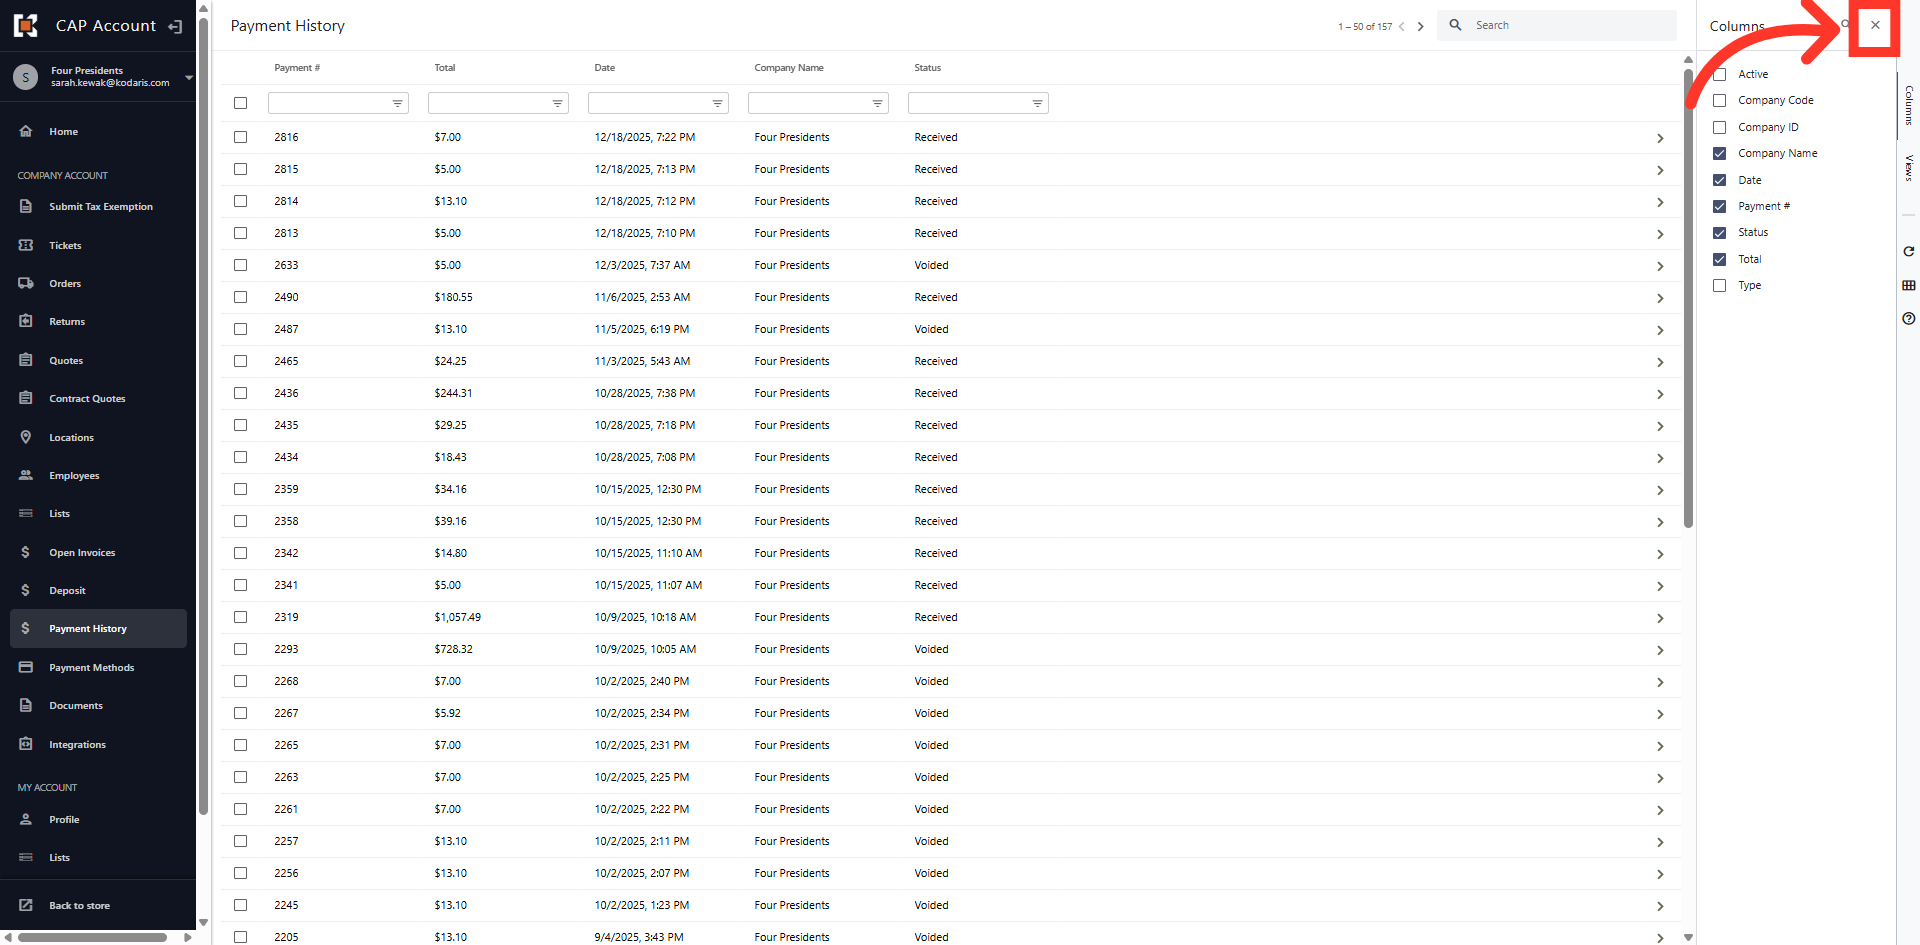
Click the "x"
Once you have selected your columns, click the "x" to close the menu.
Re-Order Columns
You can re-order the columns by clicking in the column header and dragging them within the grid view.

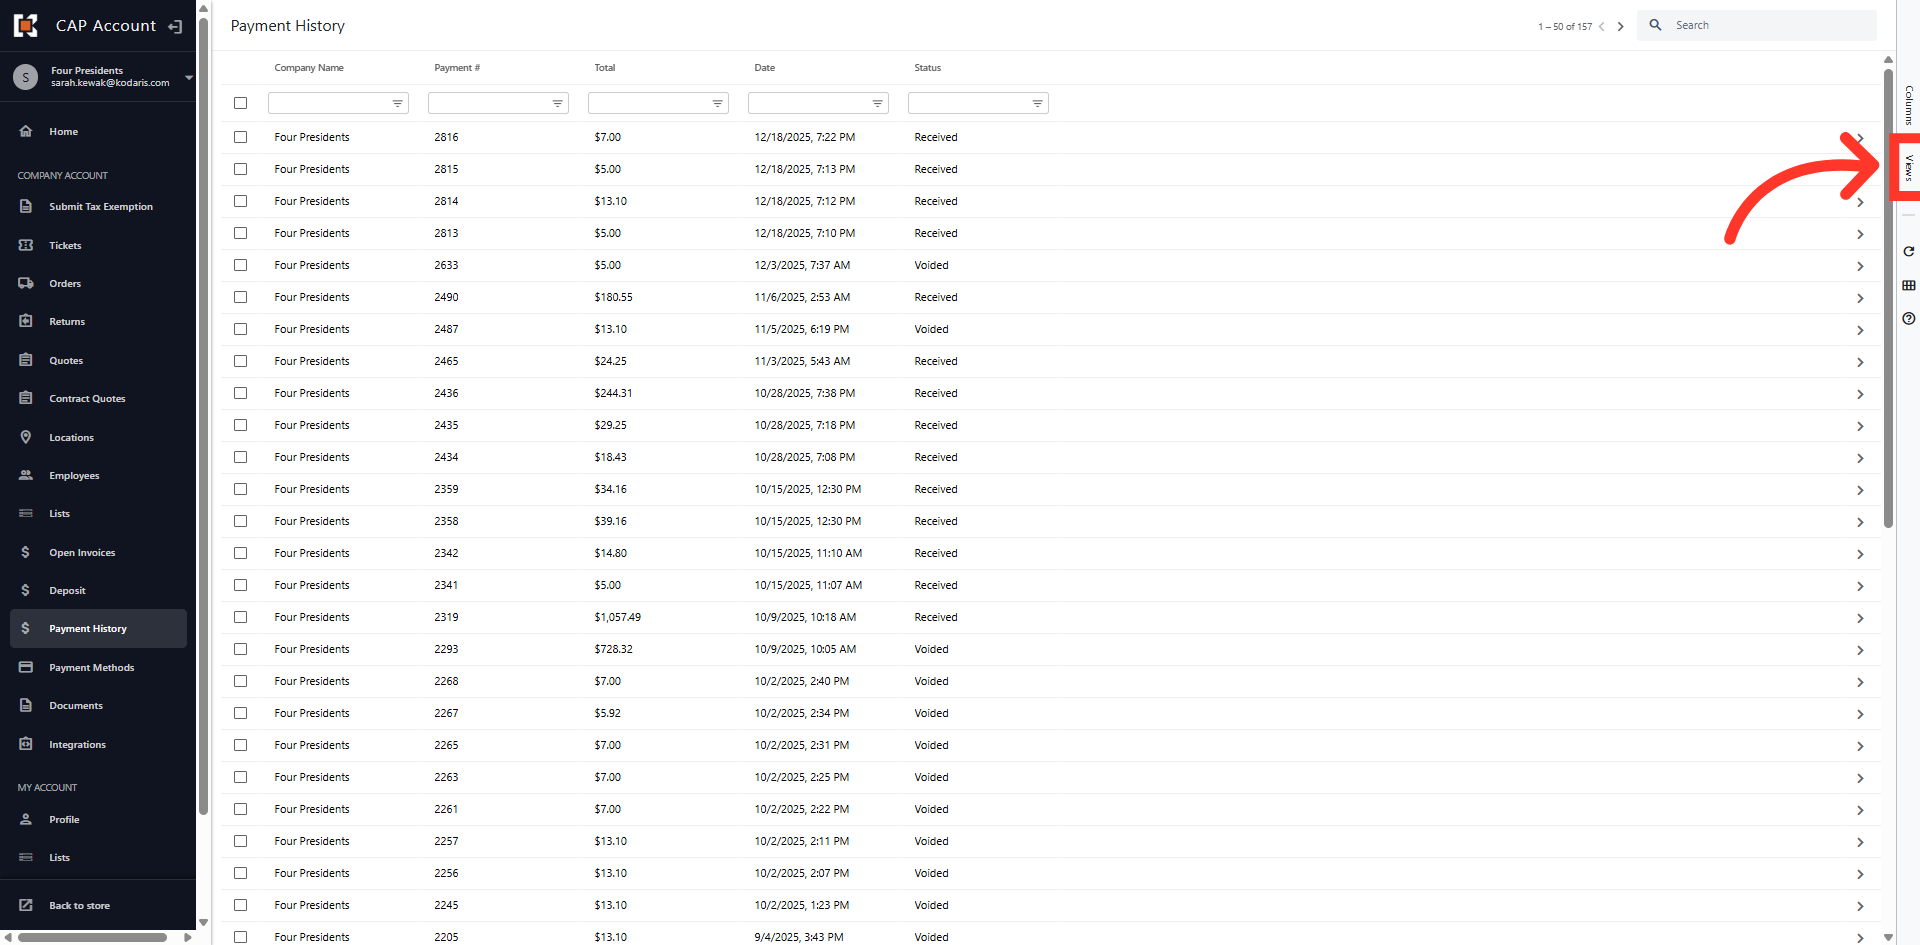
Click "Views"
You can save your custom view by clicking the "View" tab on the right hand side of the grid.
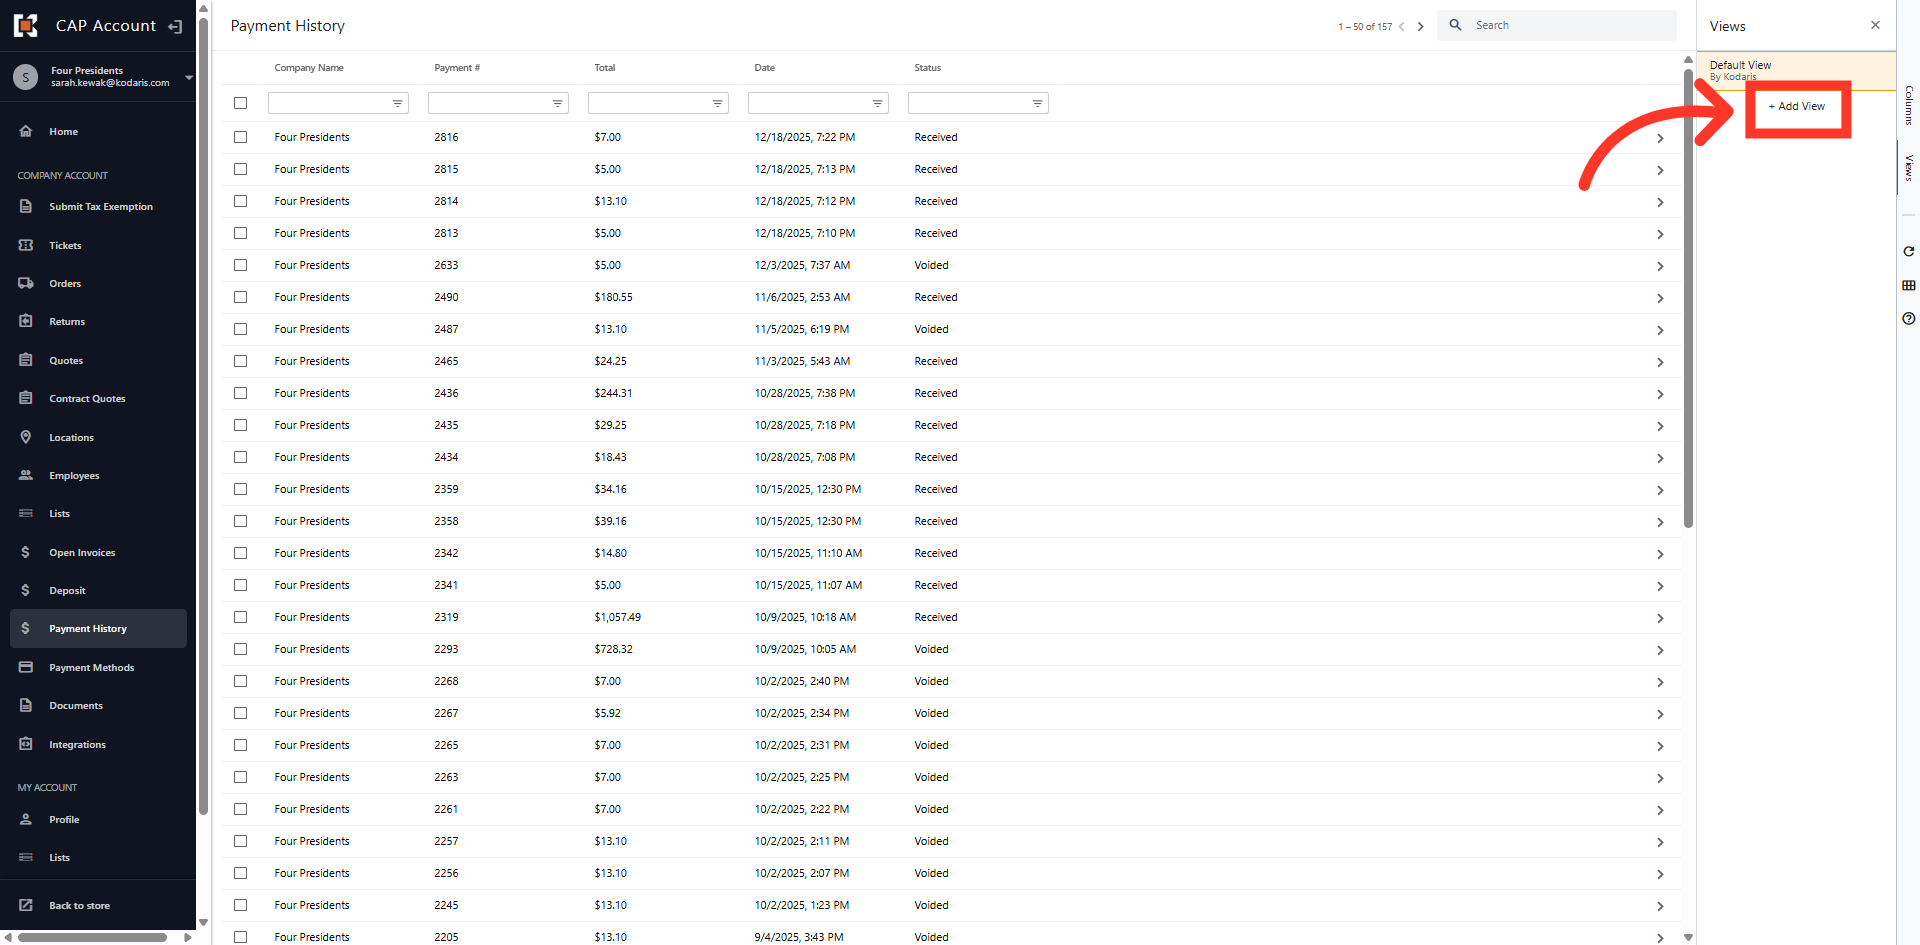
Click "Add View"
Next, click "Add View".
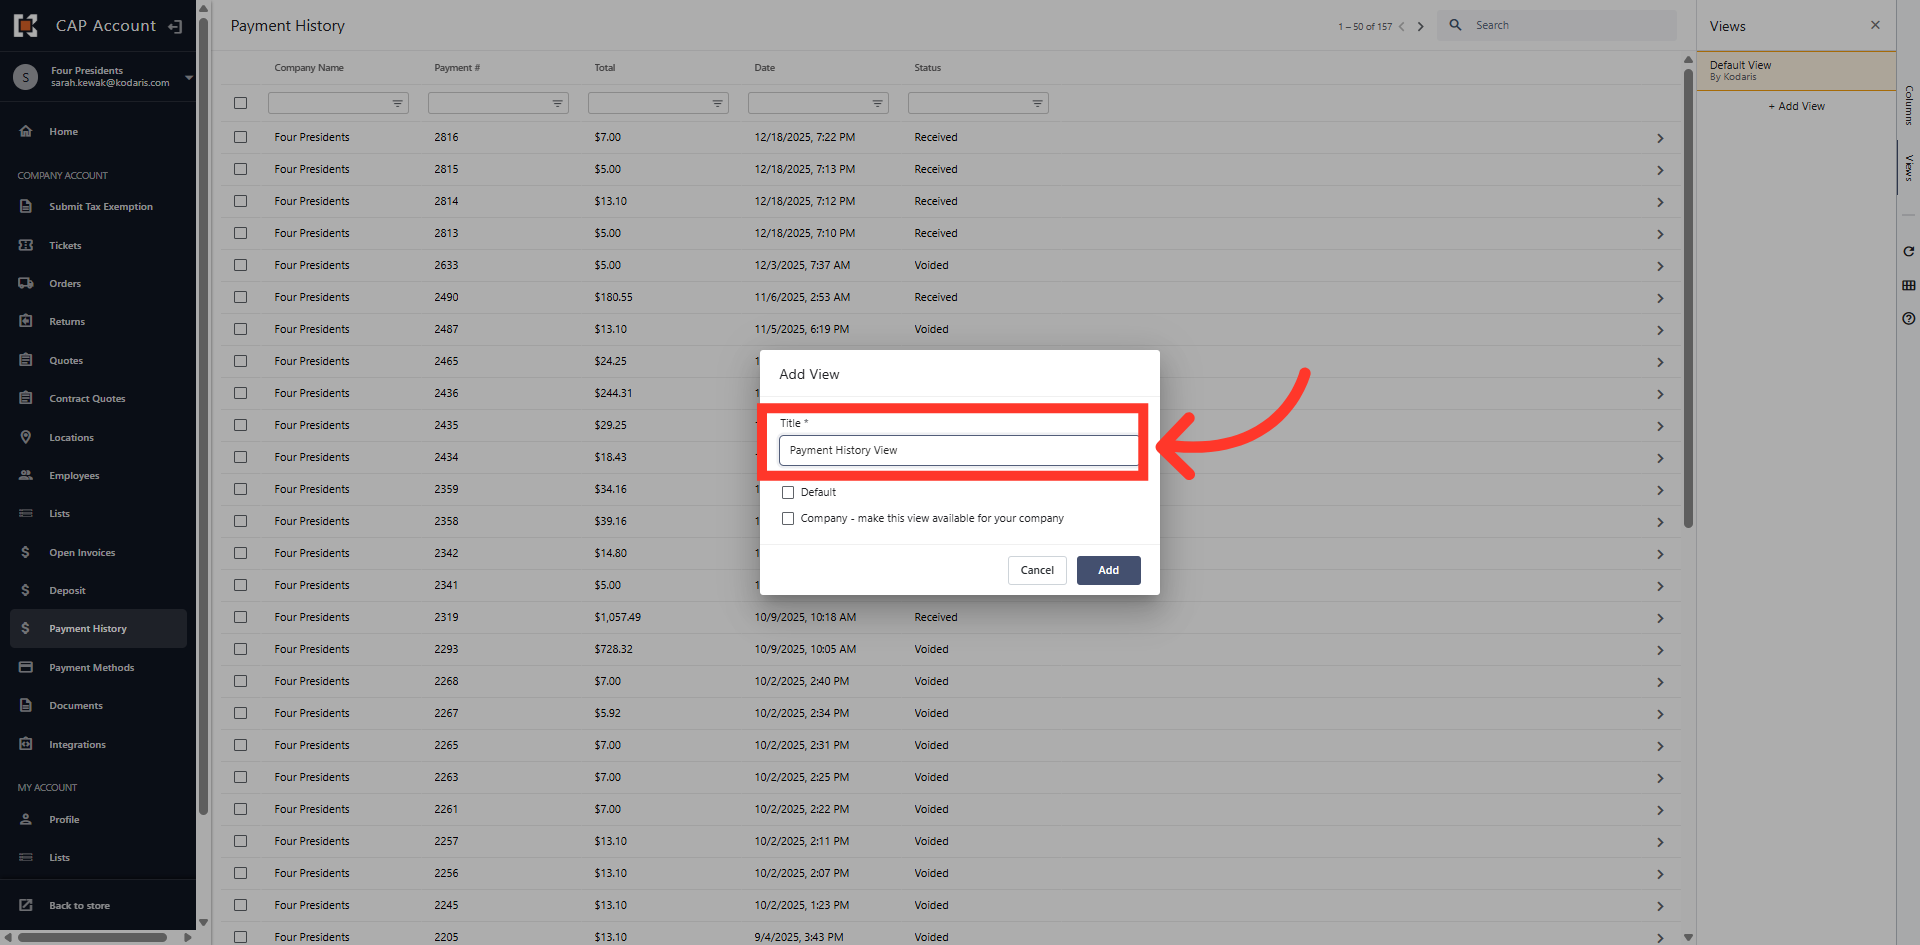
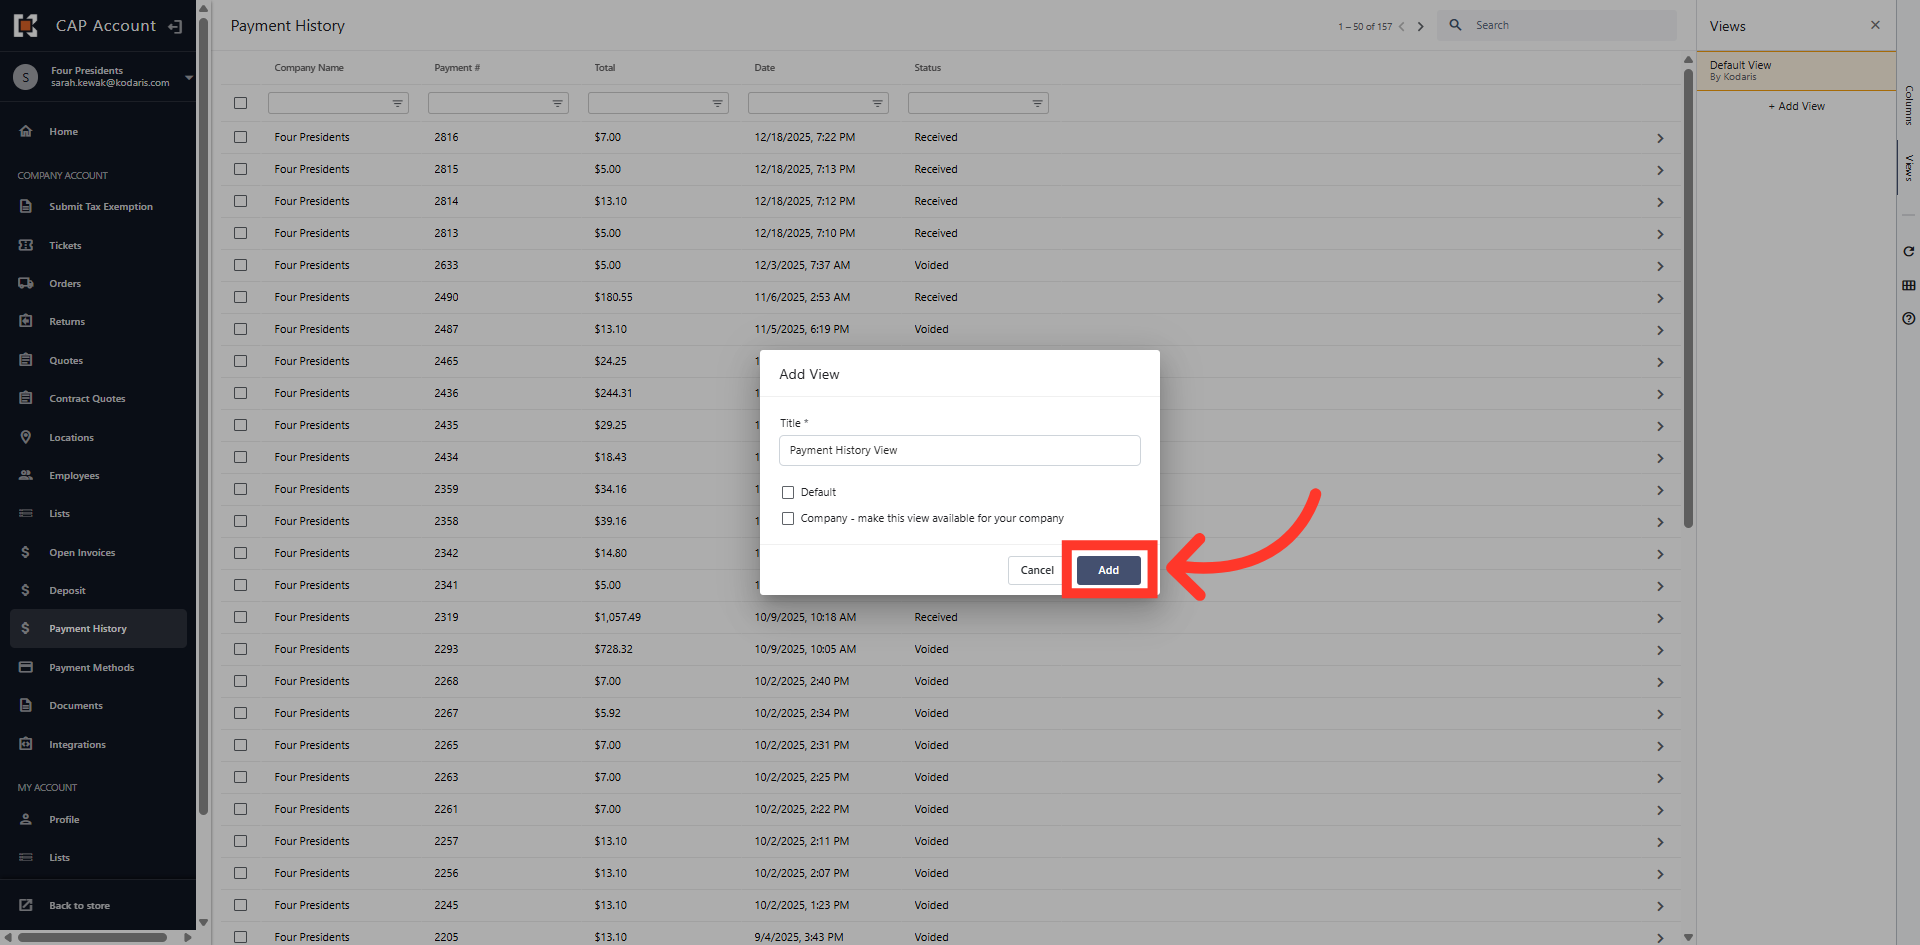
Name the View
Then, name the custom view.
View Invoice Details
You can set the view as your default view so that when you are in Payment History, these details always populate. You can also make it available for all users in the company.
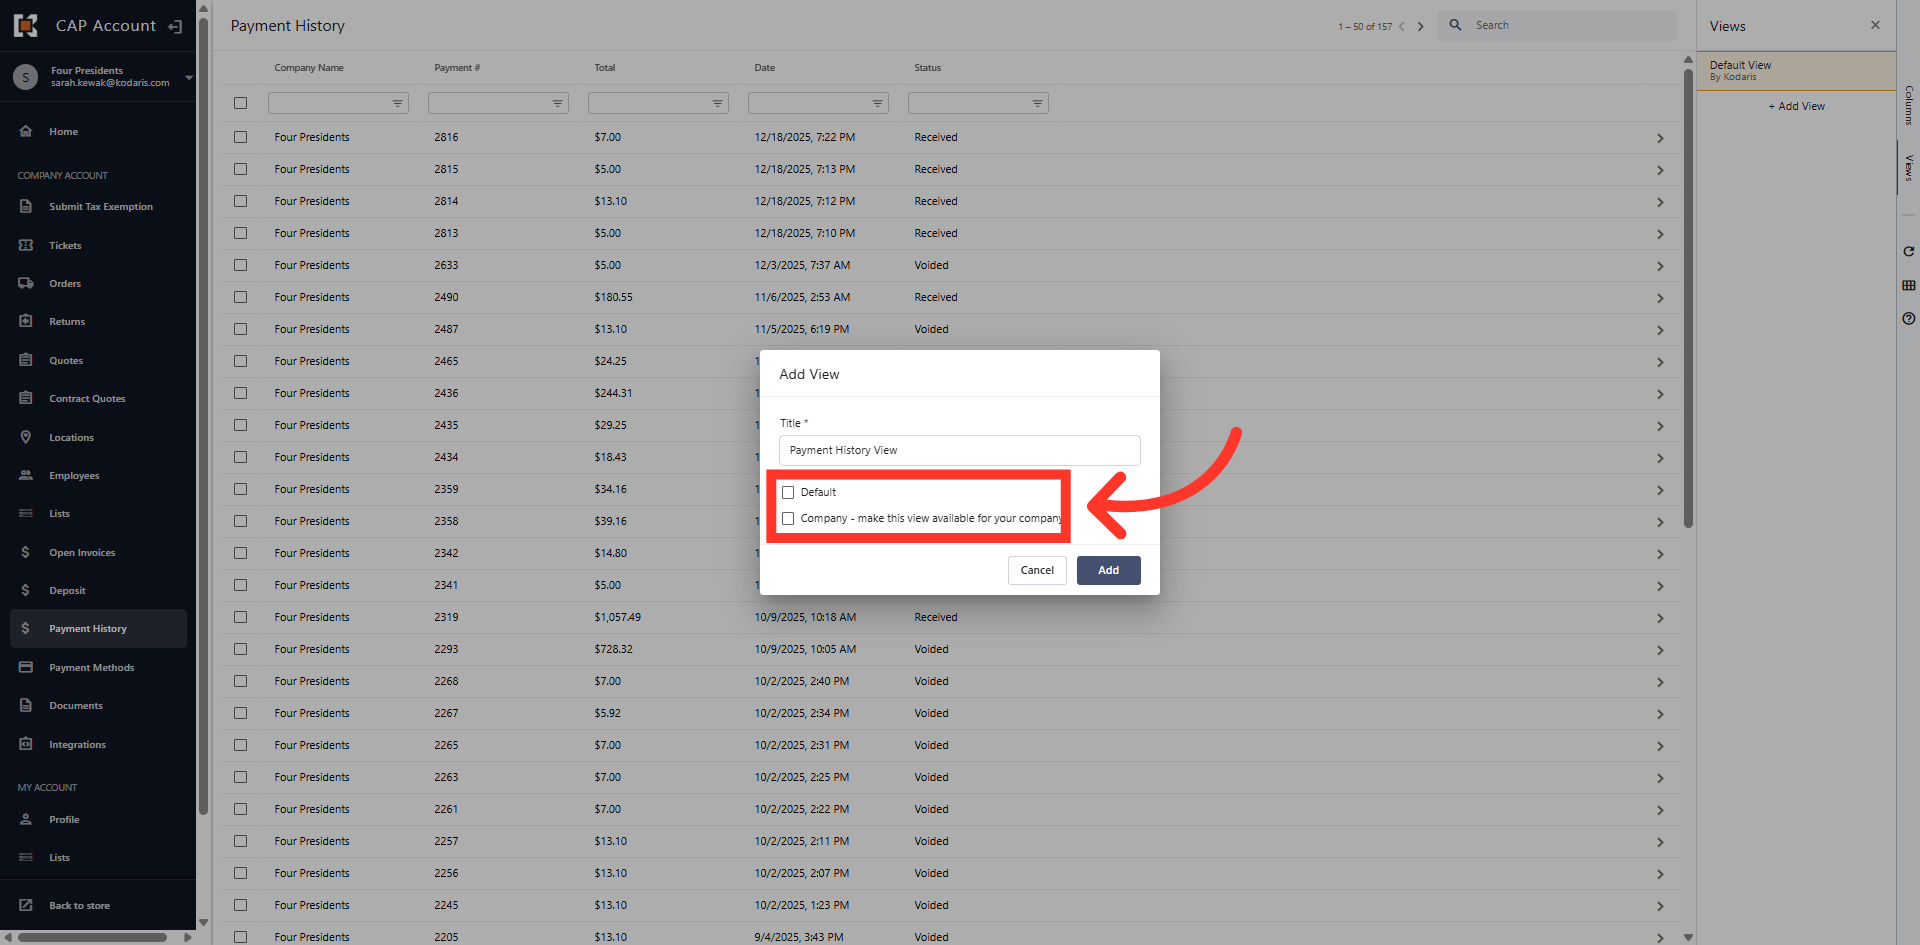
Click "Add"
Next, click "Add" to save the view settings.
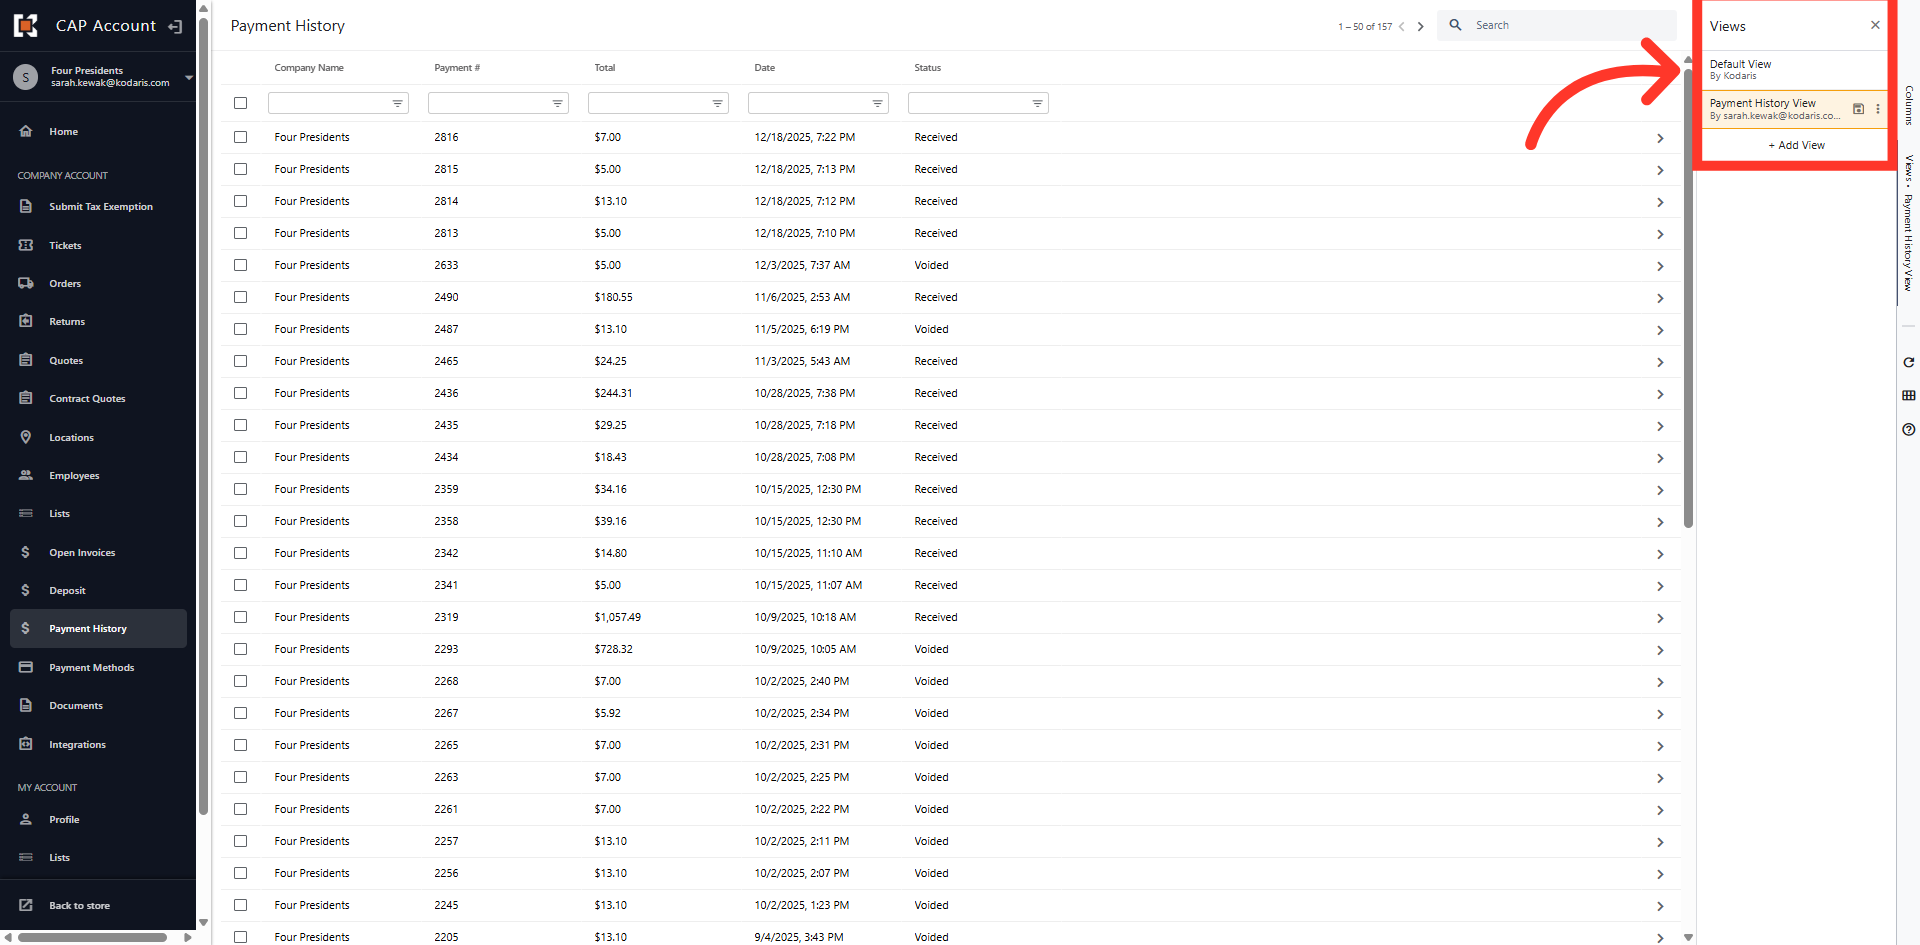
Click Views
You can now toggle between the available saved views.
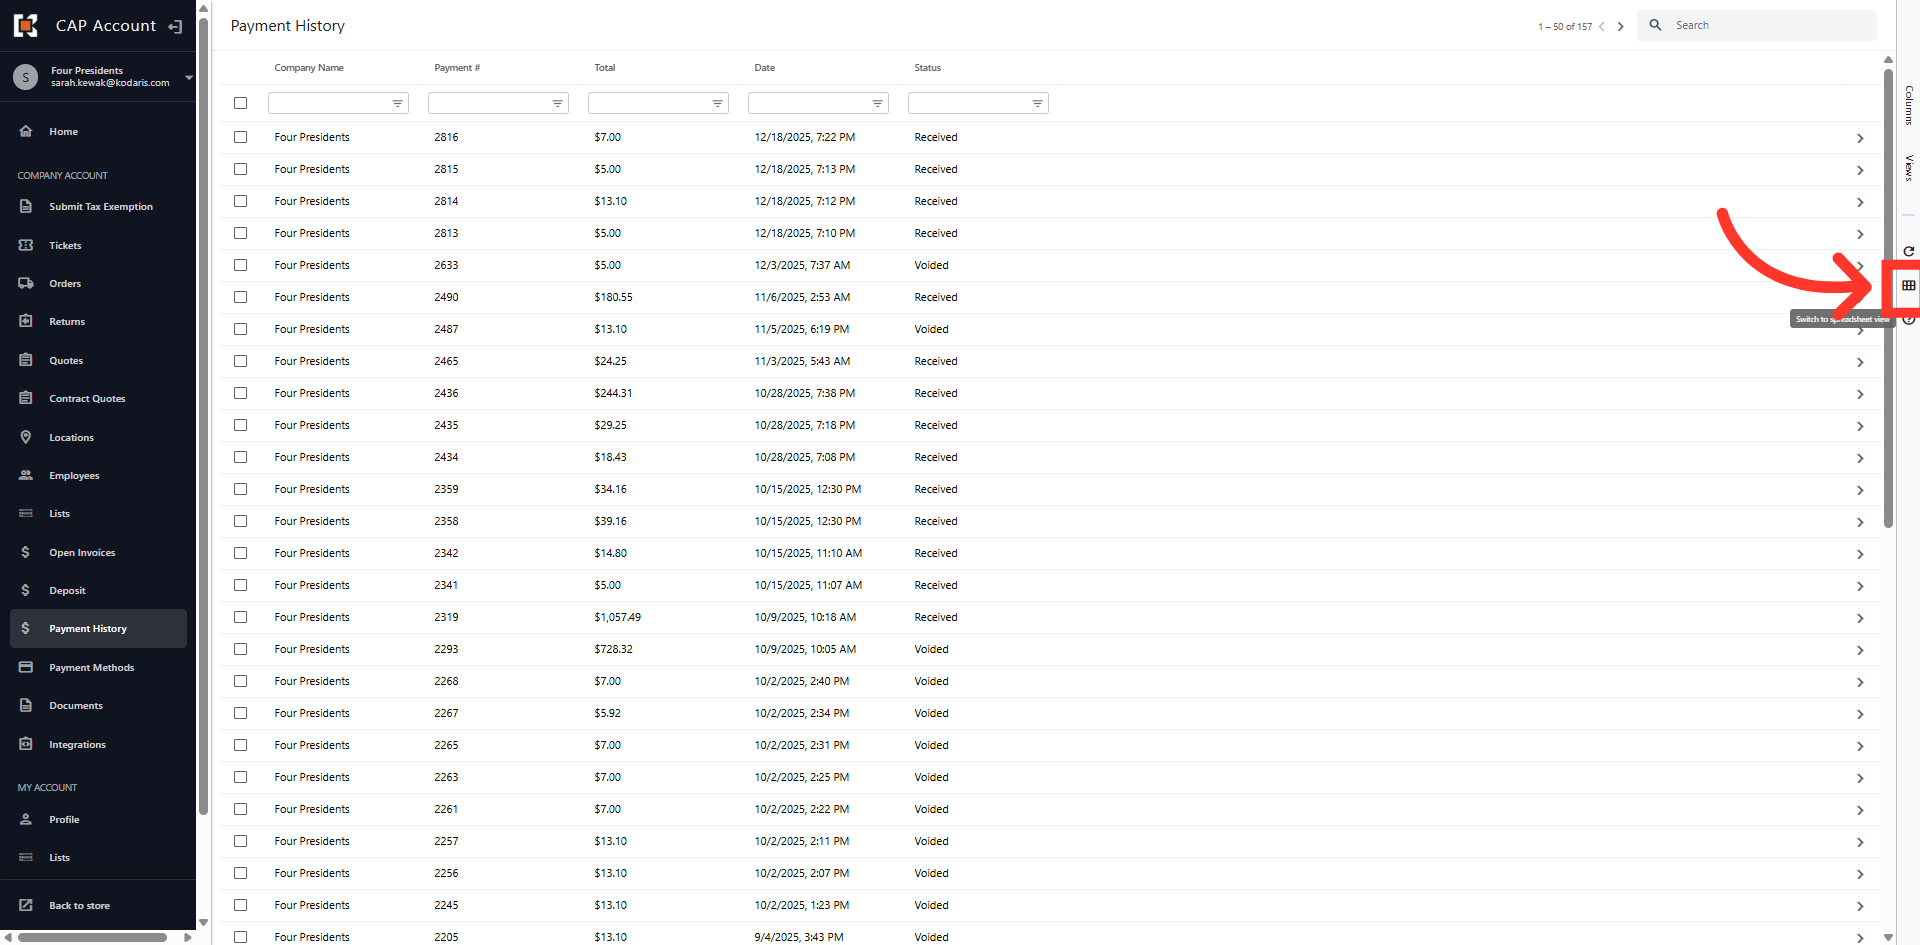
Click "Spreadsheet" icon
You can export your Payment History by clicking on the "Spreadsheet" icon on the right hand side of the grid.
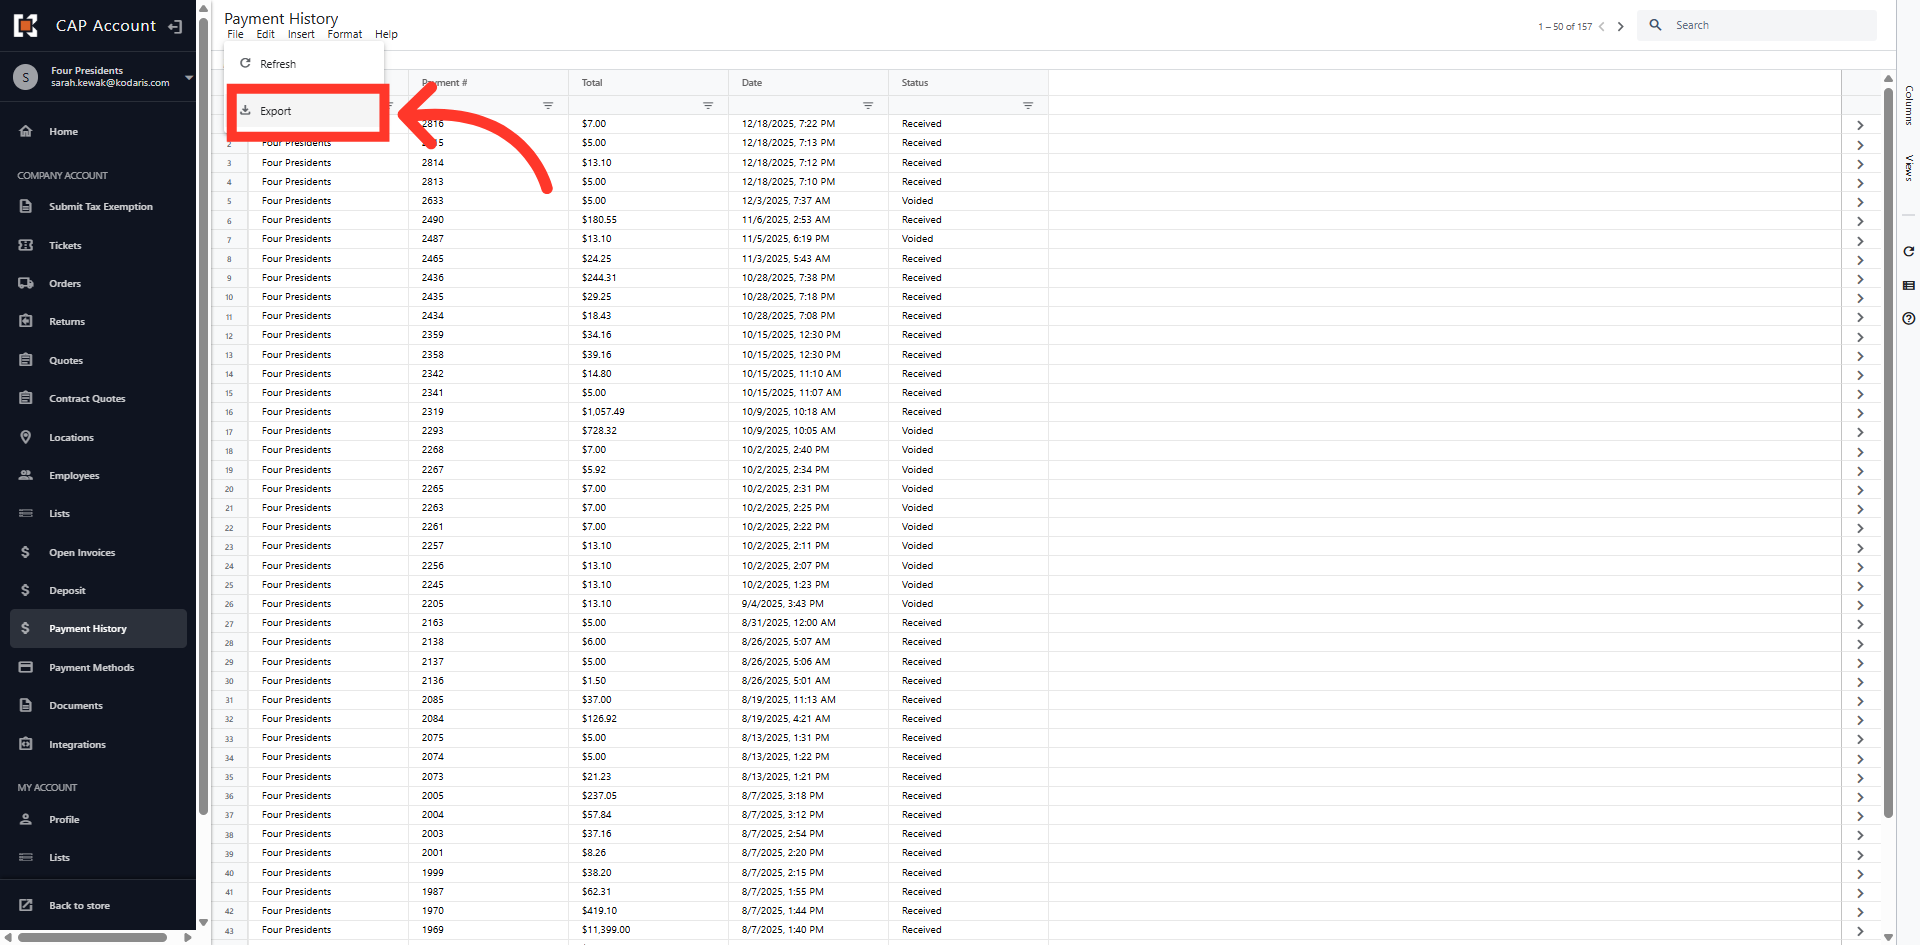
Click "File"
Then, click "File".

Click "Export"
Next, click "Export".
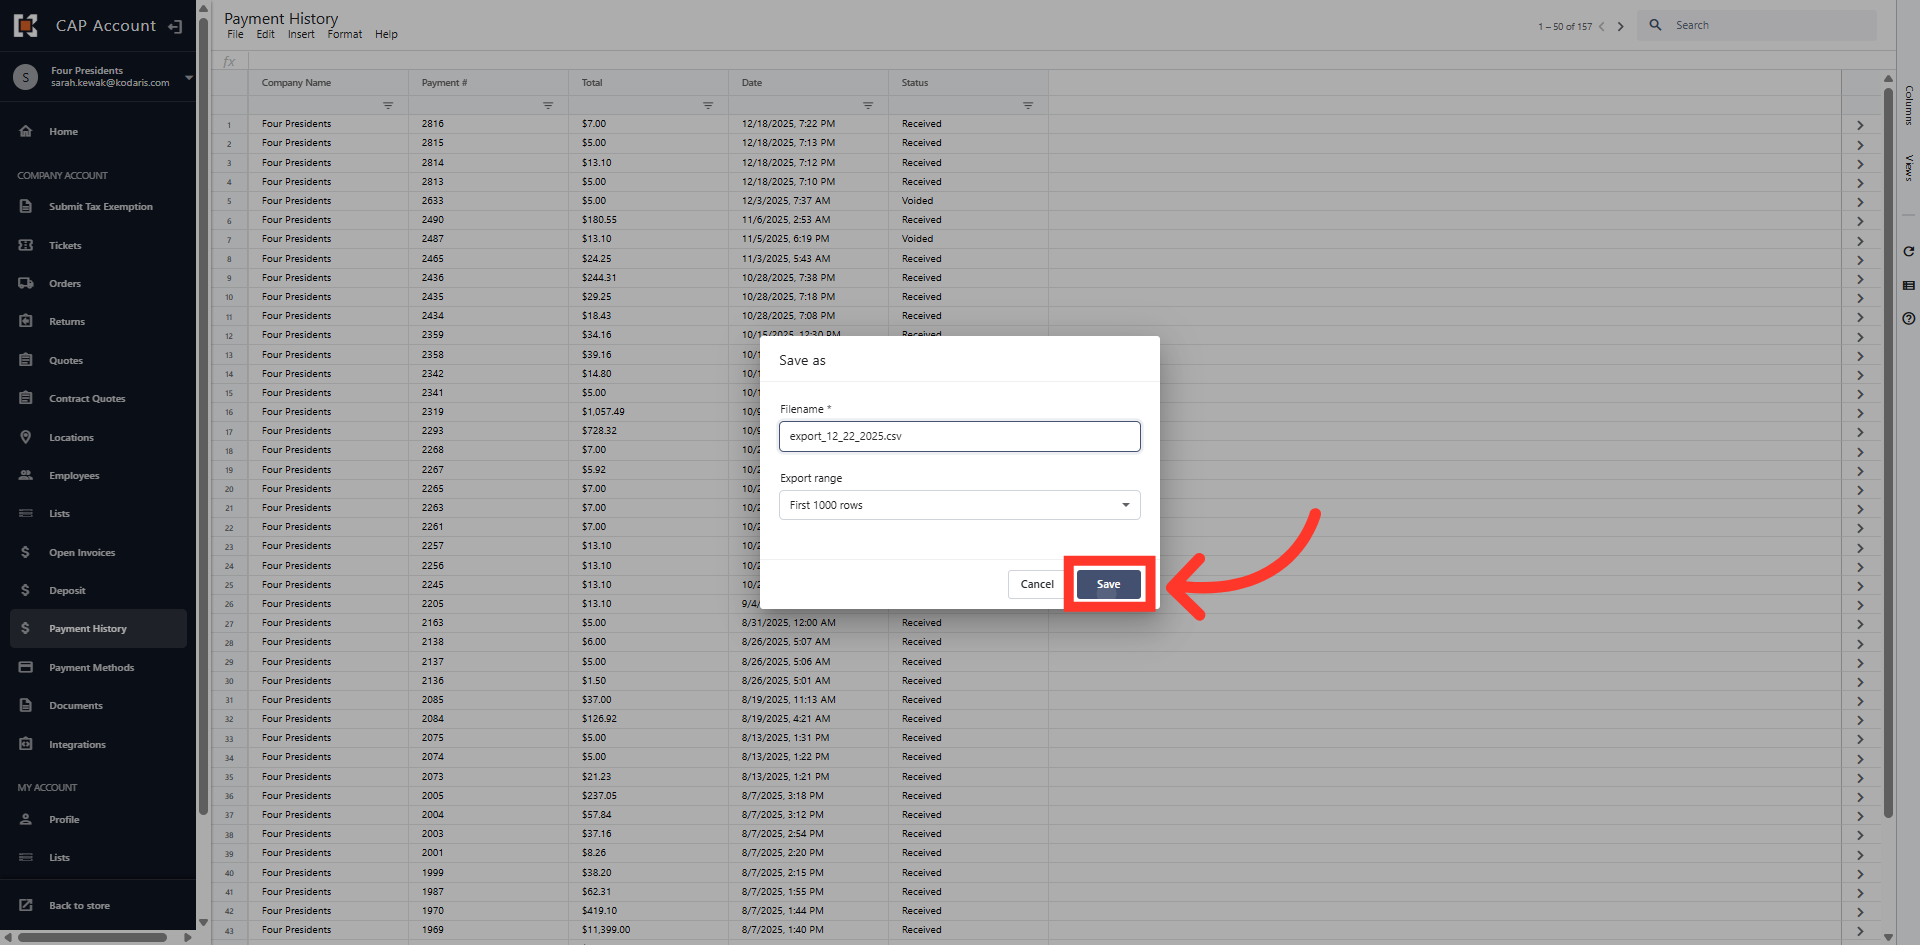
Save As Dialog Box
In the "Save As" dialog box, enter a File name and click "Save" to save the export to your computer.
Payment History View
The file has been saved and you are returned to the Payment History dashboard.