Customer Portal - Use the Editor Toolbar in Ticket Description
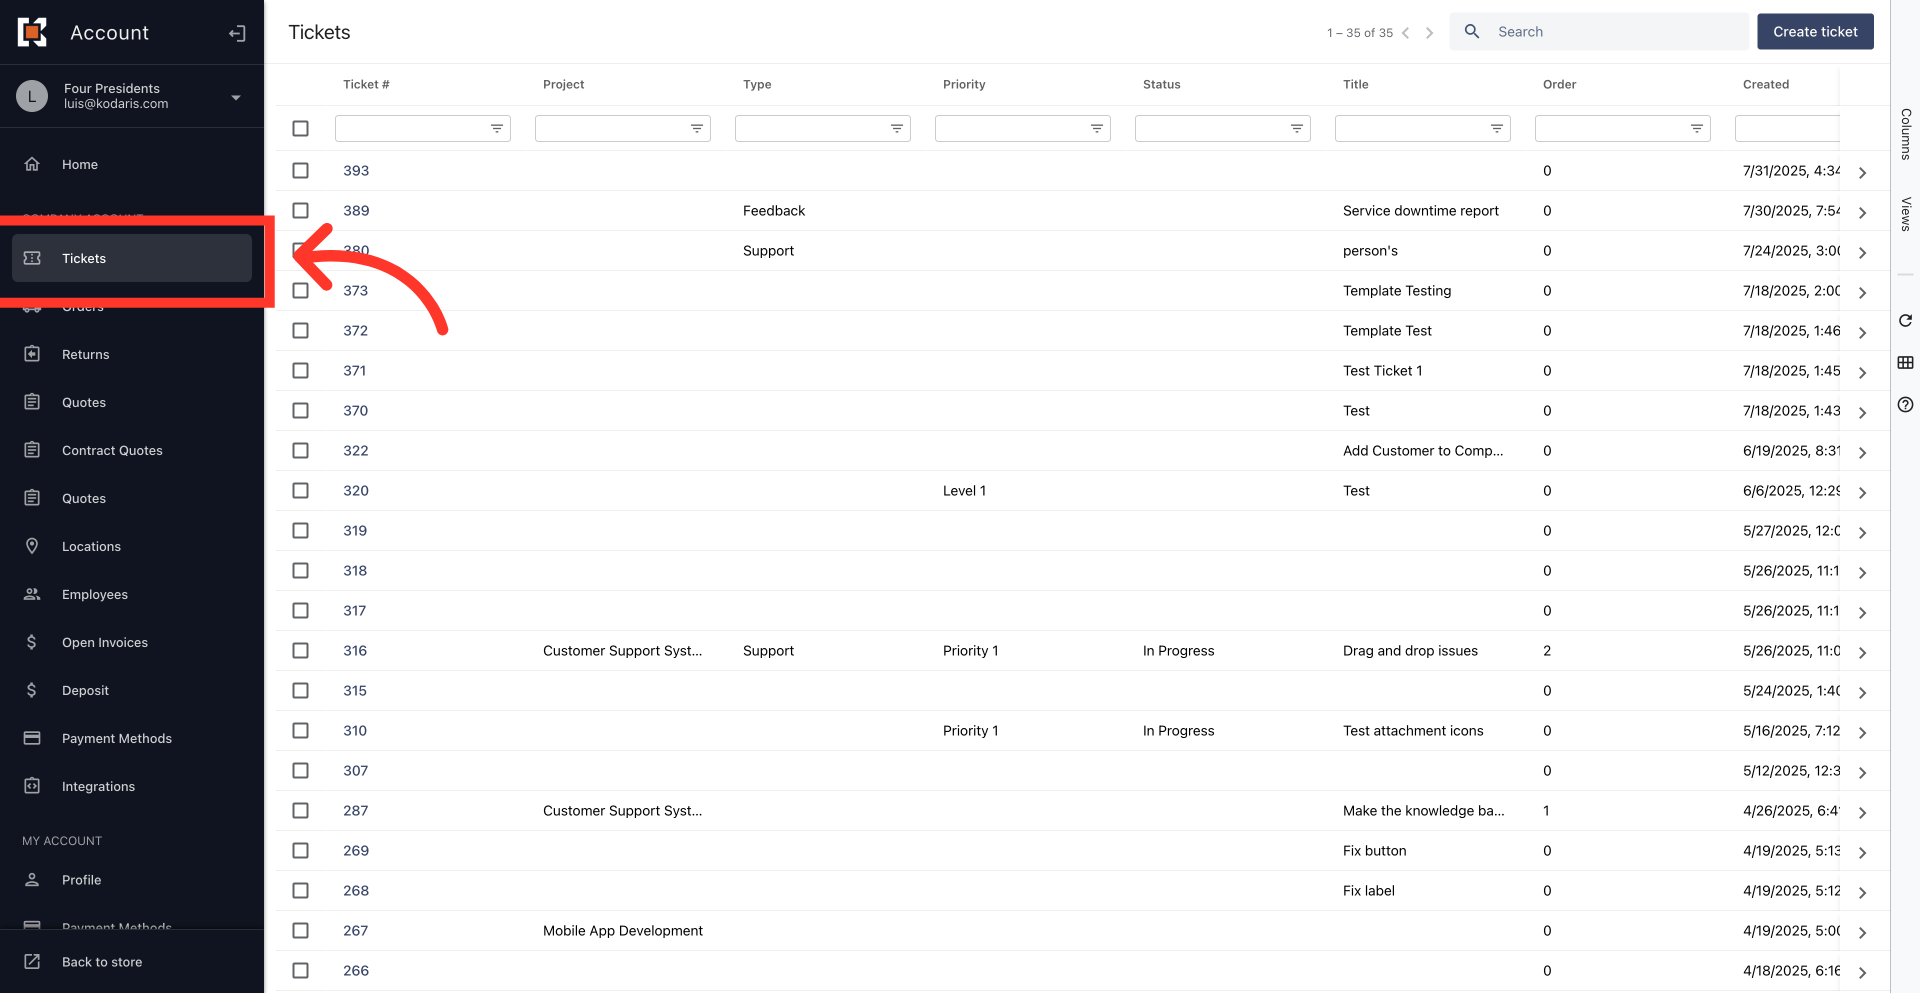
Navigate to "Tickets"
To use the text editing tools for ticket descriptions and comments, log in to your customer's portal and navigate to "Tickets."
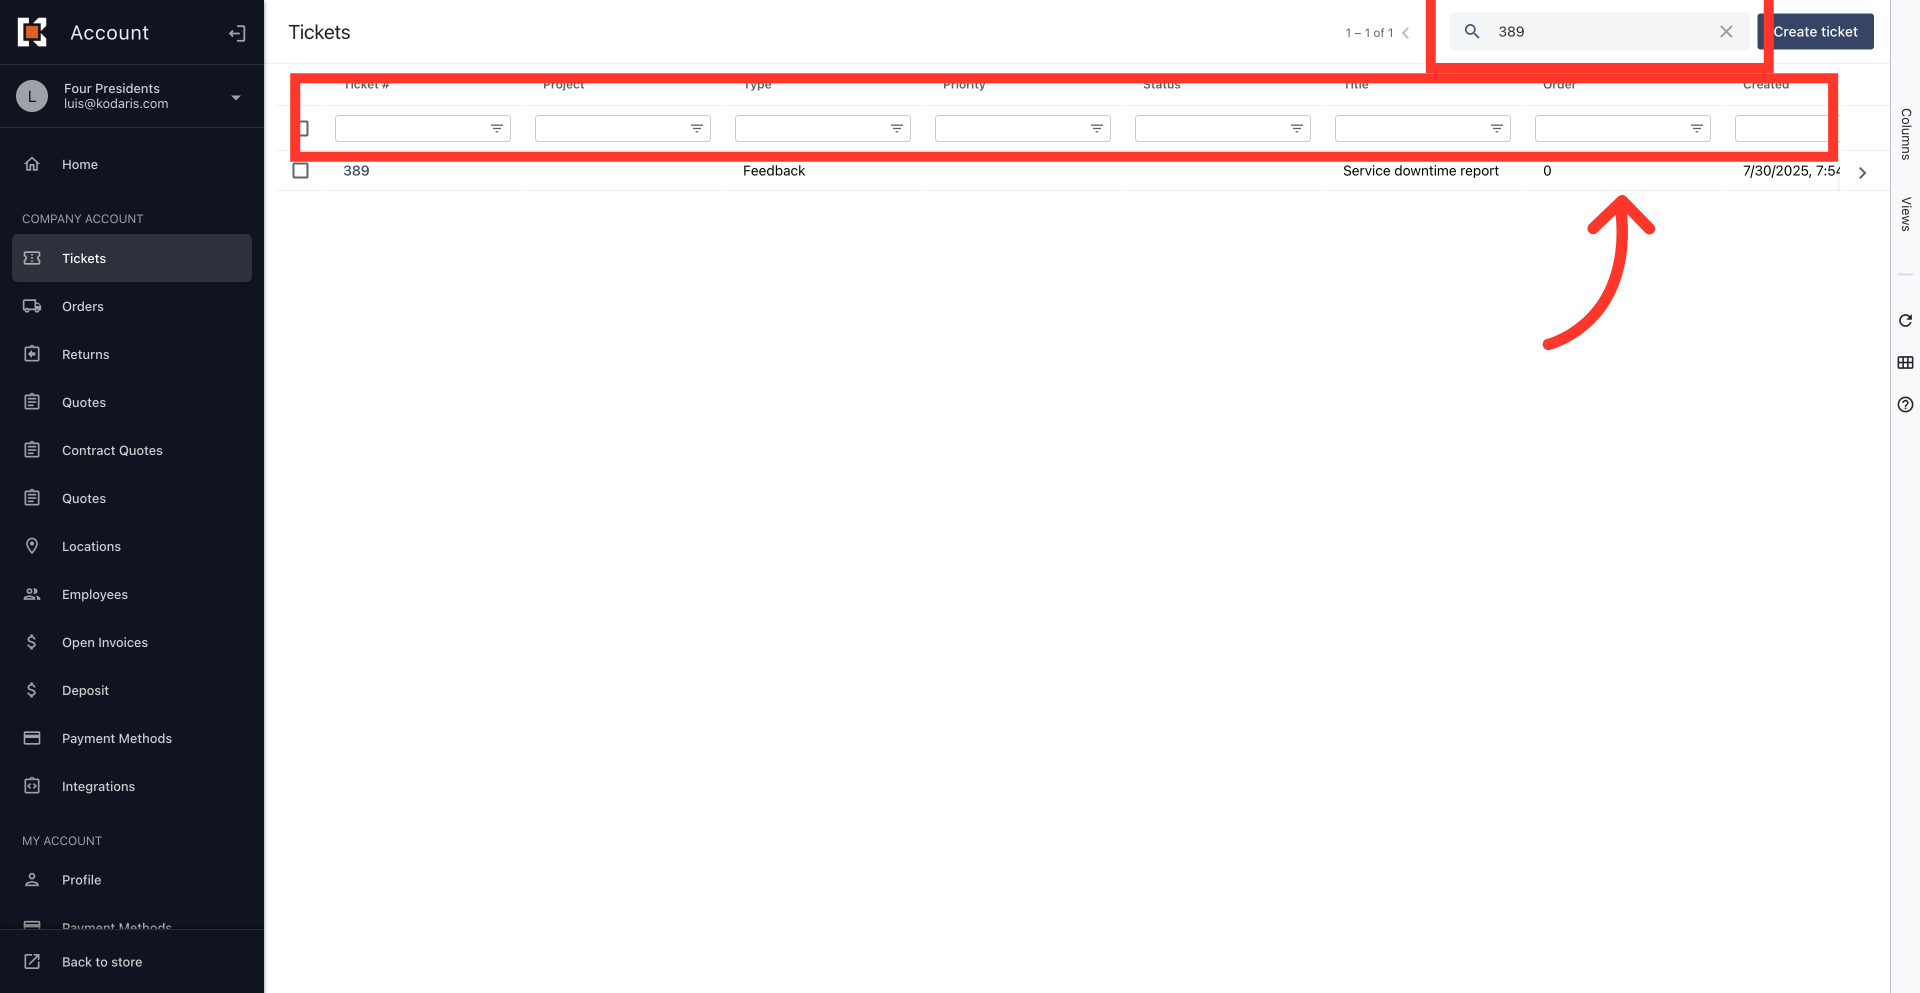
Search for the ticket
To find a ticket, use the search bar or column filters. Type a keyword to narrow the list, then open the ticket details.
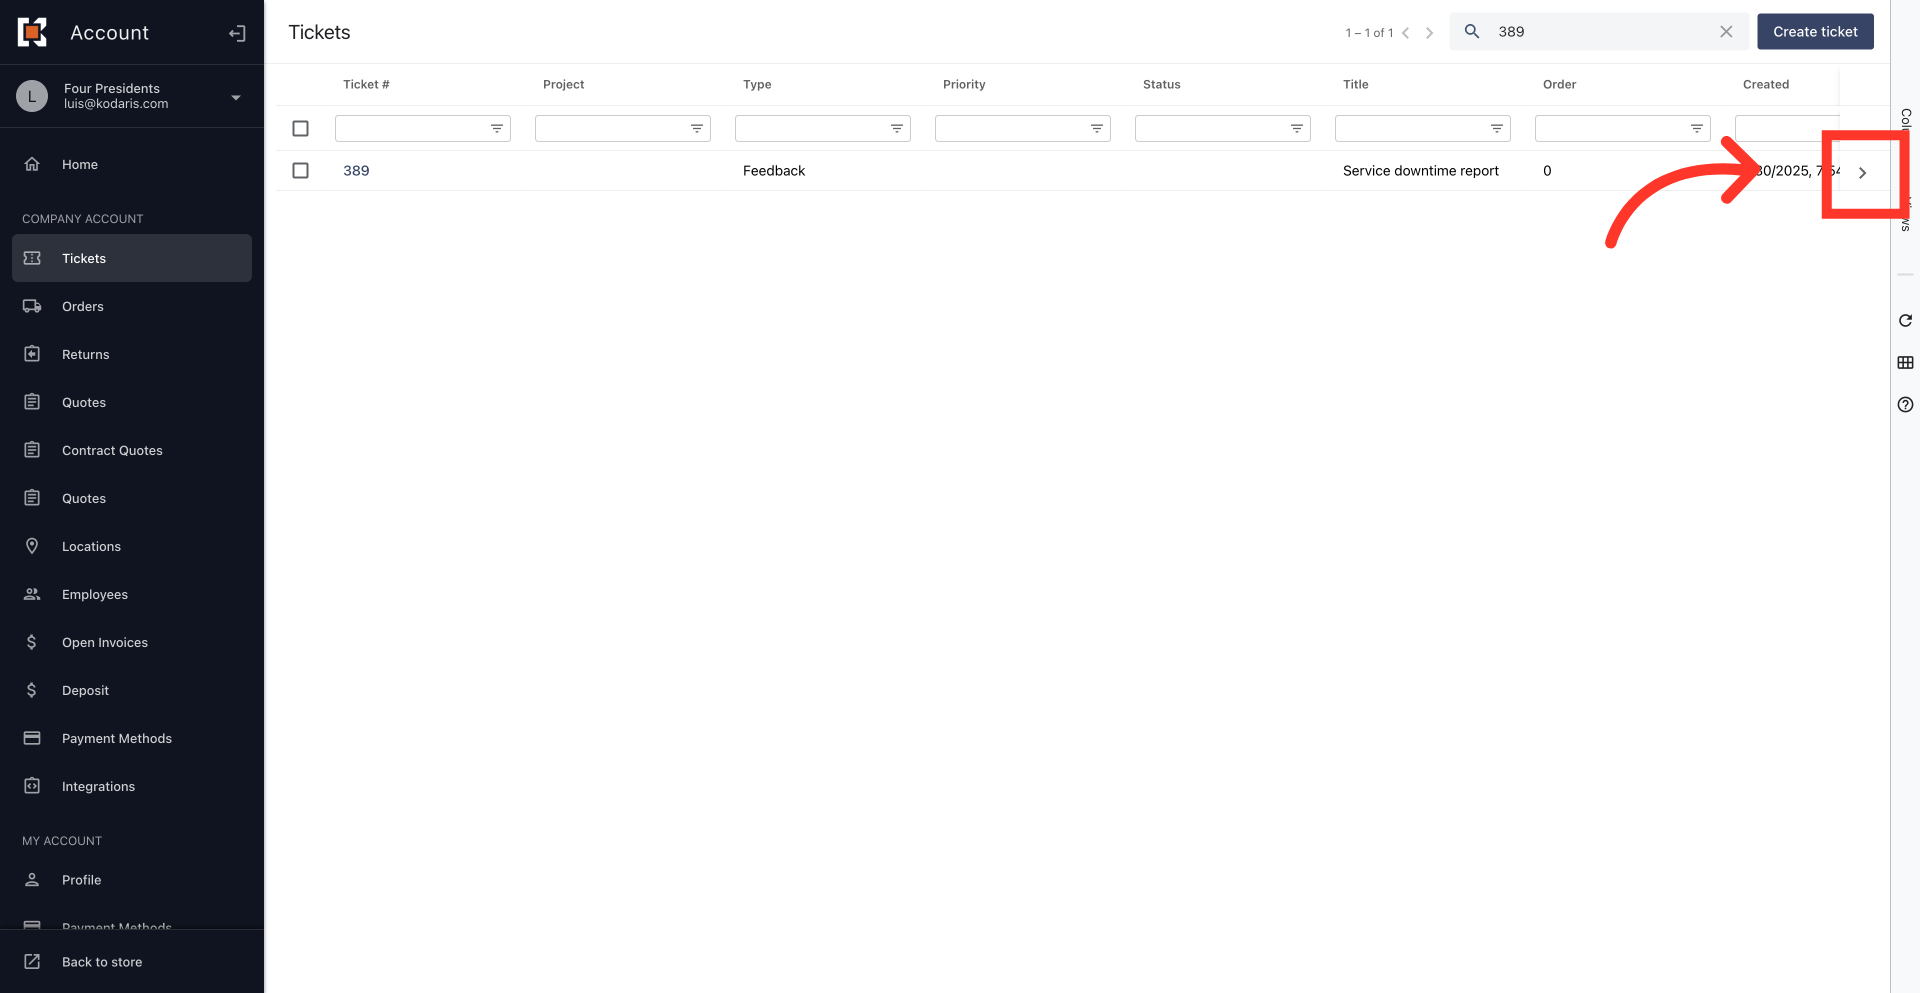
Click the more details icon
Click the more details icon to open the ticket details.
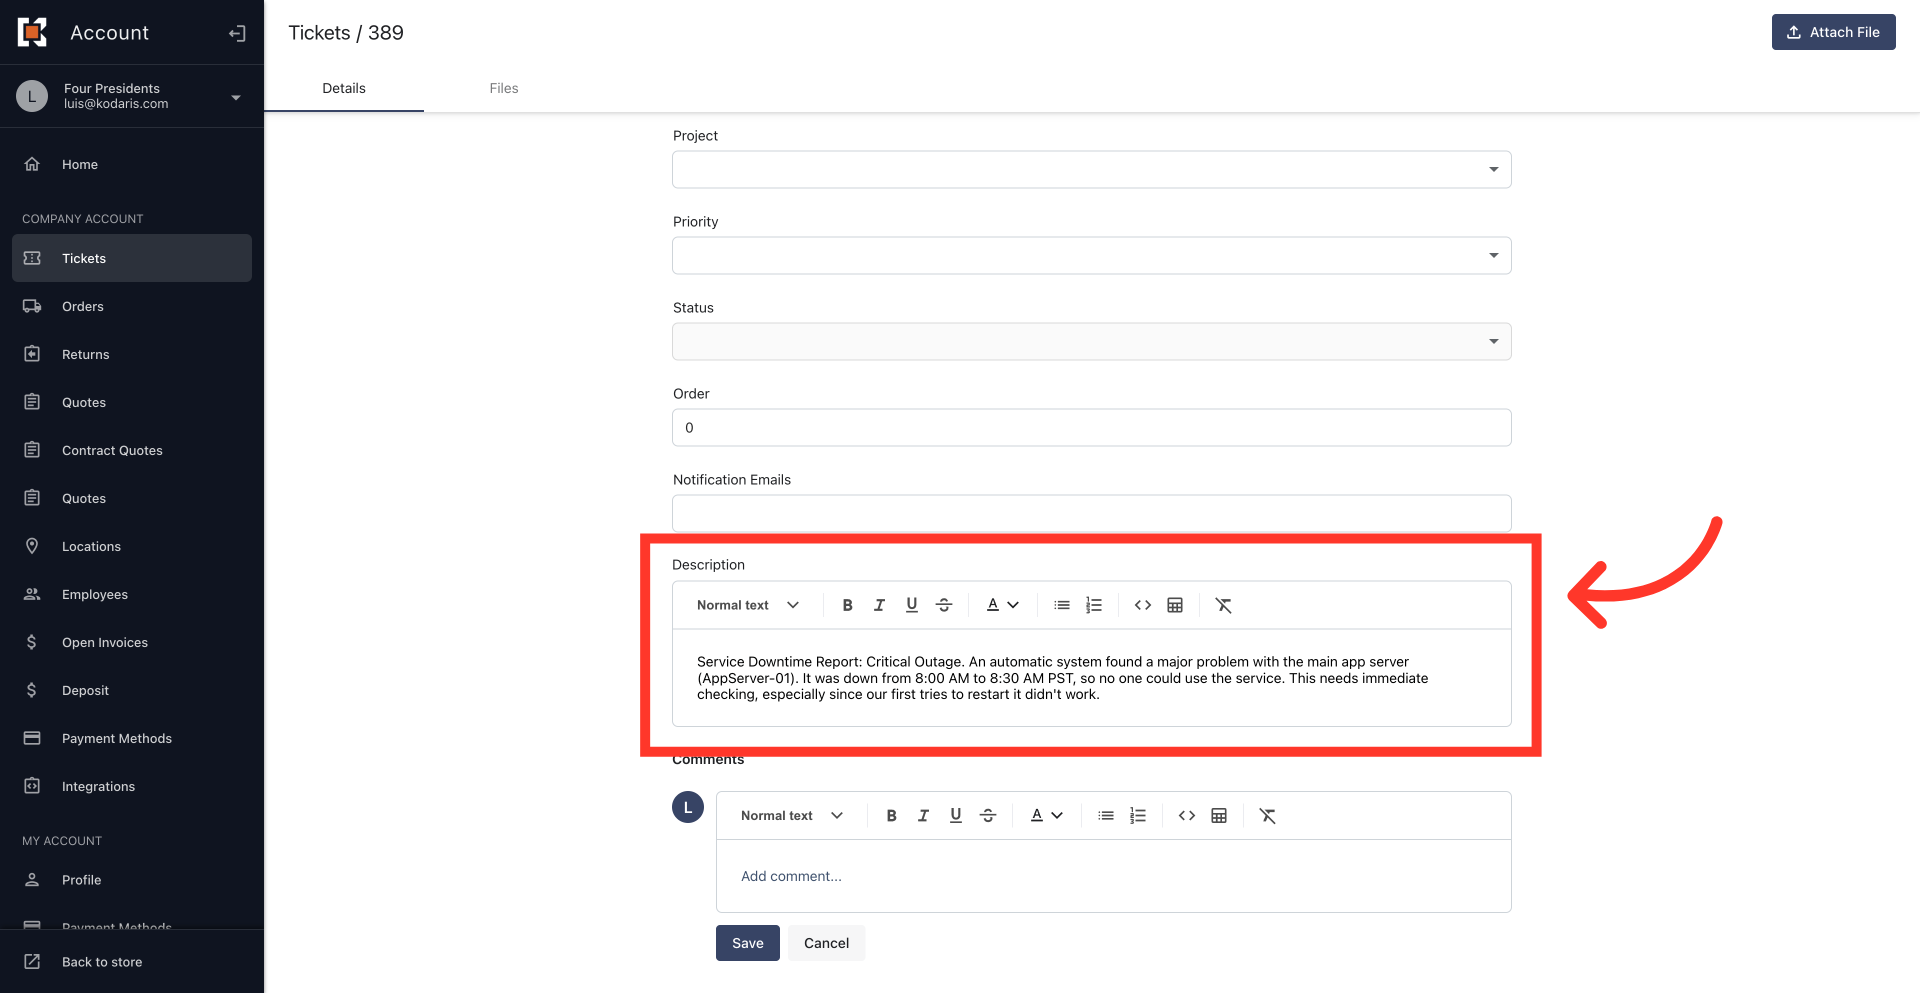
Key in the "Description" field
On the "Details" tab, find the "Description" field with its editing toolbar above it. This toolbar has tools to format text, making it easier to read and highlight important details. Type your text in the "Description" field.
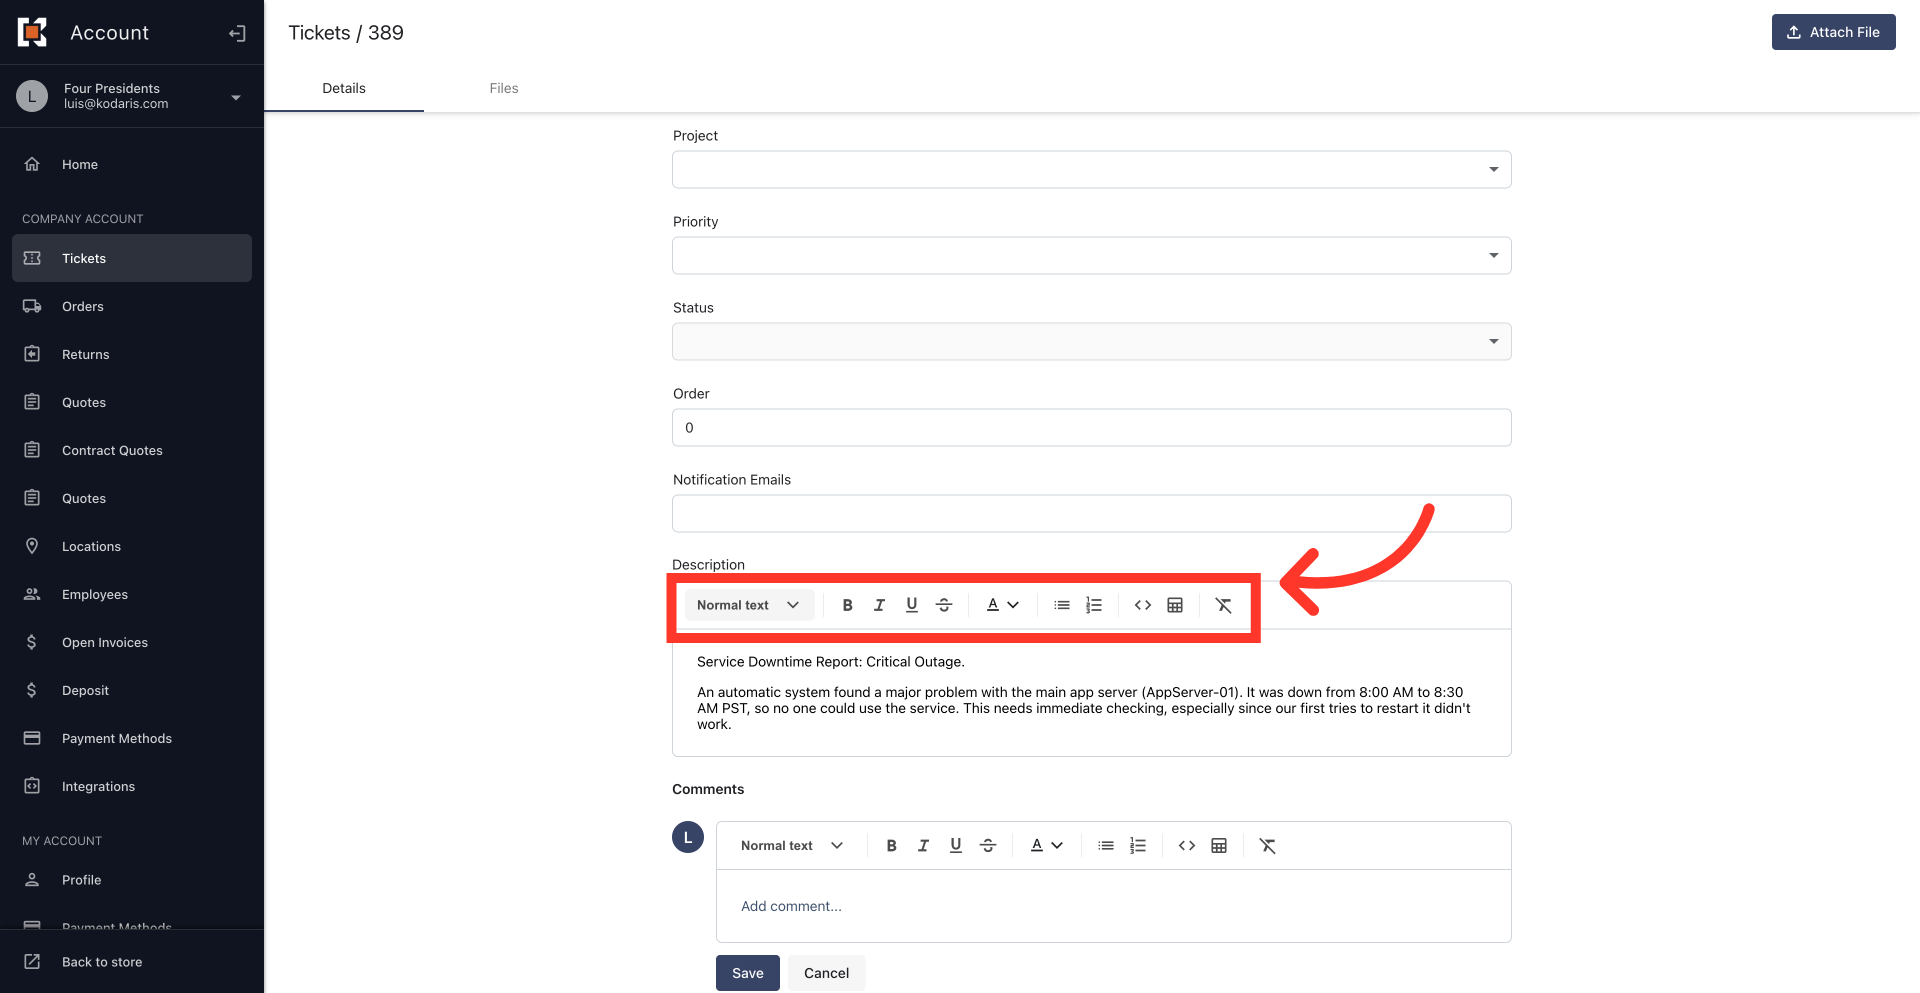
Apply formatting
You can use the toolbar to add headings, change text styles, pick colors, or make lists.
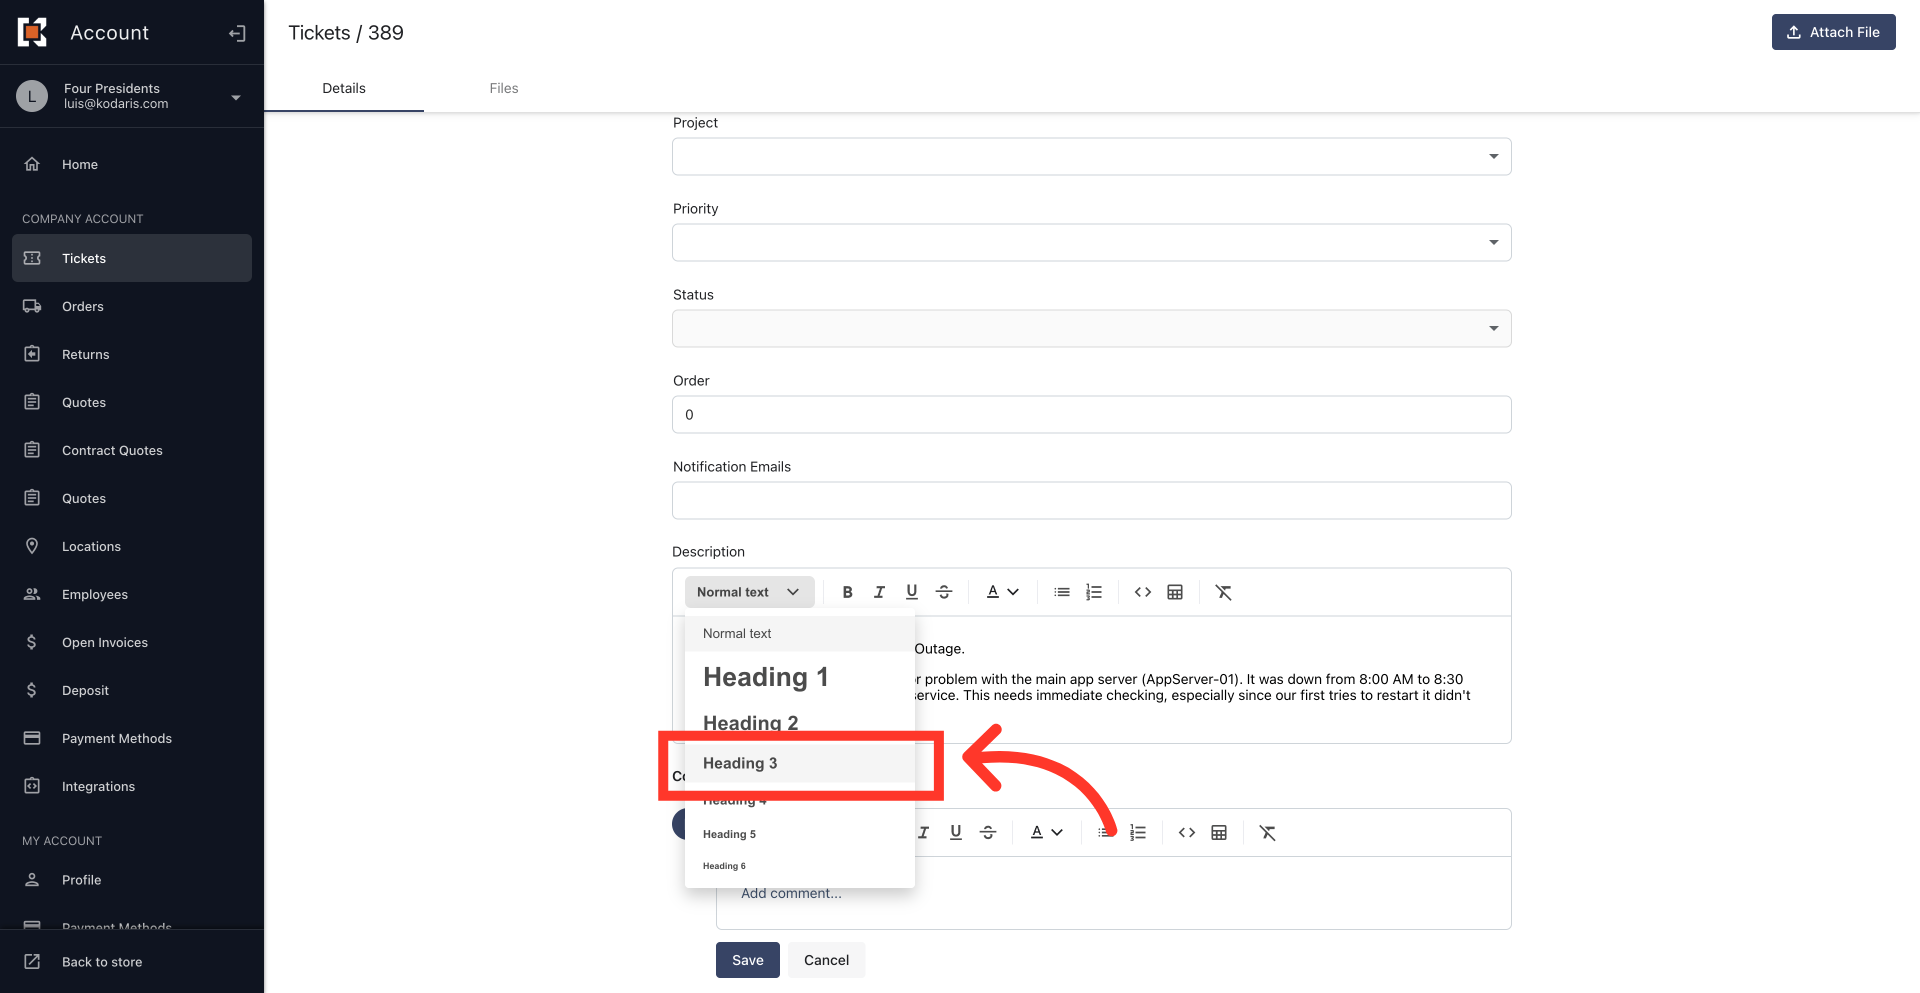
Heading
Headings make your text neat and easier to read, especially in long tickets. First, select the text you want to change. Then, click the menu and choose the heading size.
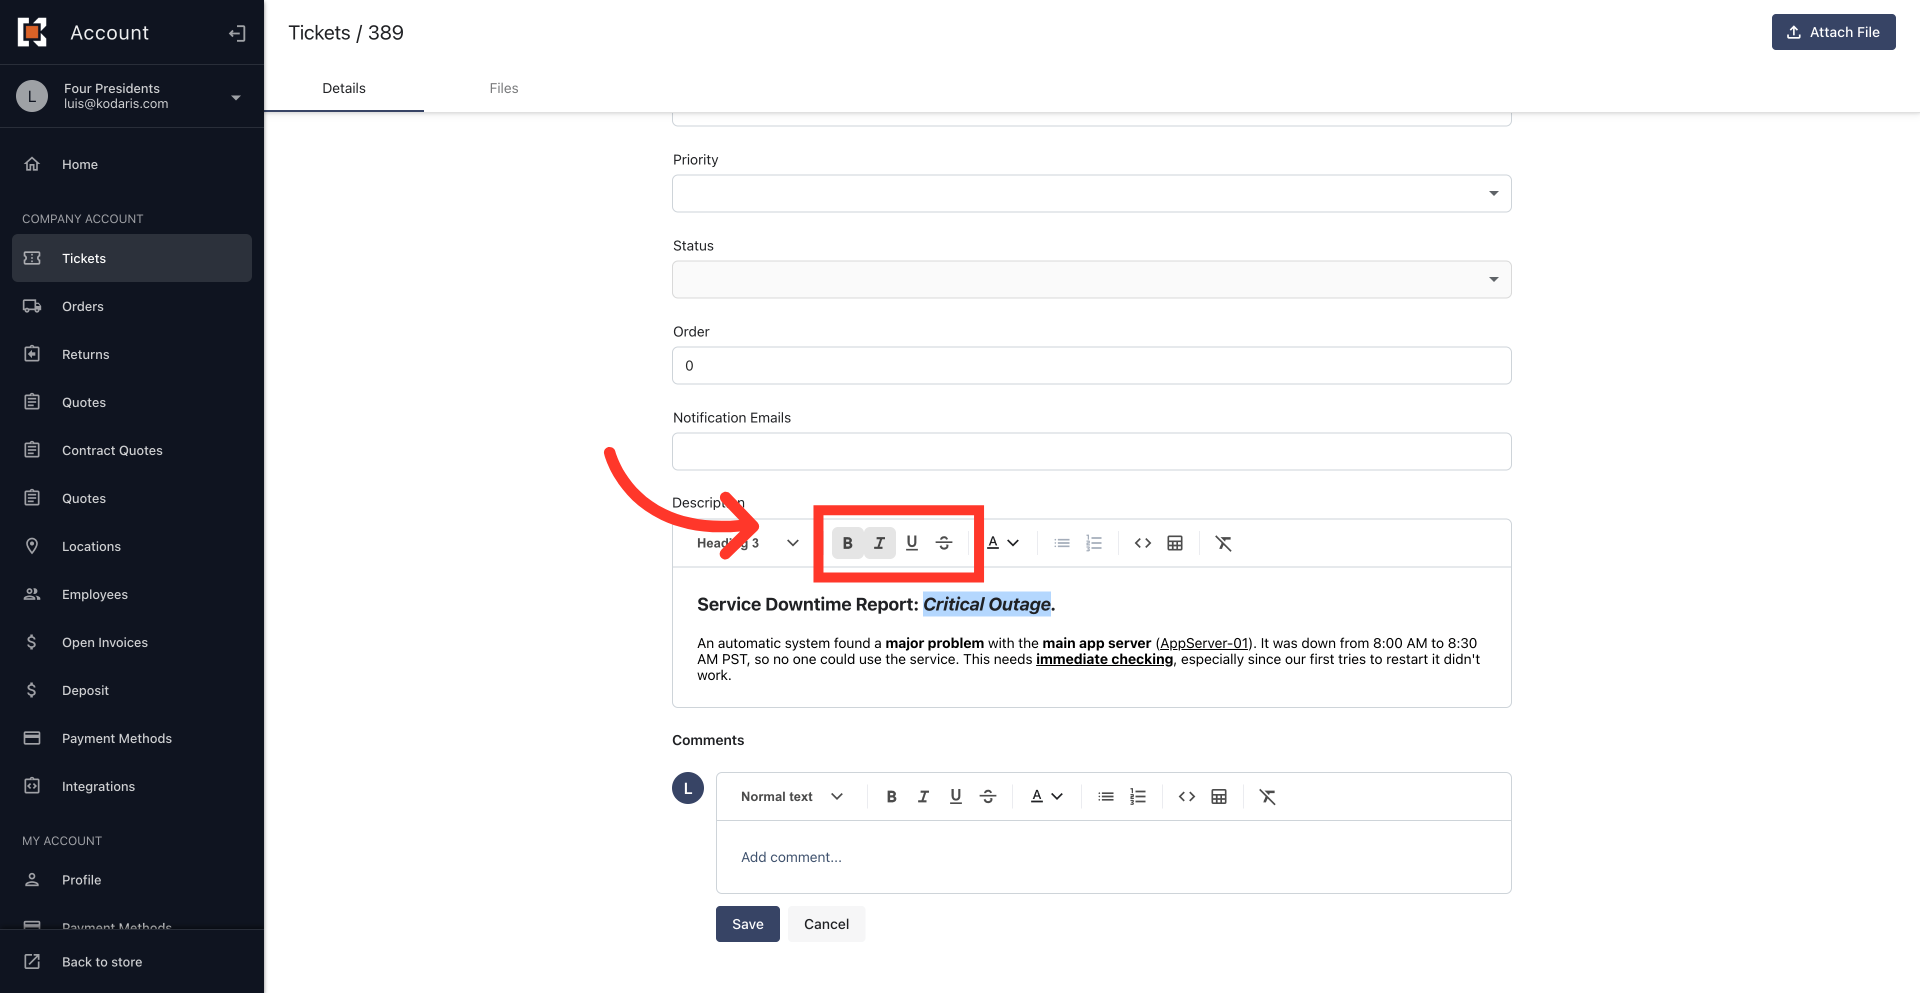
Text formatting
Basic text formatting, like bold, italic, underlined or strikethrough, helps important words stand out so readers can quickly get the main ideas. To use them, select the text, then click the right icon in the toolbar.
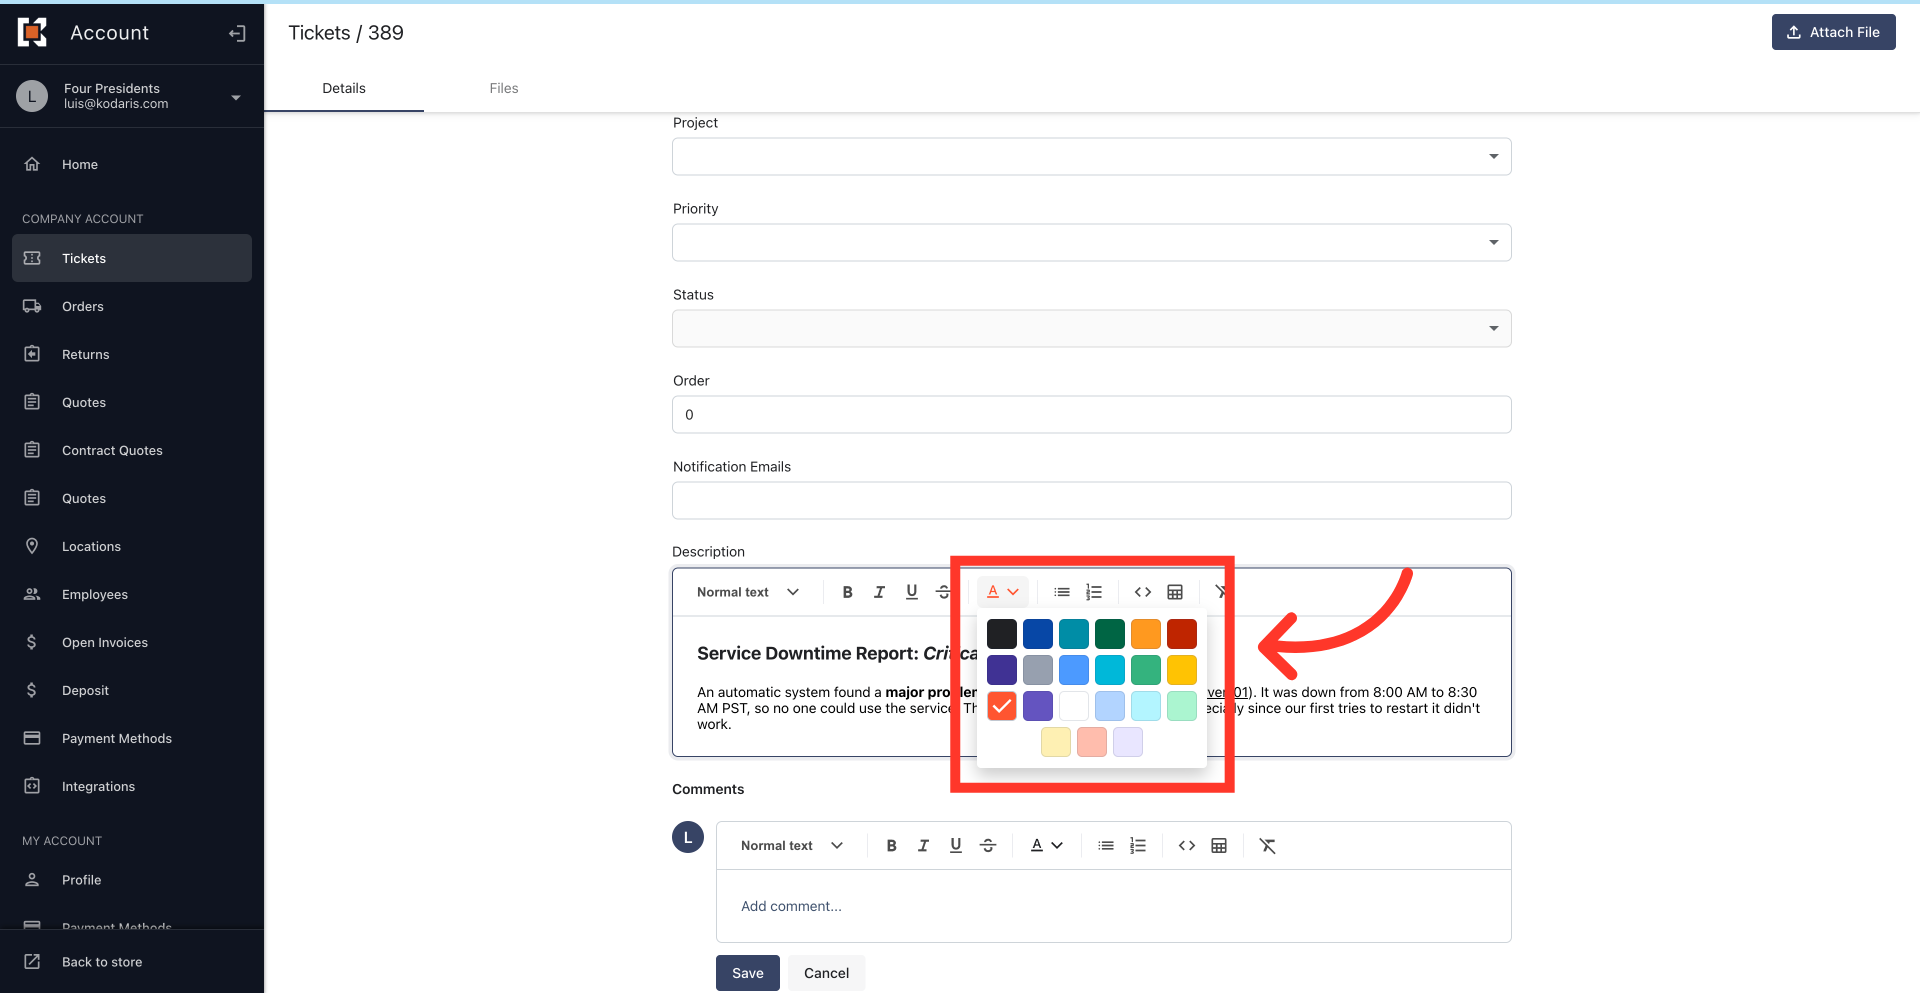
Text color
To change the text color, select the text then pick a color from the text color menu.
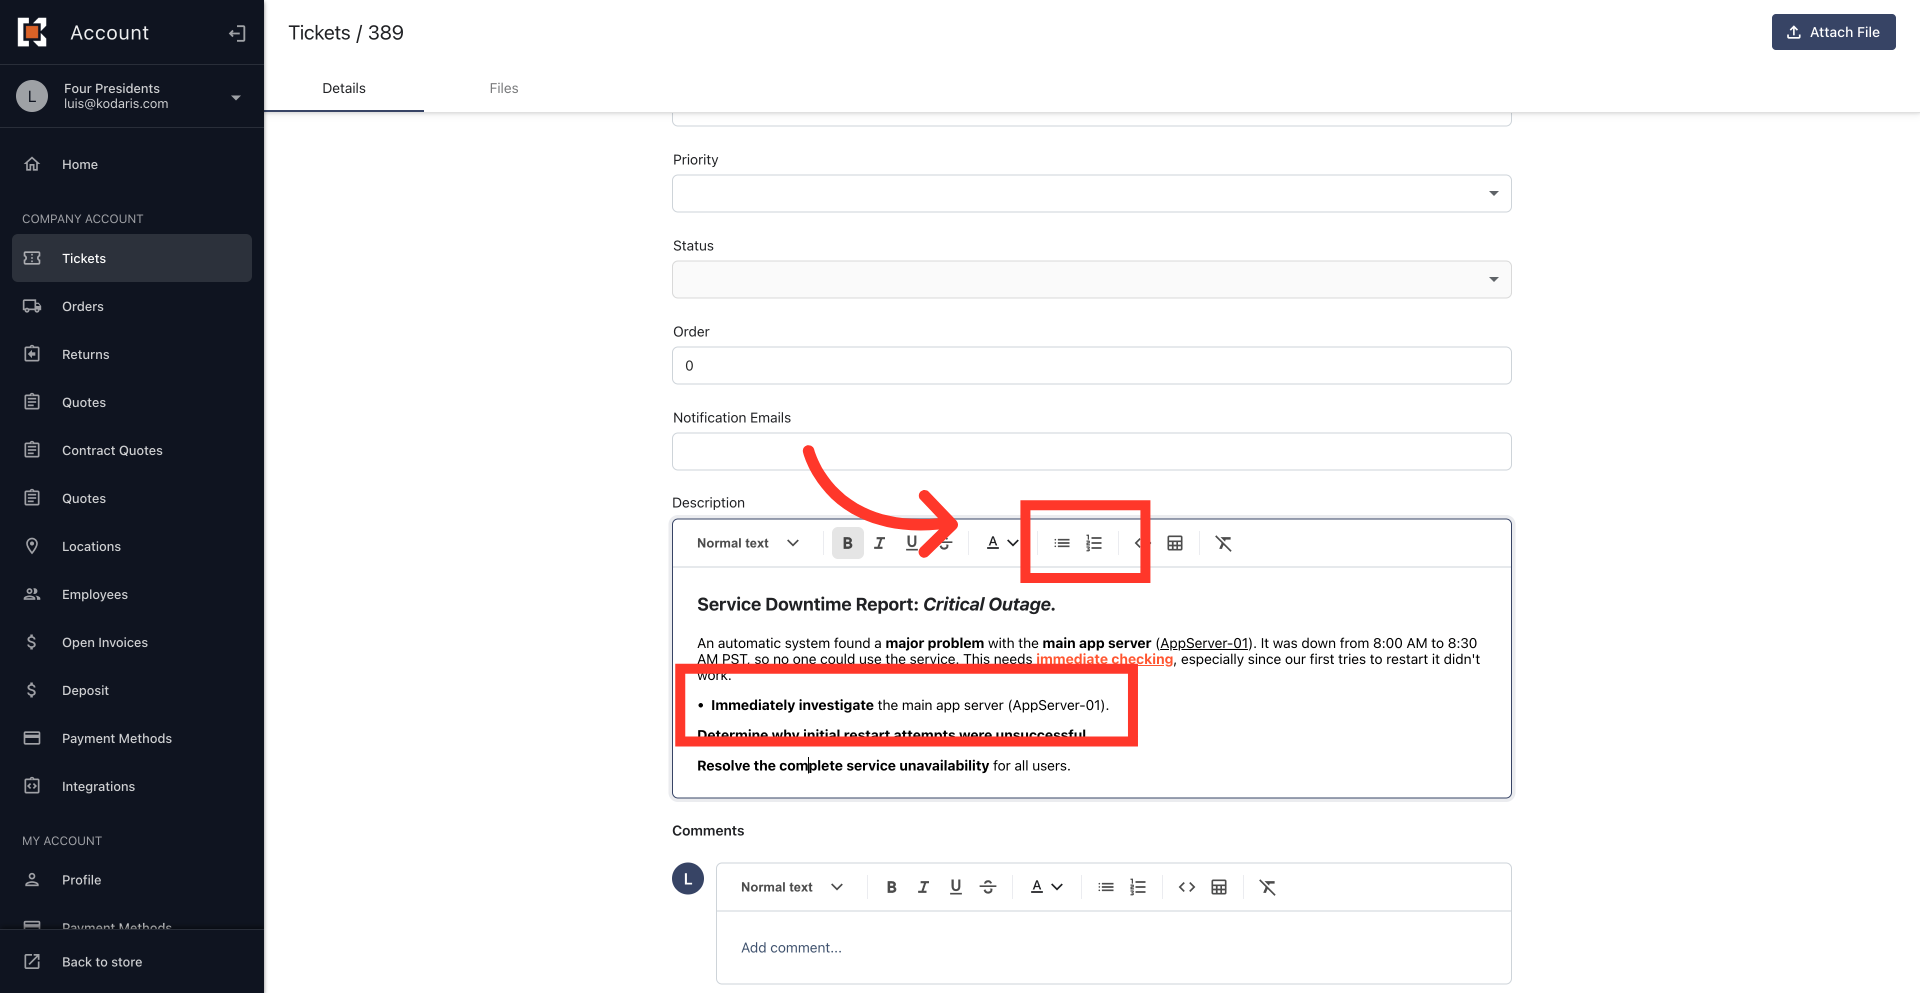
Bulleted list
Bulleted lists make content clear and easy to read for lists, steps, or requirements. To turn any line in your "Description" field into a list, even an empty one, just place your cursor on the line and select the ordered or unordered bullet icon.
Nest list items
Use "Tab" or "Shift+Tab" to create nested lists.

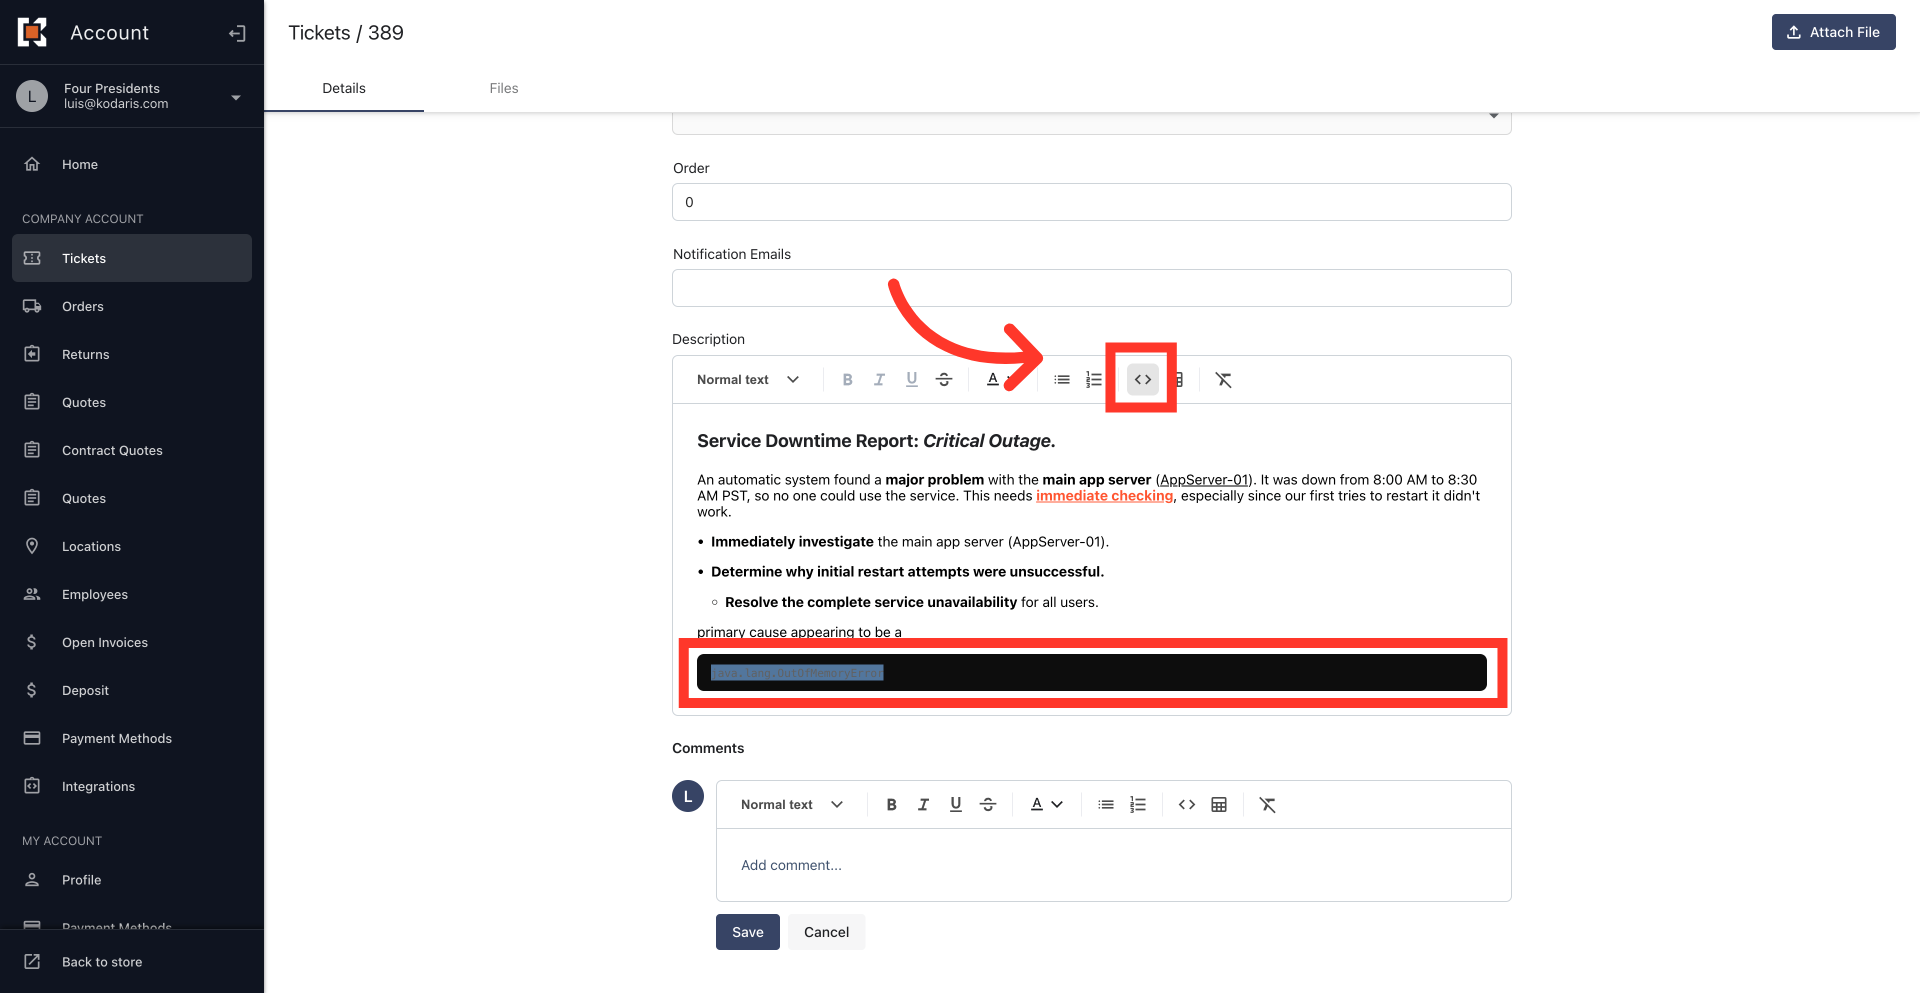
Code blocks
Code formatting displays technical text in a code block. To use it, select the text, then click the code formatting icon.
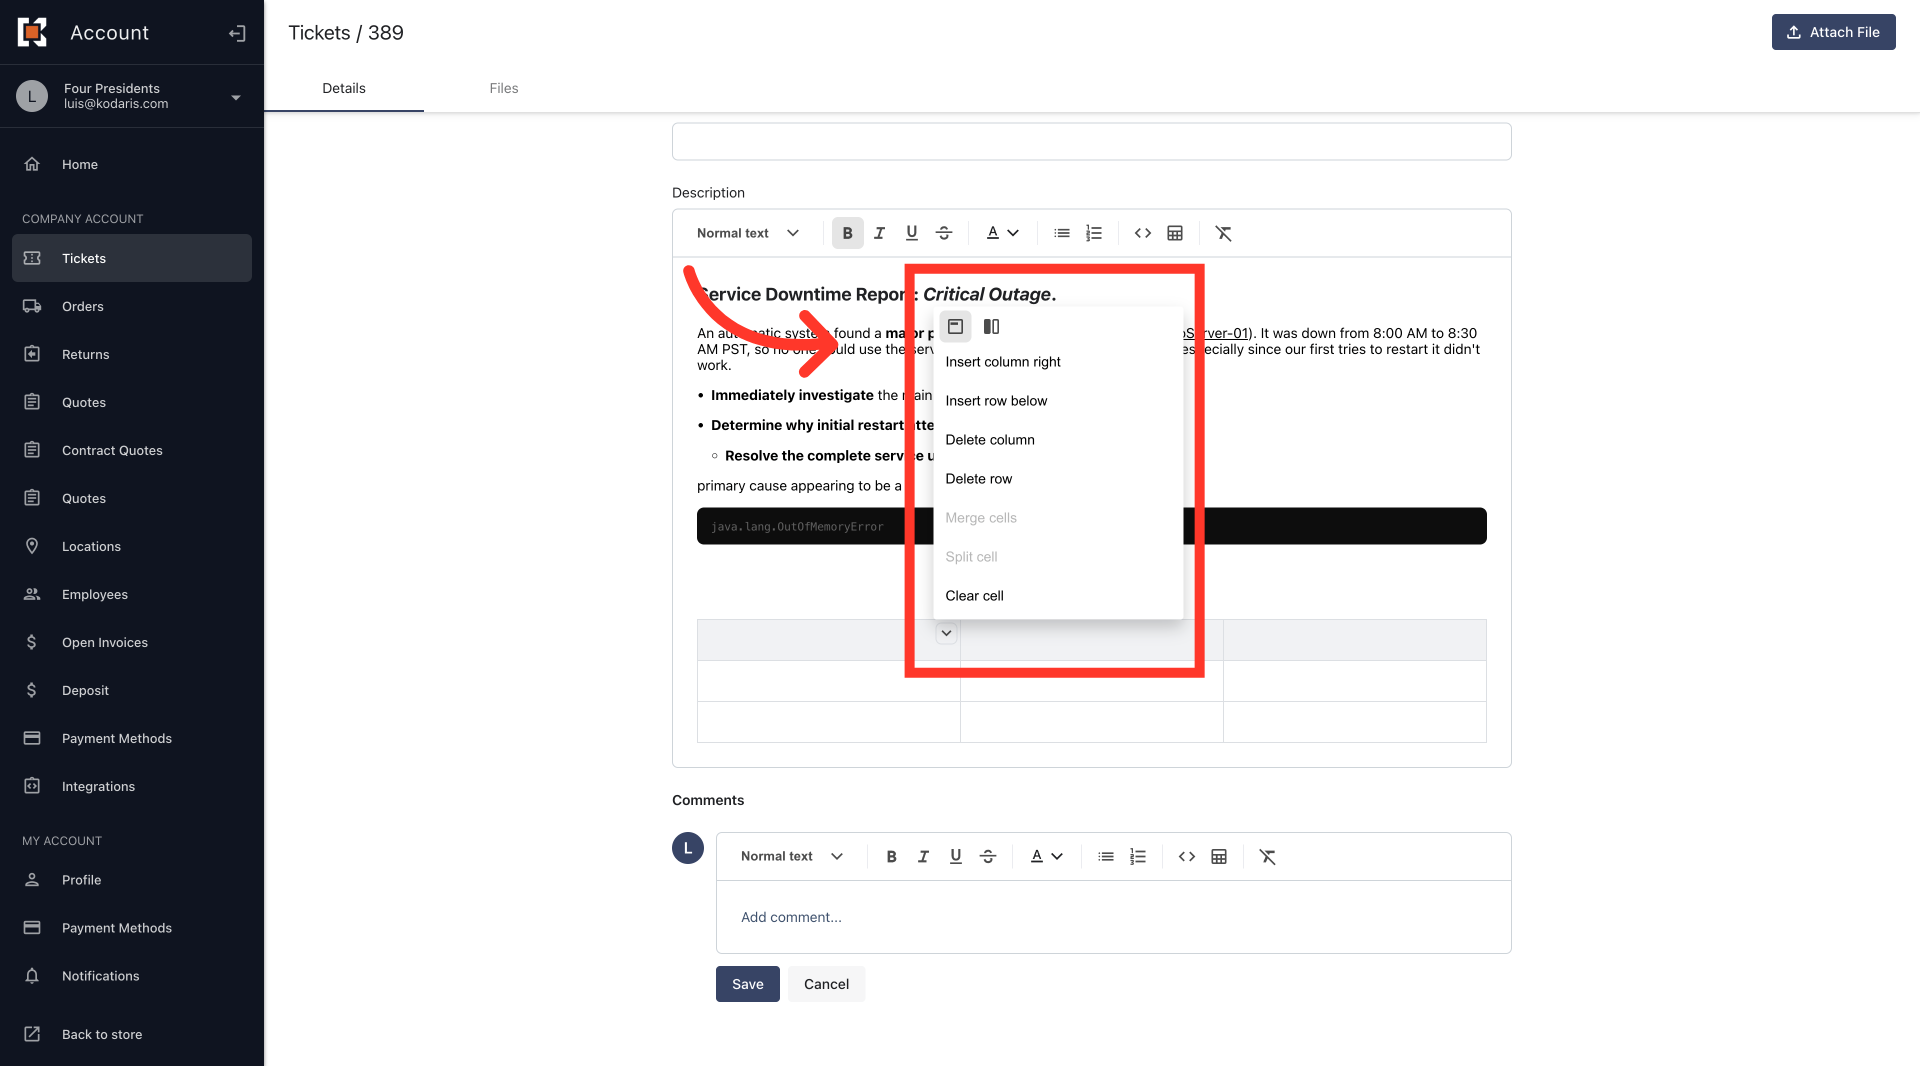
Tables
Tables can help you compare data easily. To add a table, click the "Table" icon.
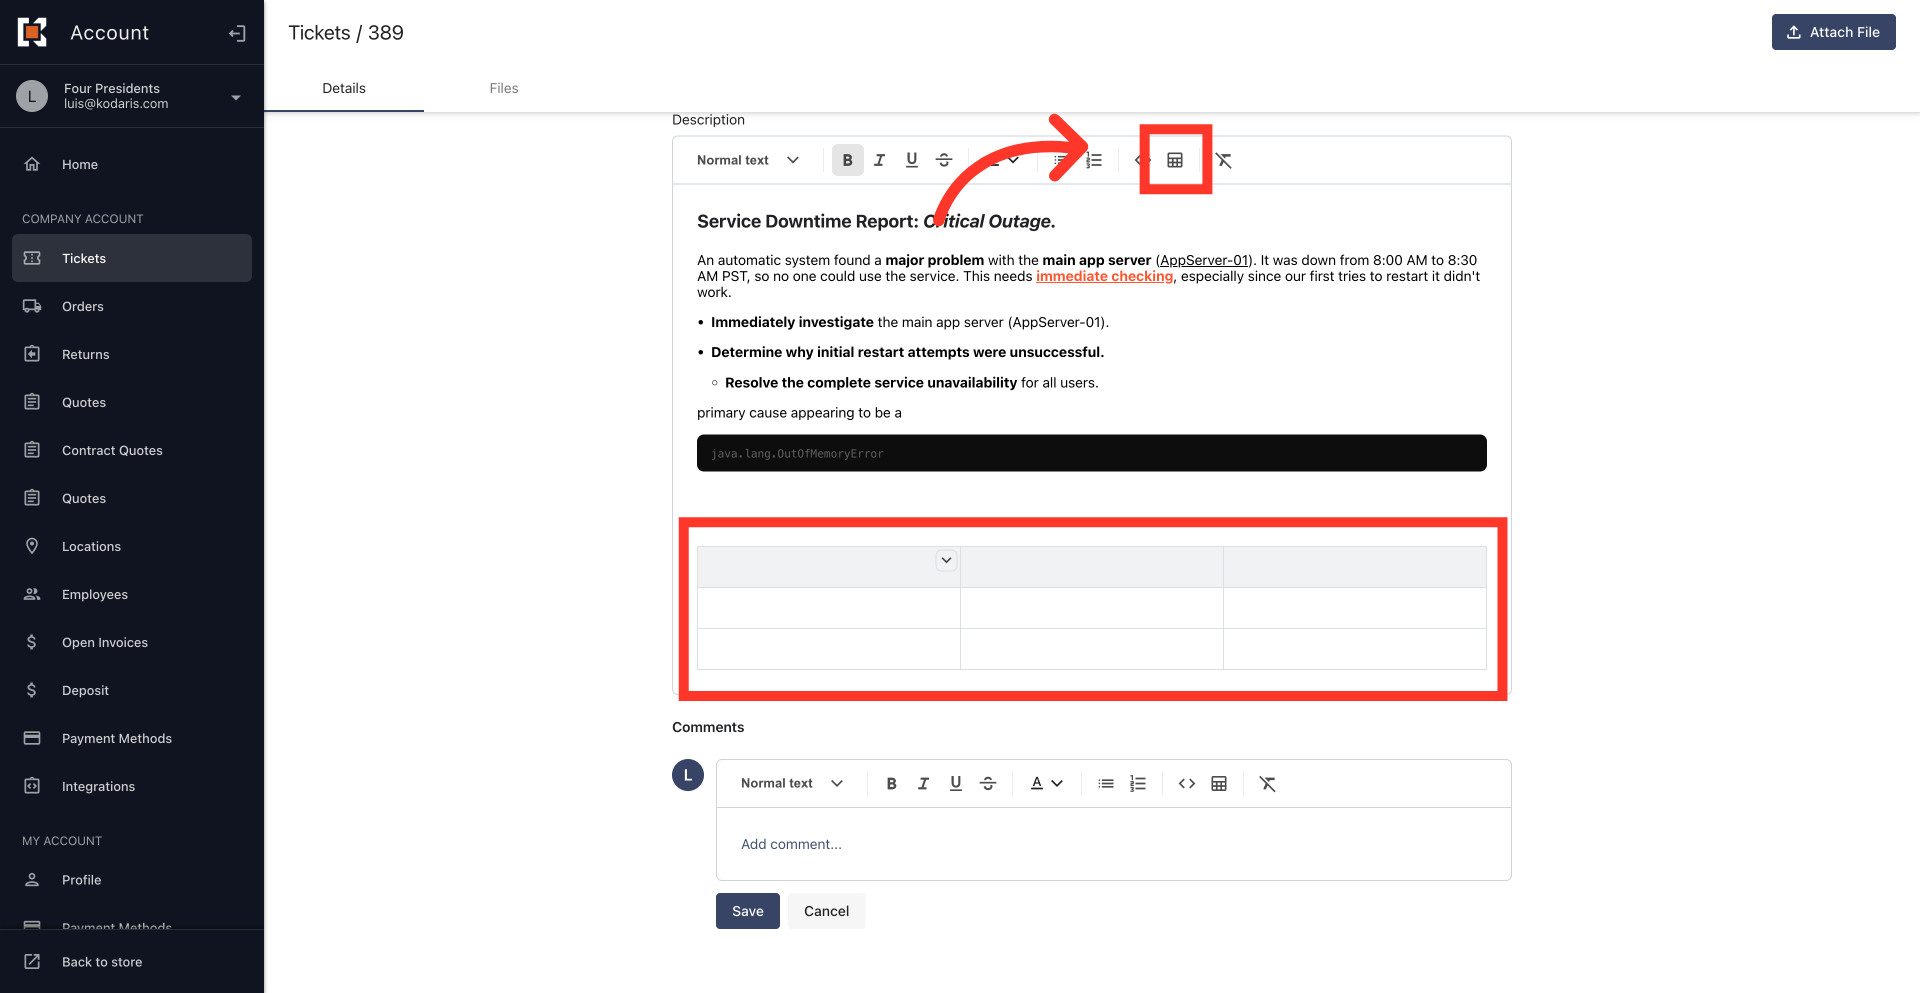
Customize table
Then, use the arrow icon to format your table, like adding or removing rows/columns and combining cells.
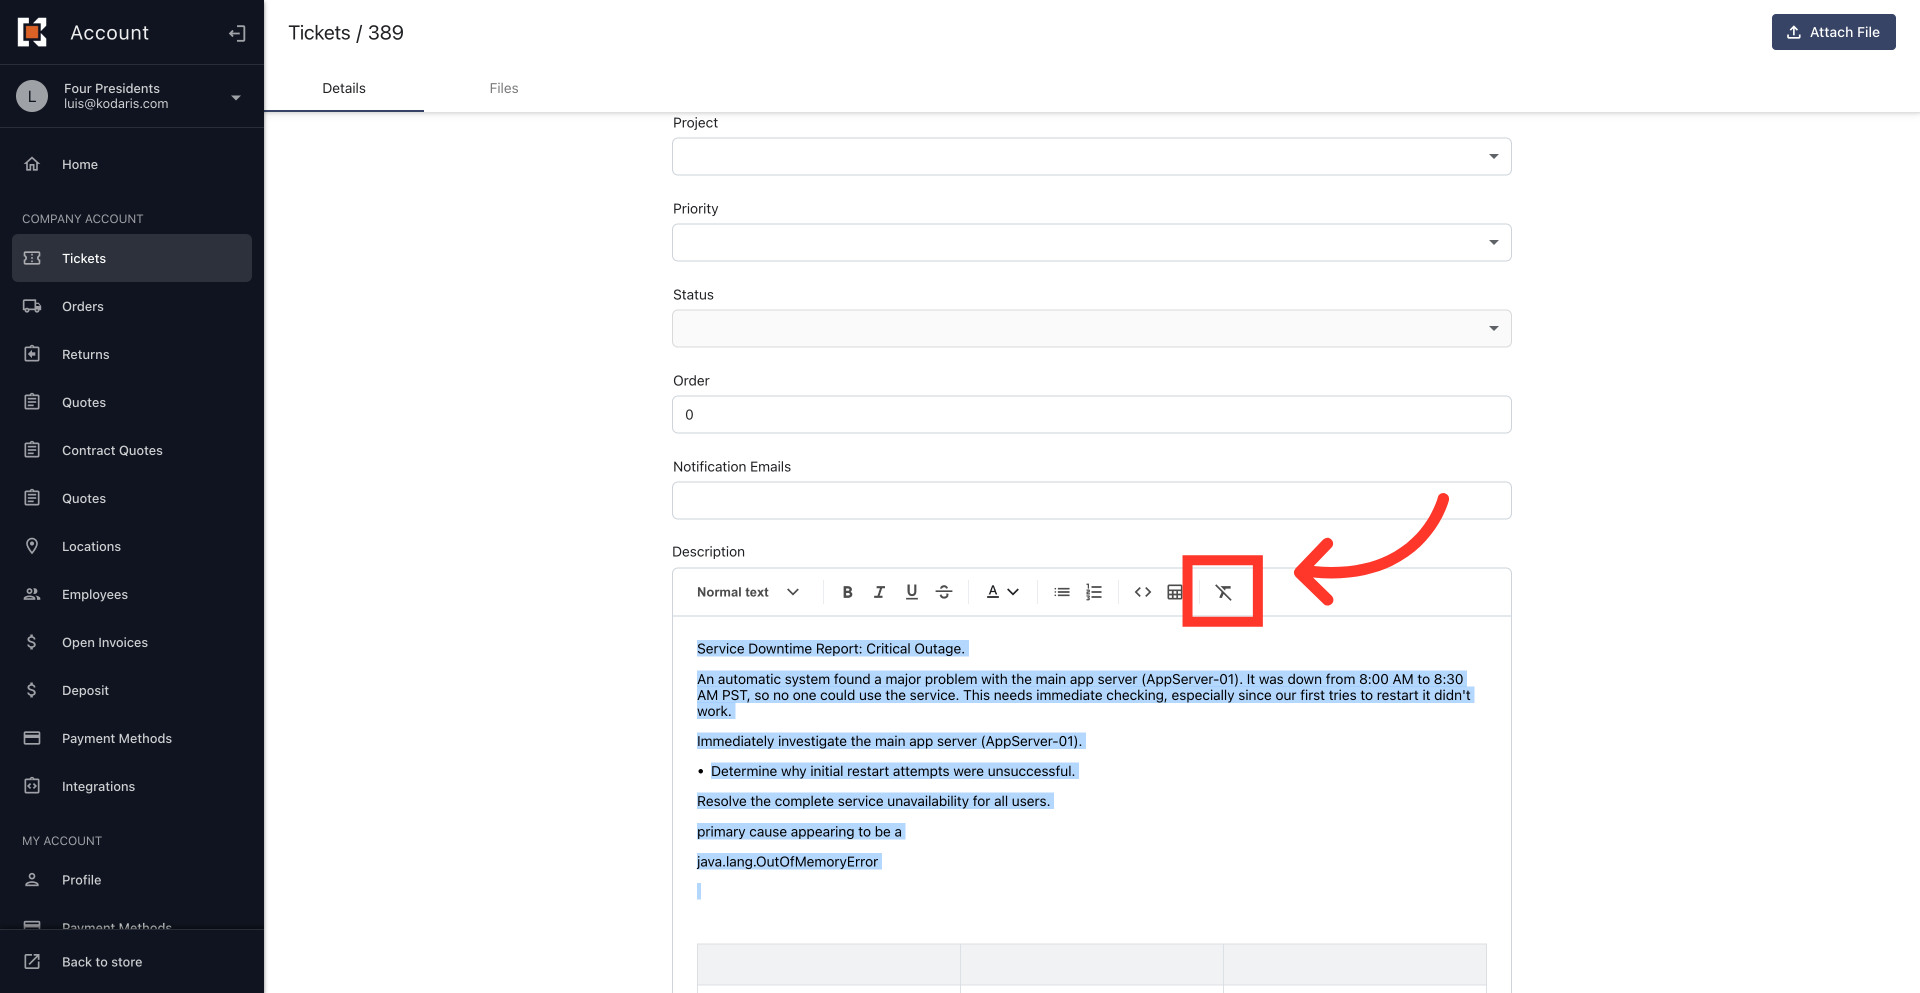
Clear formatting
To remove all formatting, select the text and click the "Clear Format" icon. This makes the text plain again, saving time and keeping it consistent.