Operations CRM - Enable Multiple Customer Accounts to Place Order with Credit Card
Navigate to "CRM"
You can enable multiple customer accounts to place orders with credit cards by using the bulk import and export feature. First, navigate to the "CRM" section in the Operations Portal.

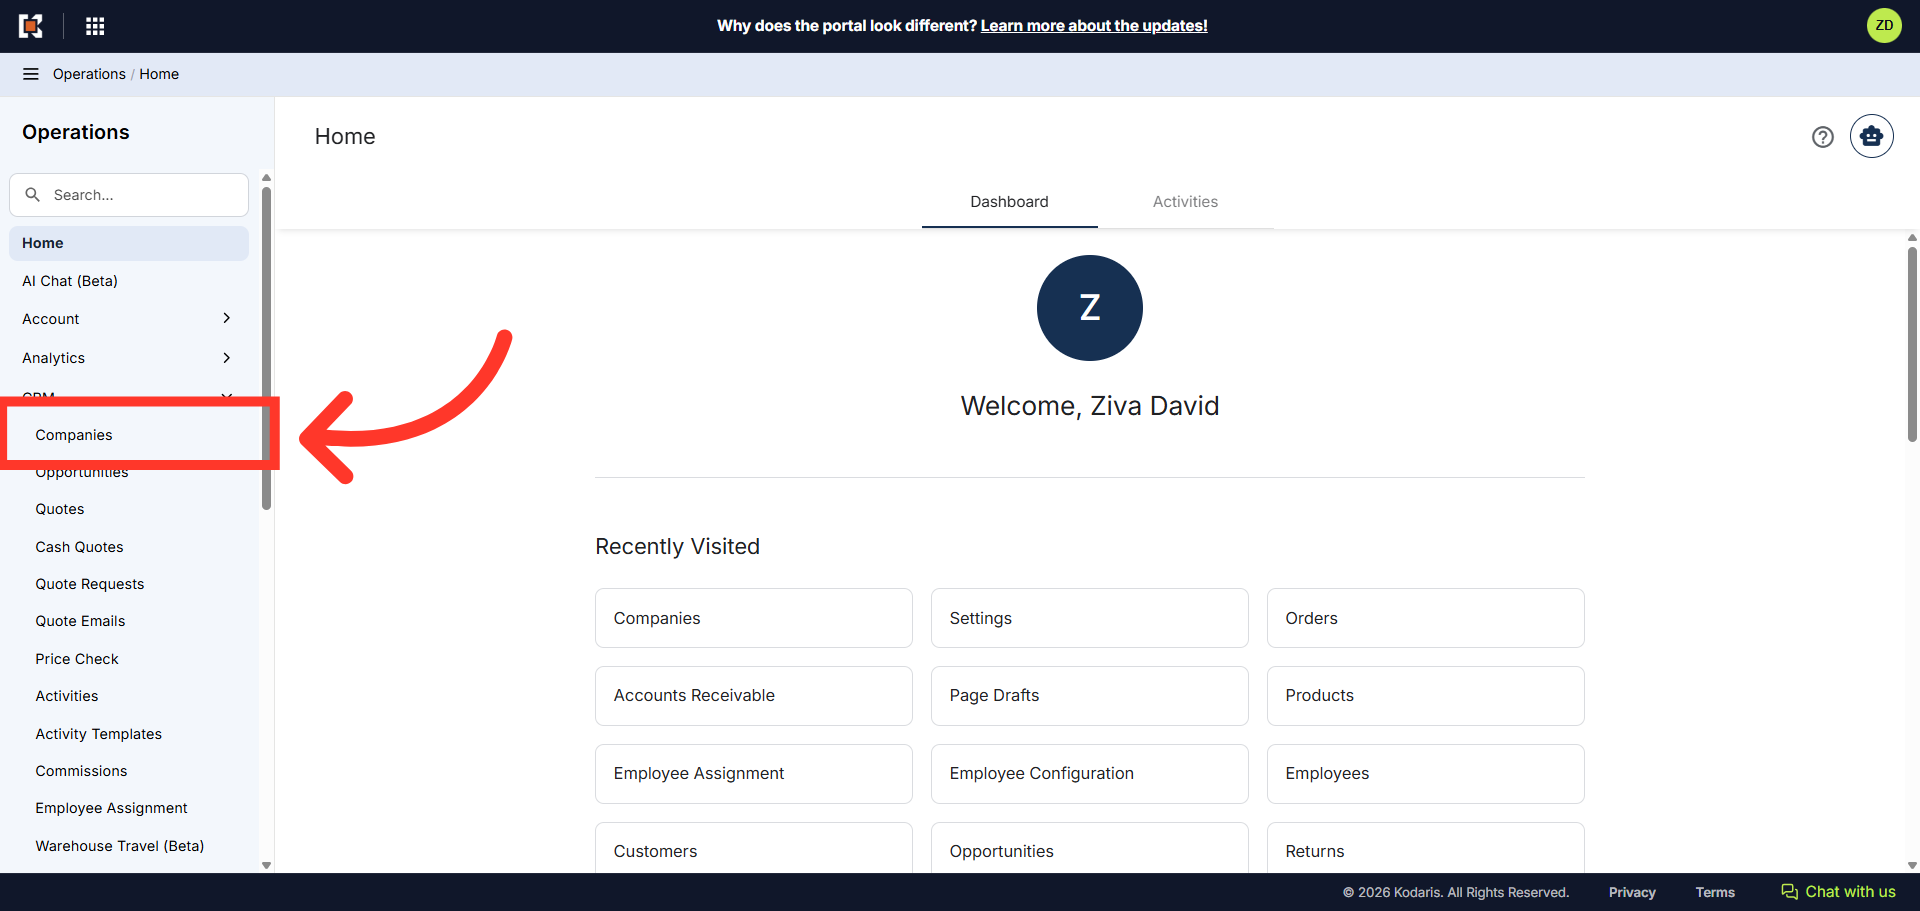
Click "Companies"
Then, click "Companies". In order to access "Companies" you will need to be set up either as an "administrator" or a "superuser", or have the appropriate roles: "companyEdit", or "crmCompanyEdit". Just a reminder, "crmCompanyEdit" access only allows employees to access companies that are assigned to them. Additionally, you will need the "importEdit" role to import a file later.
Click "Data"
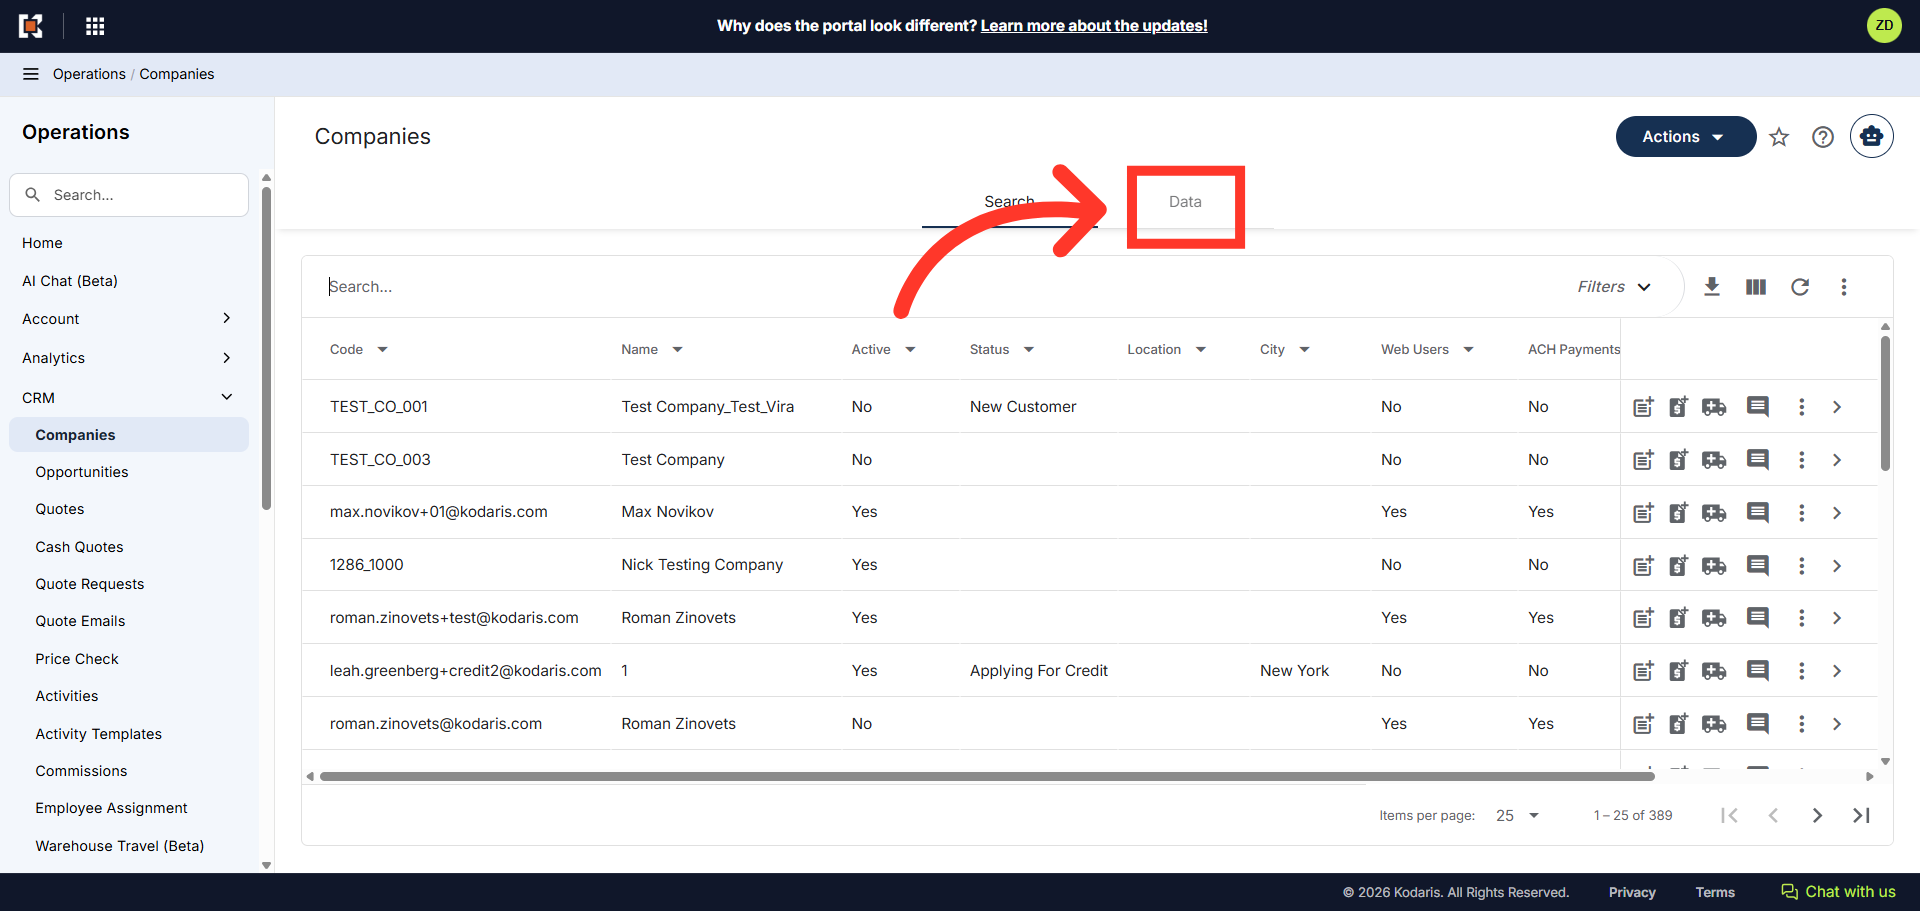
Then, click on the "Data" tab.
Remove unnecessary columns
Before exporting the data, remove any unnecessary columns from the "Data" grid. We will only need the "Code" and "Can Use POs" columns for the export.

Click "File"
Click "File".

Click "Export"
Select the "Export" option. This export will have the needed header row and data that will be used for importing back into the system when using the "Data" screen.

Name the export file
The "Save as" dialog box should appear. If you would like to rename your export, click in the "Filename" field and type the name. Otherwise, leave it as is.

Click "Save"
Click "Save". If you are exporting a large amount of data, it may take a small amount of time to complete the export. The file will be downloaded and saved to your computer.

Header Row
You can see in this sample export that we have the header row, which is needed to import data, and also the exported data from the Data tab. To prepare the spreadsheet for import, first remove all columns except "code" and the "canUsePOs" columns.

"code" = company code
The "code" column contains the company code. When importing data, the code is required as it is the identifying factor for matching information.

"canUsePOs" = account can checkout using Purchase Order
The "canUsePOs" column indicates whether a company can use Purchase Orders for checkout. "TRUE" means yes, and "FALSE" means no.

"companyCanUseCreditCards" = account can place order using creditcards
Add a column labeled "companyCanUseCreditCards" and populate with a "1" to allow customer accounts to place orders with credit cards, or a "0" to prevent customer accounts from placing orders with credit cards.

Click "File"
Now that the spreadsheet is ready, go back to the "Data" tab in the "Companies" screen. To import the file, click on the "File" menu.

Click "Import"
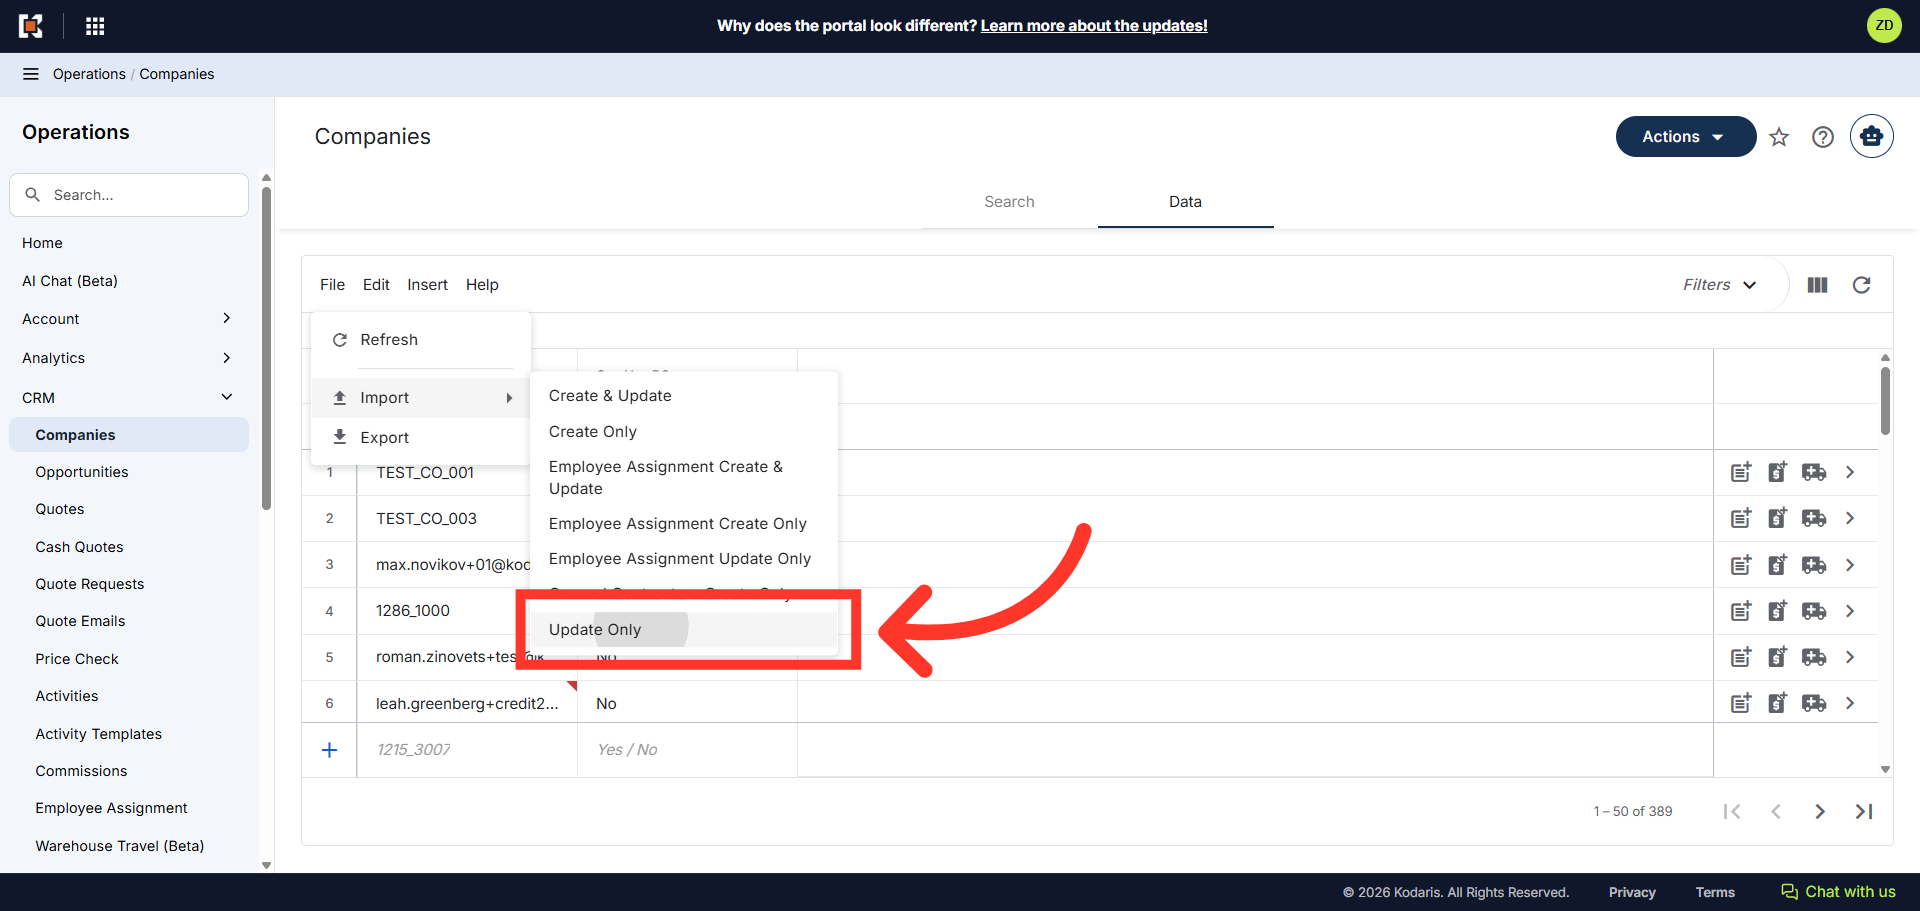
Click "Import".

Click "Update Only"
Then, select "Update Only" to import data changes.
Click "Open"
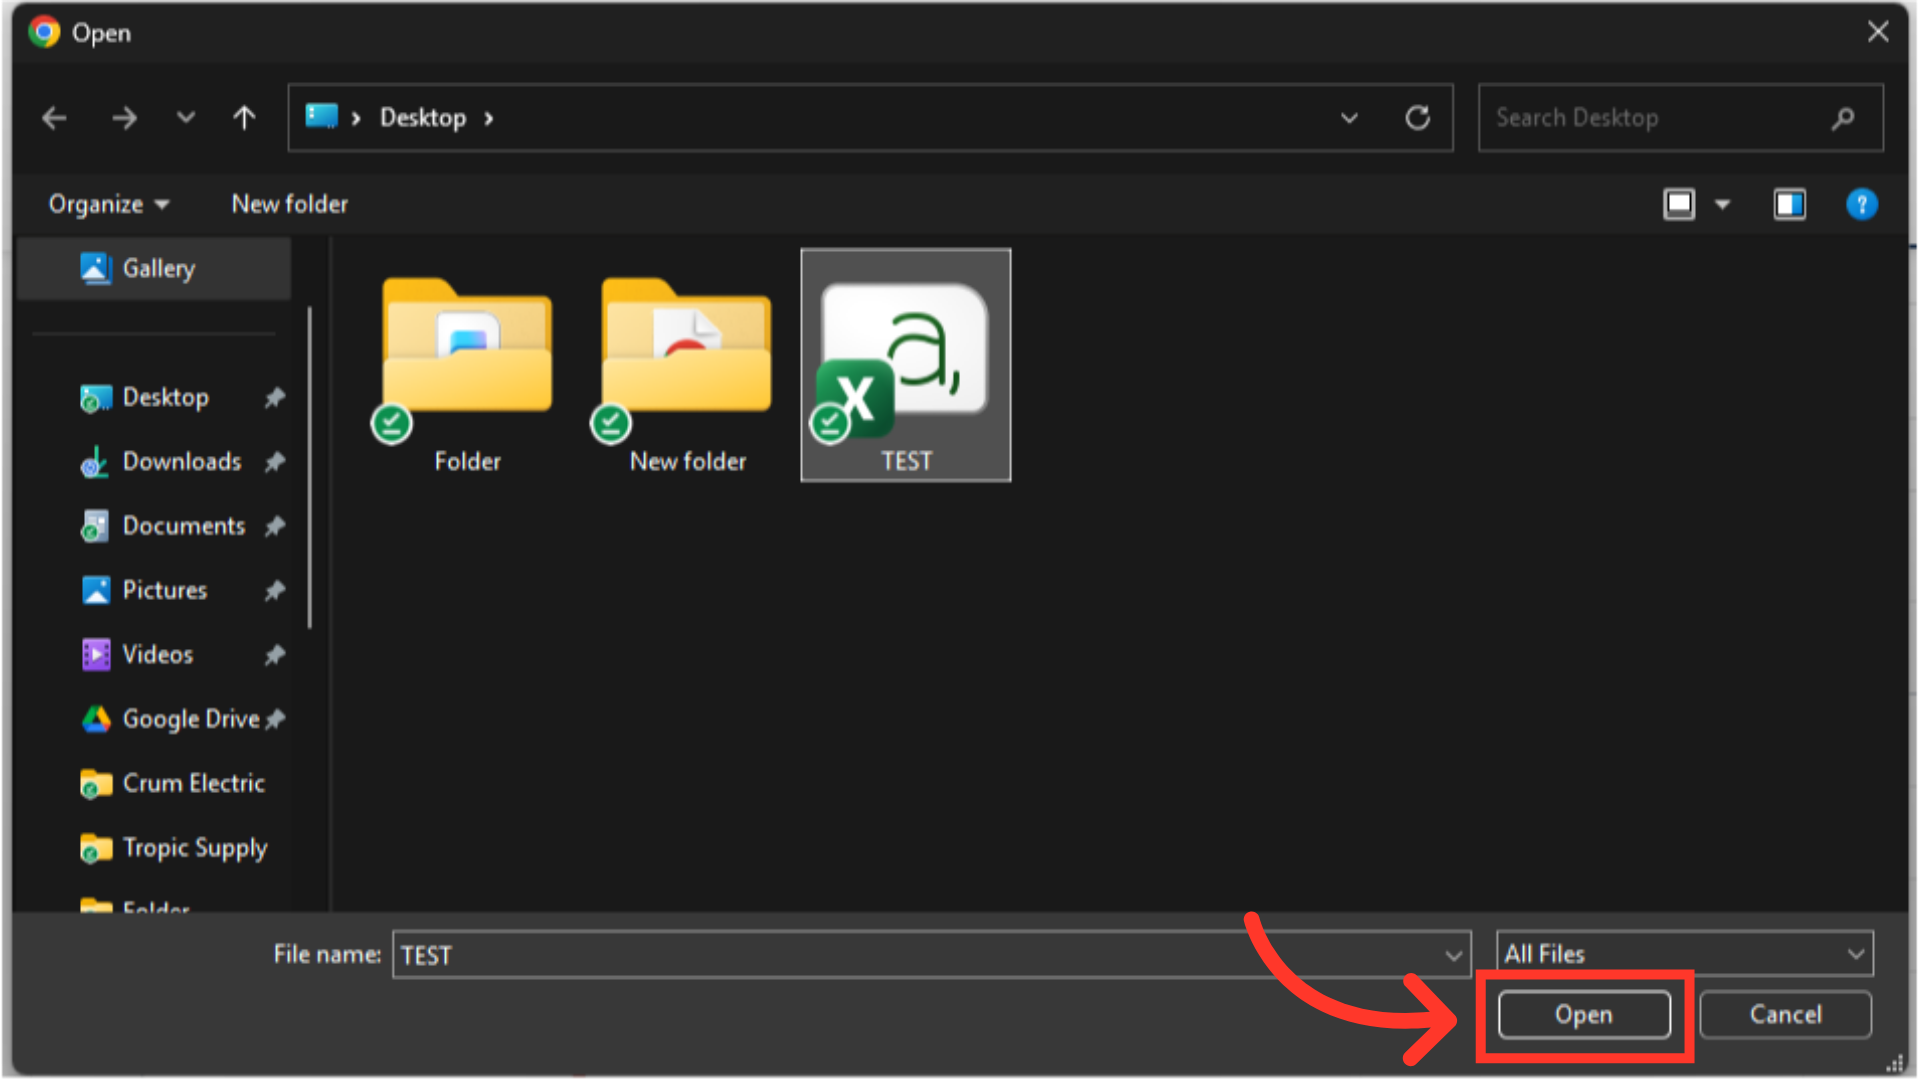
Select the import file and click "Open". Please be sure that you select the correct file, as there are no rollbacks for imports.
Confirmation Message
A confirmation message will appear in the bottom left corner indicating your import file has been queued. If you are importing large amounts of data, it may take a short amount of time to complete. The import will continue to run in the background.

Email Report
Once the import is complete, you will receive an email with the report of your import.
