Find A Dealer - Adding Brands
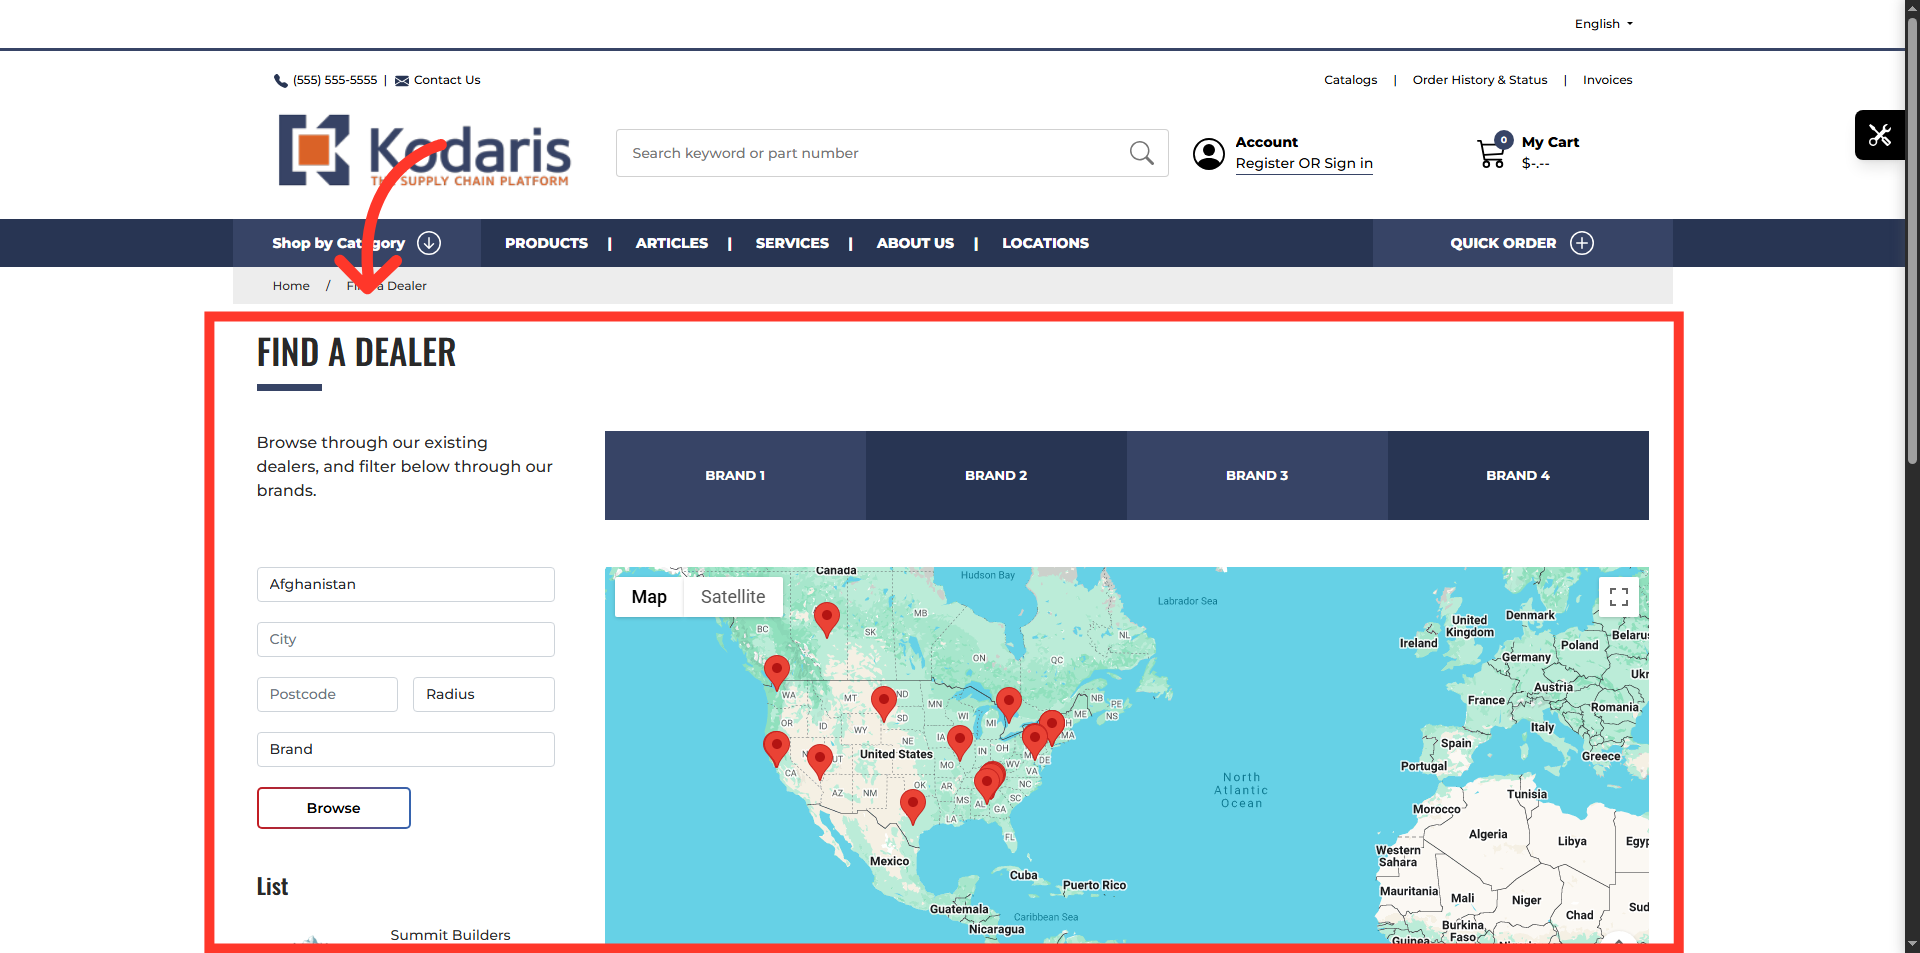
Find a Dealer Page Example
Adding brands to your "Find a Dealer" page will link dealers to the specific brands of products being sold.
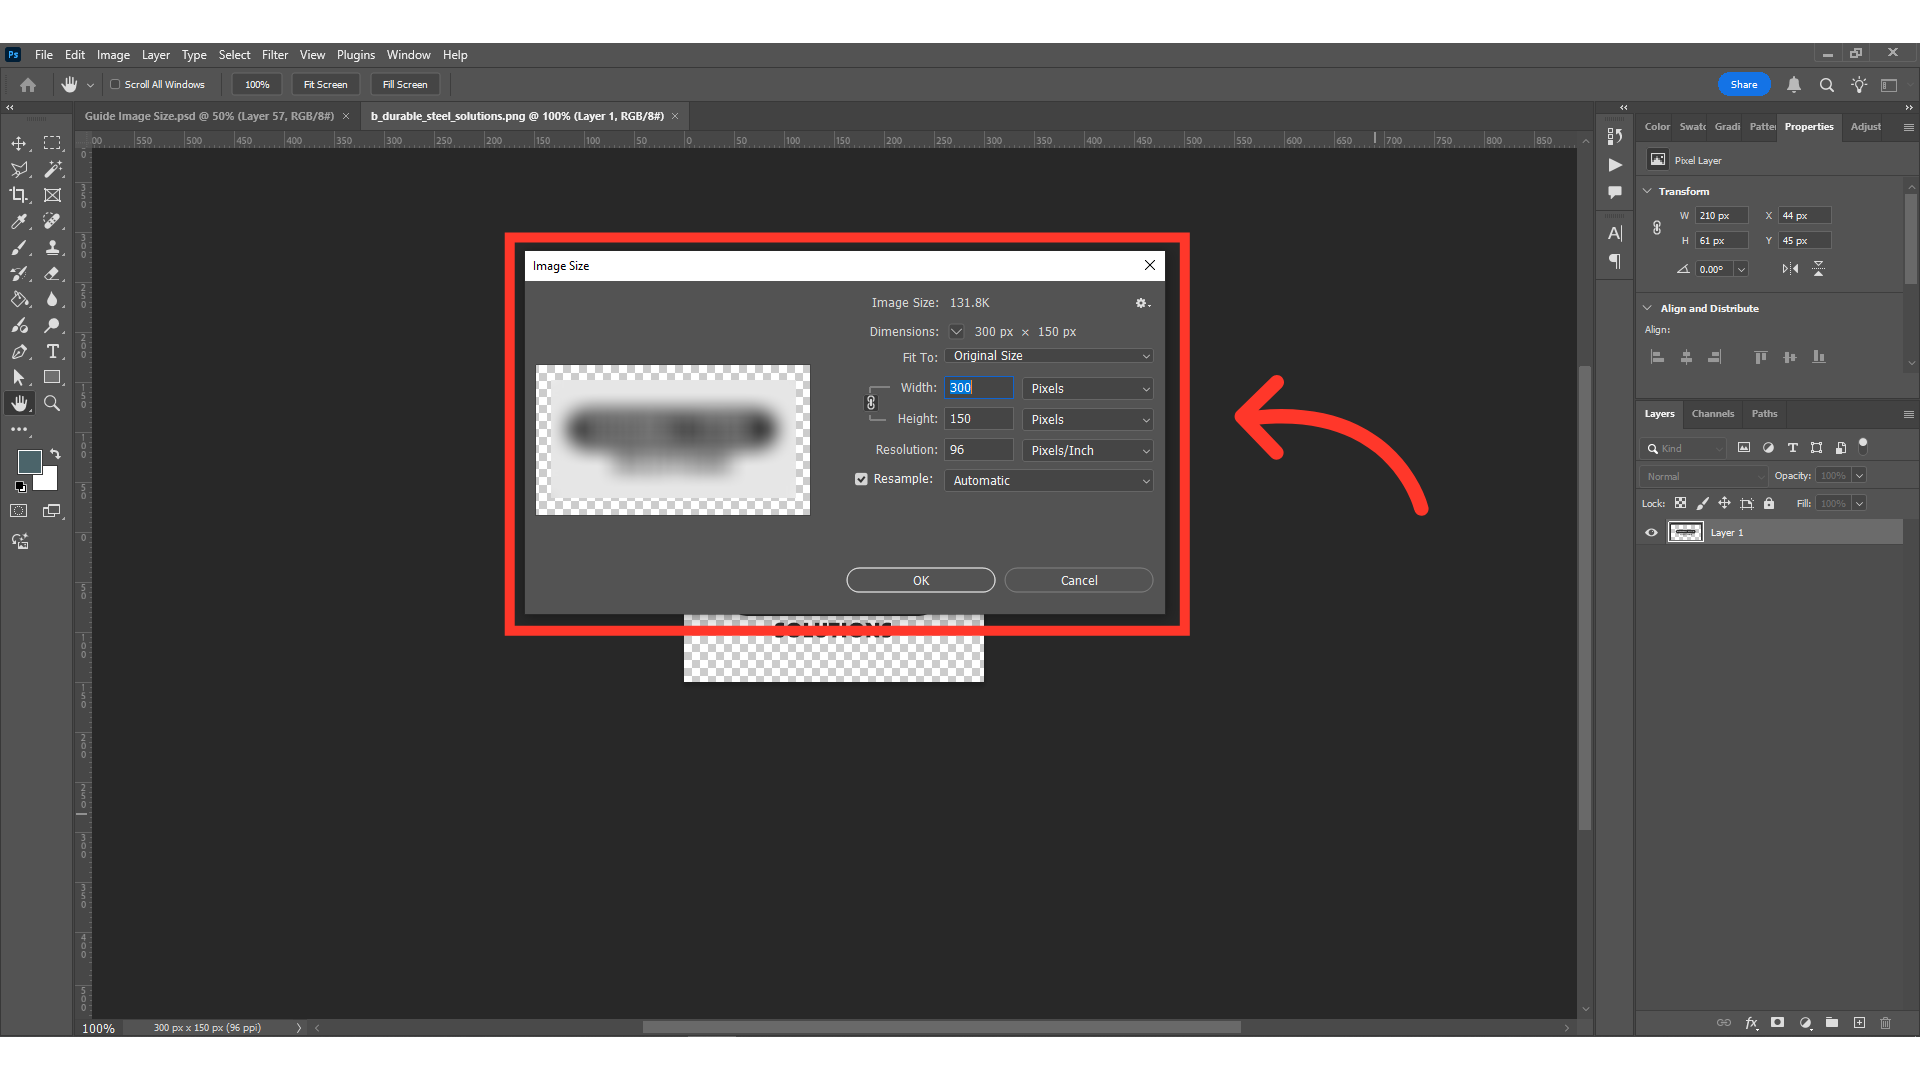
Prepare the images
Before adding a brand, you'll need to prepare the logo image with image specifications as follows. Ideal width: 300px, Ideal height: 150px, Maximum width: 300px, Maximum height: 300px. Oversized images may impact page load speed.
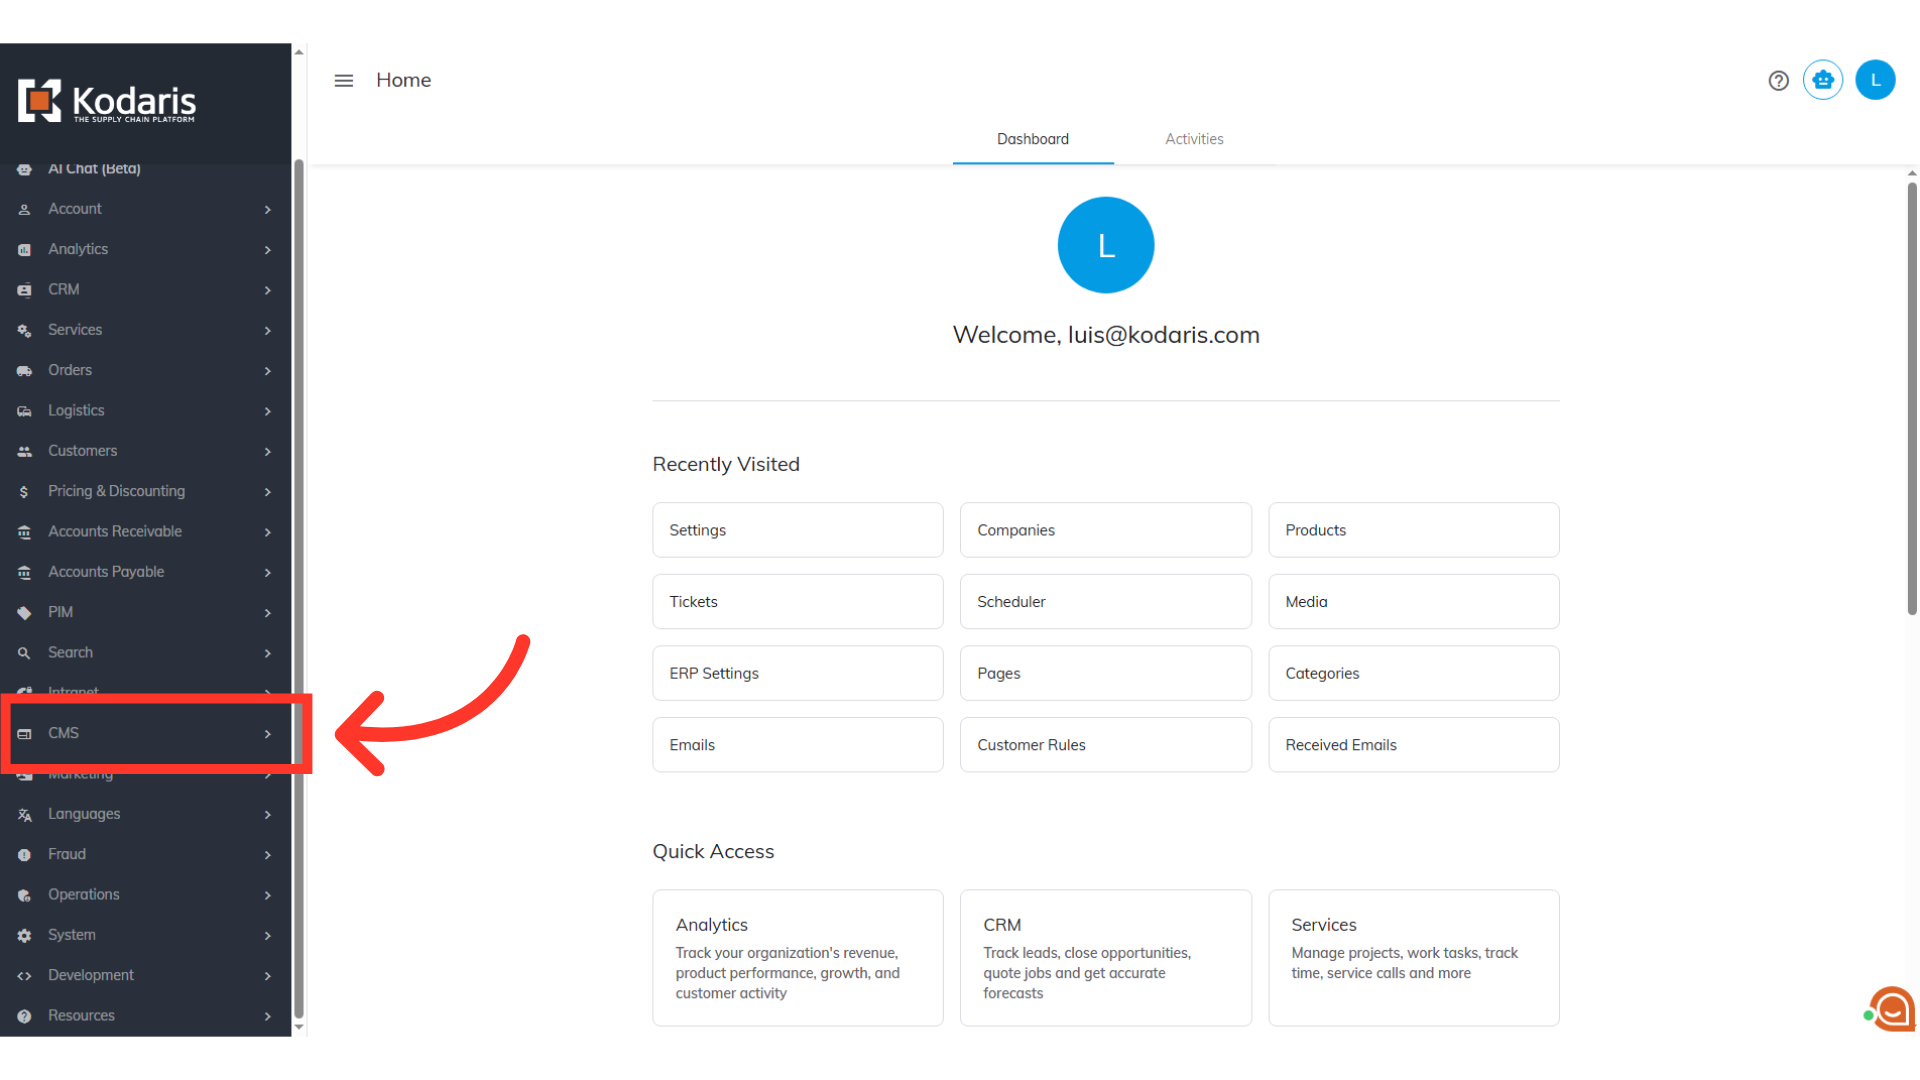
Navigate to "CMS" section
Next, upload your brand logo images to your system. Navigate to the "CMS" section in the Operations Portal.
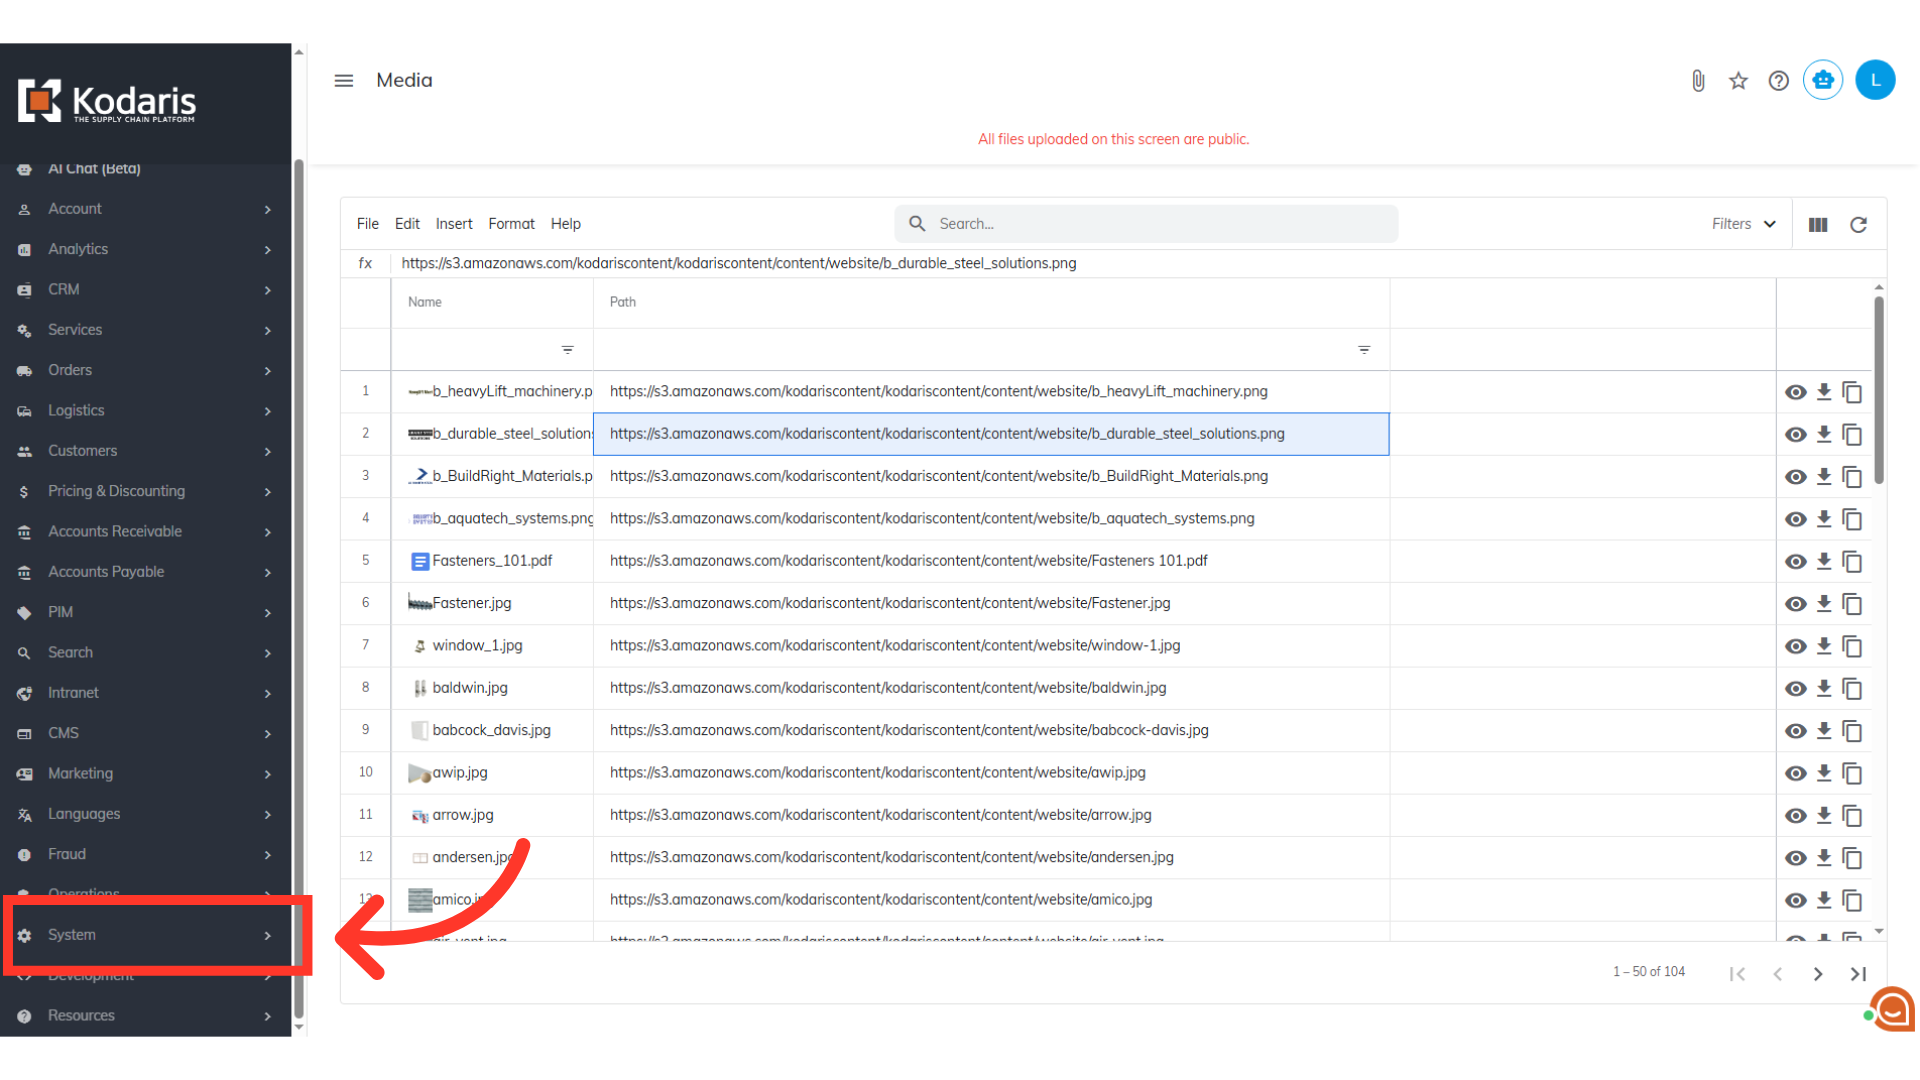
Go to "Media"
Then, go to the "Media" screen. In order to access and update "Media" you will need to be set up either as an "administrator", "superuser" or a "webDeveloper", or have the roles of: "publicFileView" and "publicFileEdit".

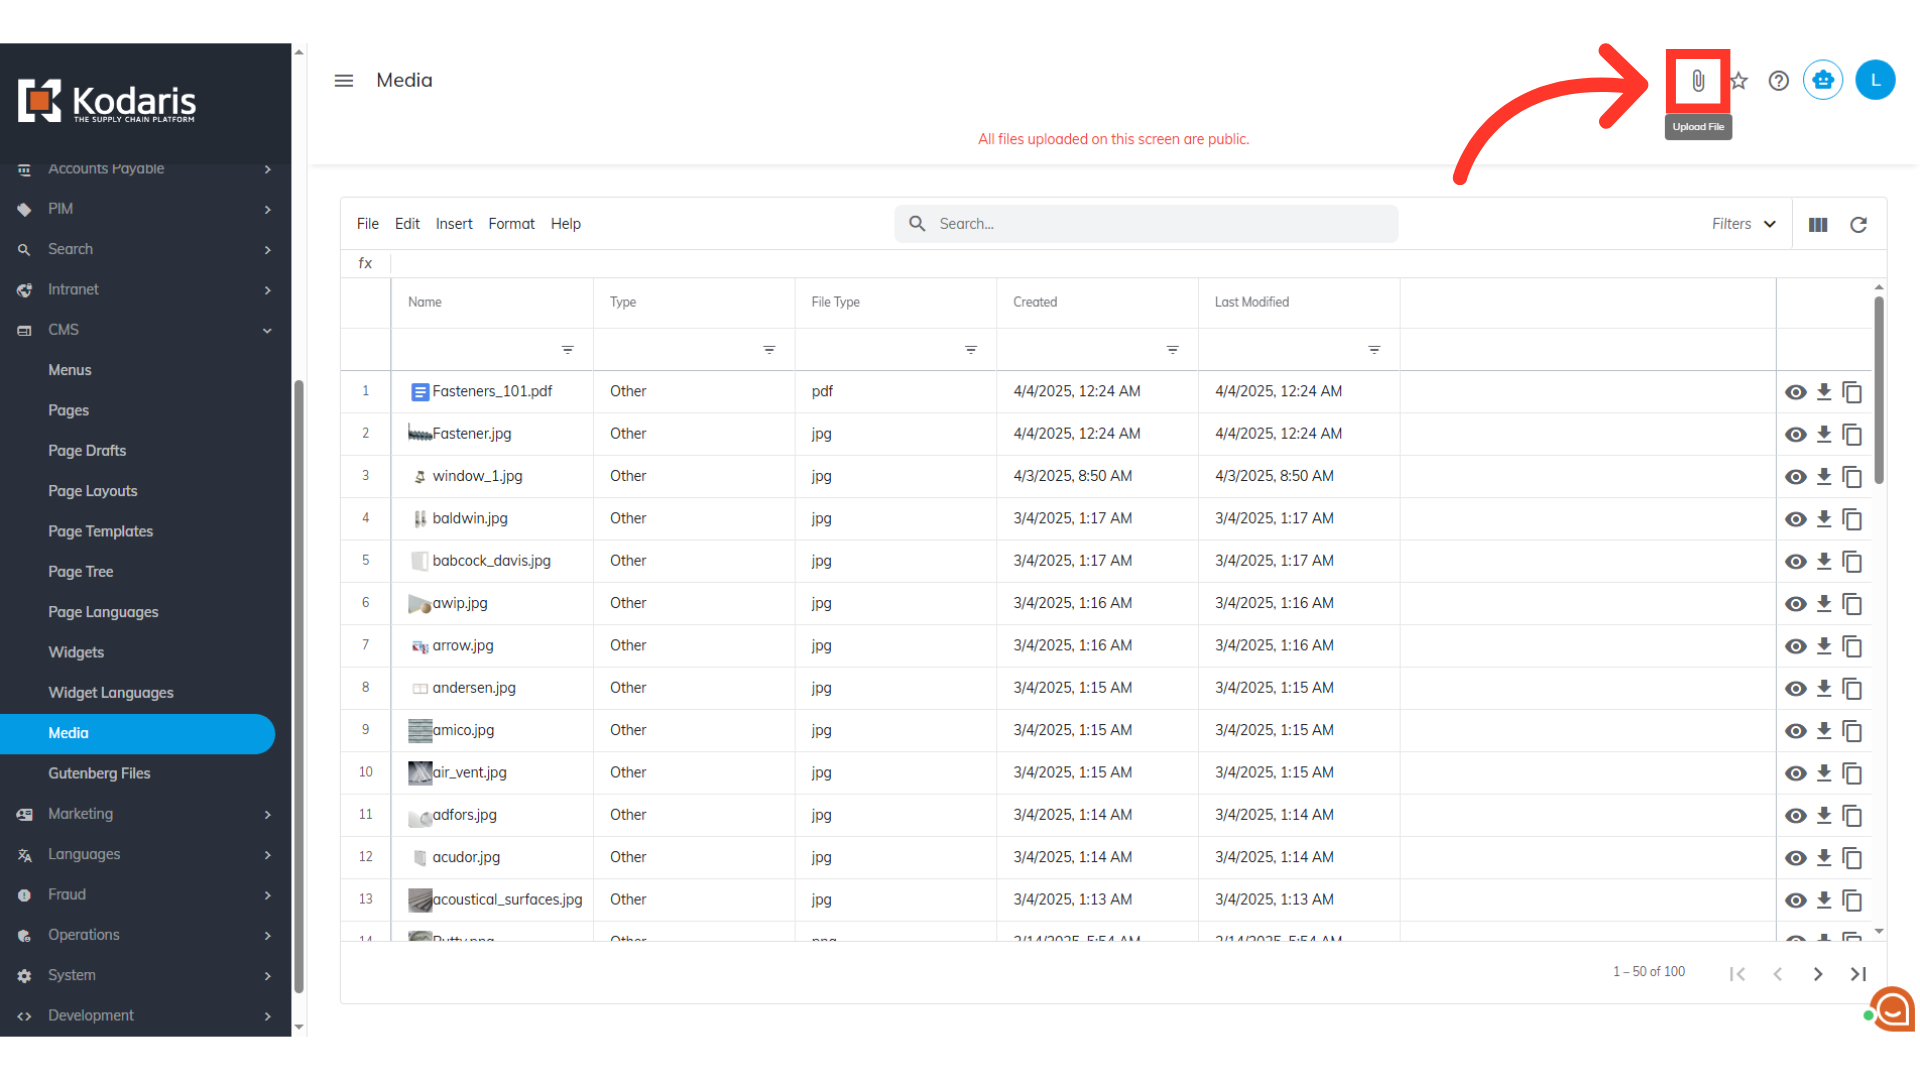
Click the "Upload File" icon
This list shows all files uploaded to your system. To upload a new file, click the "Upload File" icon.
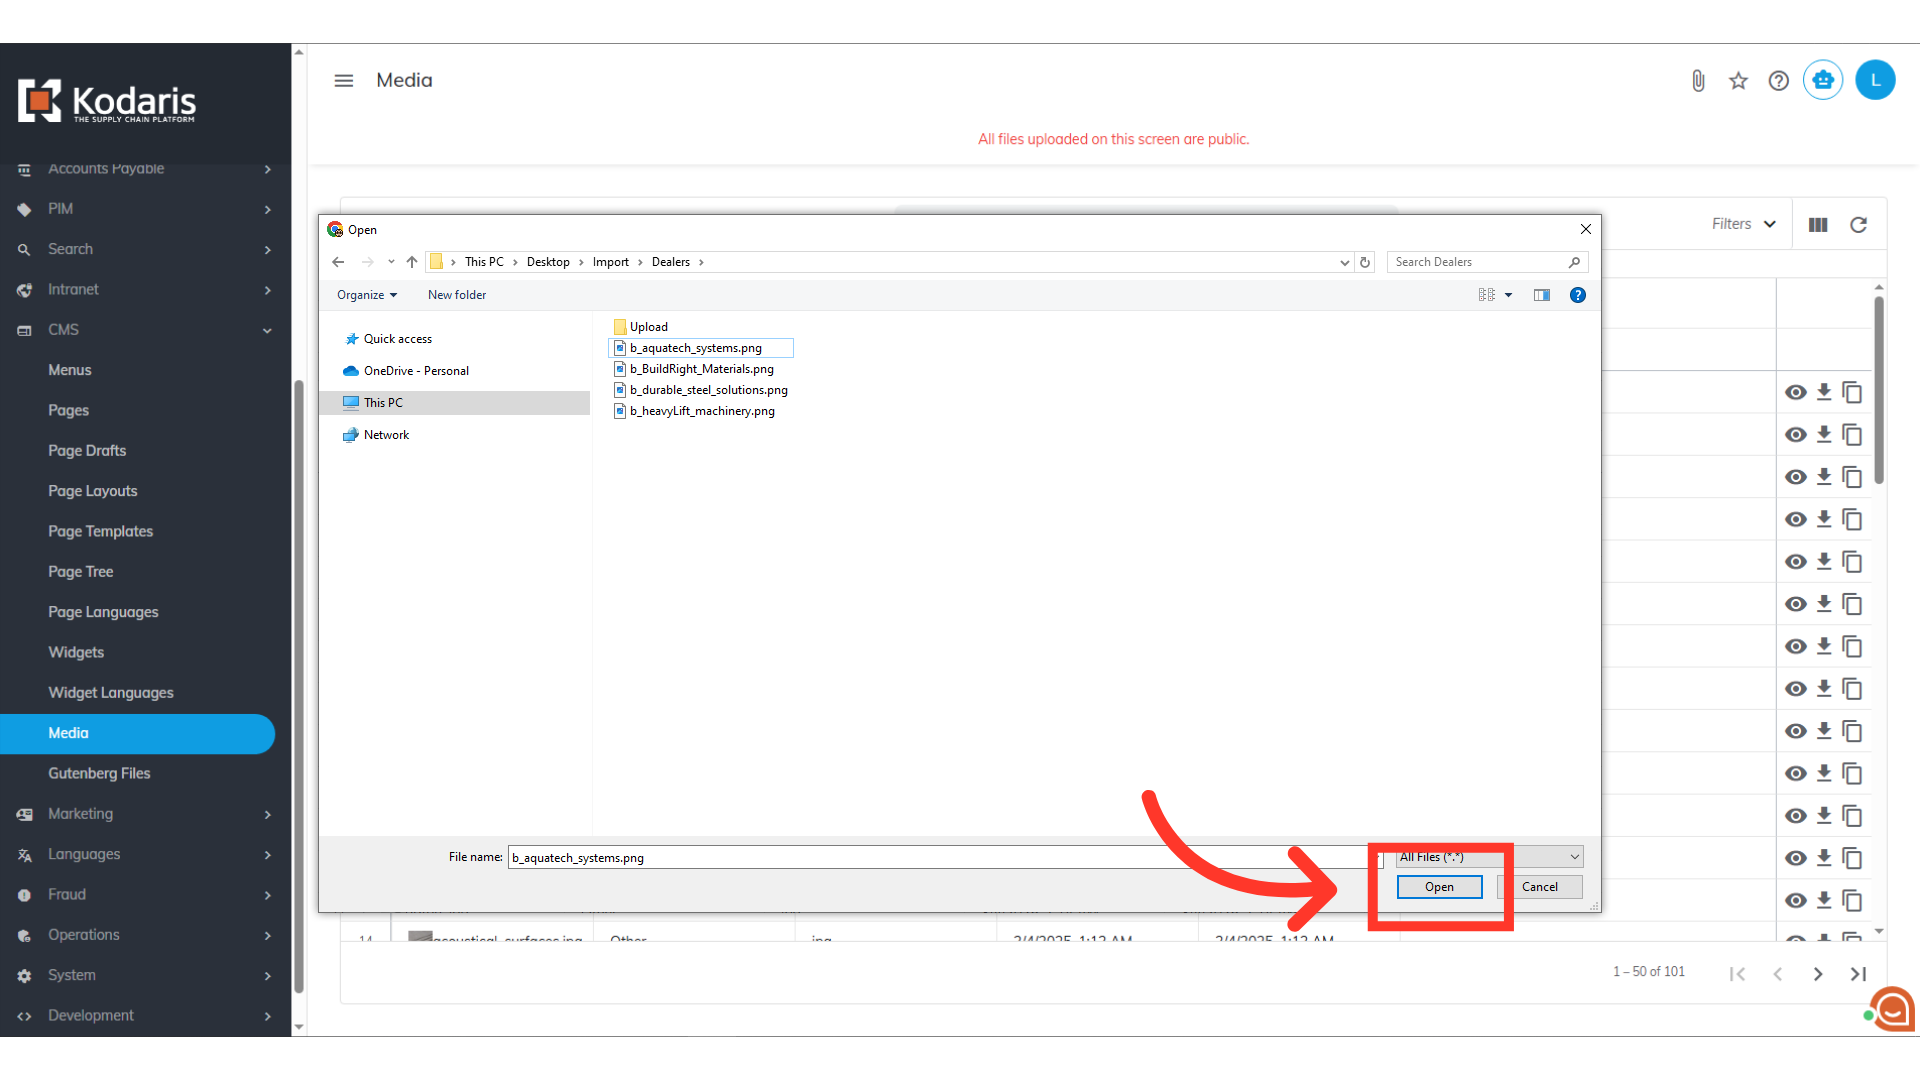
Select a local image to upload and click "Open"
Choose an image from your computer, then click "Open" to upload it. It will then appear in the list.
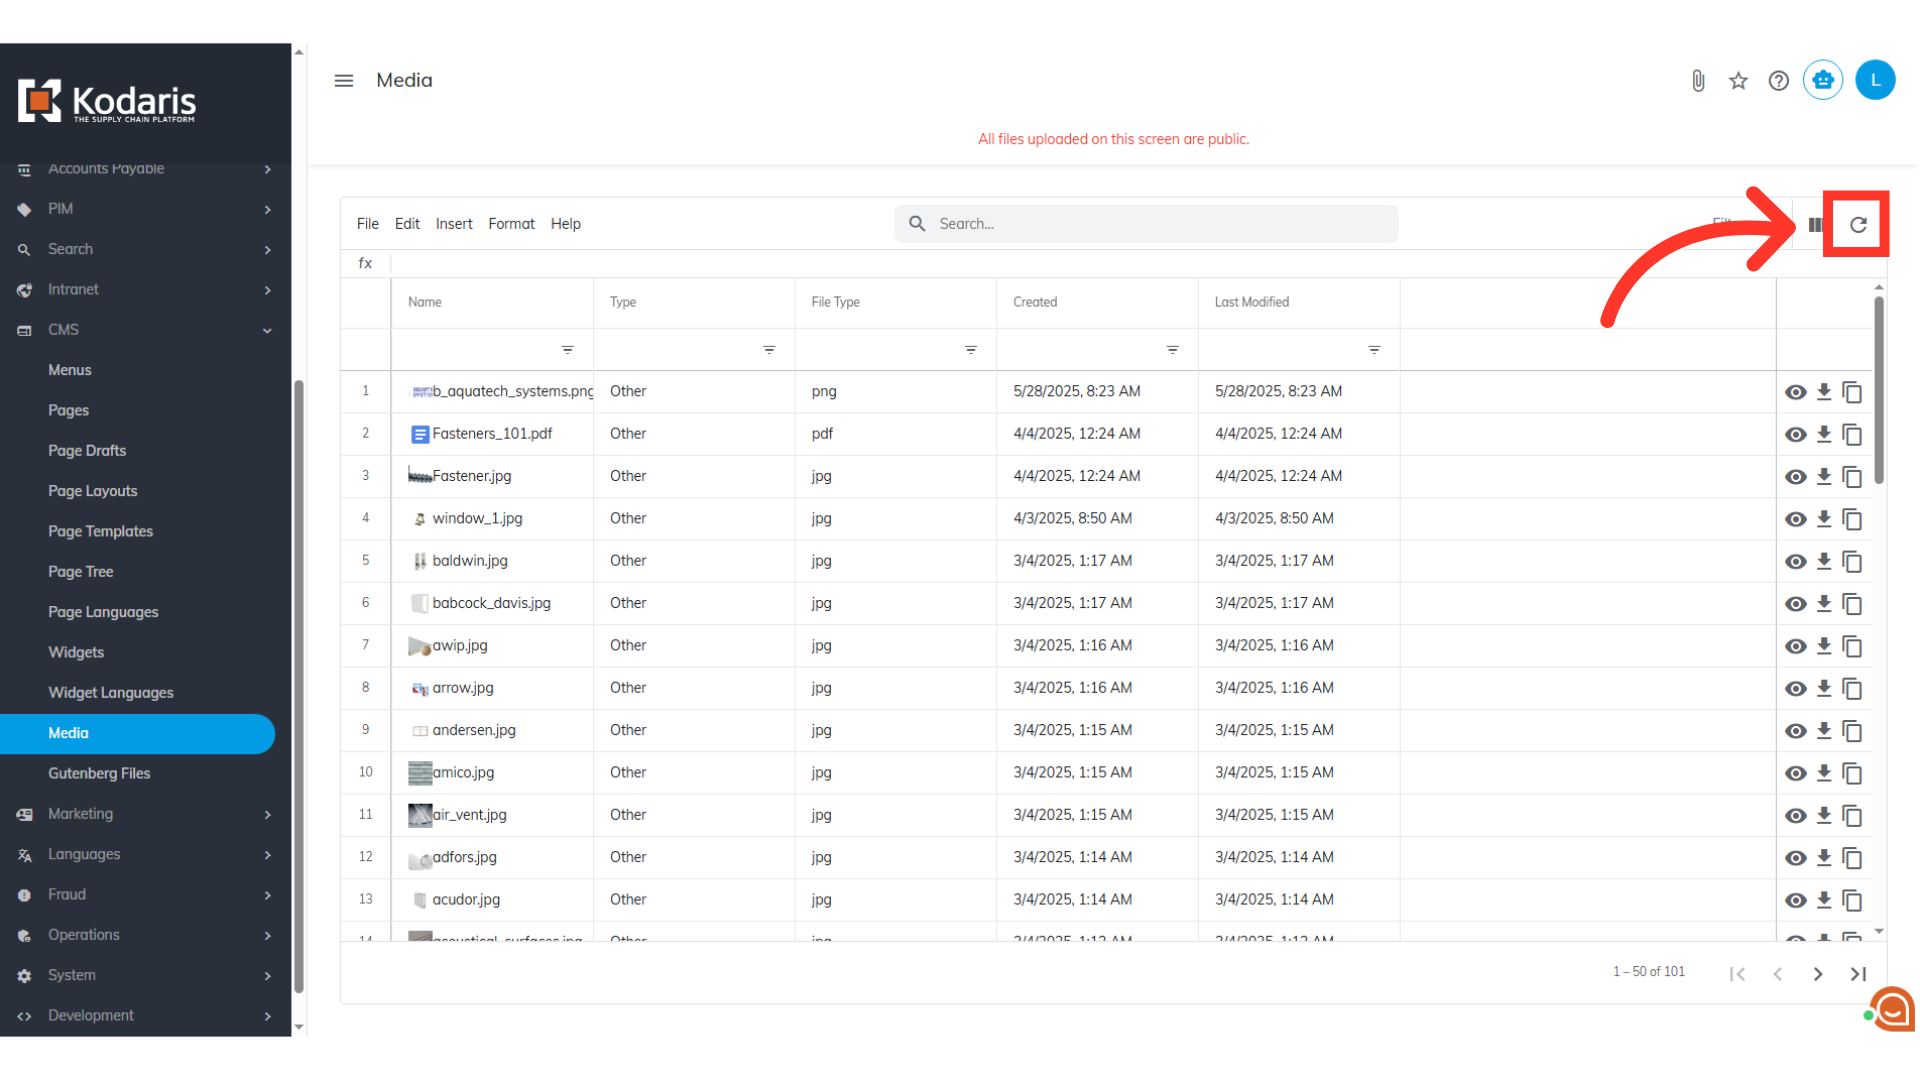
Click the "Refresh" button
Your newly uploaded image should appear at the top of the list. If it doesn't, simply click the "Refresh" icon to update the view.
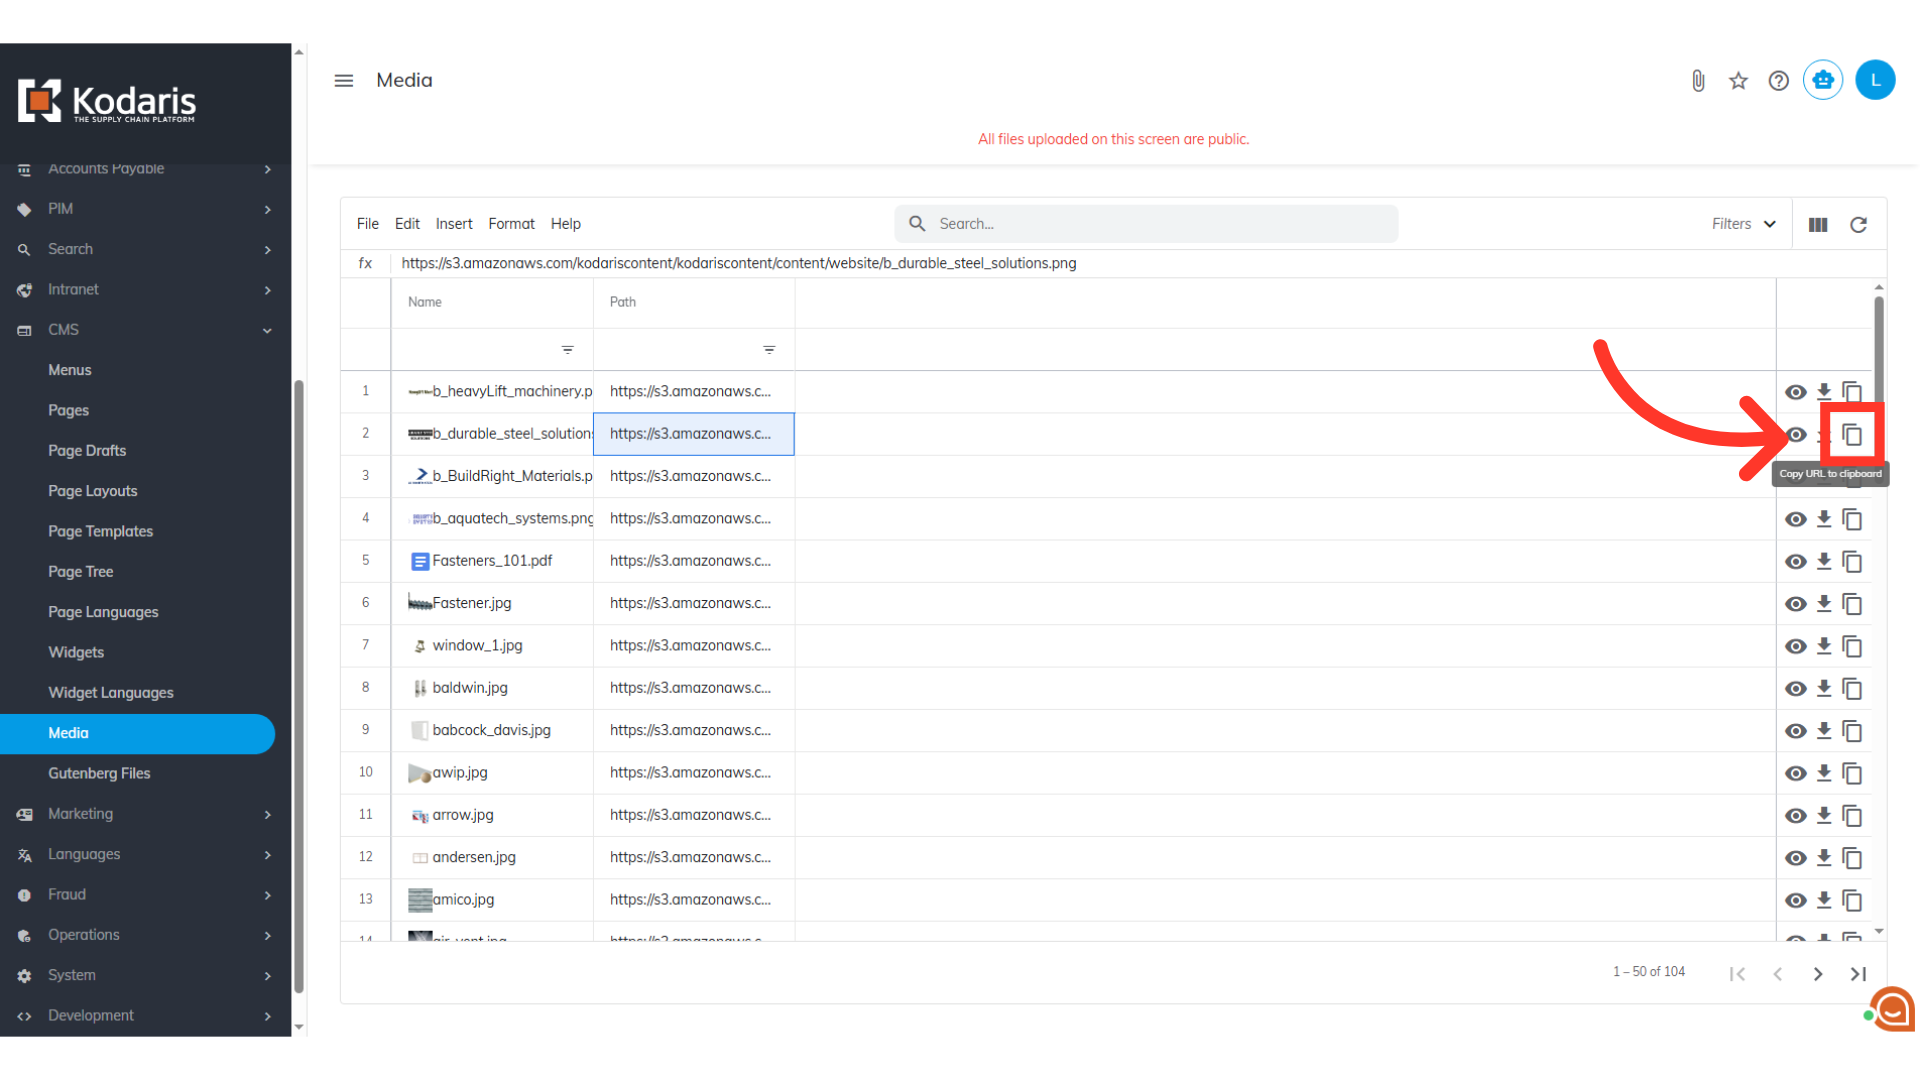
Click the "Copy URL to clipboard" icon
Copy the URL of the image logos you uploaded, as you will need them for updating settings later. To get the URL for your uploaded brand logo, just click the corresponding "Copy URL to clipboard" icon.
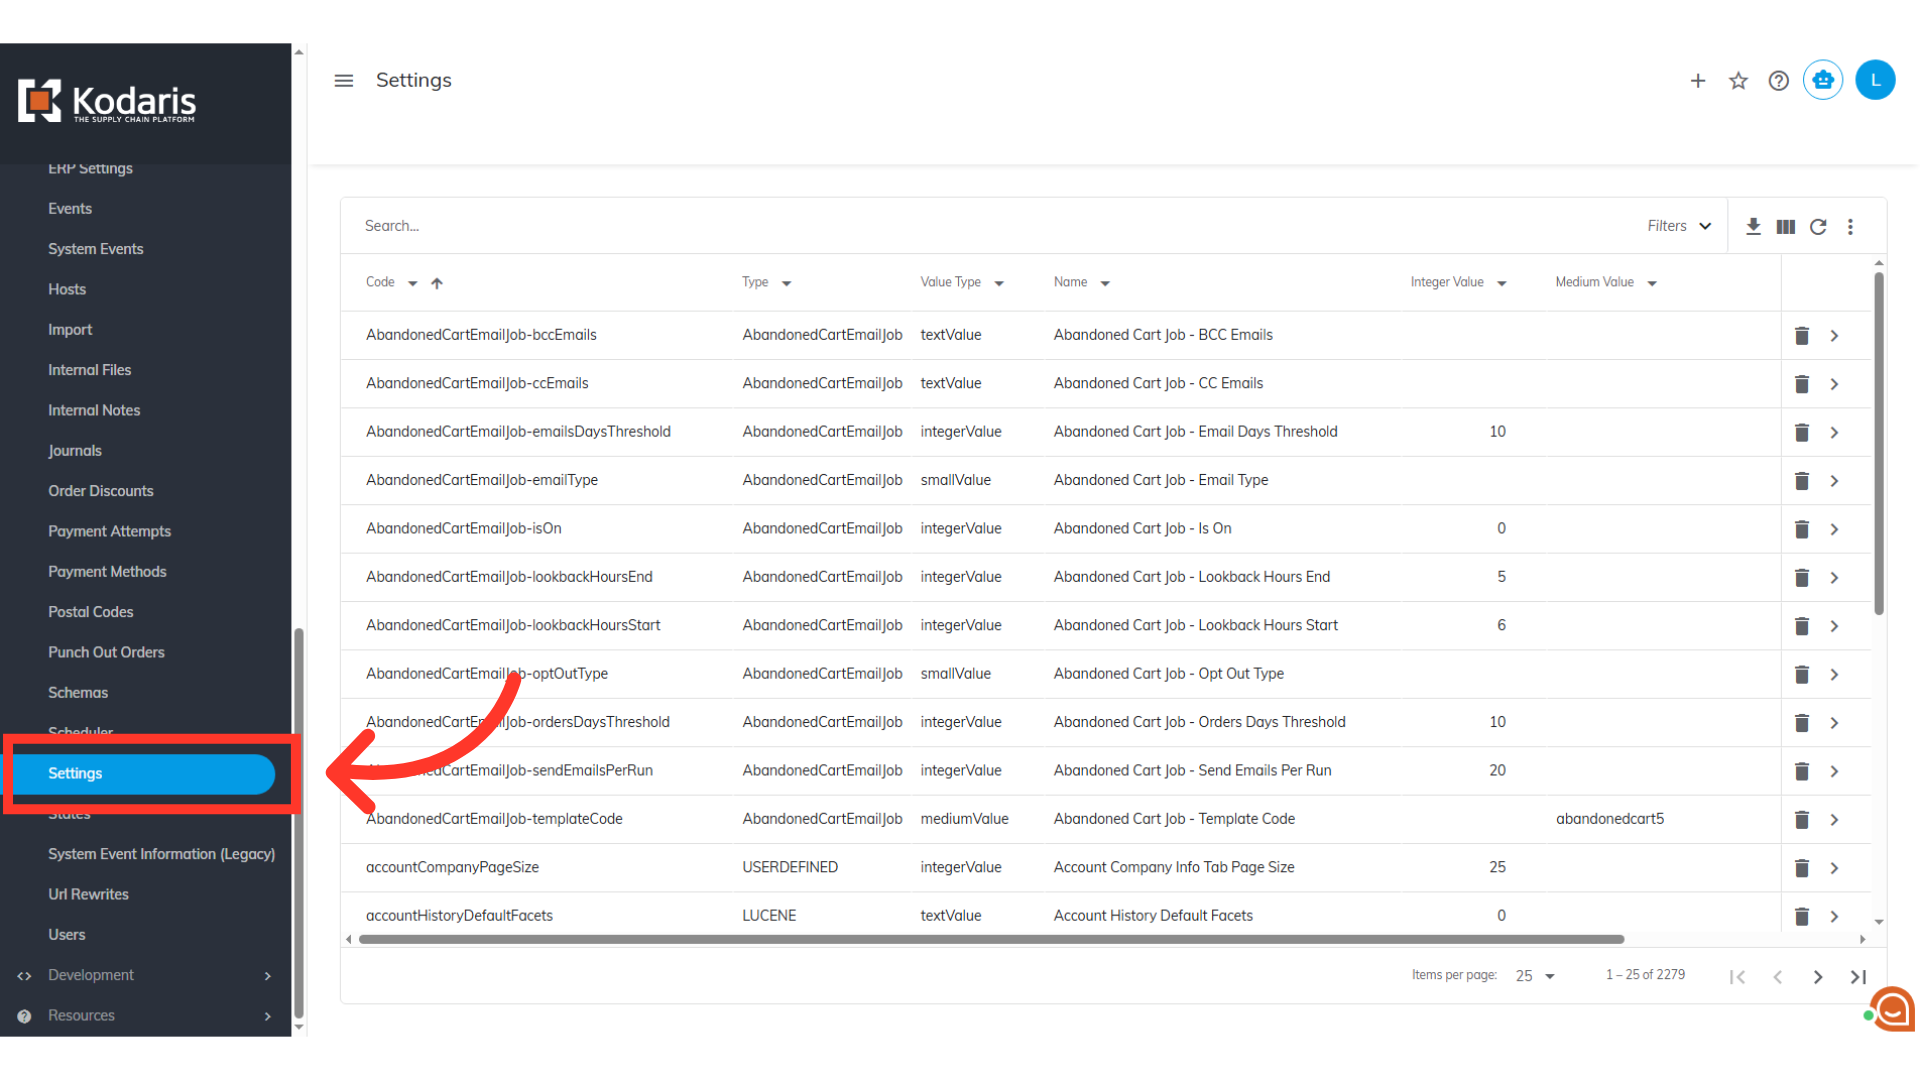
Navigate to "System" section
To create or update the setting for your brands, navigate to "System".
Go to "Settings"
Then, go to "Settings". In order to access and edit settings, you will need to be set up either as an “administrator” or a "superuser", or have the following roles: "settingEdit" and "settingView".
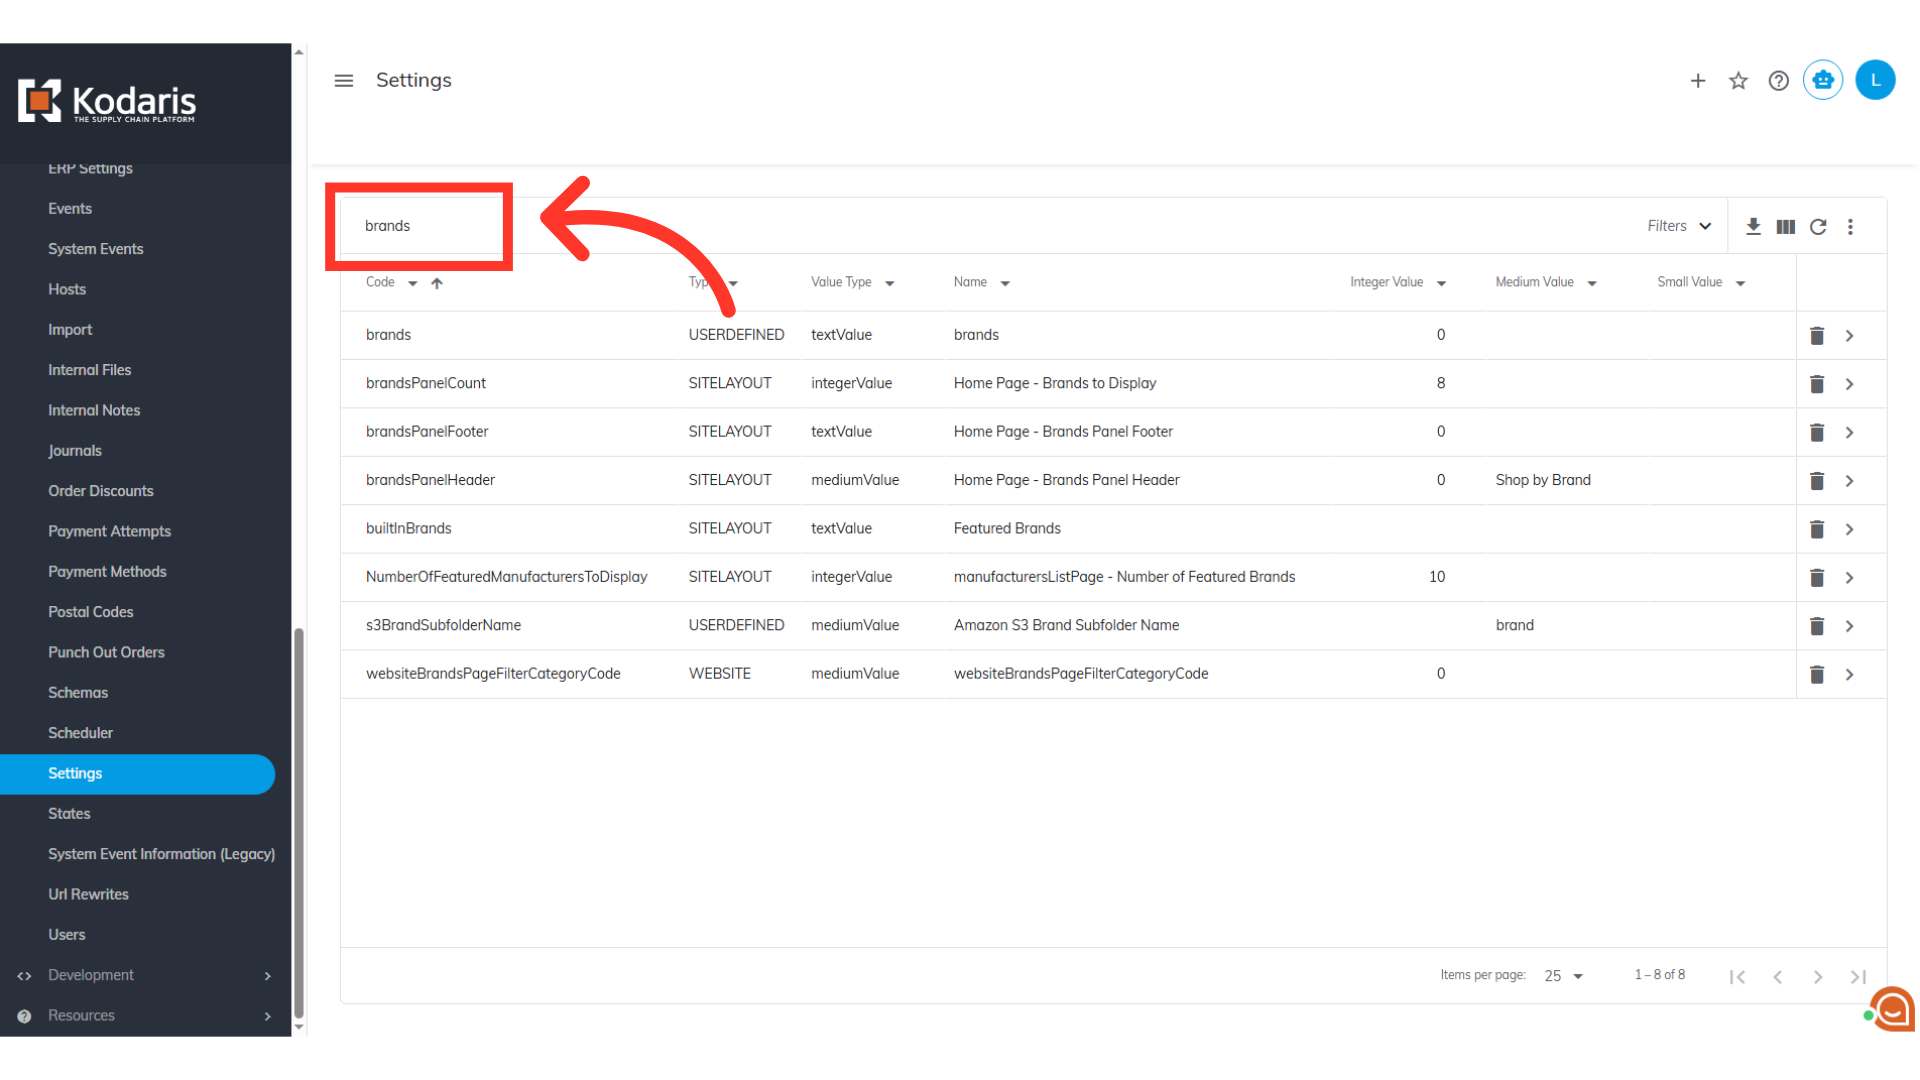
Locate the "brands" settings
Locate the "brands" settings.
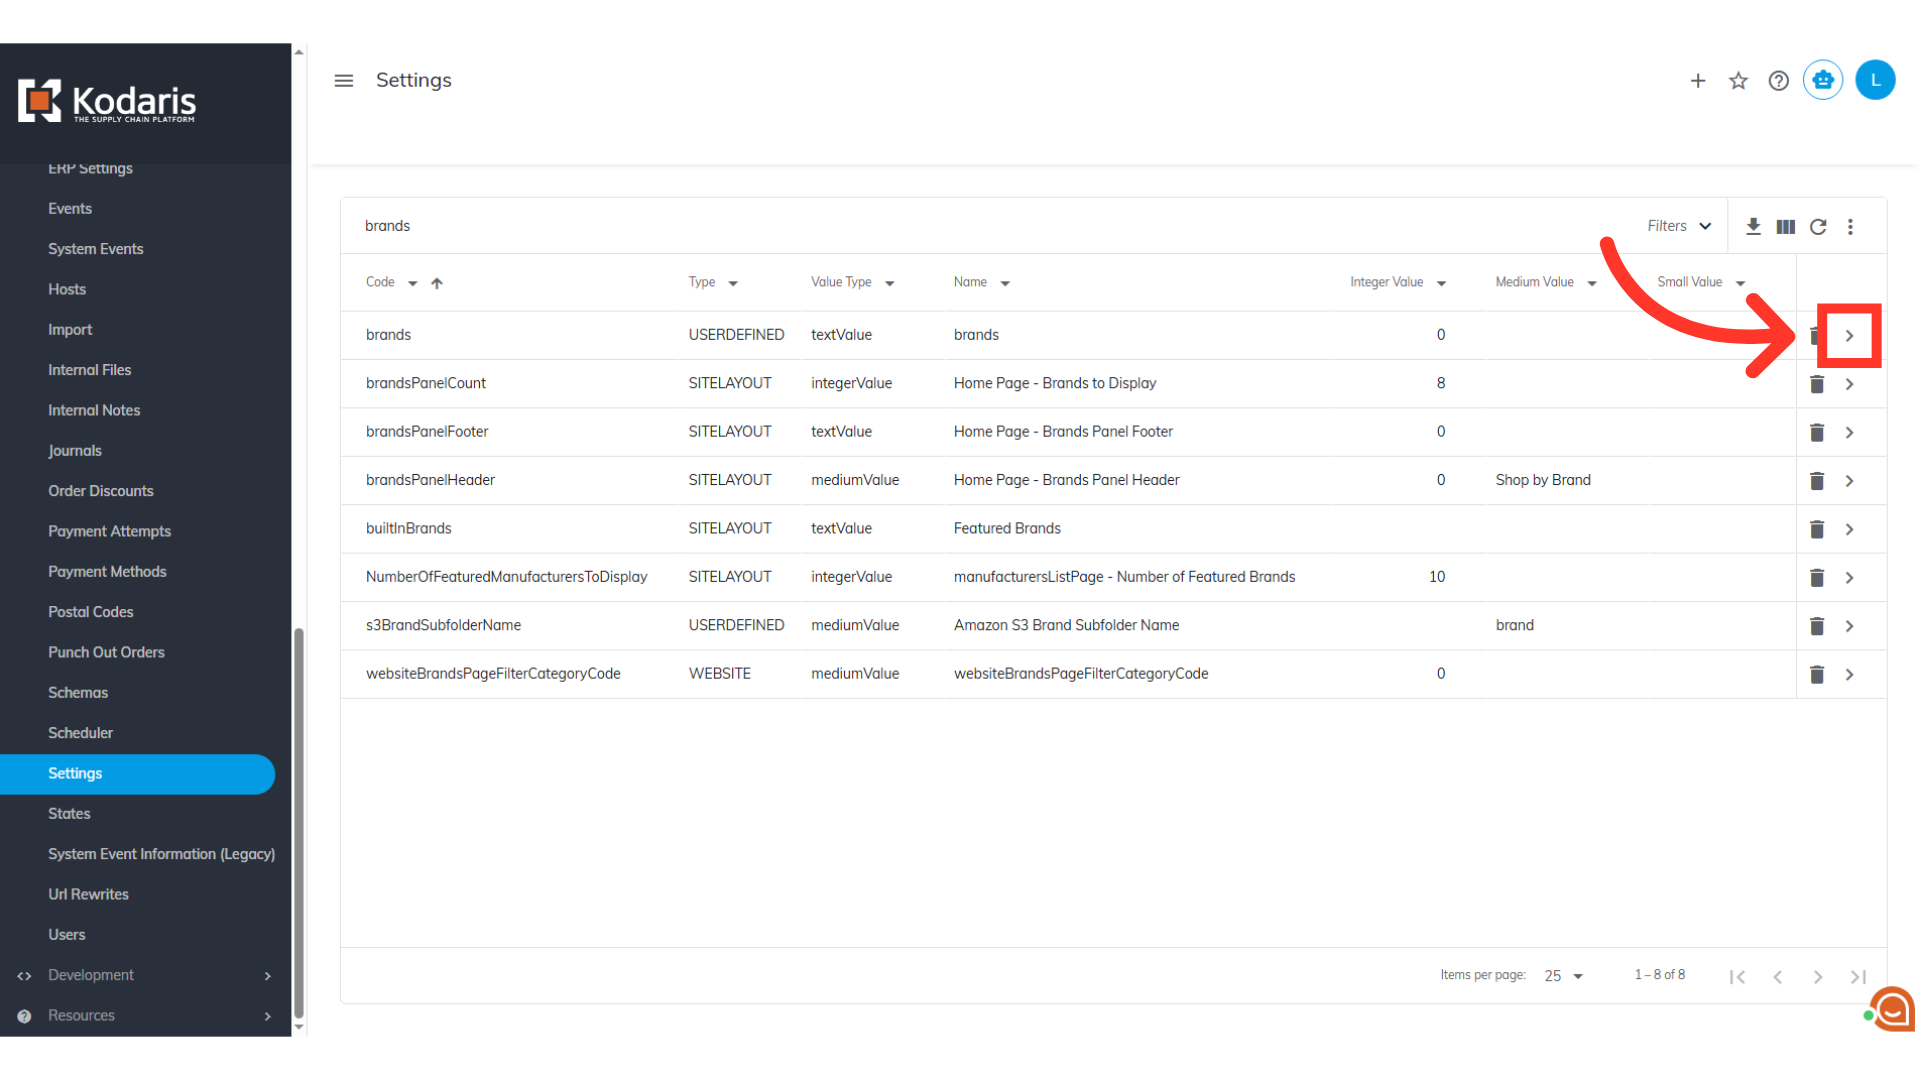
Click the more details icon
Click the more details icon.
Brand Setting Data Input Sample
Here's an example of the data you'll enter into the brands setting to define it in the system.

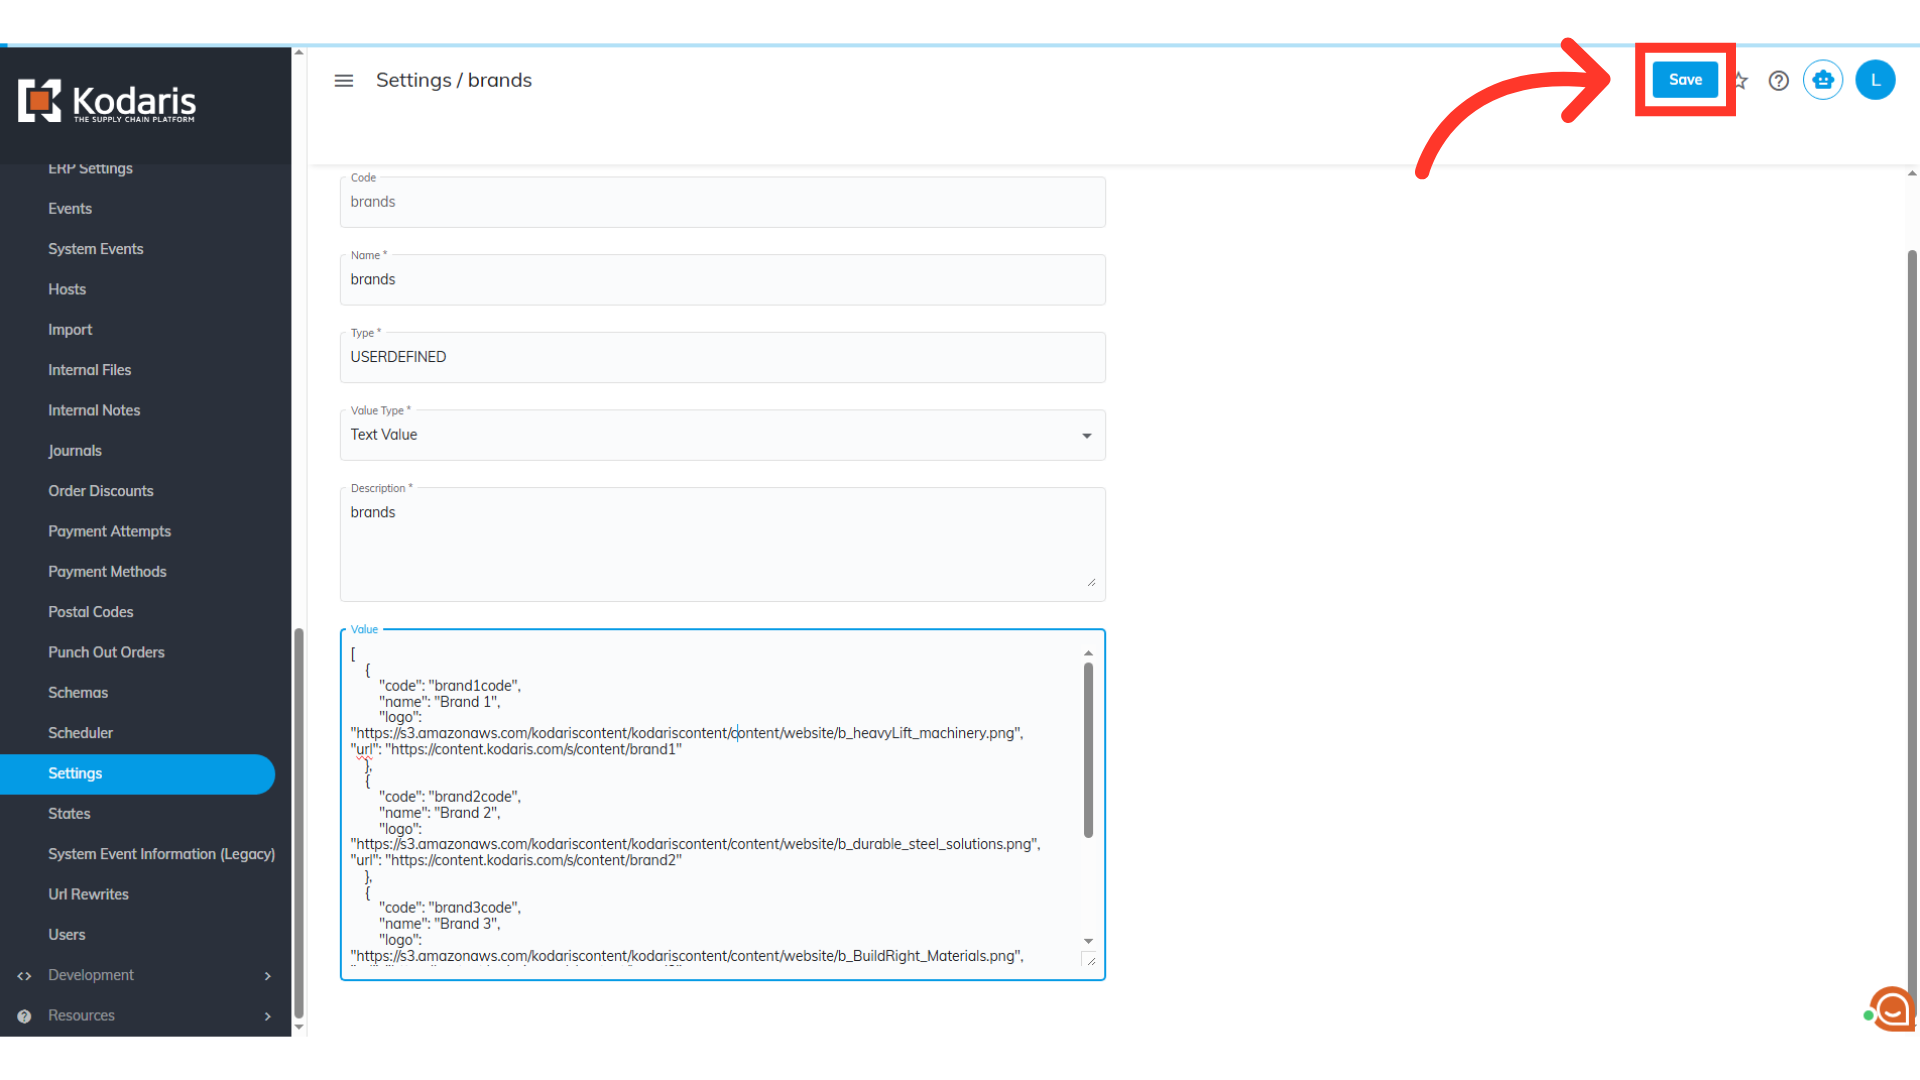
JSON String
The "Value" field requires you to add or update a JSON string. You'll need to structure your brand information in this specific format. Use the following JSON string as a template, and replace the placeholder values with your actual brand data.

"code": "brand1code"
The code is a unique identifier for a brand.
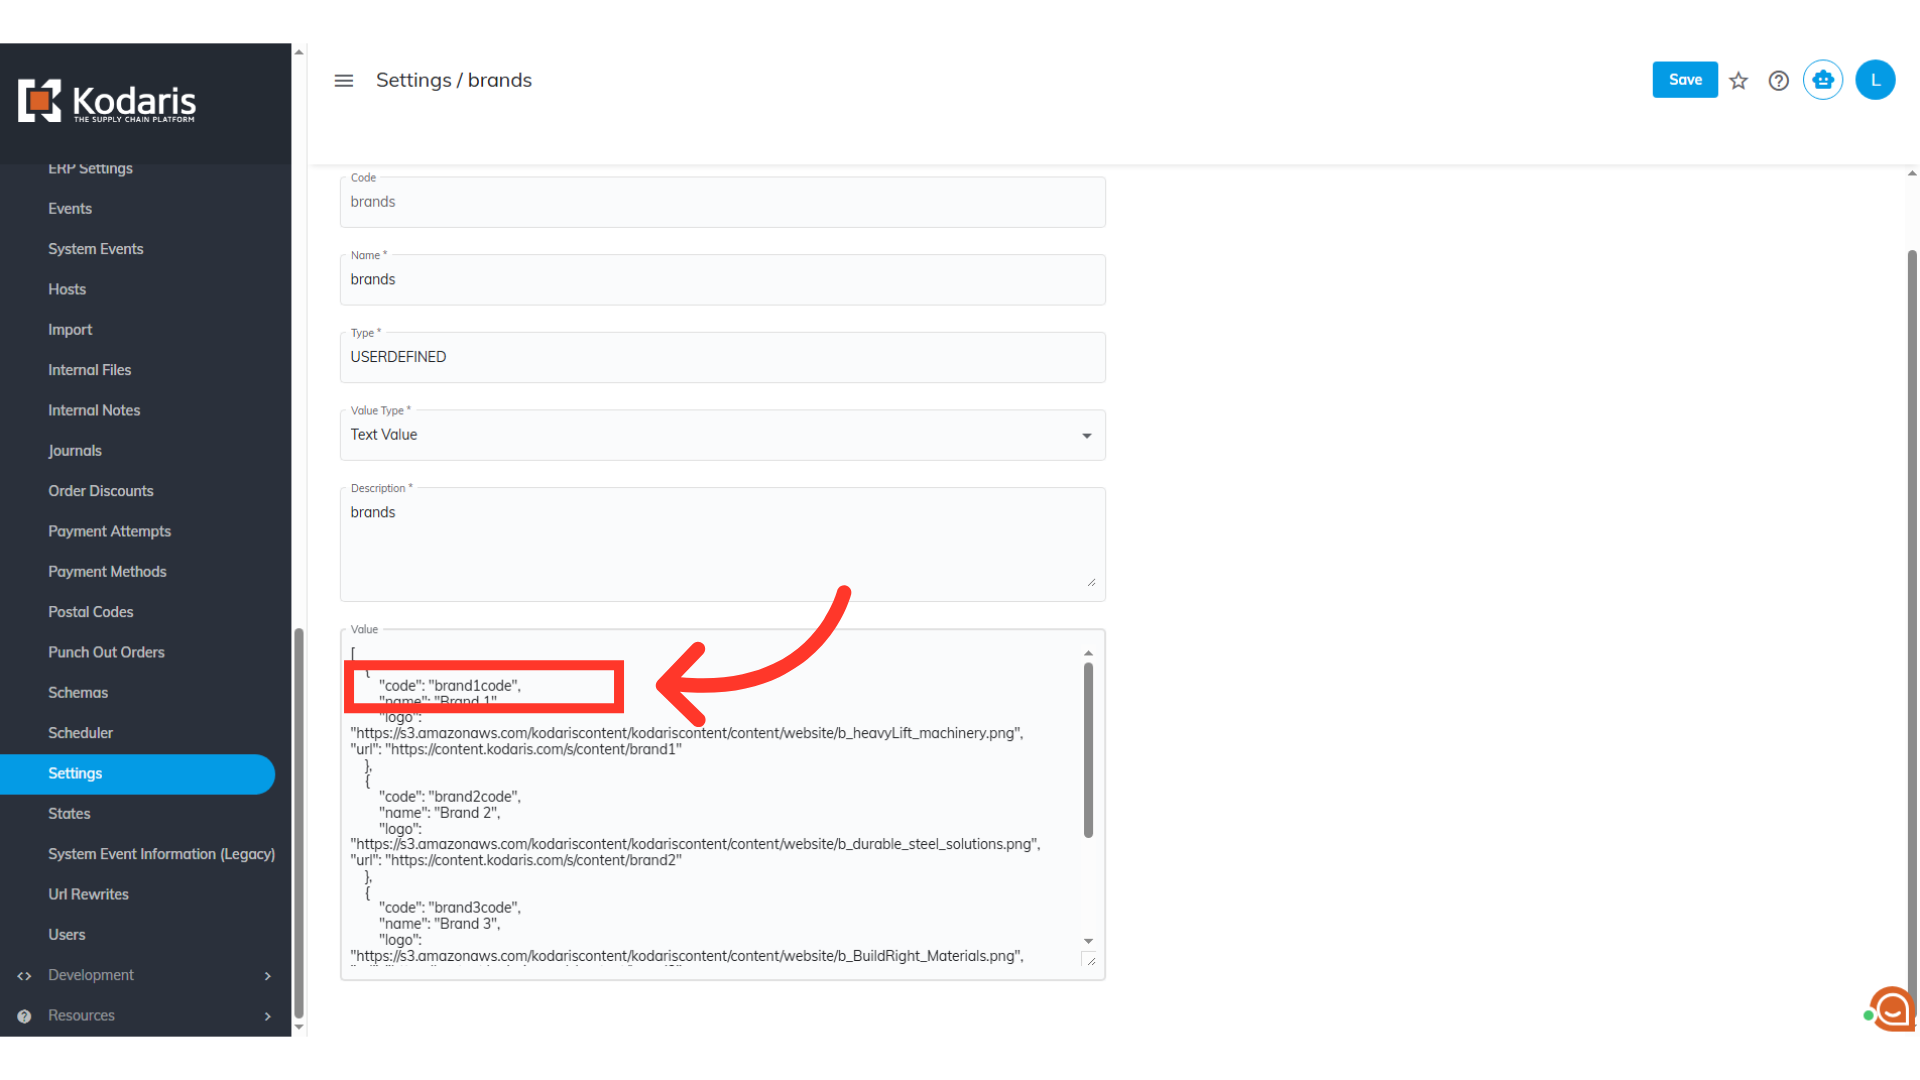
"name": "Brand 1"
The name is the display name of the brand. Your customers will see this name.

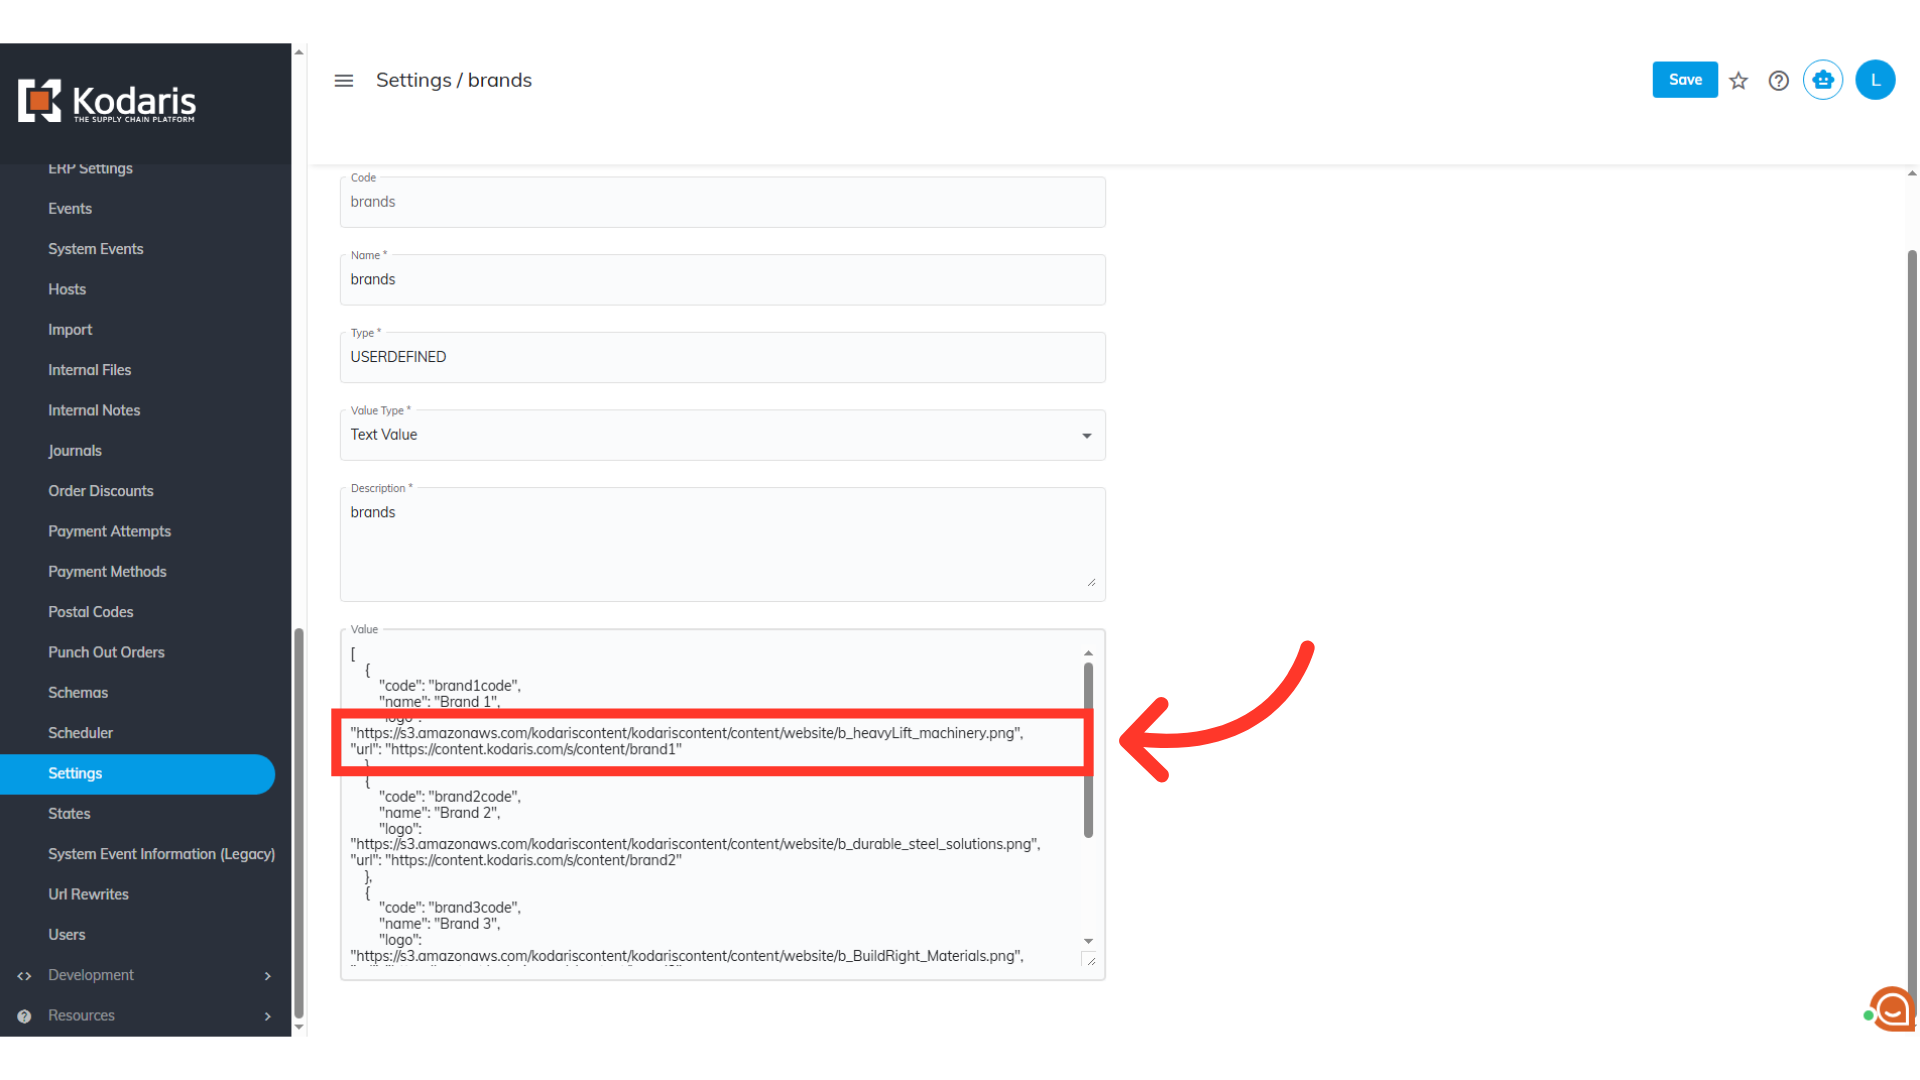
"logo": "(image logo URL)"
The logo is the URL of the brand logo. This was shown earlier in this documentation.
Click "Save"
Make sure that you have the correct JSON string before saving. Once confirmed, click the "Save" button. Brands will then show up in companies when adding dealers, and will also be displayed in the Find a Dealer page.