Operations Analytics - Scheduled Reports in AWS Quicksight
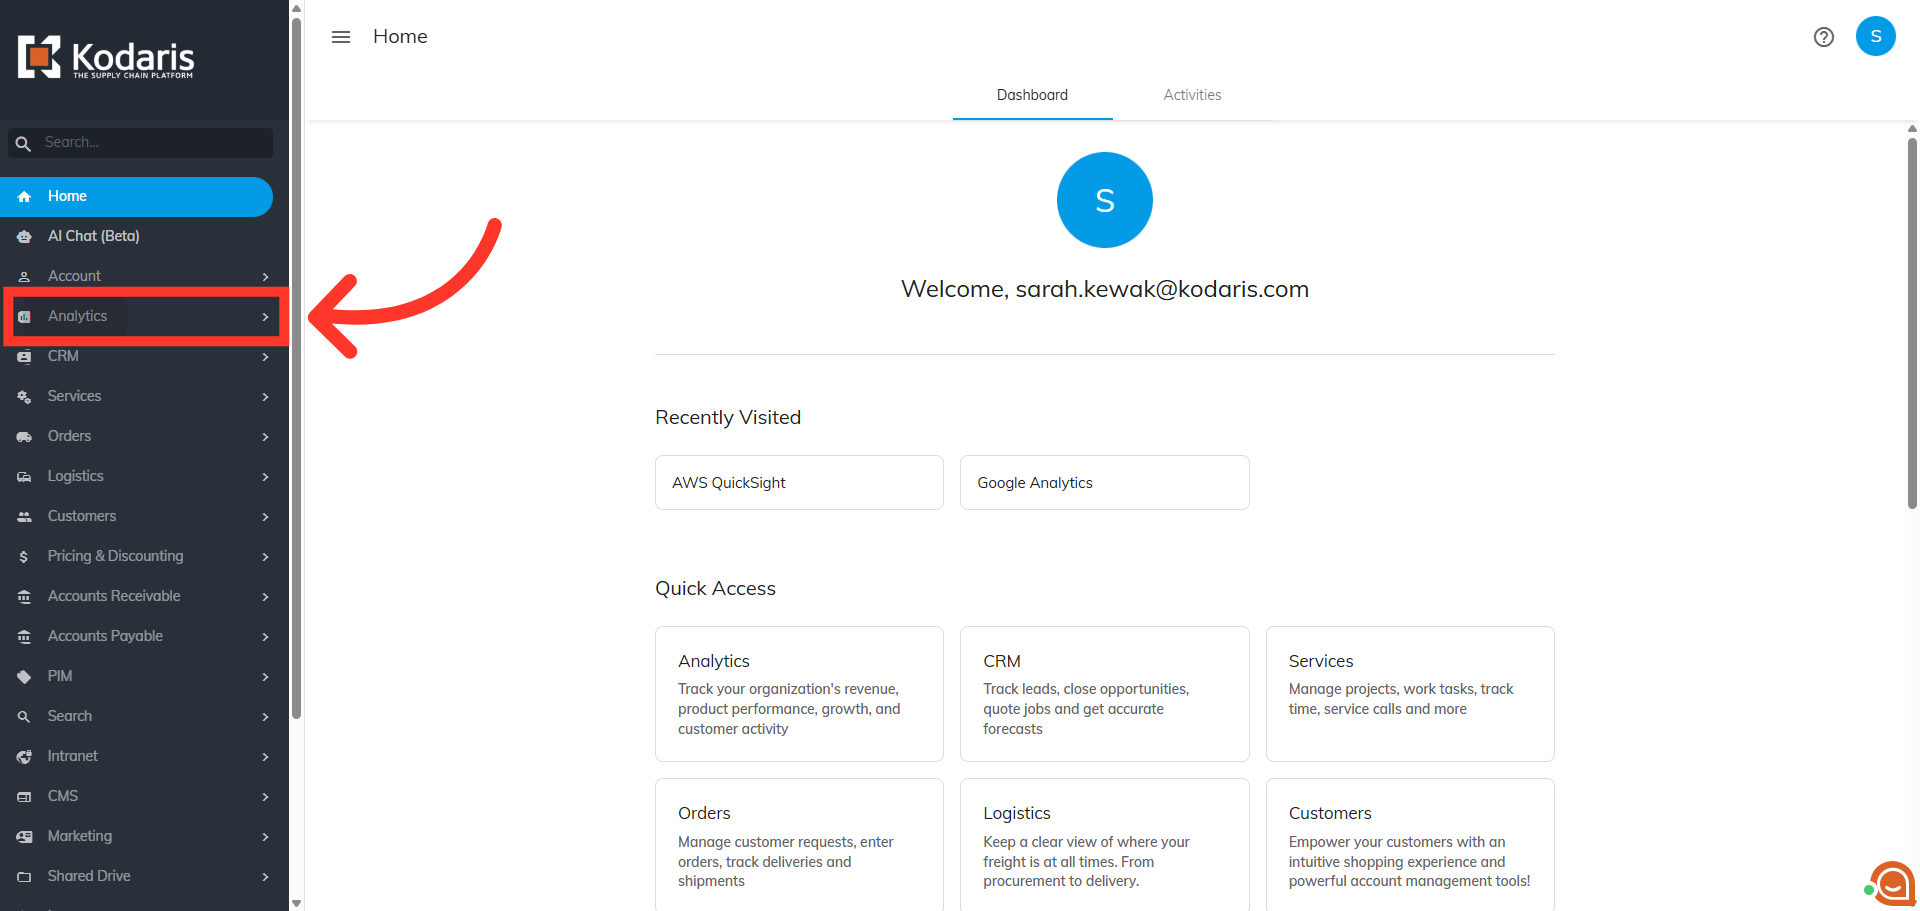
Navigate to "Analytics"
To schedule a report in AWS QuickSight, navigate to the "Analytics" section in the Operations Portal.
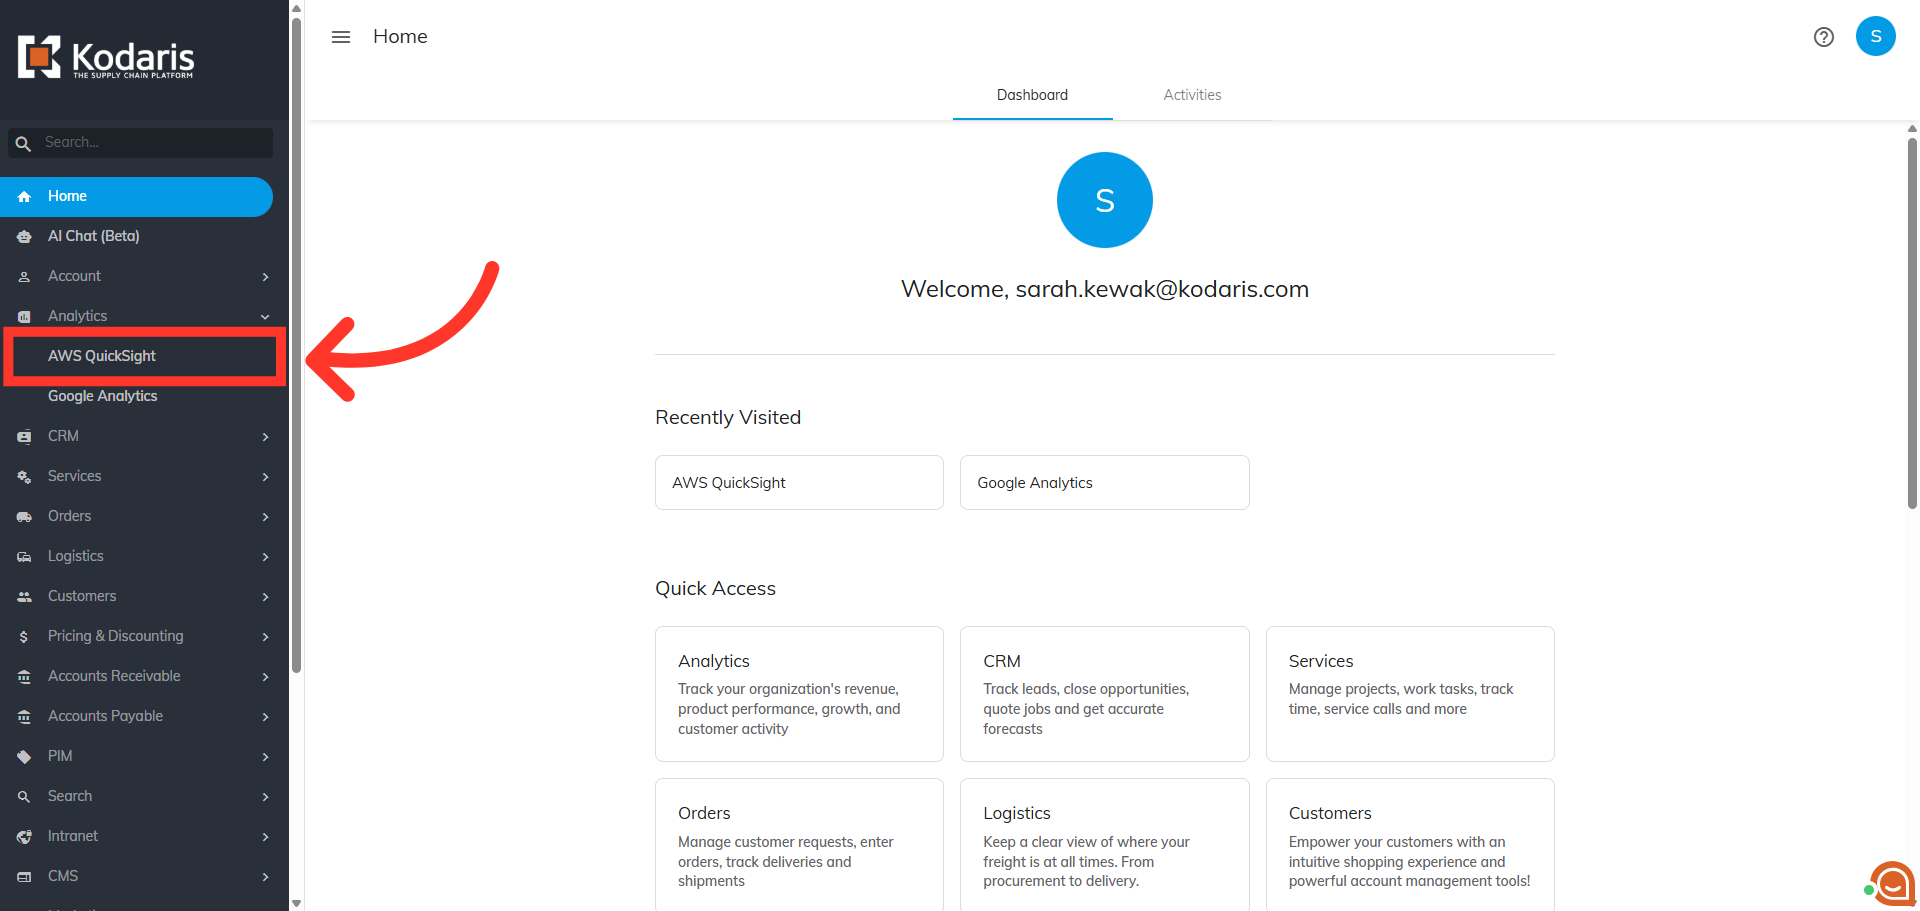
Click "AWS QuickSight"
Then, click "AWS QuickSight". In order to access "AWS QuickSight" you will need to be set up as a “superuser”, and have the roles of: “qbiAuthor”.
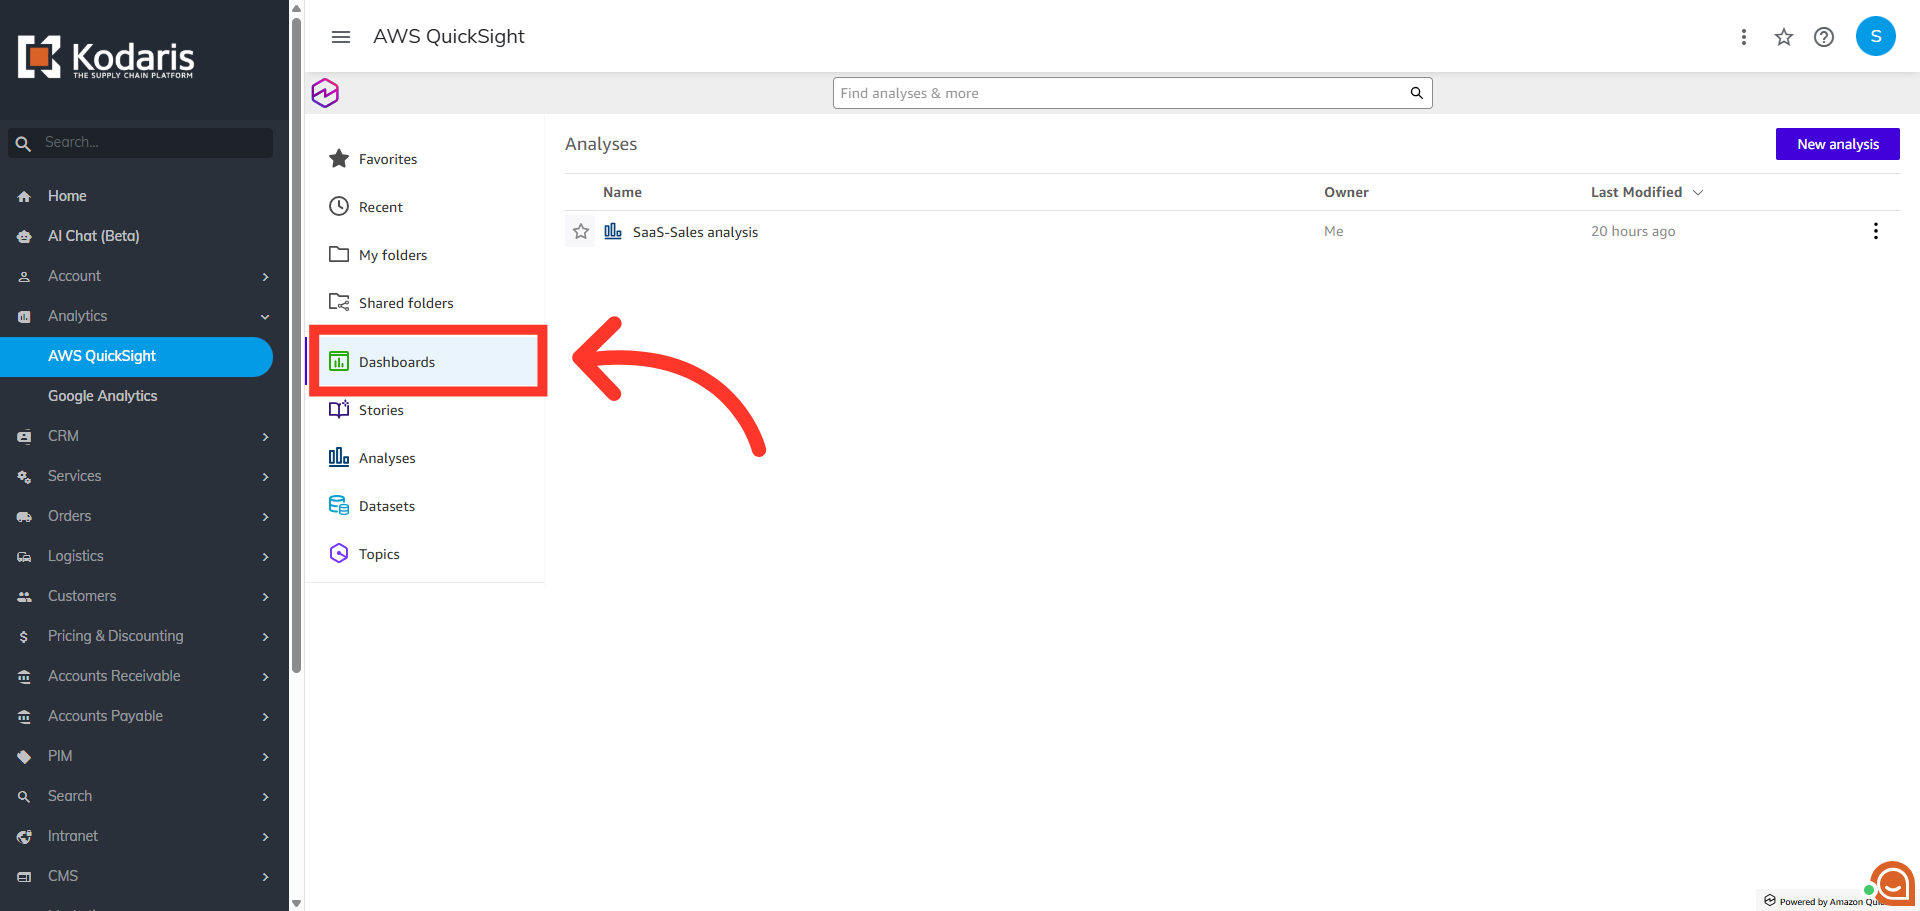
Click "Dashboards"
Next, click the "Dashboards" tab to view and manage available data.
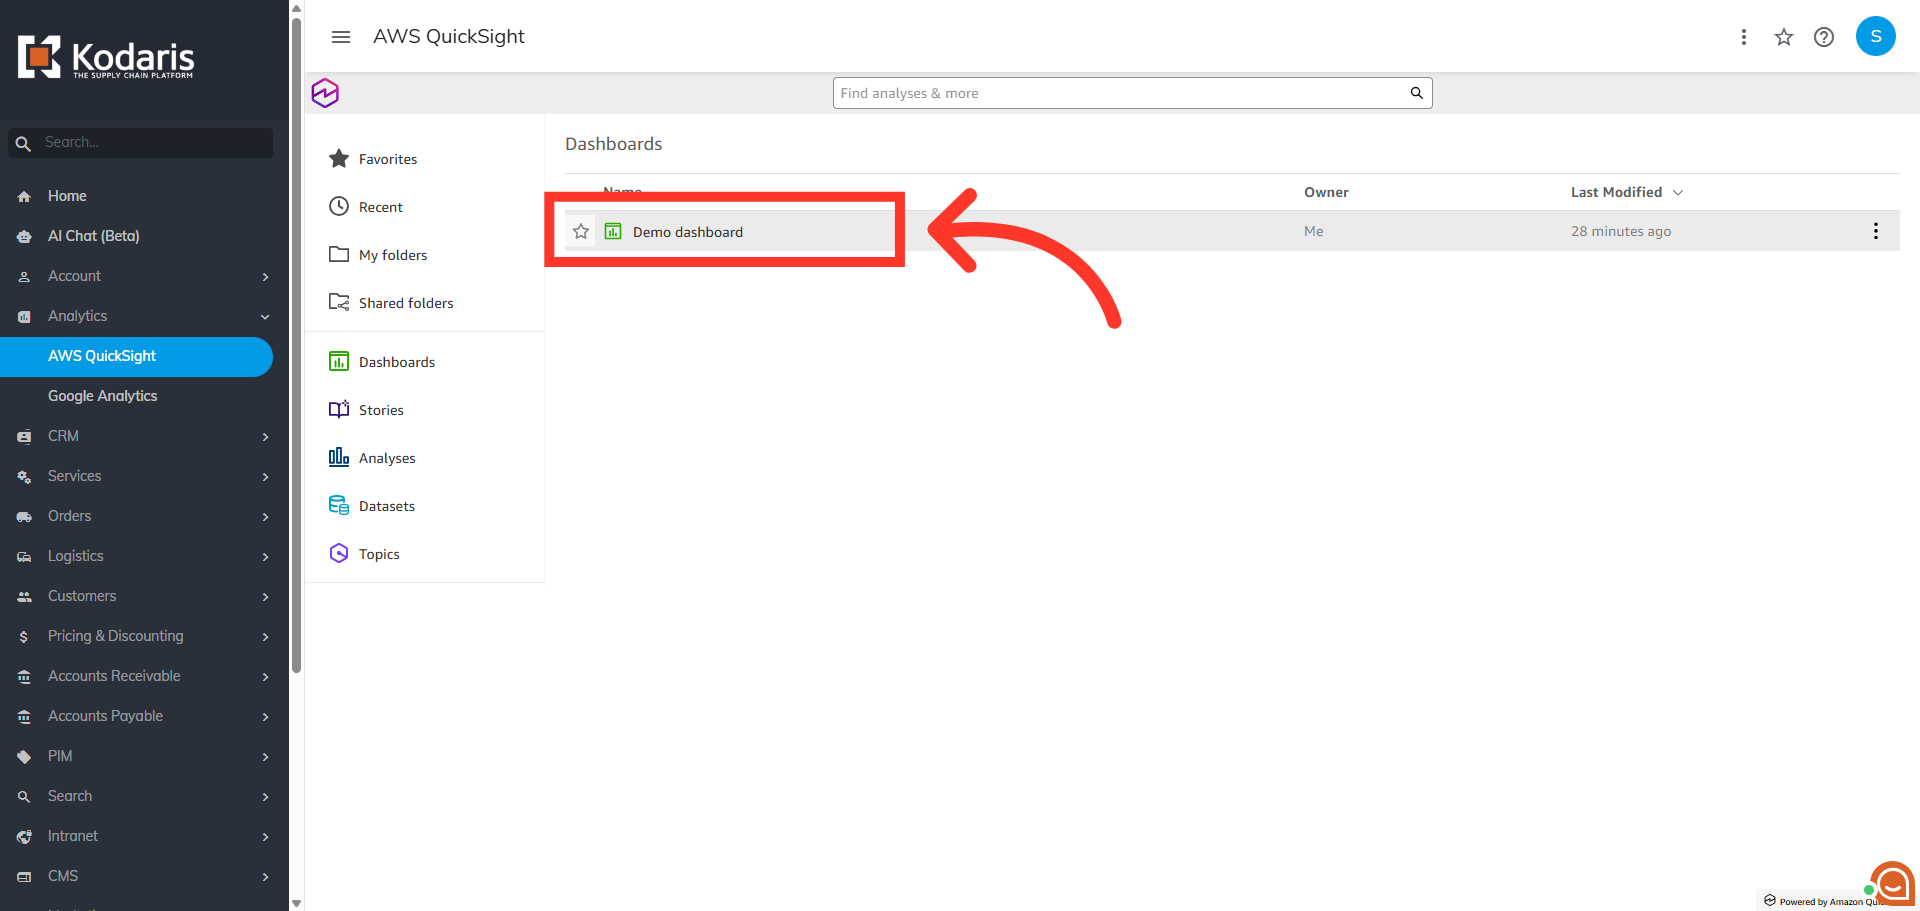
Select a dashboard
Click on the dashboard you wish to schedule. In this example, we will click on "Demo dashboard".
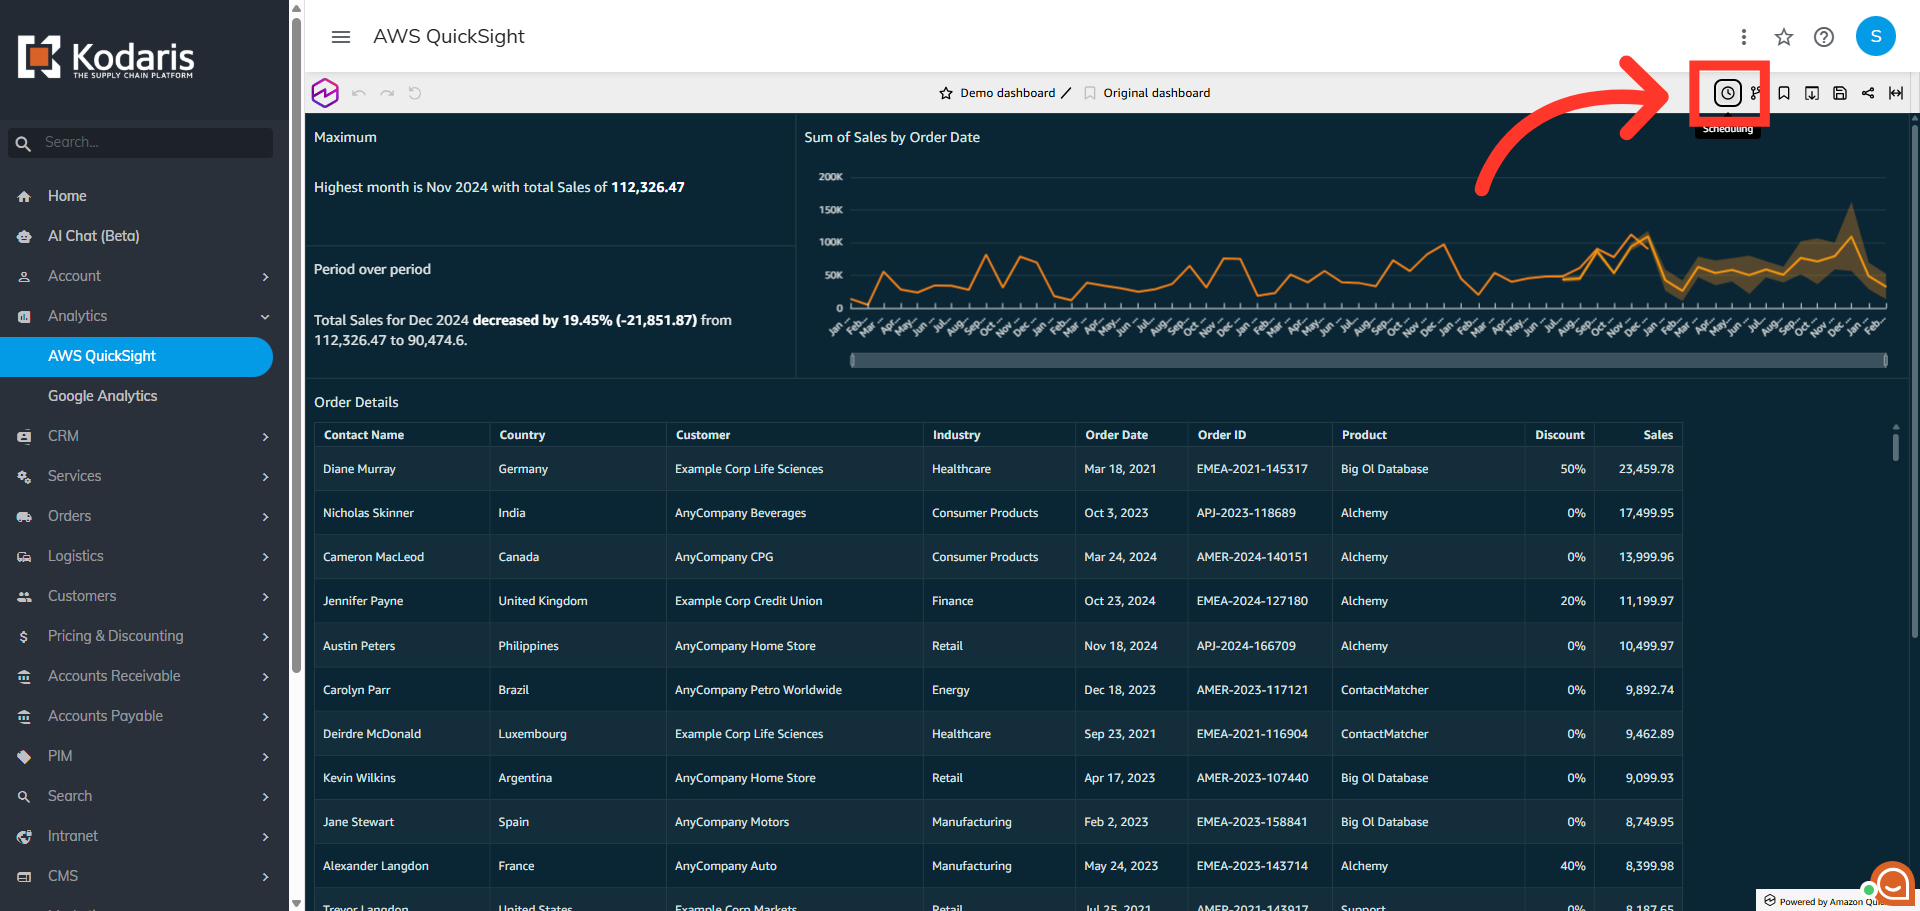
Click "Schedules"
Here, click the "Schedules" icon.
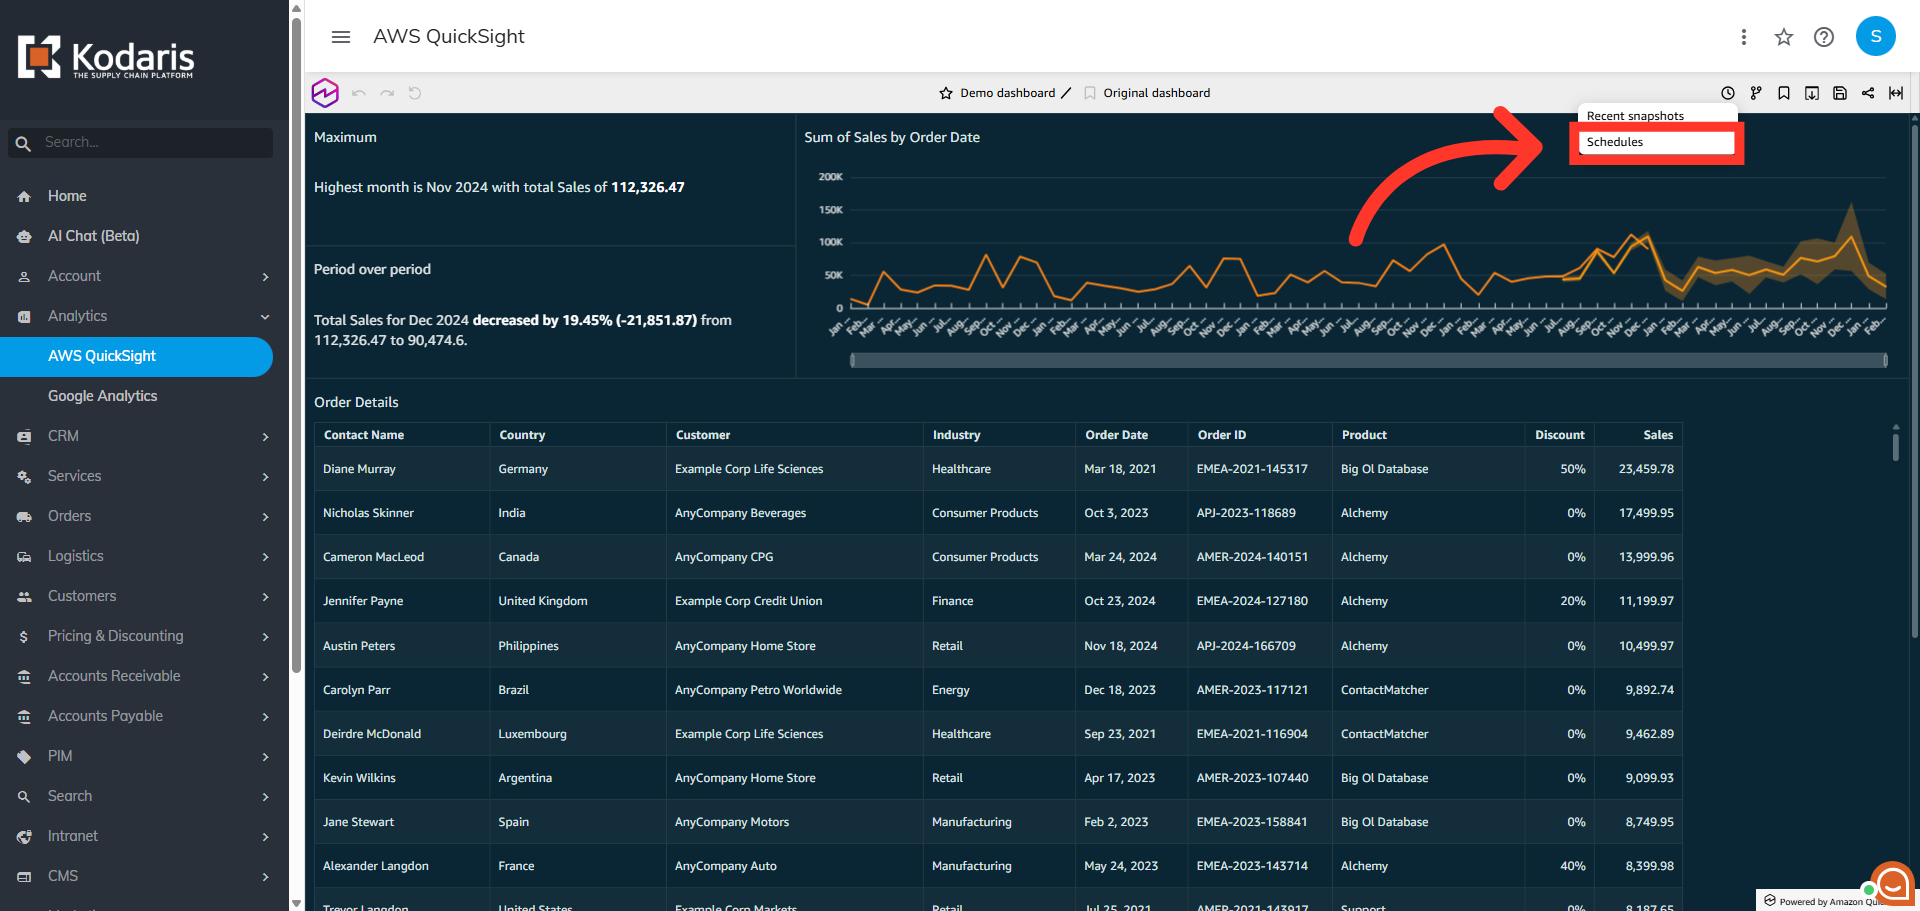
Select "Schedules" option
Then, click "Schedules" from the expanded menu.
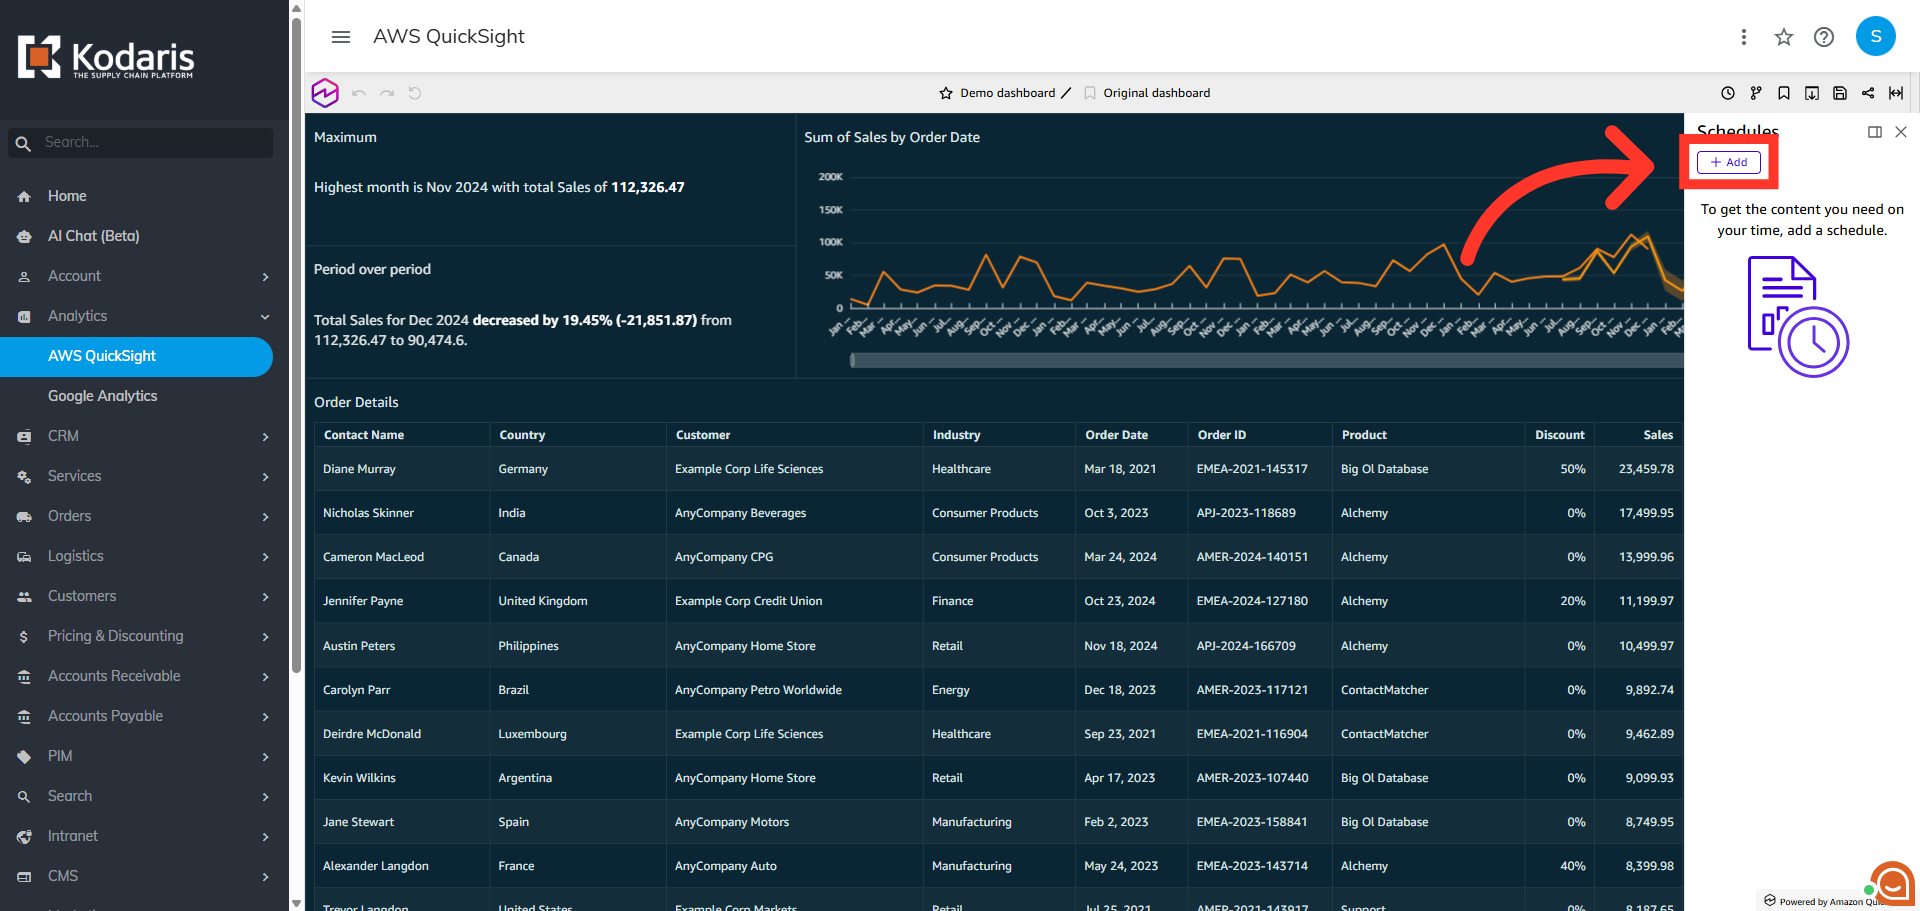
Click "Add"
Next, click the "Add" button to create a new schedule for dashboard distribution.
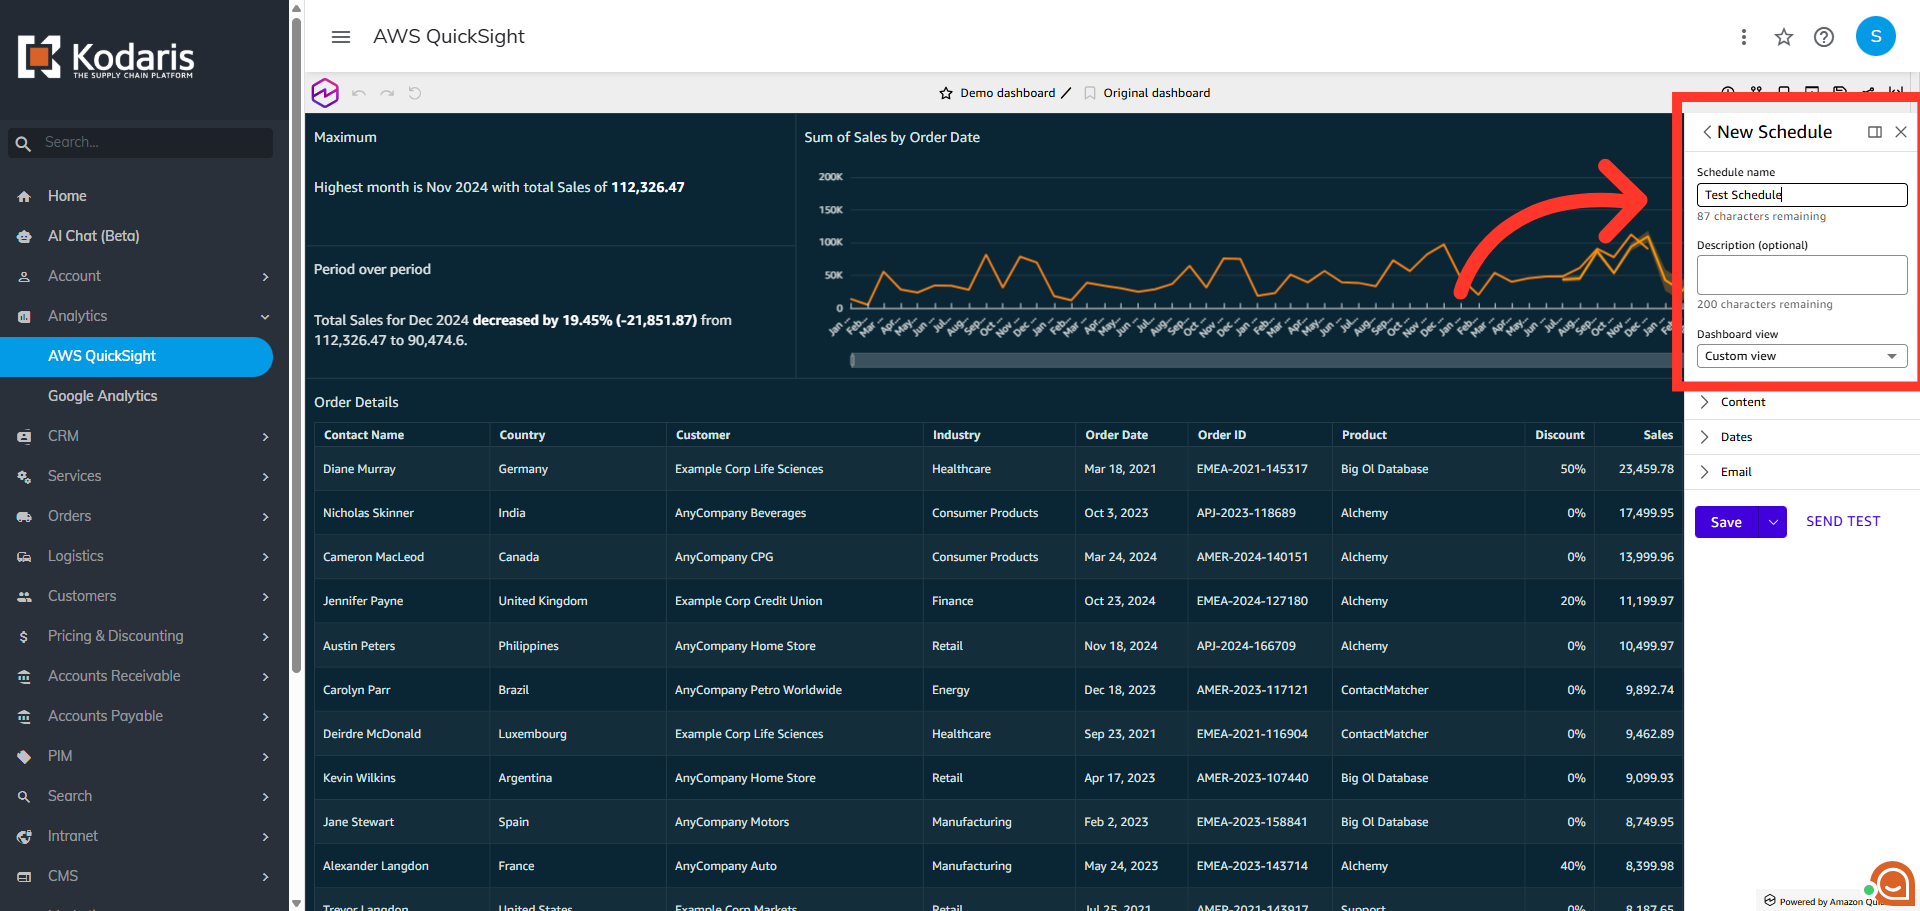
Name the schedule
In the "New Schedule" section, assign a name to the schedule, and add an optional description.
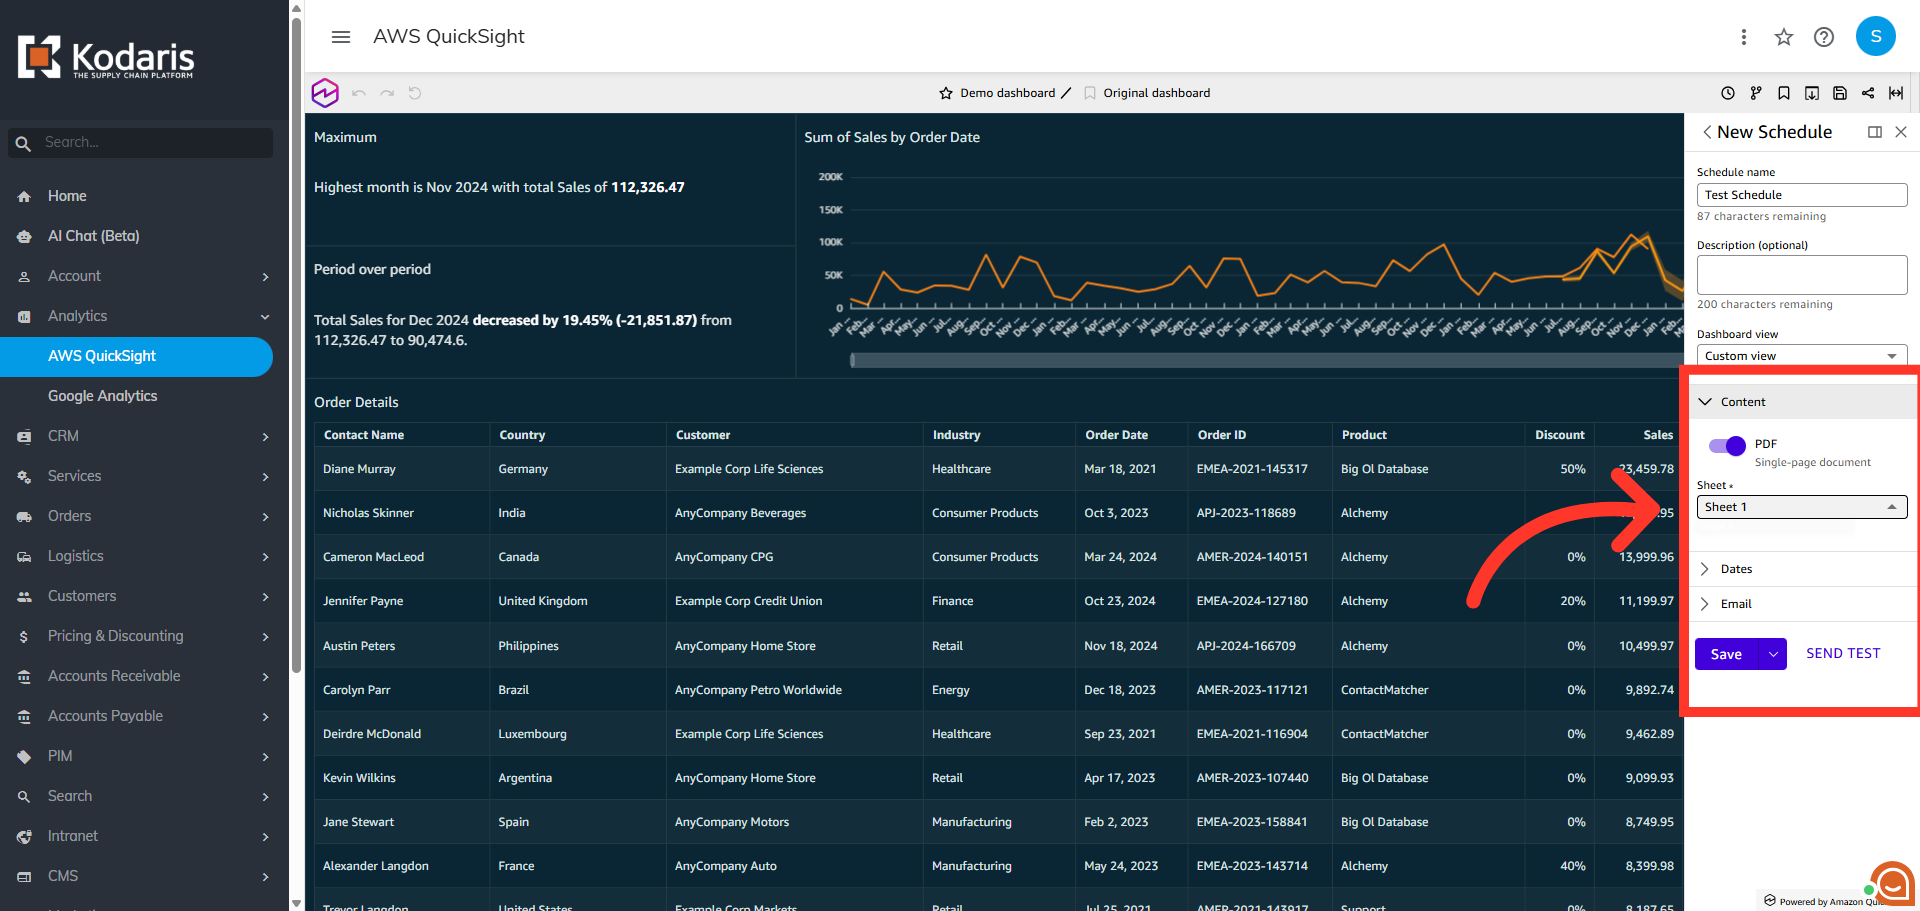
Select data to be included in the schedule
In the "Content" section, you can specifyy which dashboard sheet to include in the schedule.
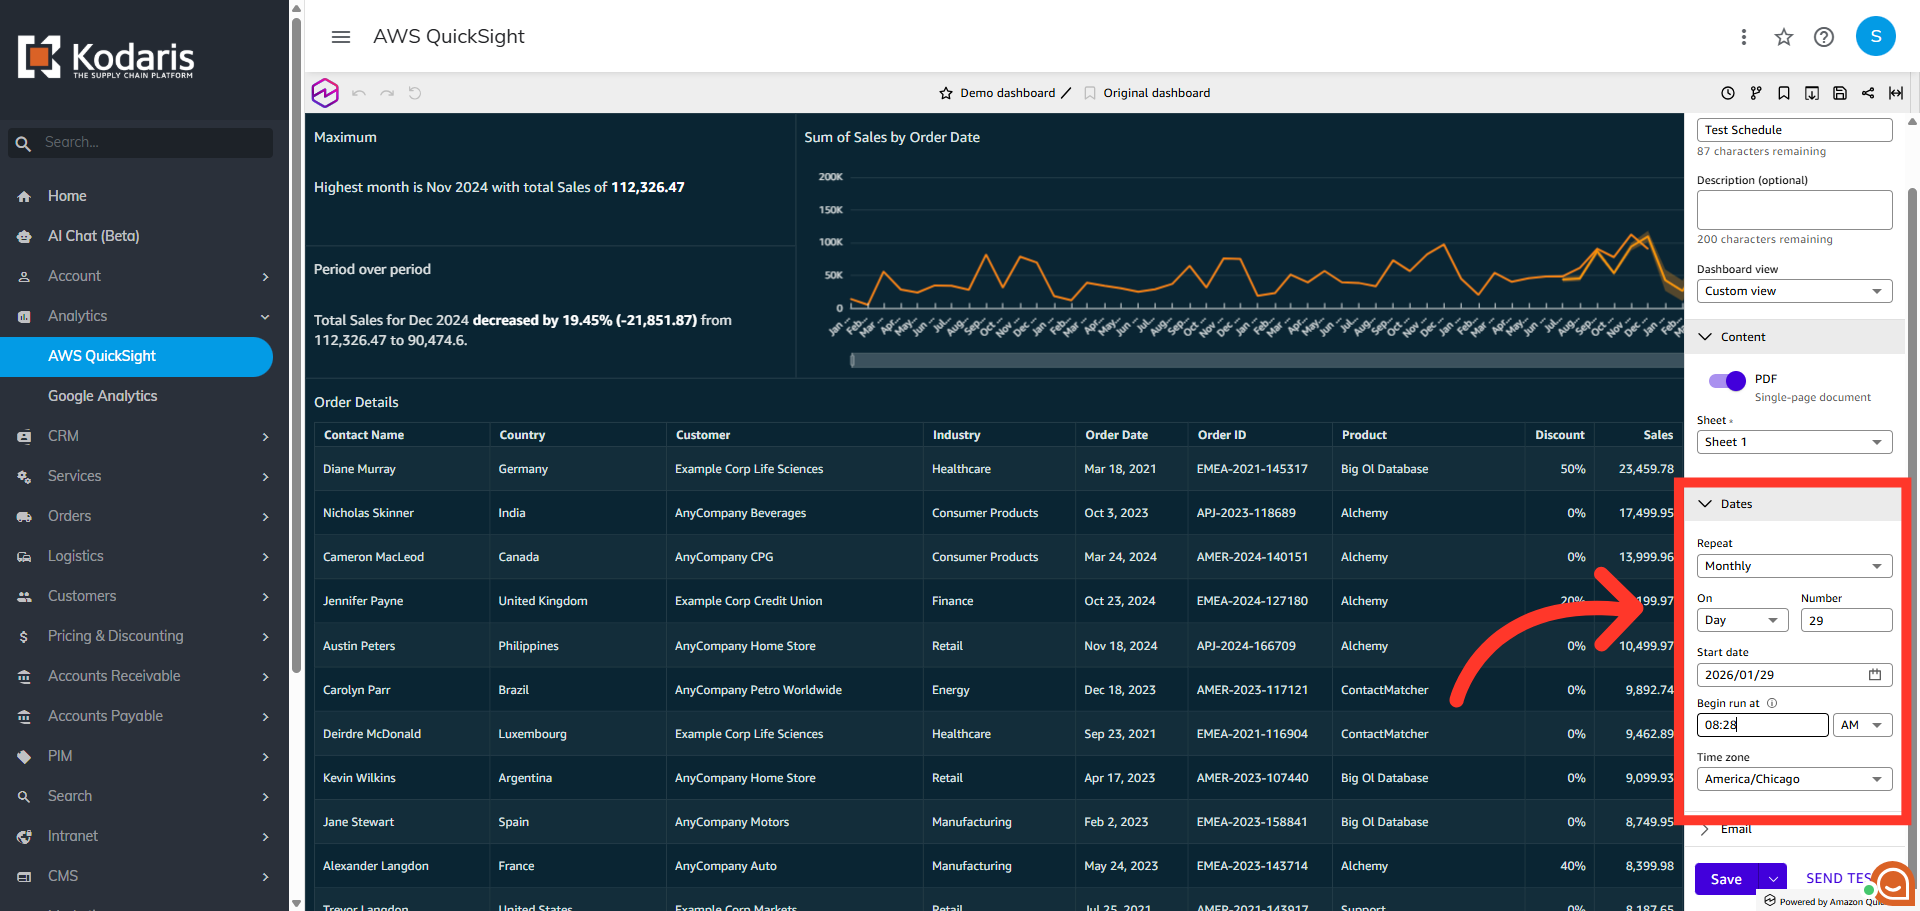
Select a specific time for the schedule
In the "Dates" section, you will set the schedule. You can set the schedule to run once, or reccurring on a specific day and time.
Populate email details
Then, in the "Email" section, you can populate an email subject line, header, and email body text. You will also choose who receives the email from the list of available users or you can choose to send to all users. Finally, choose how you want the PDF sent. You can choose between a link in the email, or a file attachment.

Click "Save"
Then, click "Save" to store your new schedule and activate automated report delivery. You also have the option to send a test email.

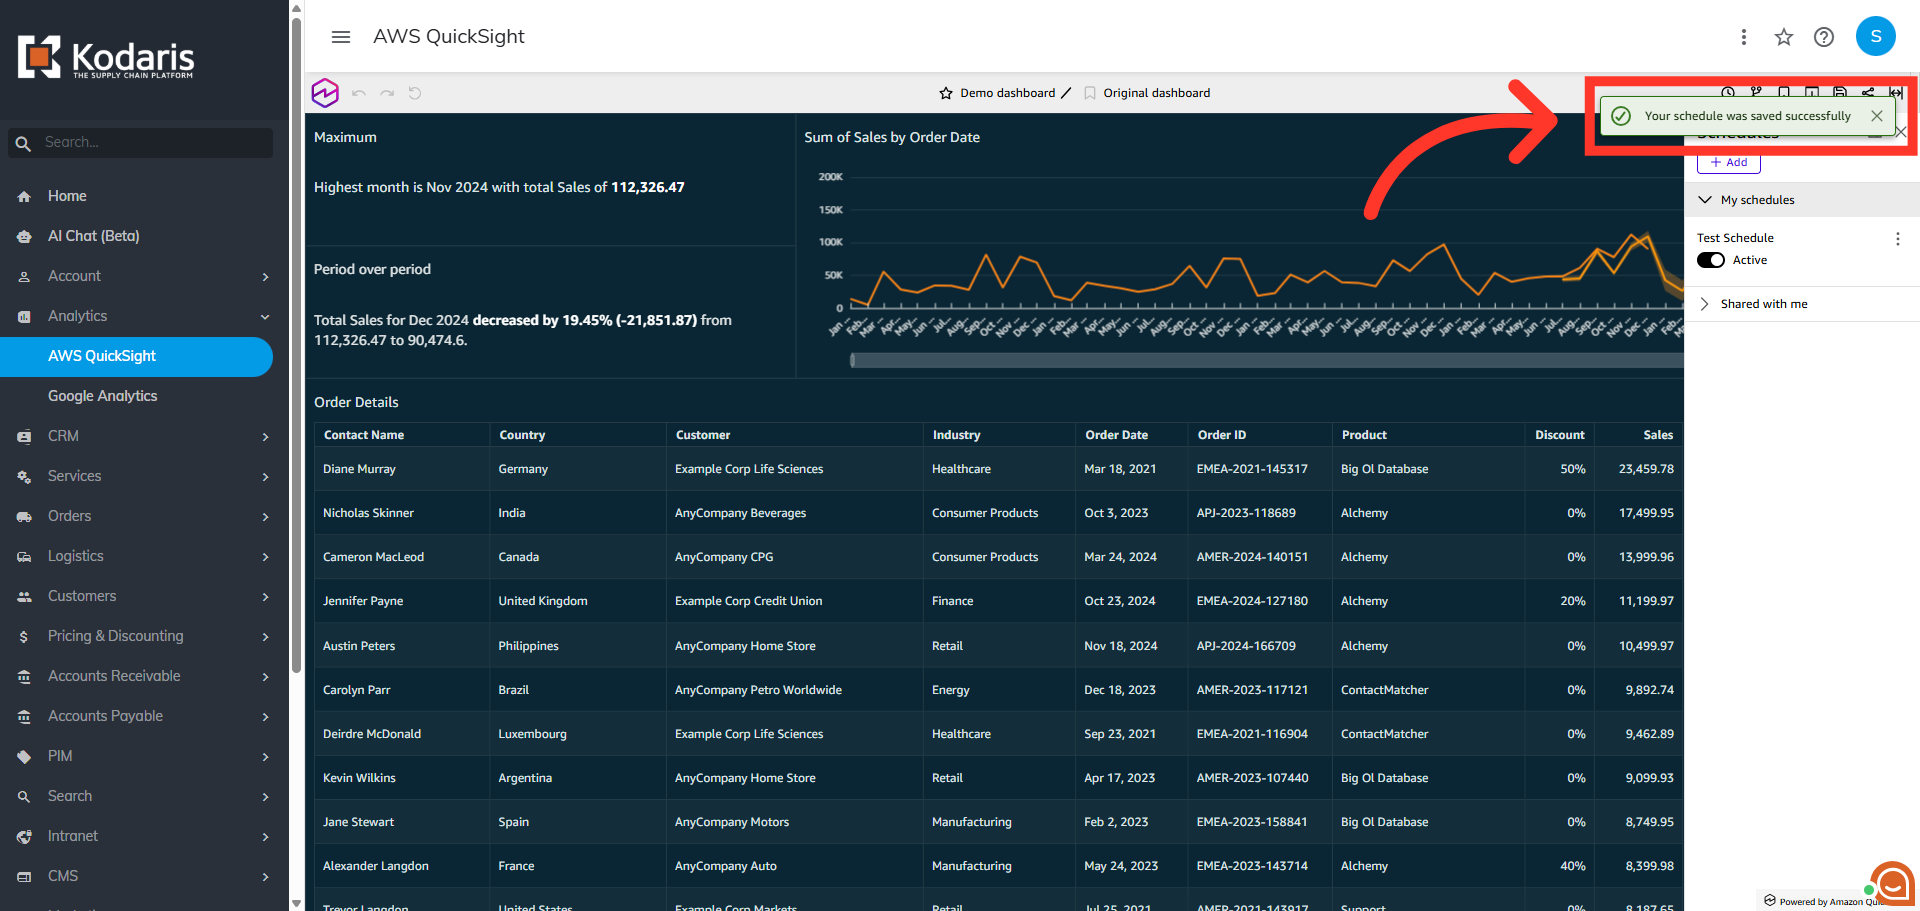
Confirm the added schedule
A successful confirmation message will appear when the scheduled was saved.