Operations PIM - Adding Category Images
Navigate to "PIM"
Images can be added to product categories by uploading them directly to product categories, or you have the option of uploading images to internal files. The images can be uploaded either from the data grid or the product details page. To start, navigate to "PIM" in the operations portal.

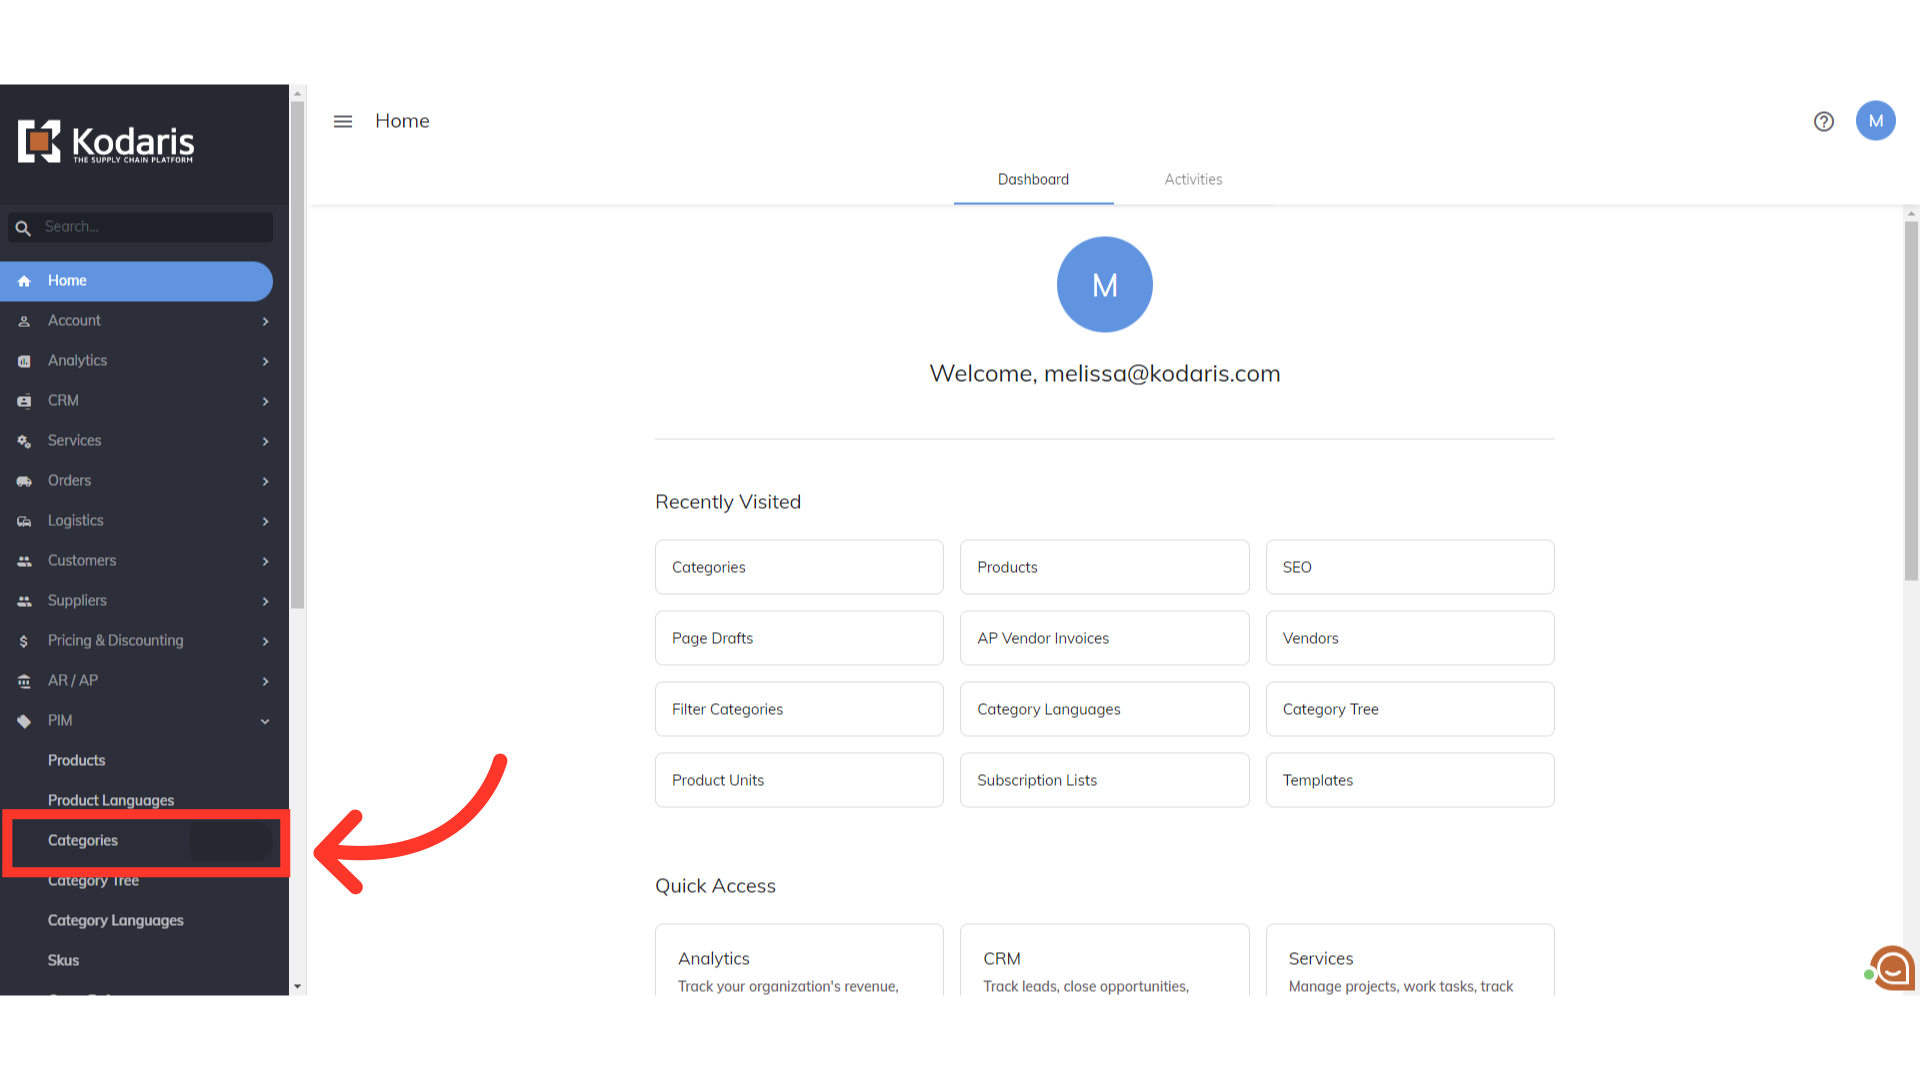
Click "Categories"
Then, click "Categories". In order to access and update “Categories” you will need to be set up either as an administrator or a superuser, or have the roles of: “categoryView” and “categoryEdit”.
Click "Data"
Go to the "Data" tab.

Search for the category
Find a category by using the search bar.

Click "Attach File"
One way to add a category image is to click on the "Attach File" icon on the category you would like to update.

Click "Primary Image"
This will open the option to add a primary image. Select "Primary Image". After clicking on this, you will then be able to add an image from your saved files on your computer.

Click the more details icon
You can double check that the image was saved by going into the details. Click the more details icon.

Auto-filled links for the image
Once you upload the image, the small, medium and large image urls can be viewed in the image fields.

Go to the "Public Files" tab
Another way to view the image that has been added is to select the "Public Files" tab.
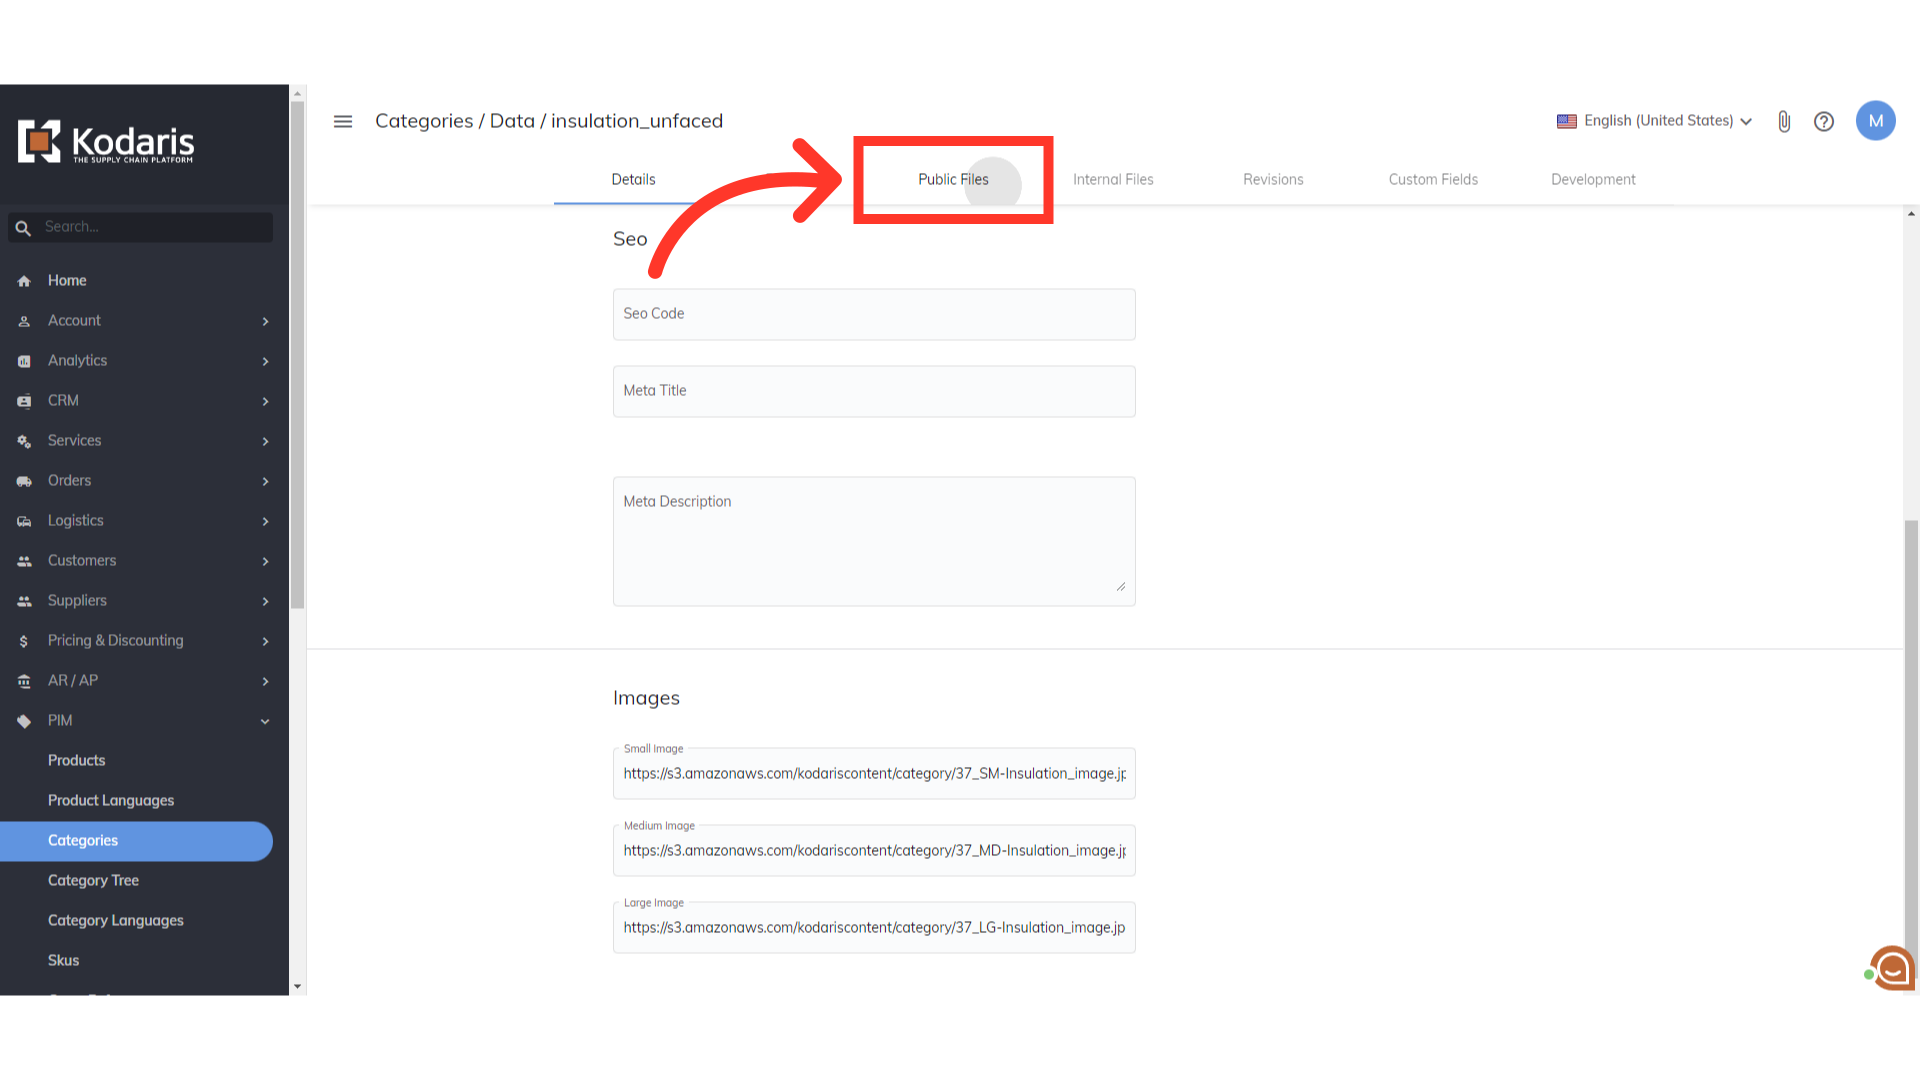
Uploaded images are shown
The image that you uploaded on the category can be seen here.

Click "Attach File" icon
The other way to add images to a category is on the details page of the category. To do that, click on the "Attach File" icon in the upper right corner.

Select "Primary Image"
Then, select "Primary Image". You will be able to select your saved images from your computer.
