Operations Services - Create a New Ticket Without a Template
Navigate to the "Tickets" screen
To create a new ticket without using a pre-defined ticket template, log in to your operations portal and navigate to the "Tickets" screen within the "Services" section. In order to access and update "Tickets" you will need to be set up either as an "administrator" or a "superuser", or have the roles of: "ticketView" and "ticketEdit".

Click the "Add Ticket" icon
Click the "Add Ticket" icon to open the "Add Ticket" form.

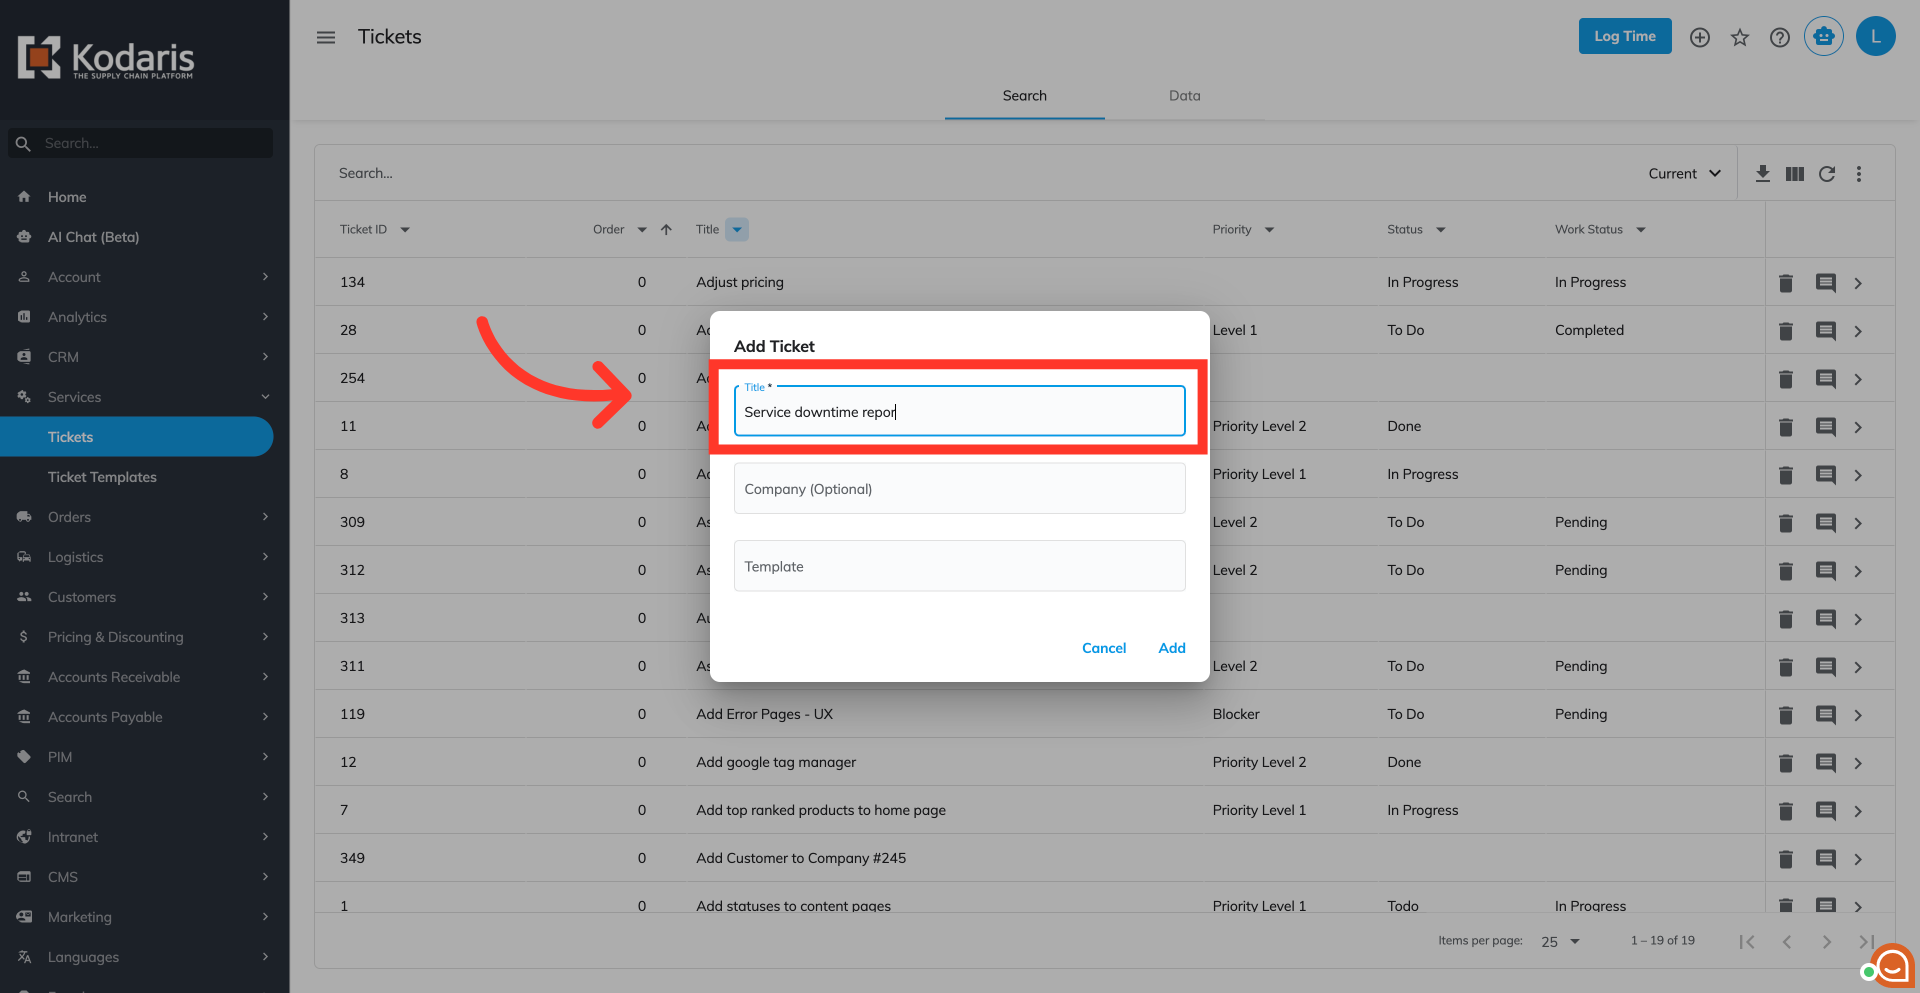
Enter your ticket's initial details
Fill out the form with the ticket's initial details. Type in the "Title."
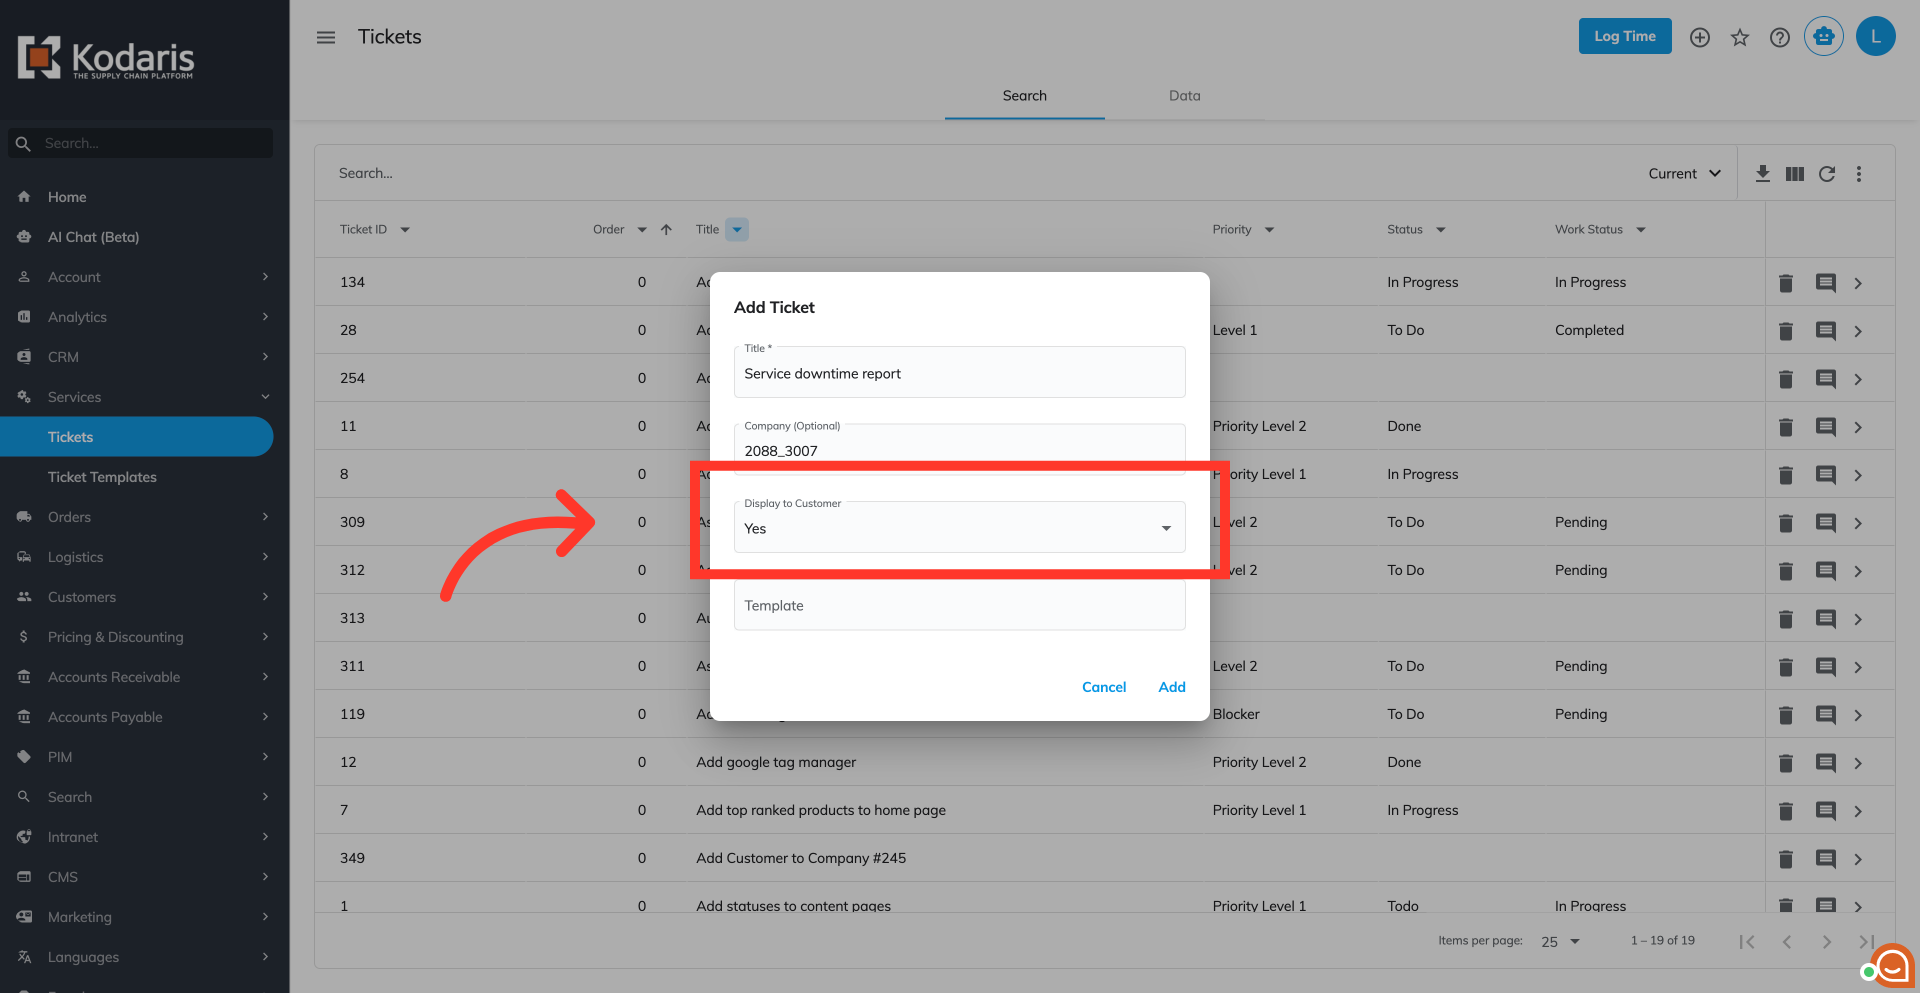
Select a "Company", if needed
If you're assigning this ticket to a company, click the "Company" field then type to search for the company. Click the company to select.

"Display to Customer" field
If you selected a company, a field "Display to Customer" will appear. Select "Yes" if you want your customer to see the ticket, select "No" otherwise.
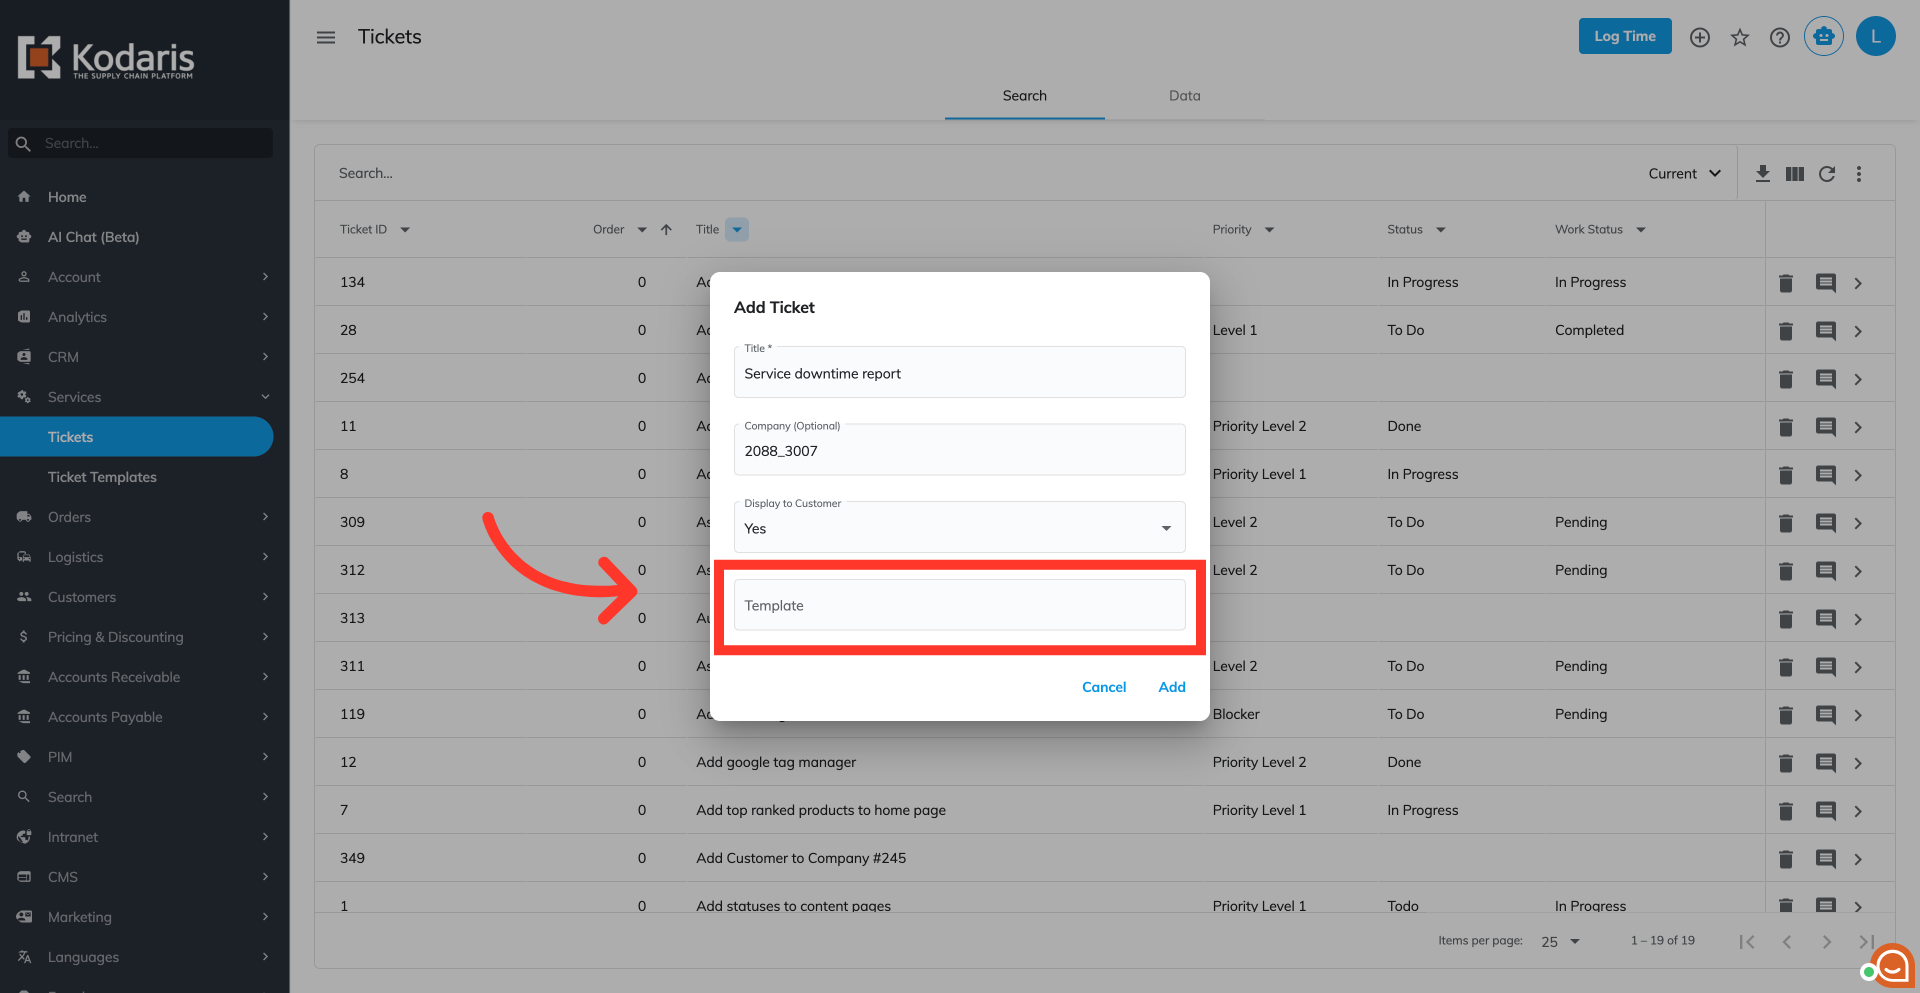
Skip the "Template" field
Leave the "Template" field empty.
Click the "Add" button
Click the "Add" button to confirm creation.

Fill in the ticket's details
Once your ticket is created, you'll go to the details tab. This is where you can easily add more information to your ticket.

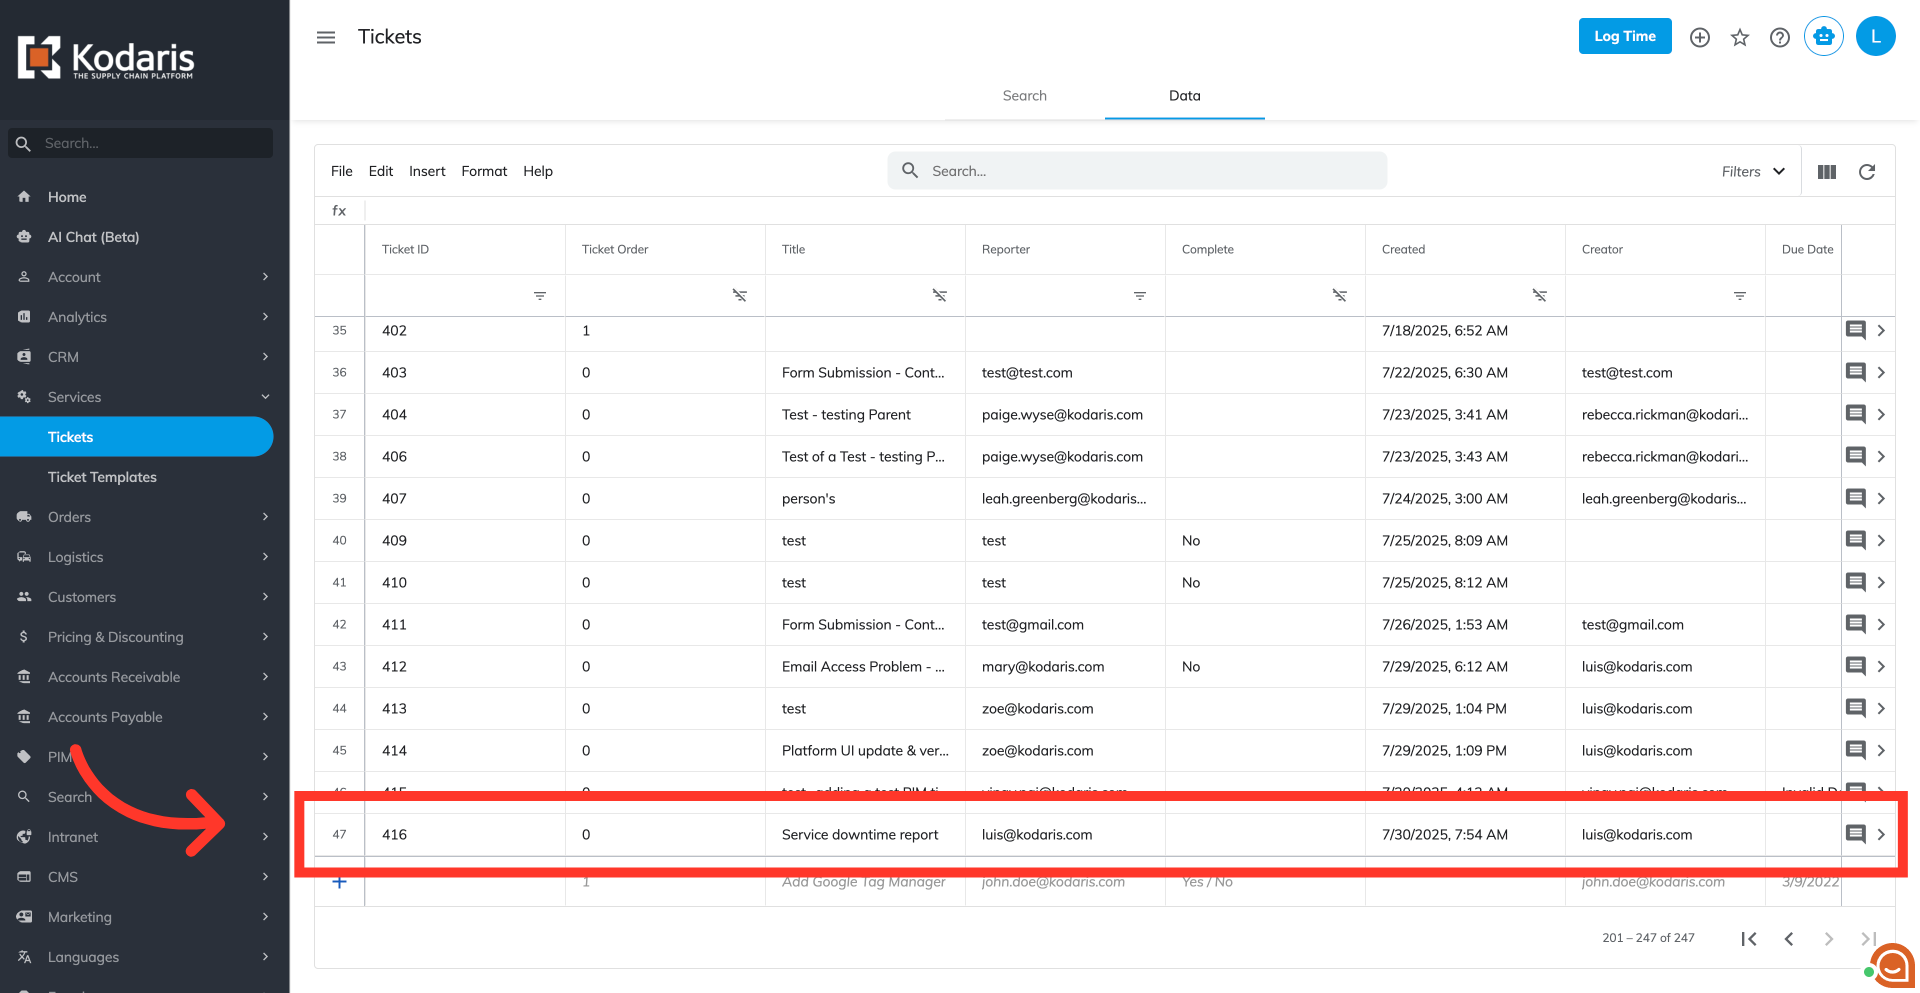
Verify on the list
Confirm the newly created ticket is now added on the ticket list.