Operations Services - Create Child Tickets
Navigate to "Services" section
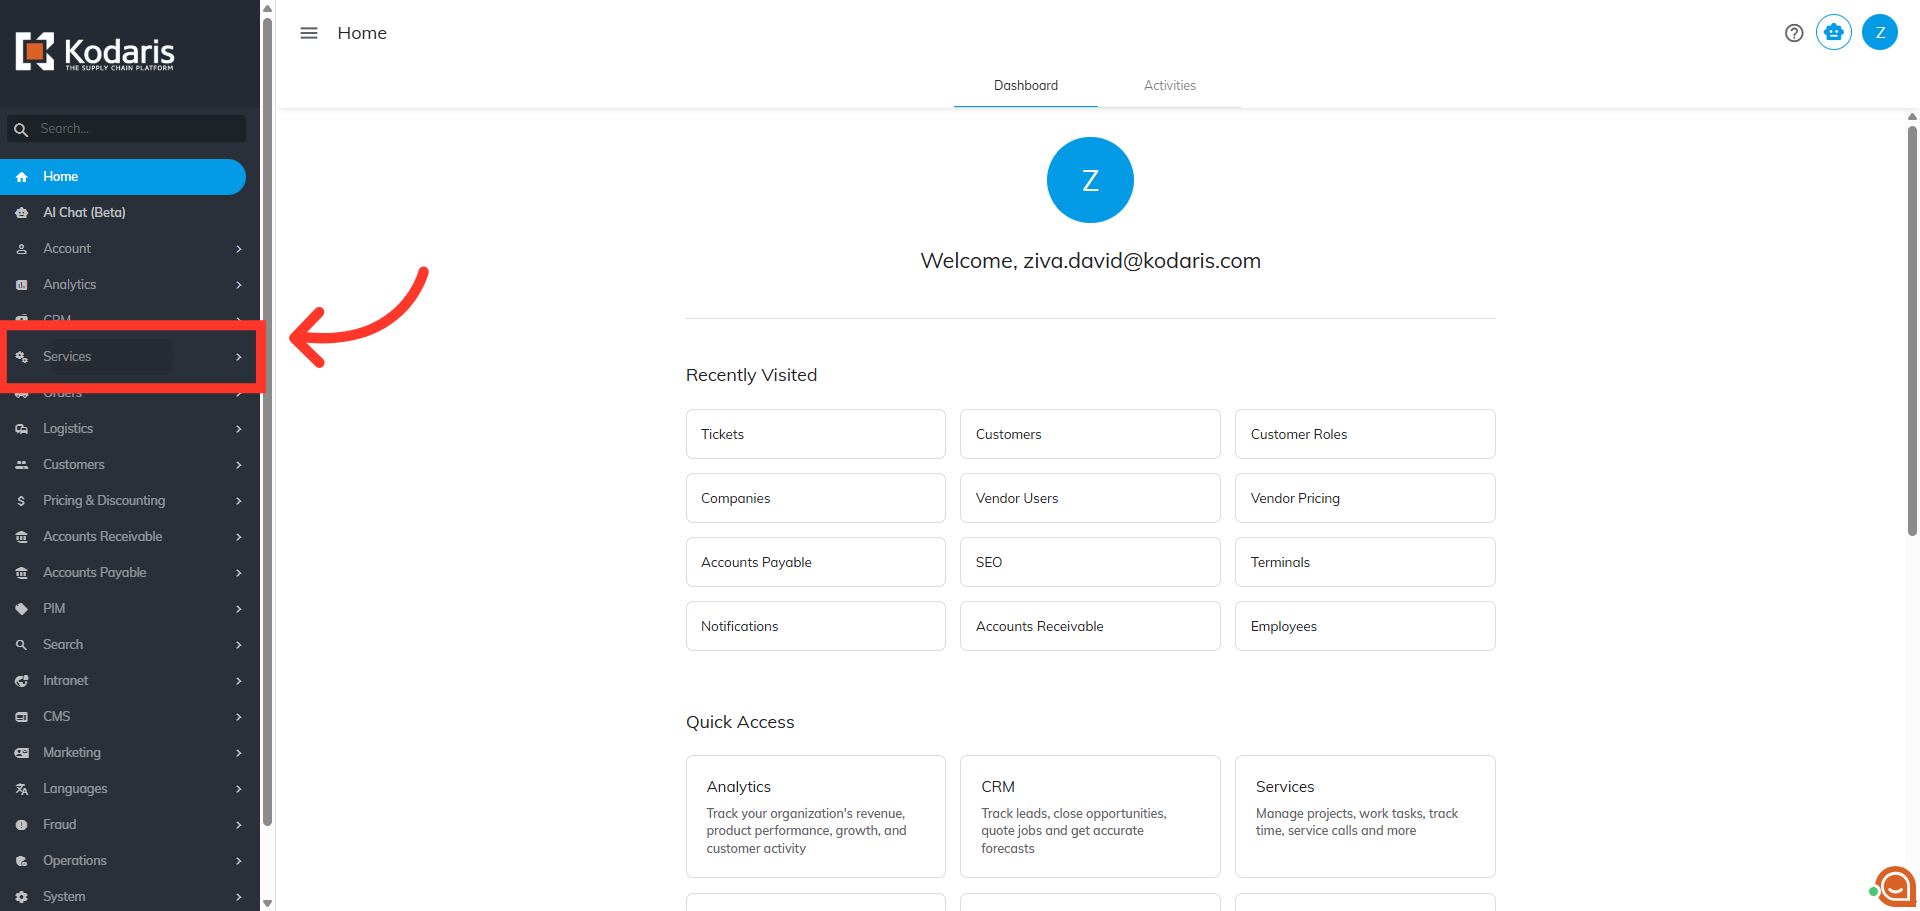
To create a child ticket, navigate to the "Services" section in the operations portal.
Click "Tickets"
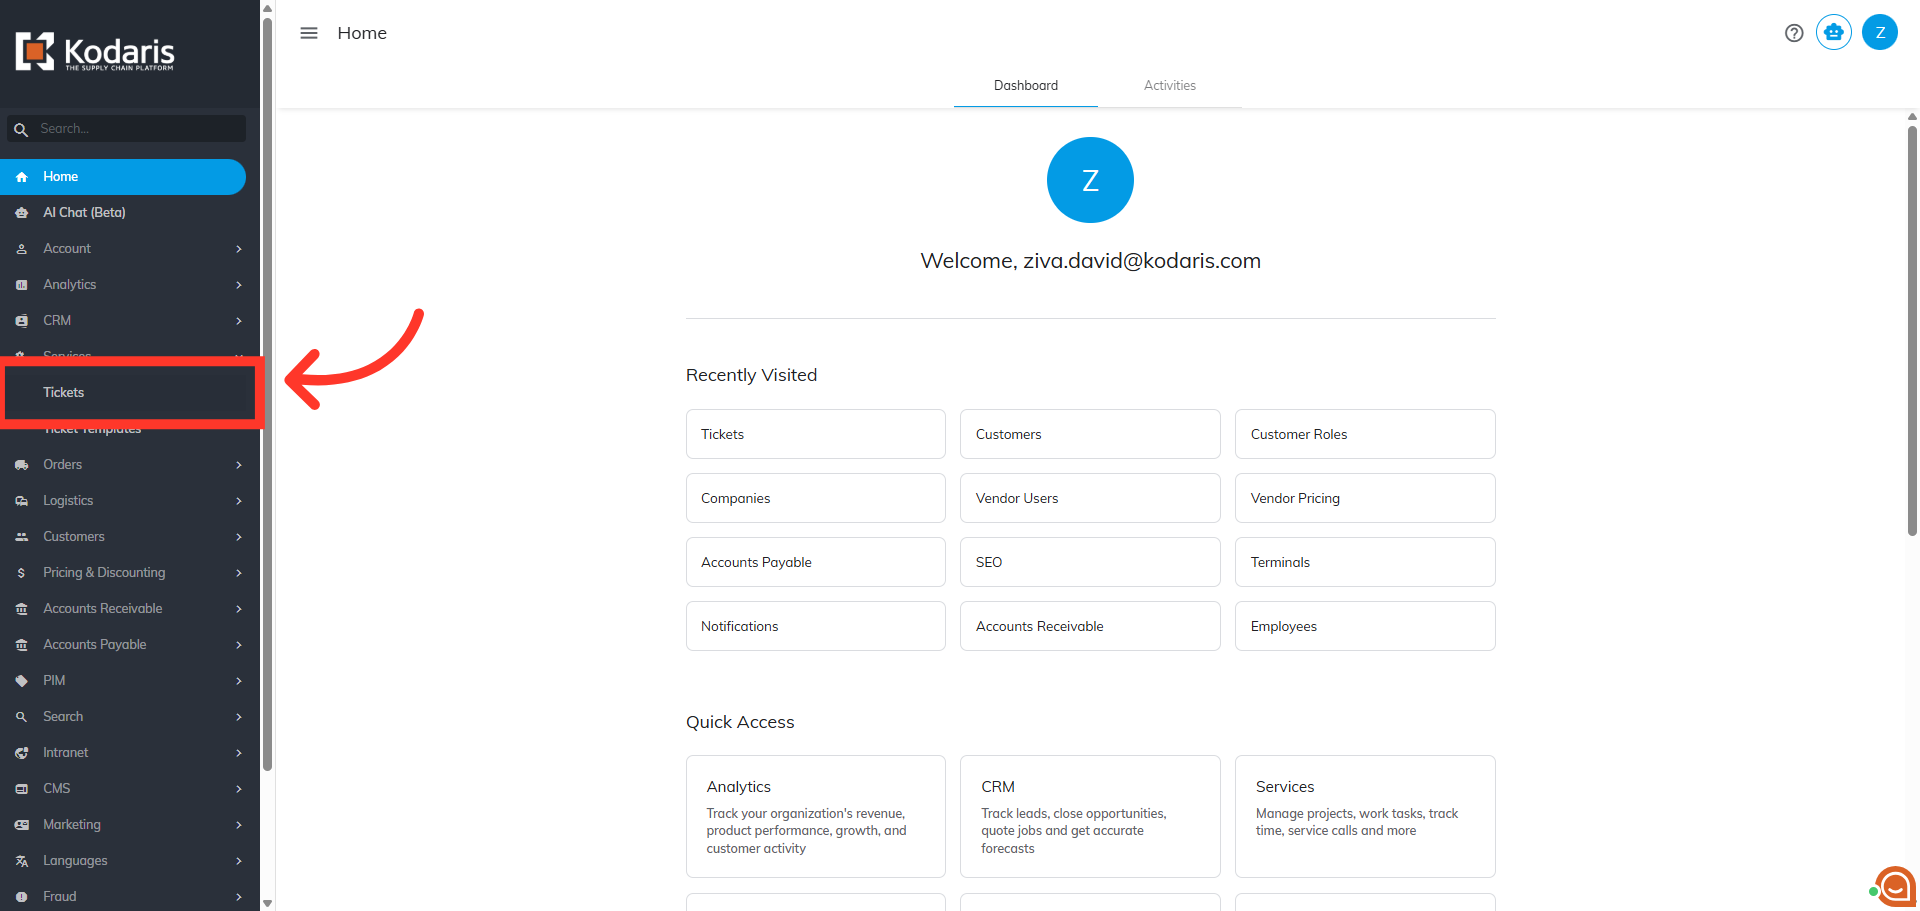
Next, click "Tickets." In order to access and update "Tickets" you will need to be set up either as an "administrator" or a "superuser", or have the roles of: "ticketView" and "ticketEdit".
Search for the ticket
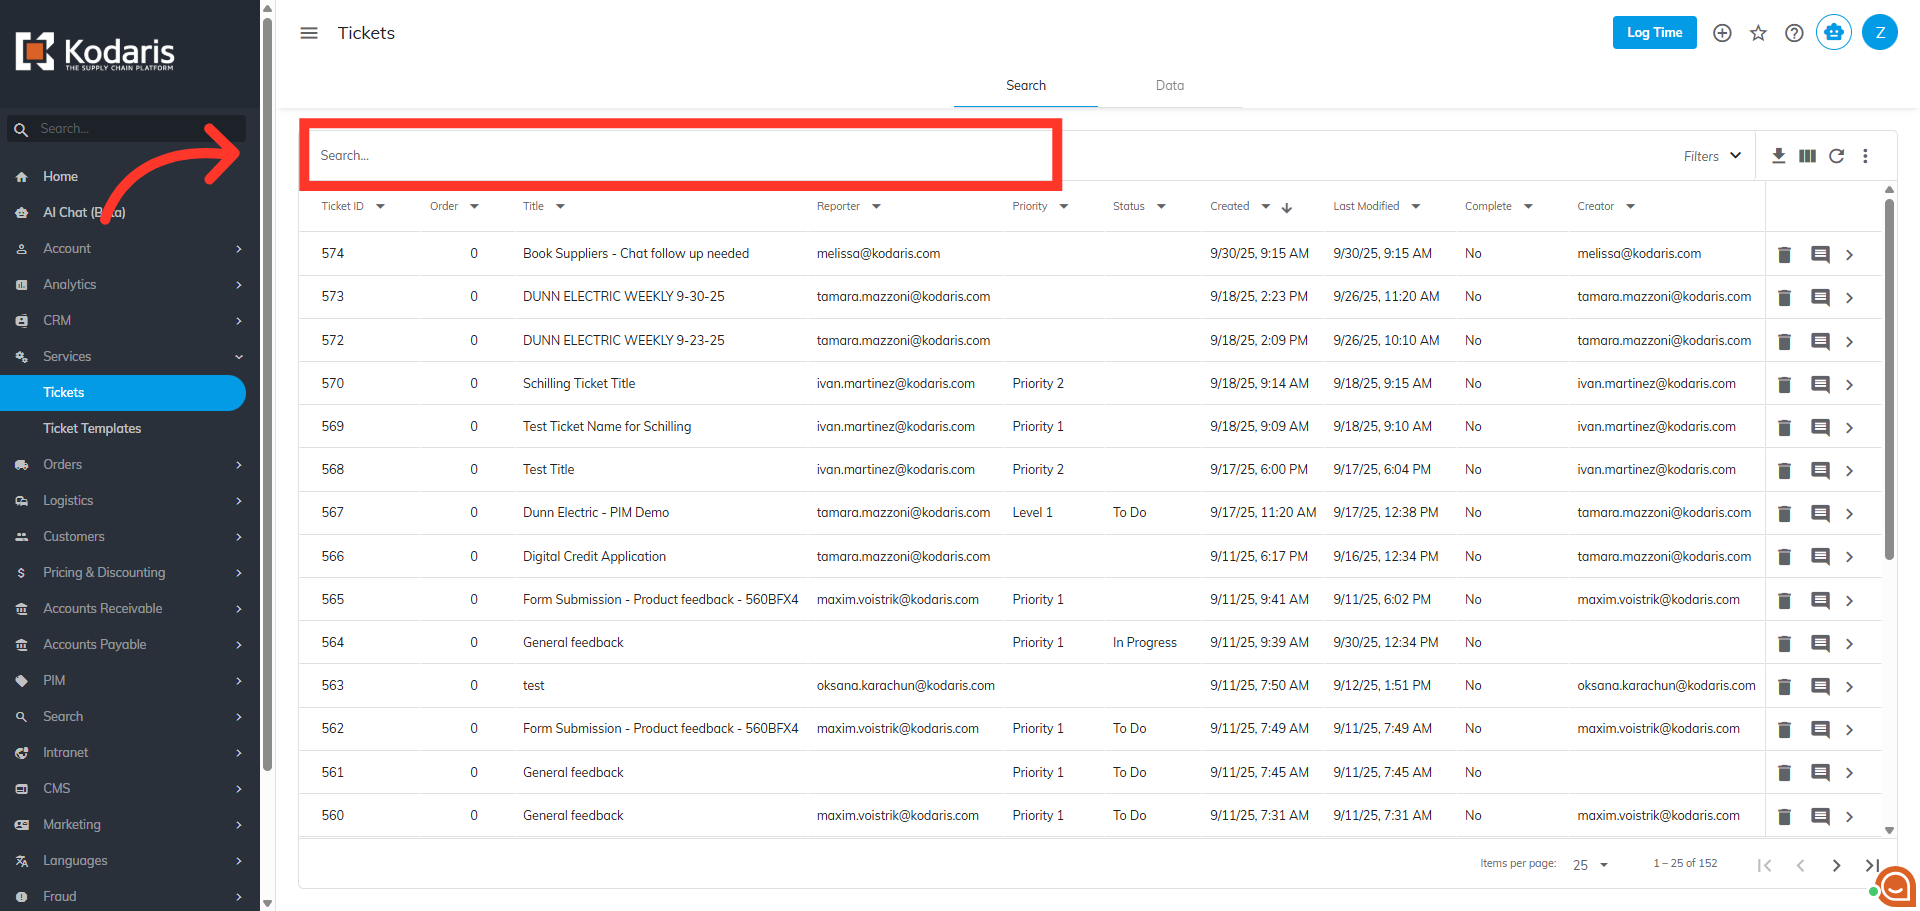
Search for the ticket. Enter the ticket name or ticket ID in the "Search..." field or use filters to find the needed ticket.
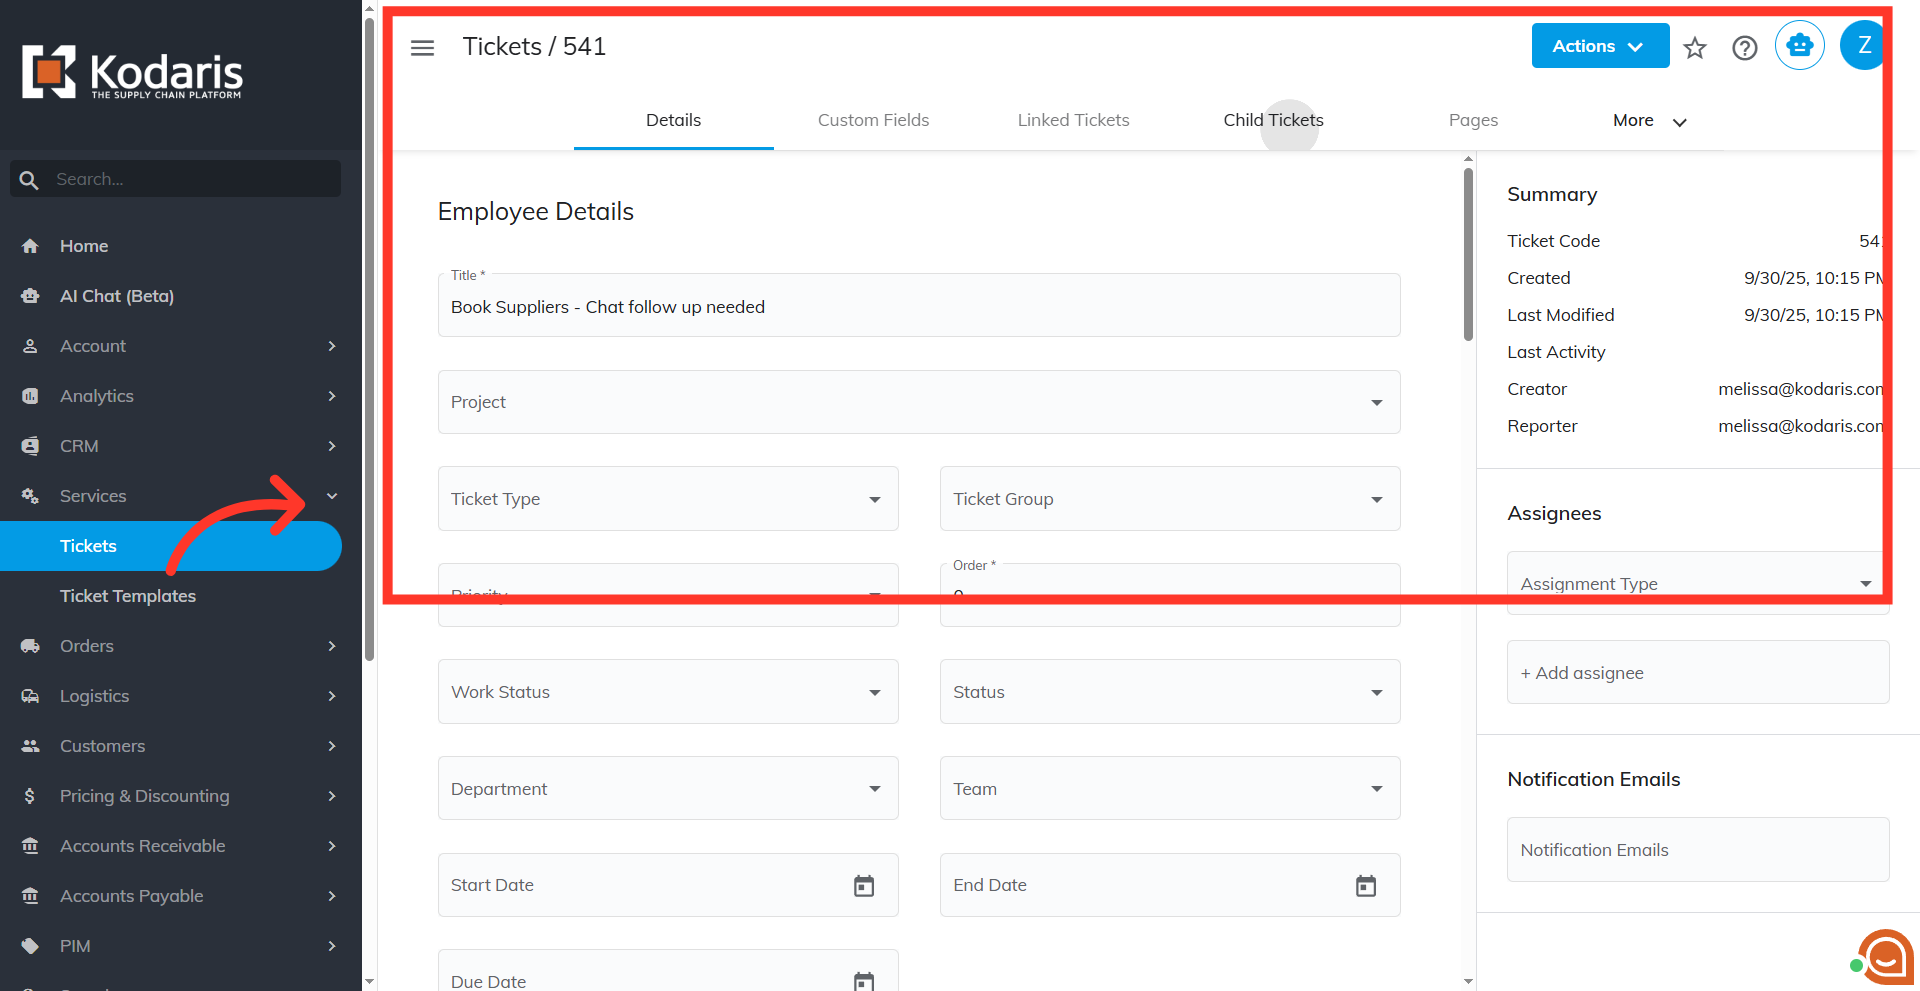
Click the more details icon
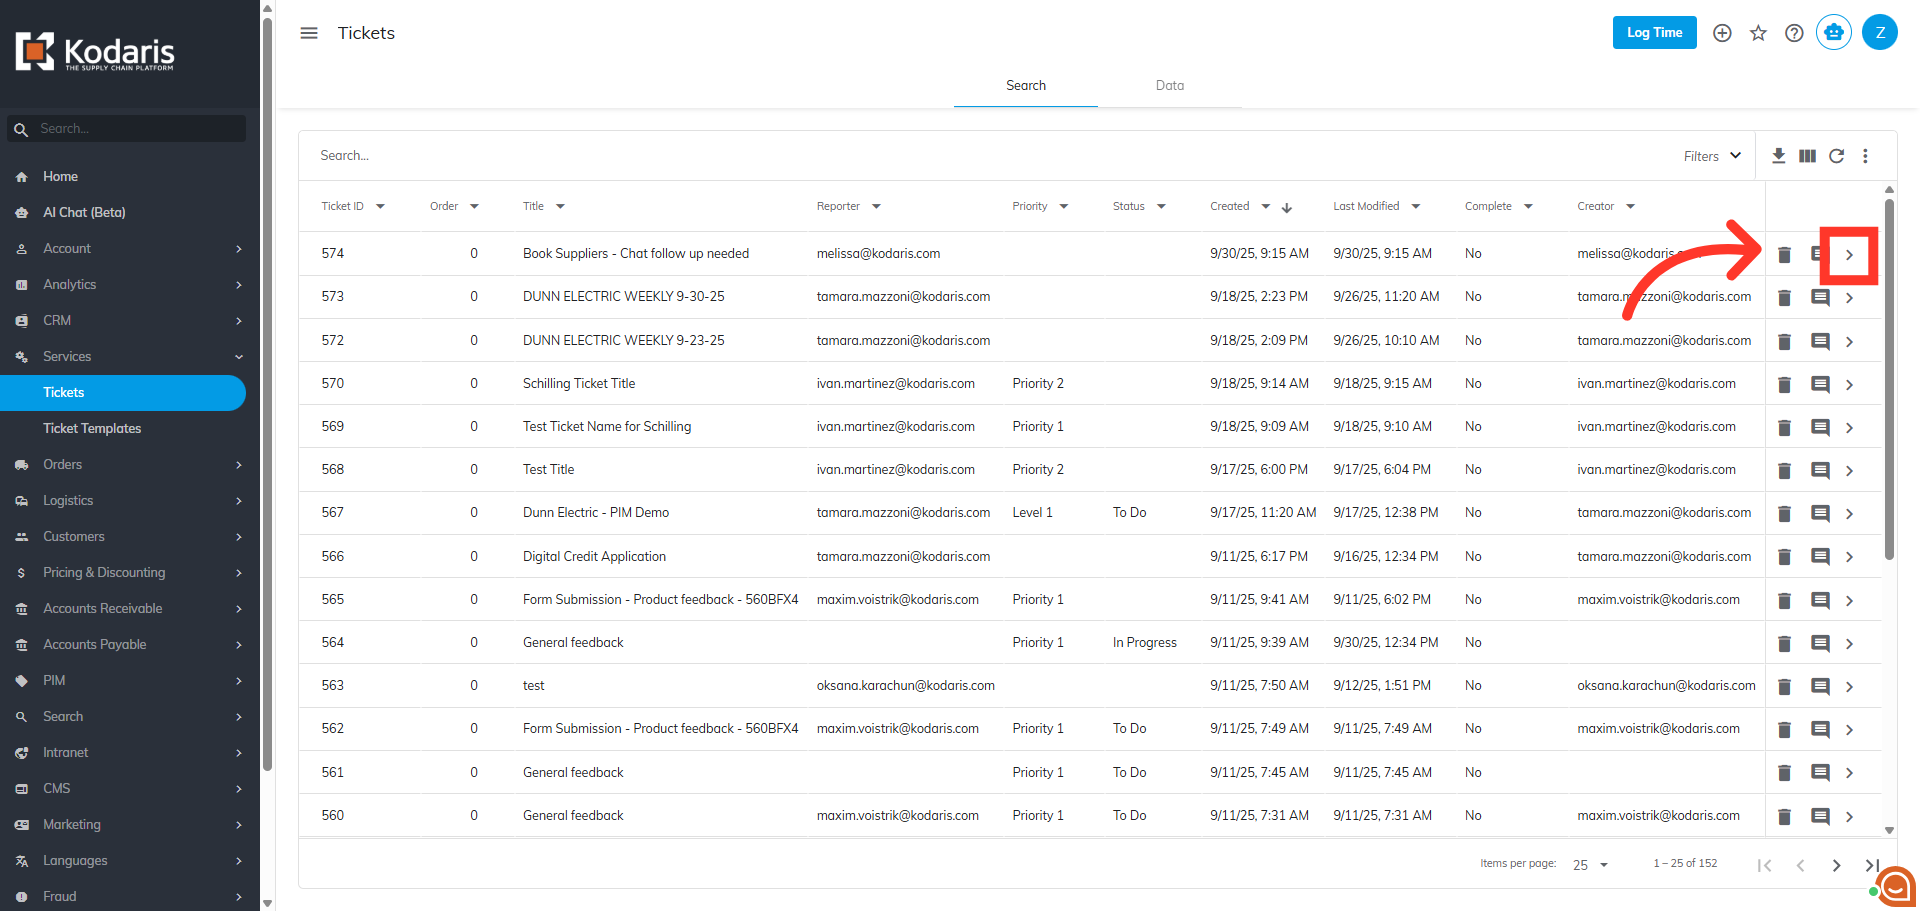
Then, click on the more details icon to go to the details screen.
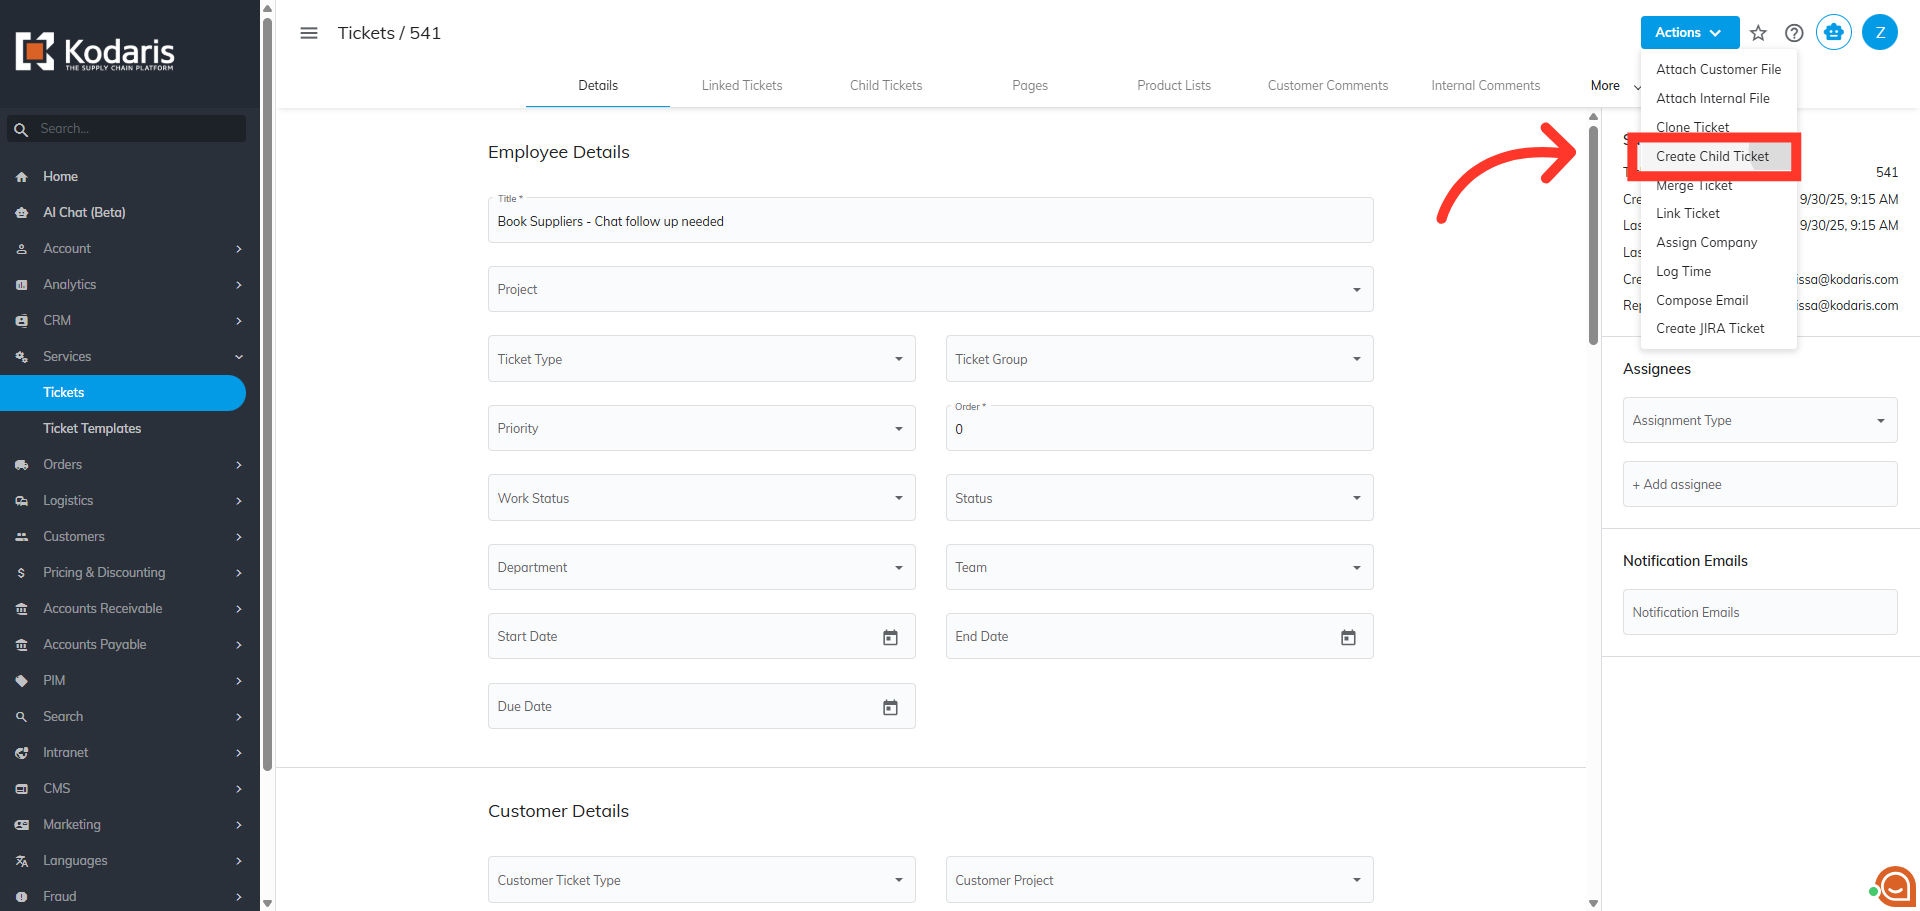
Click "Actions"
Click the "Actions" button to view additional ticket options.

Select "Create Child Ticket"
Next, click "Create Child Ticket" from the Actions menu.
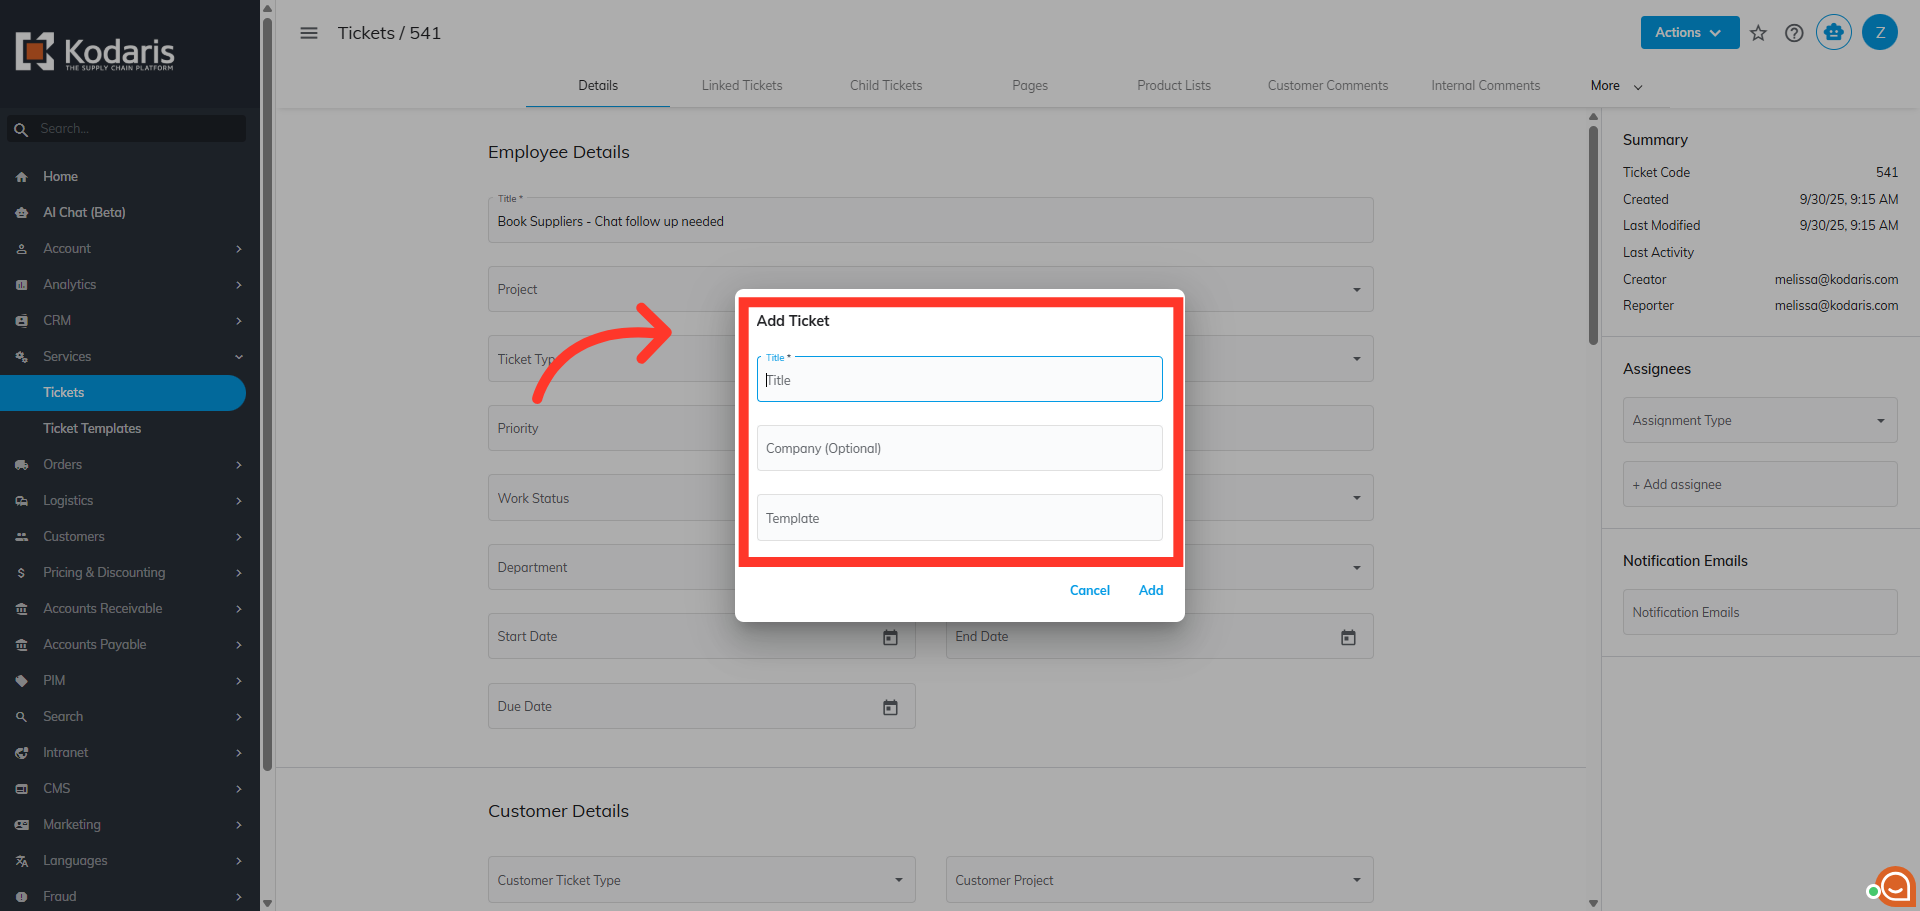
Fill in the fields
Fill in the fields in the "Add Ticket" dialog box. Title is required. Select a company if you are assigning the ticket to a specific company.
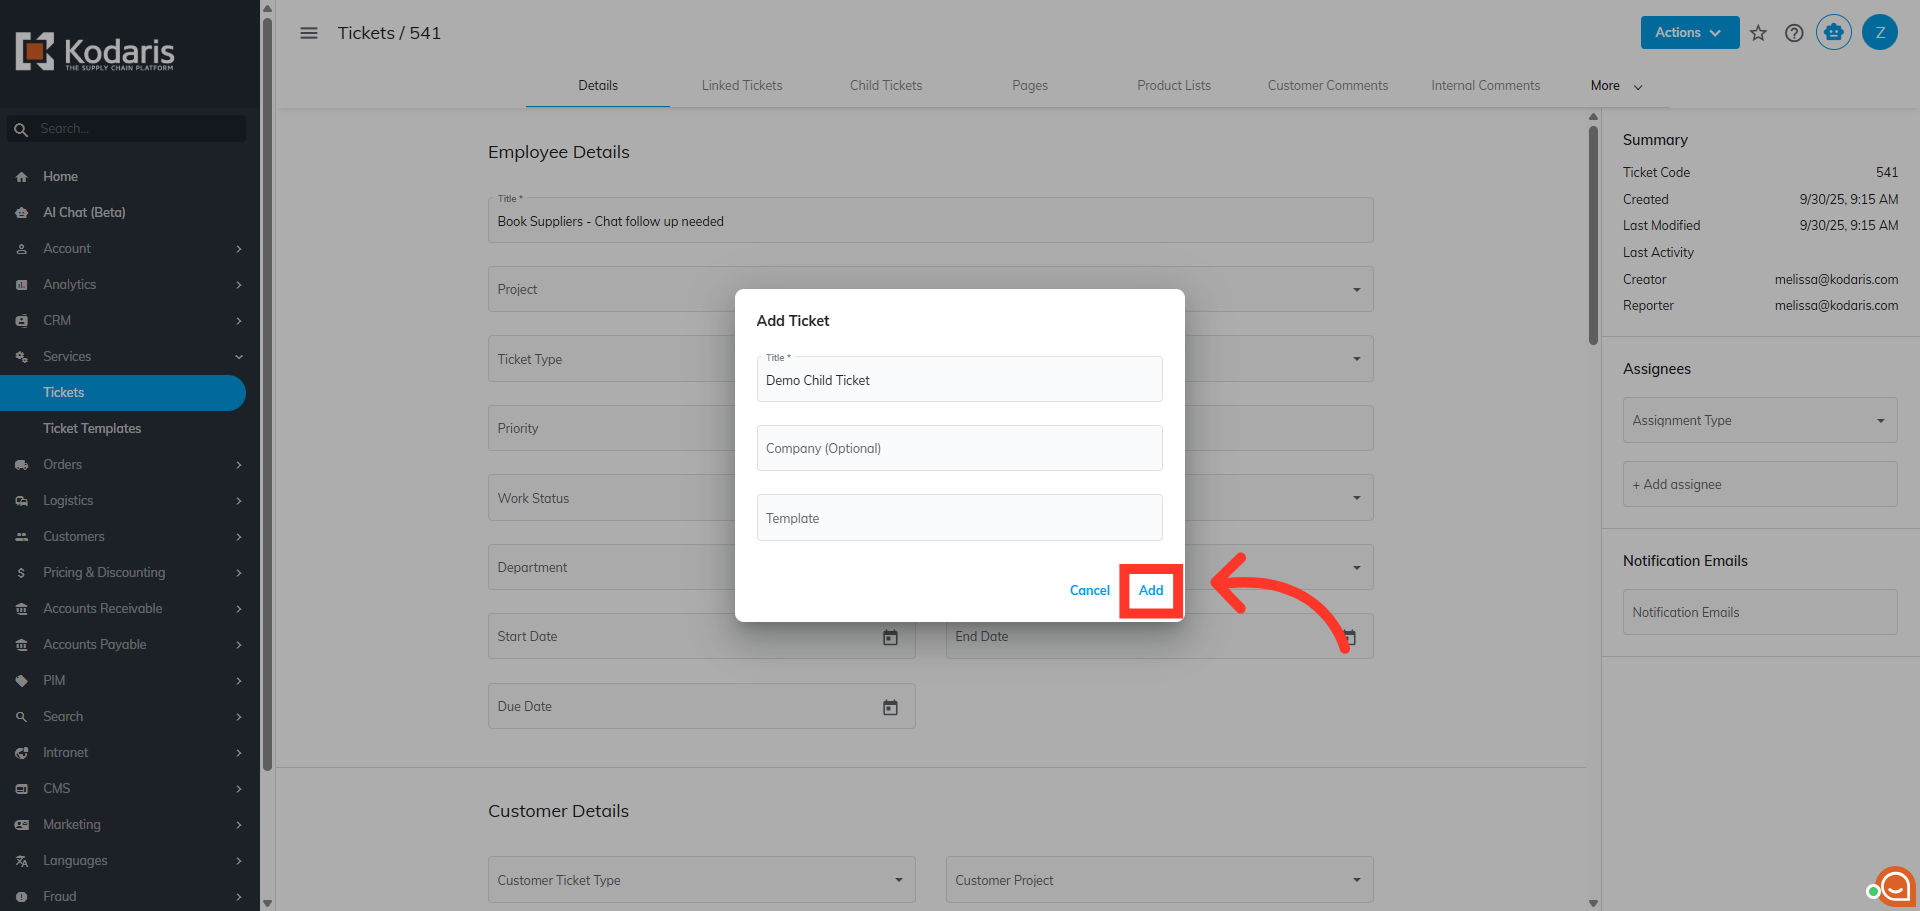
Click "Add"
Then, click the "Add" button to save and create the new child ticket.
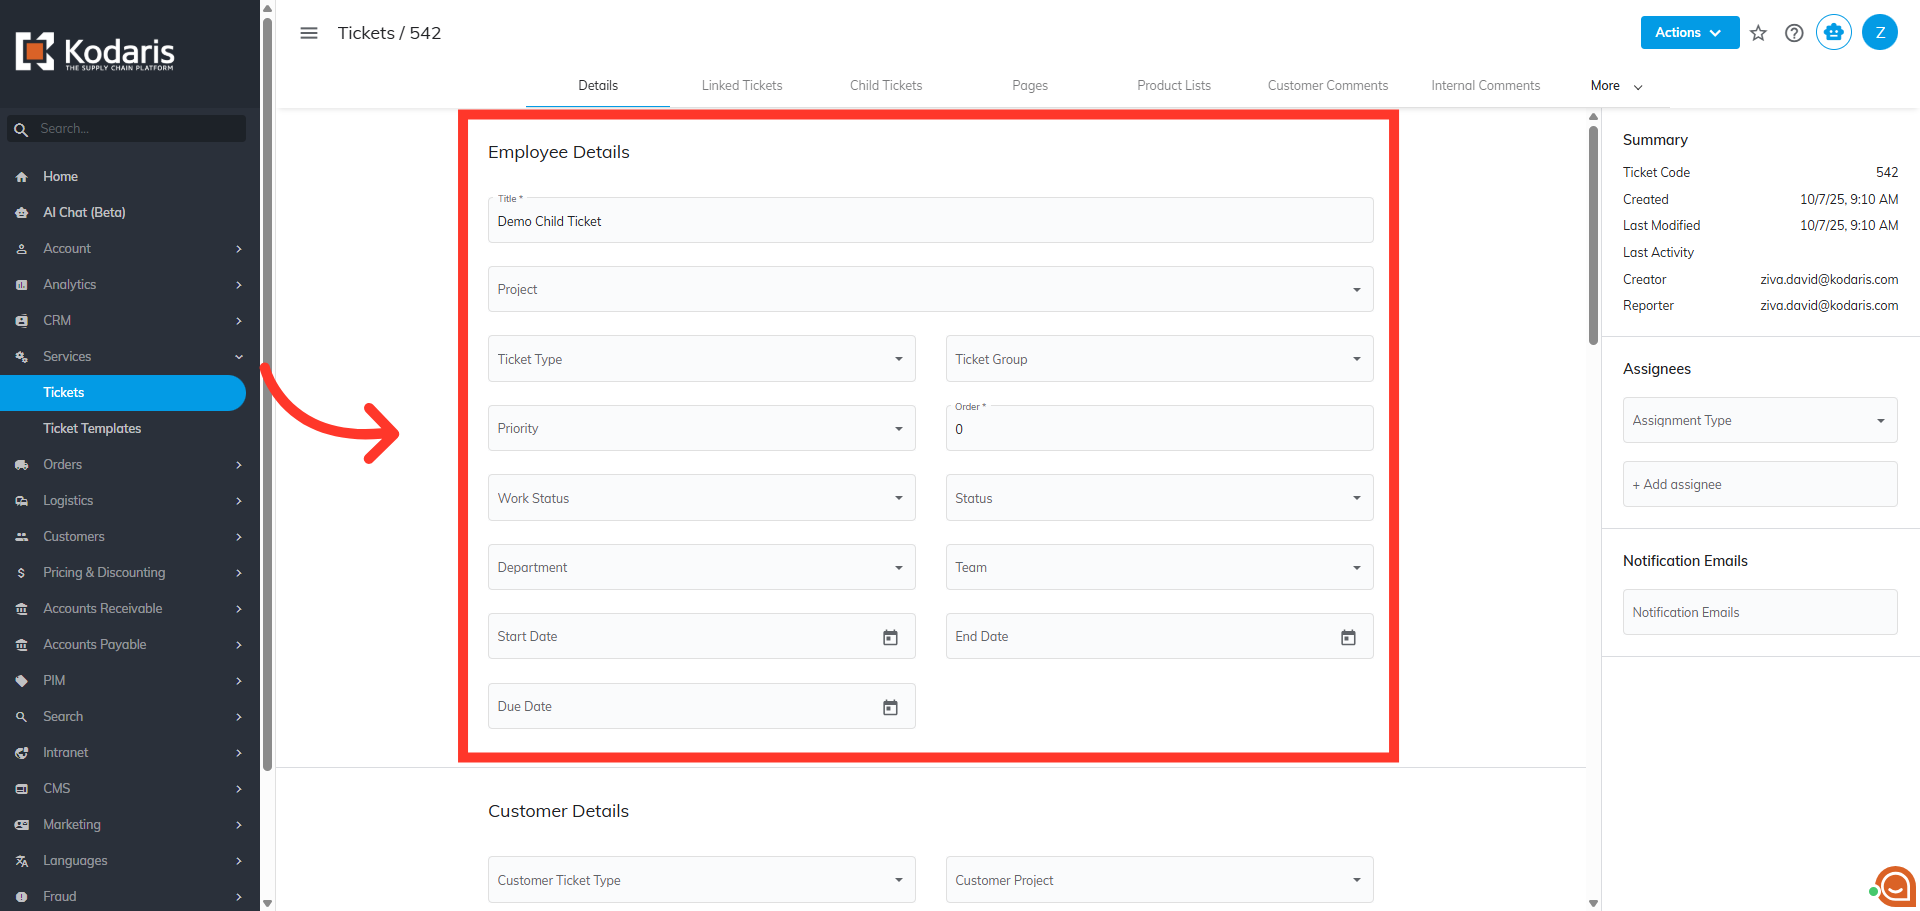
Update Ticket Details
You will be redirected to the ticket details. Update the needed fields. This ticket is now a child ticket.
Go back to the "Parent Ticket"
To view the child tickets created, go back to the "Parent Ticket" details screen.
Click the "Child Tickets" tab
Click the "Child Tickets tab. All child tickets created under this parent ticket will be listed here.
