Operations Services - Customize Ticket Customer Flags
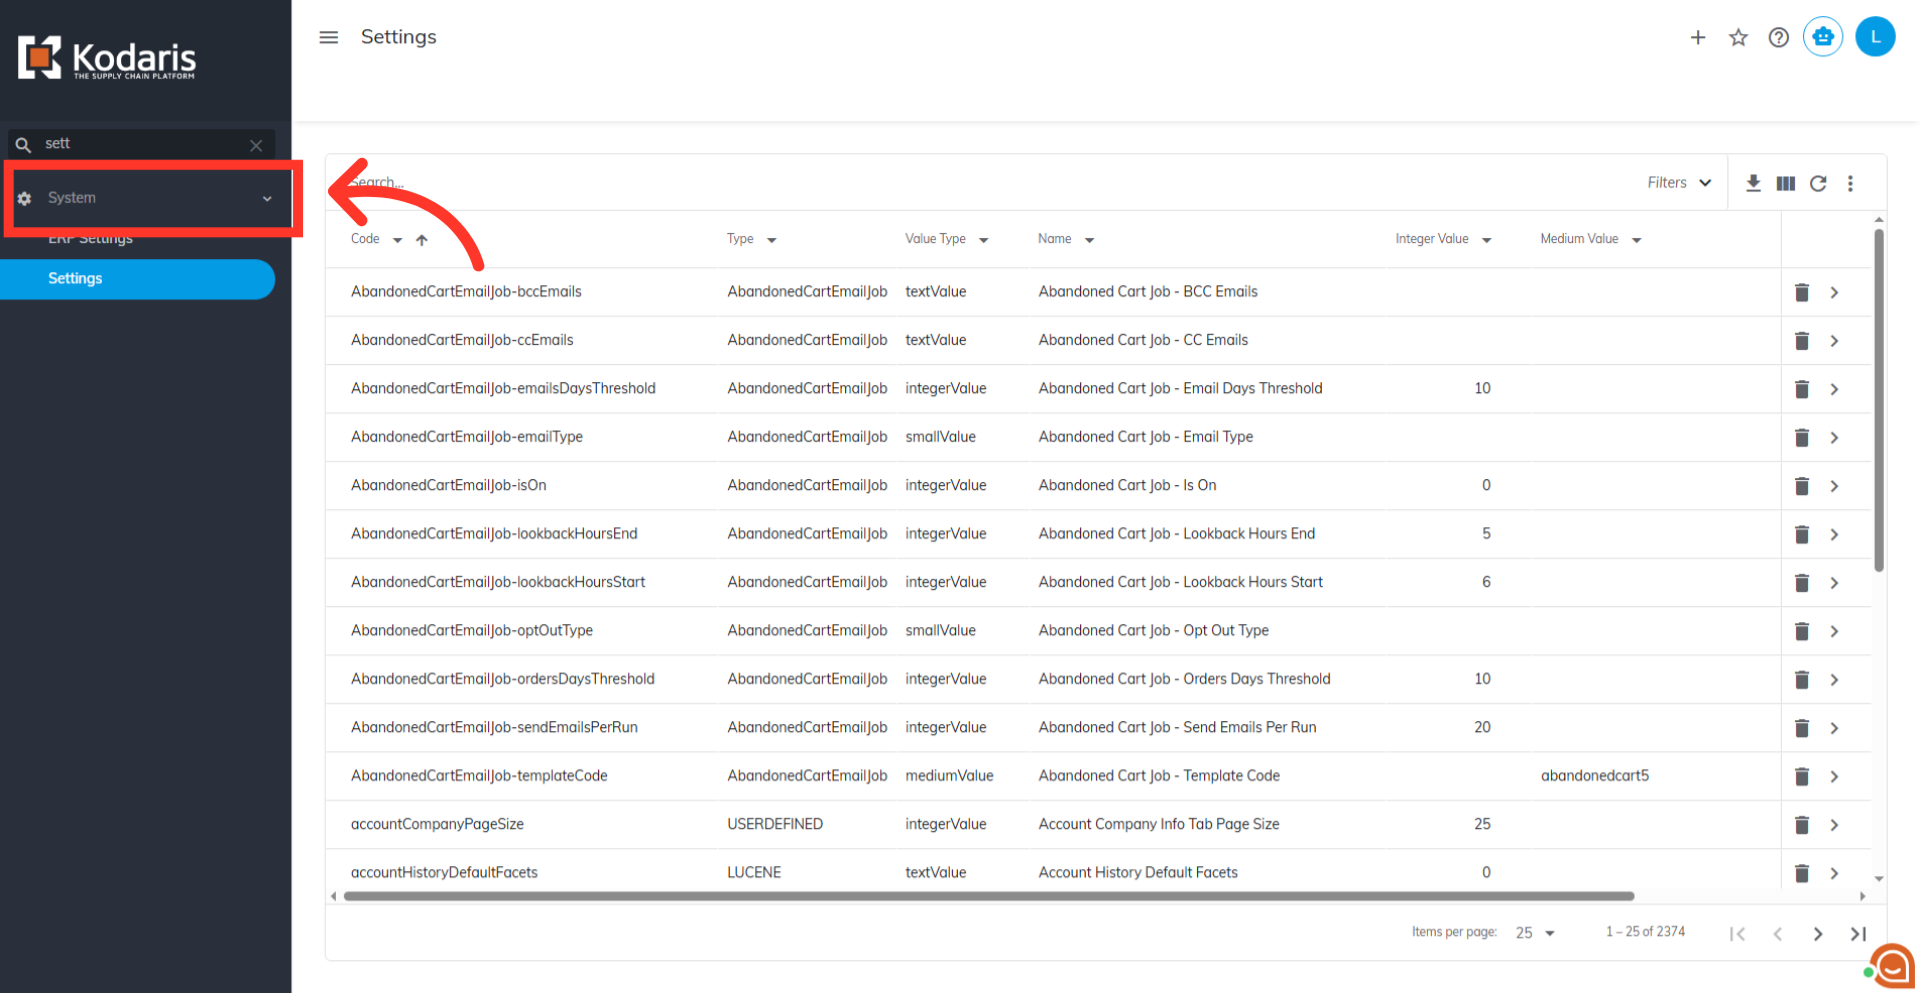
Navigate to "System" section
Using custom customer flag values is a great way to quickly identify the status of a ticket and highlight important customer-related notes or required actions. In your operations portal, navigate to the "Systems" section.
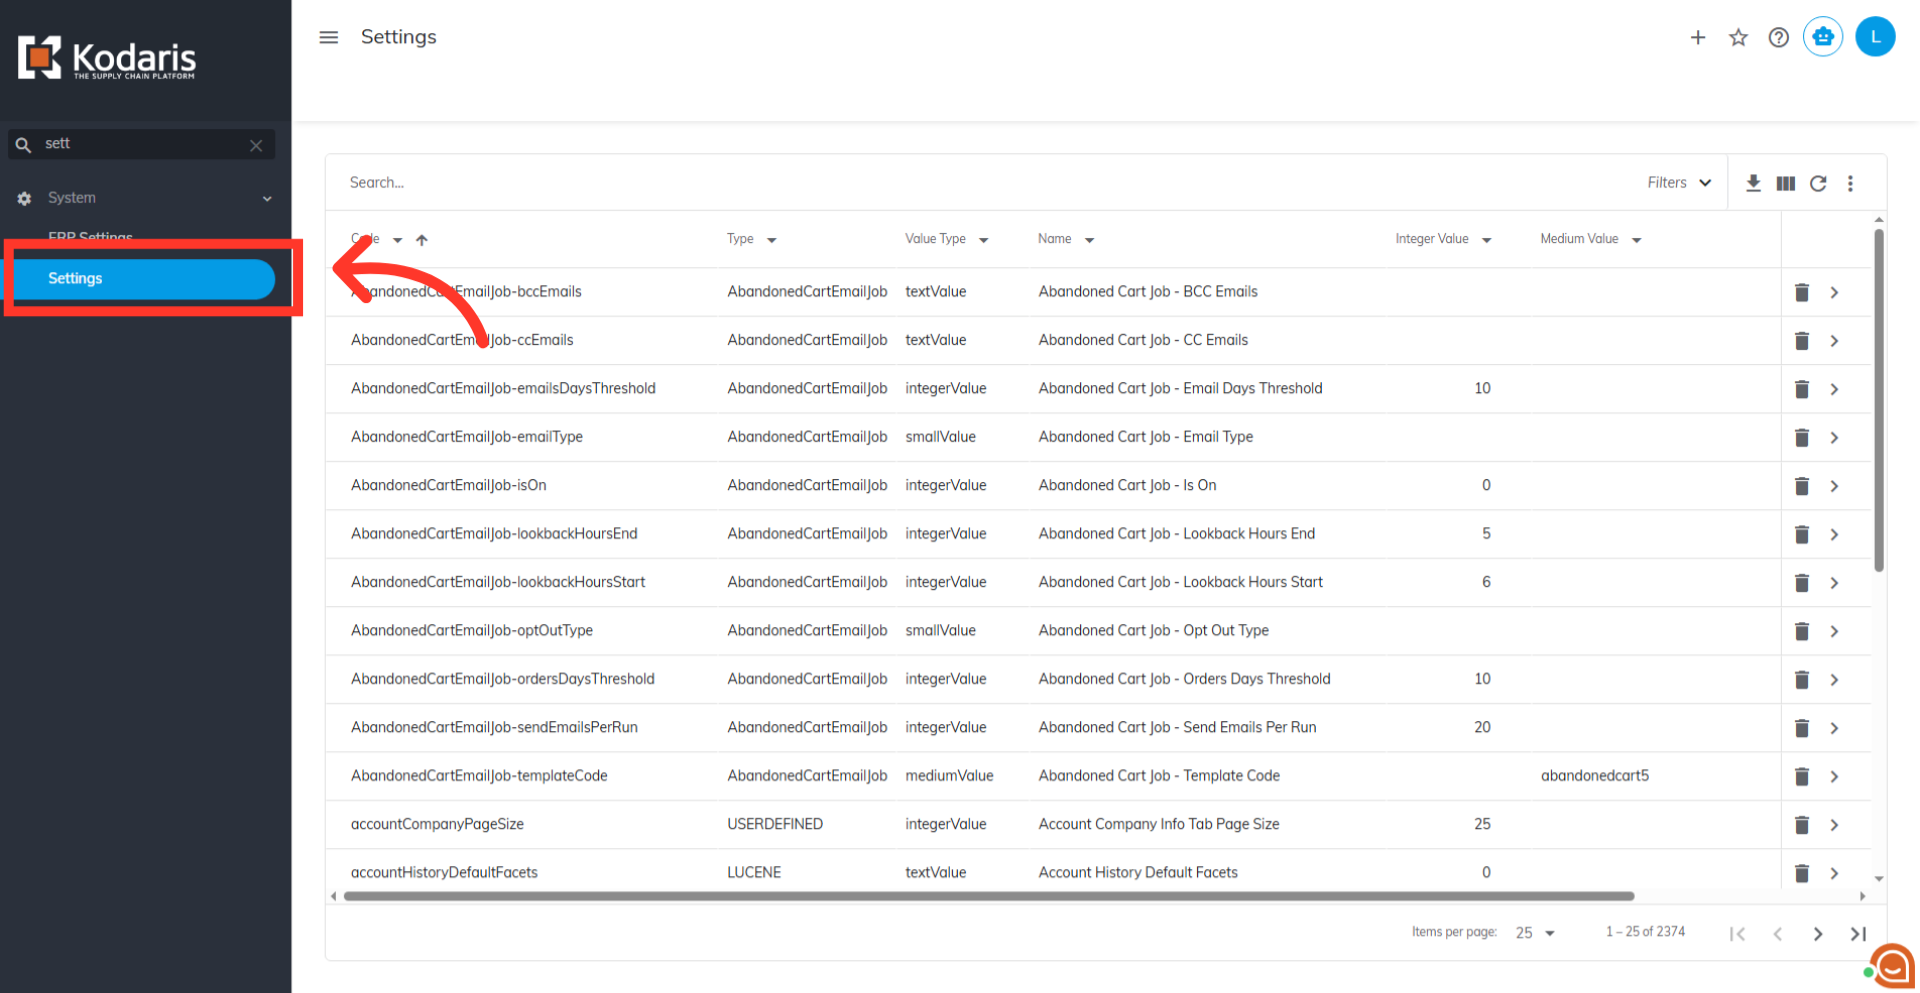
Click "Settings"
Then, select the "Settings" screen. In order to access "Settings" you will need to be set up either as an "administrator" or a "superuser", or have the appropriate roles: "settingEdit," and "settingView."
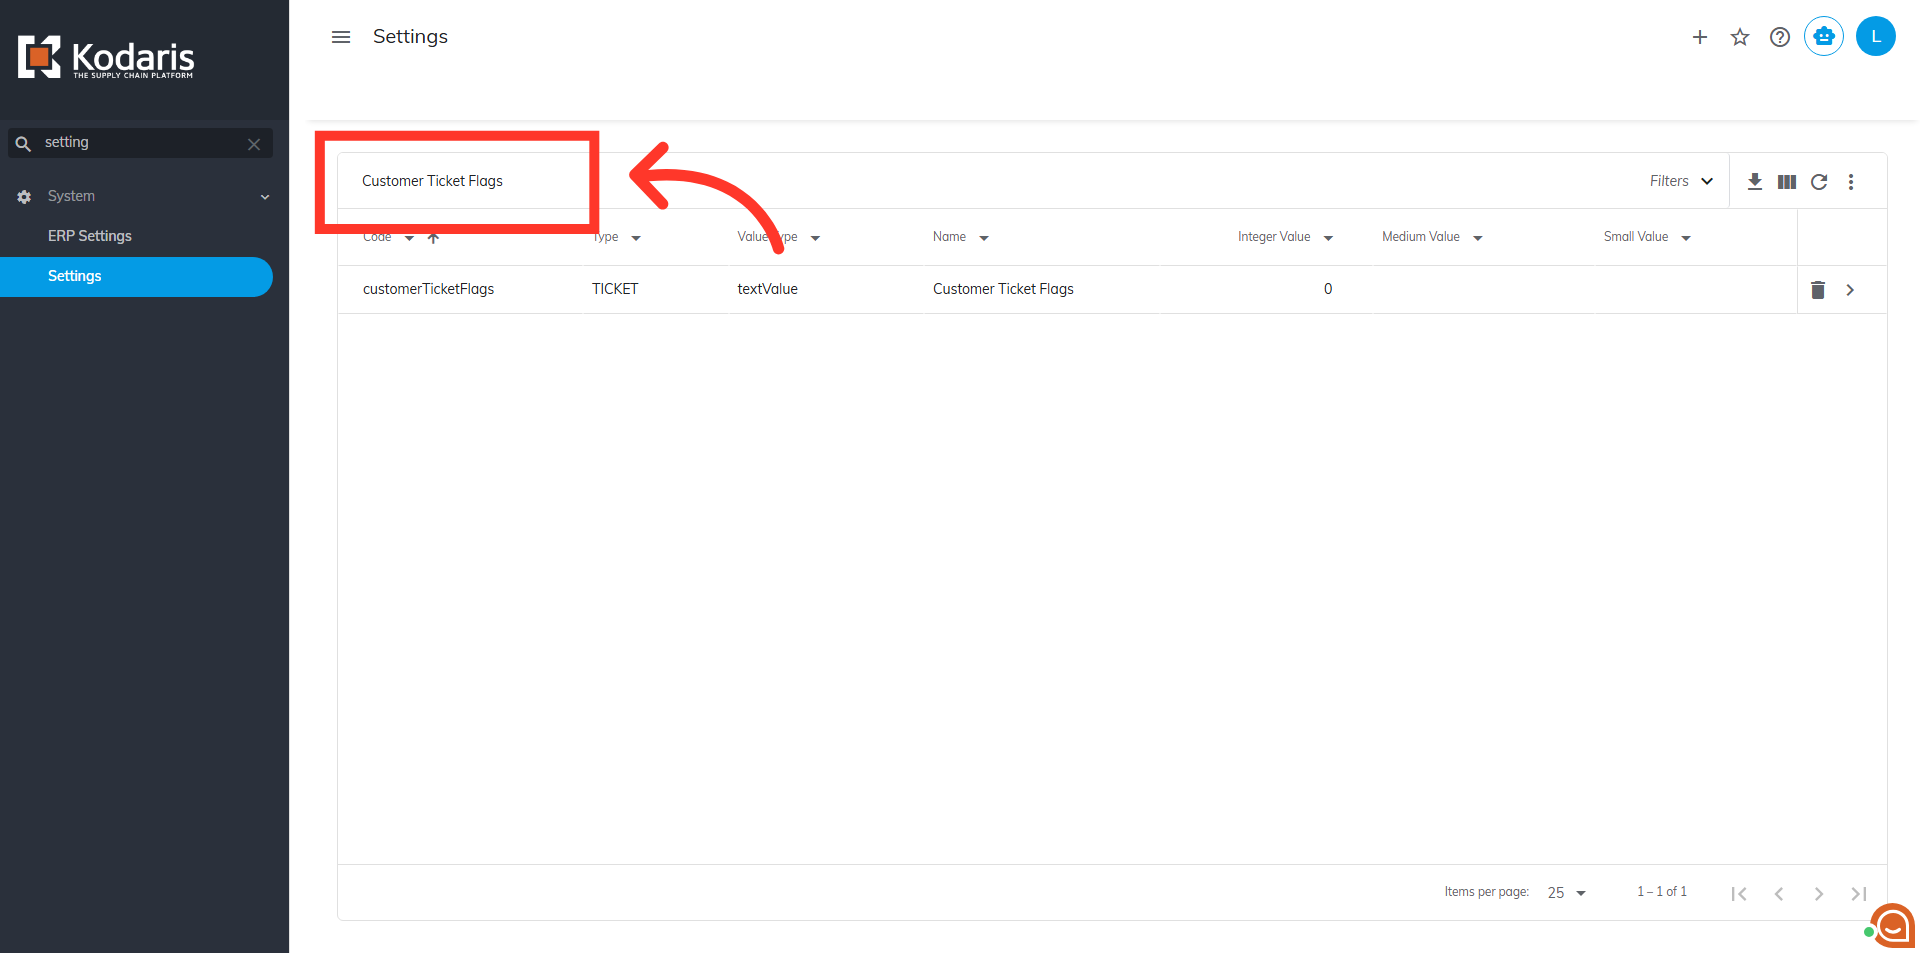
Search for "Customer Ticket Flags" setting
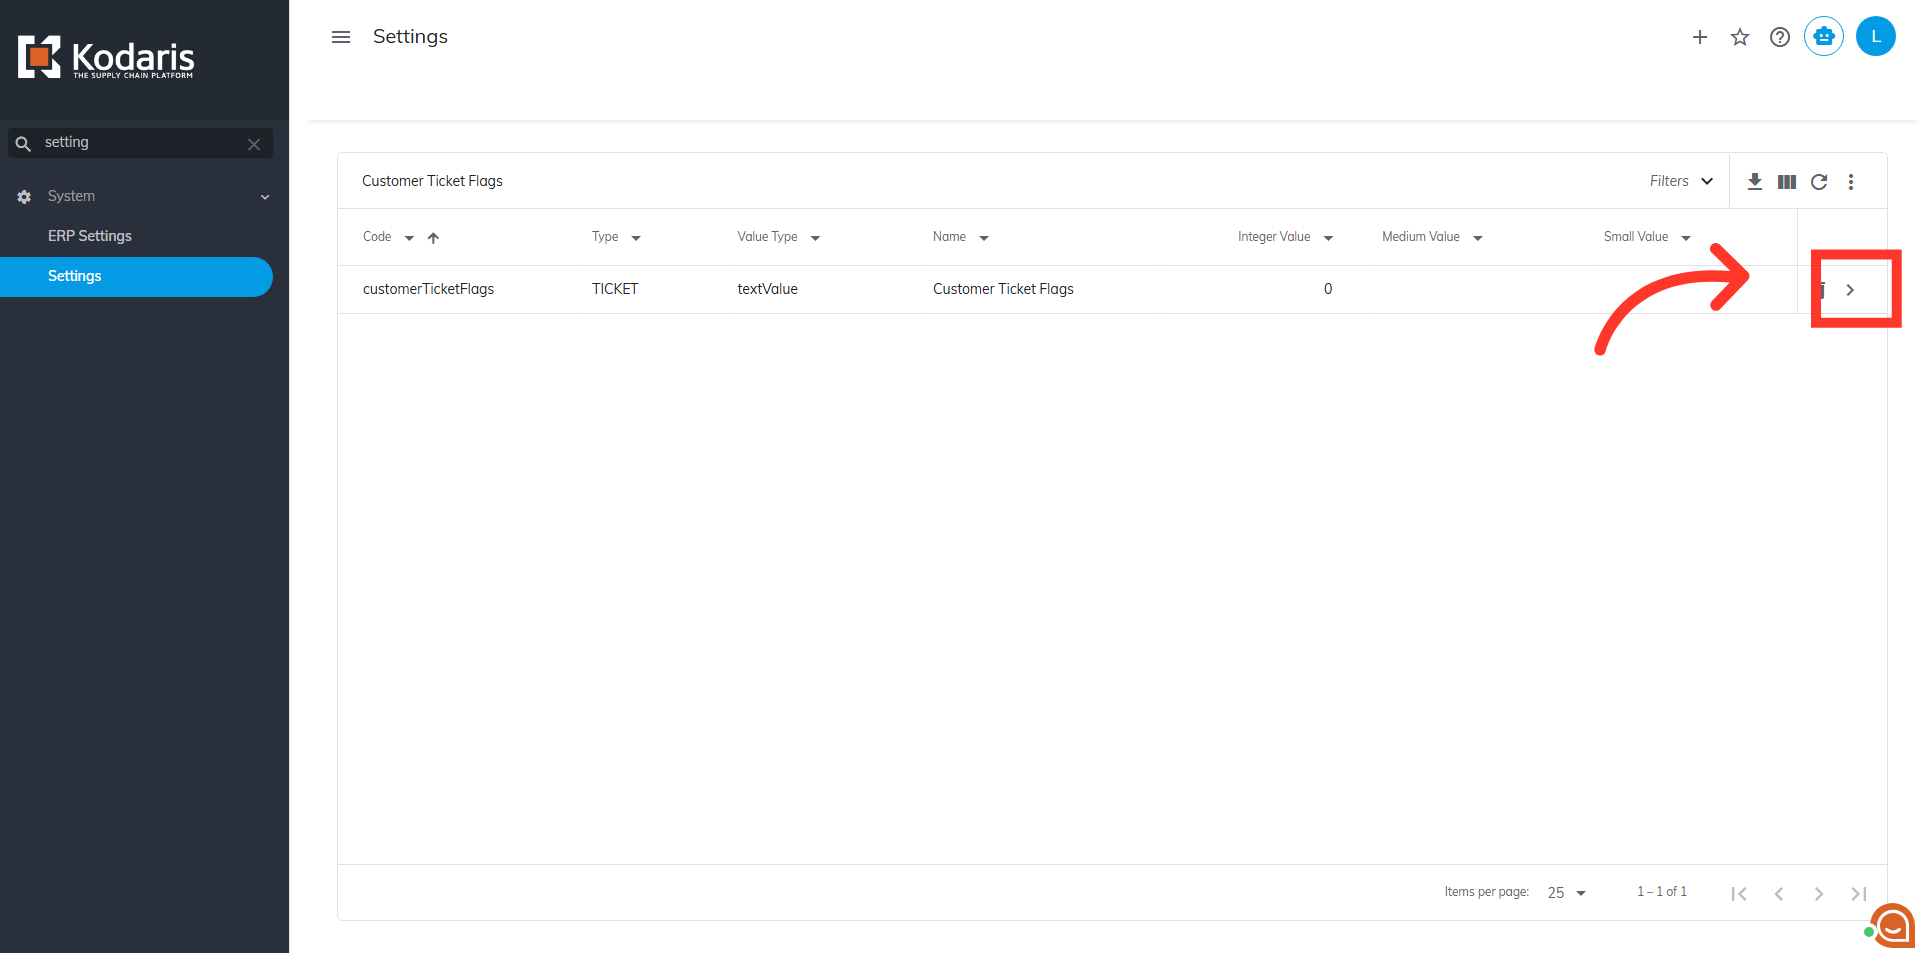
Then, on your “Search” tab, use the search bar or the column filters to narrow down your list and locate the "Customer Ticket Flags" setting. Fill the search bar with "customerticketFlags."
Click the more details icon
Then, click on the more details icon to access "Customer Ticket Flags" setting details.
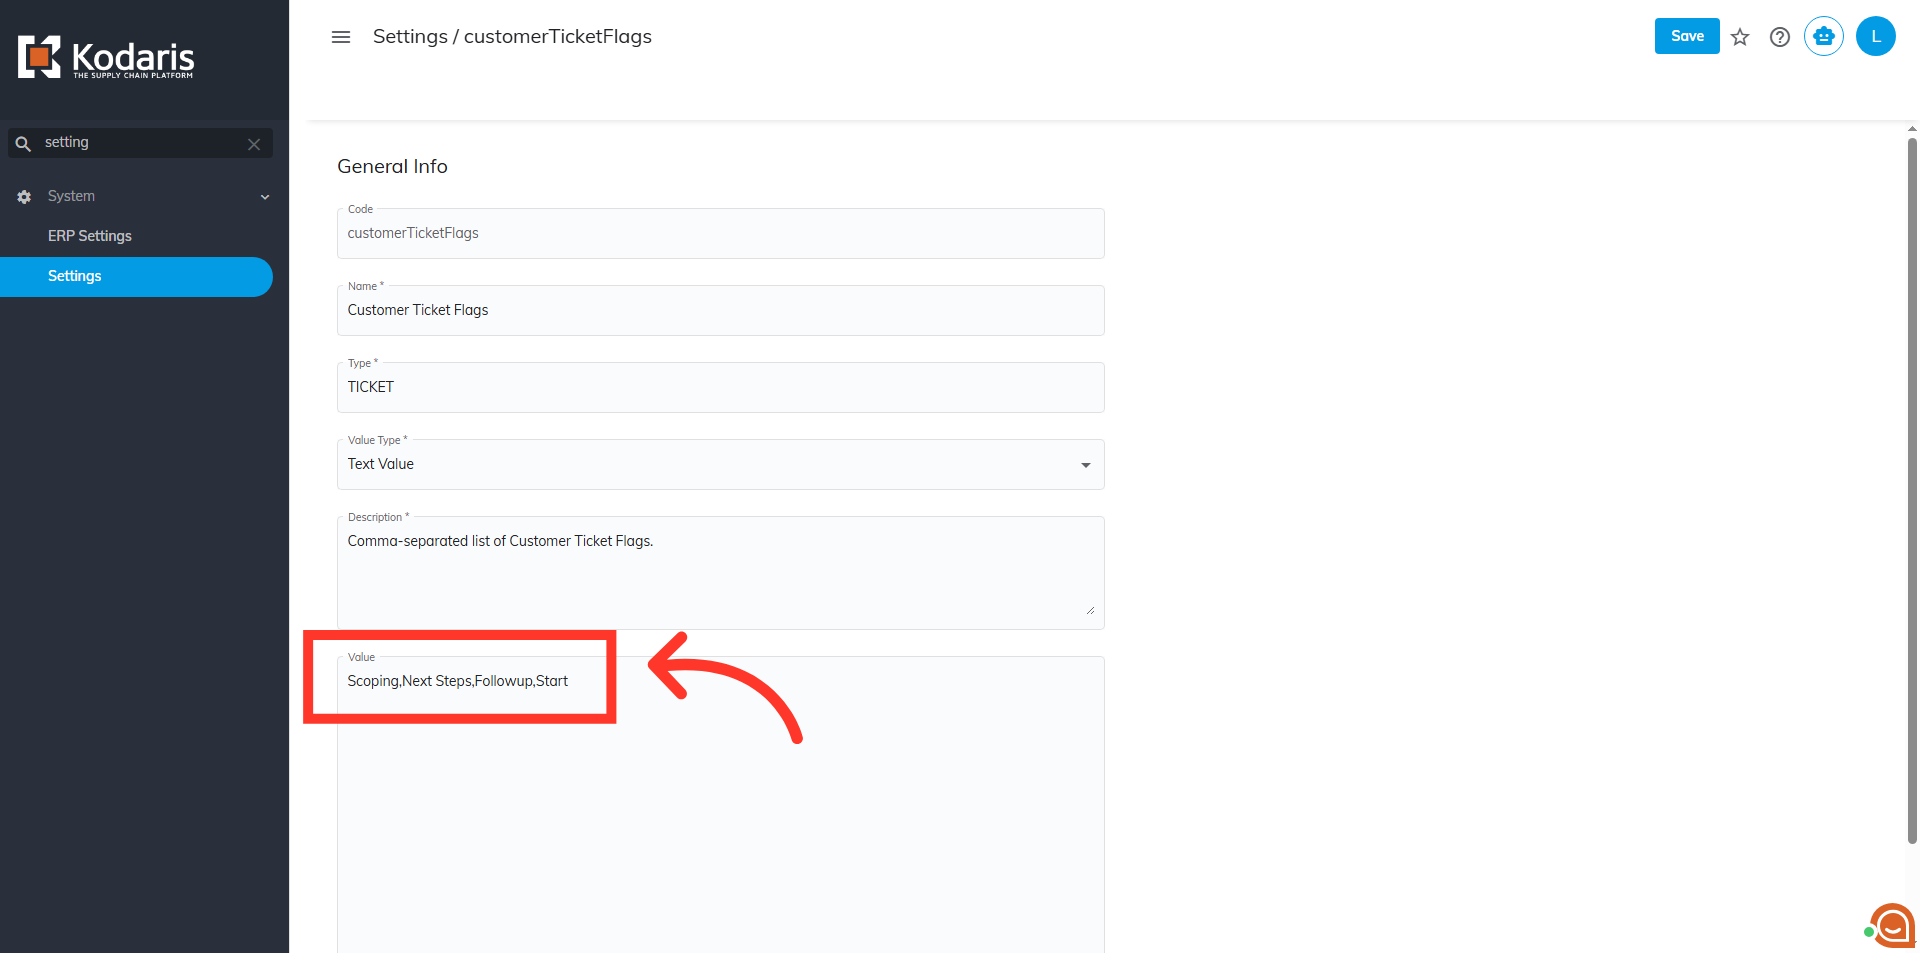
Set the values
On the details page for the "Customer Ticket Flags" setting, enter your desired values in the "Value" field, separated by commas.
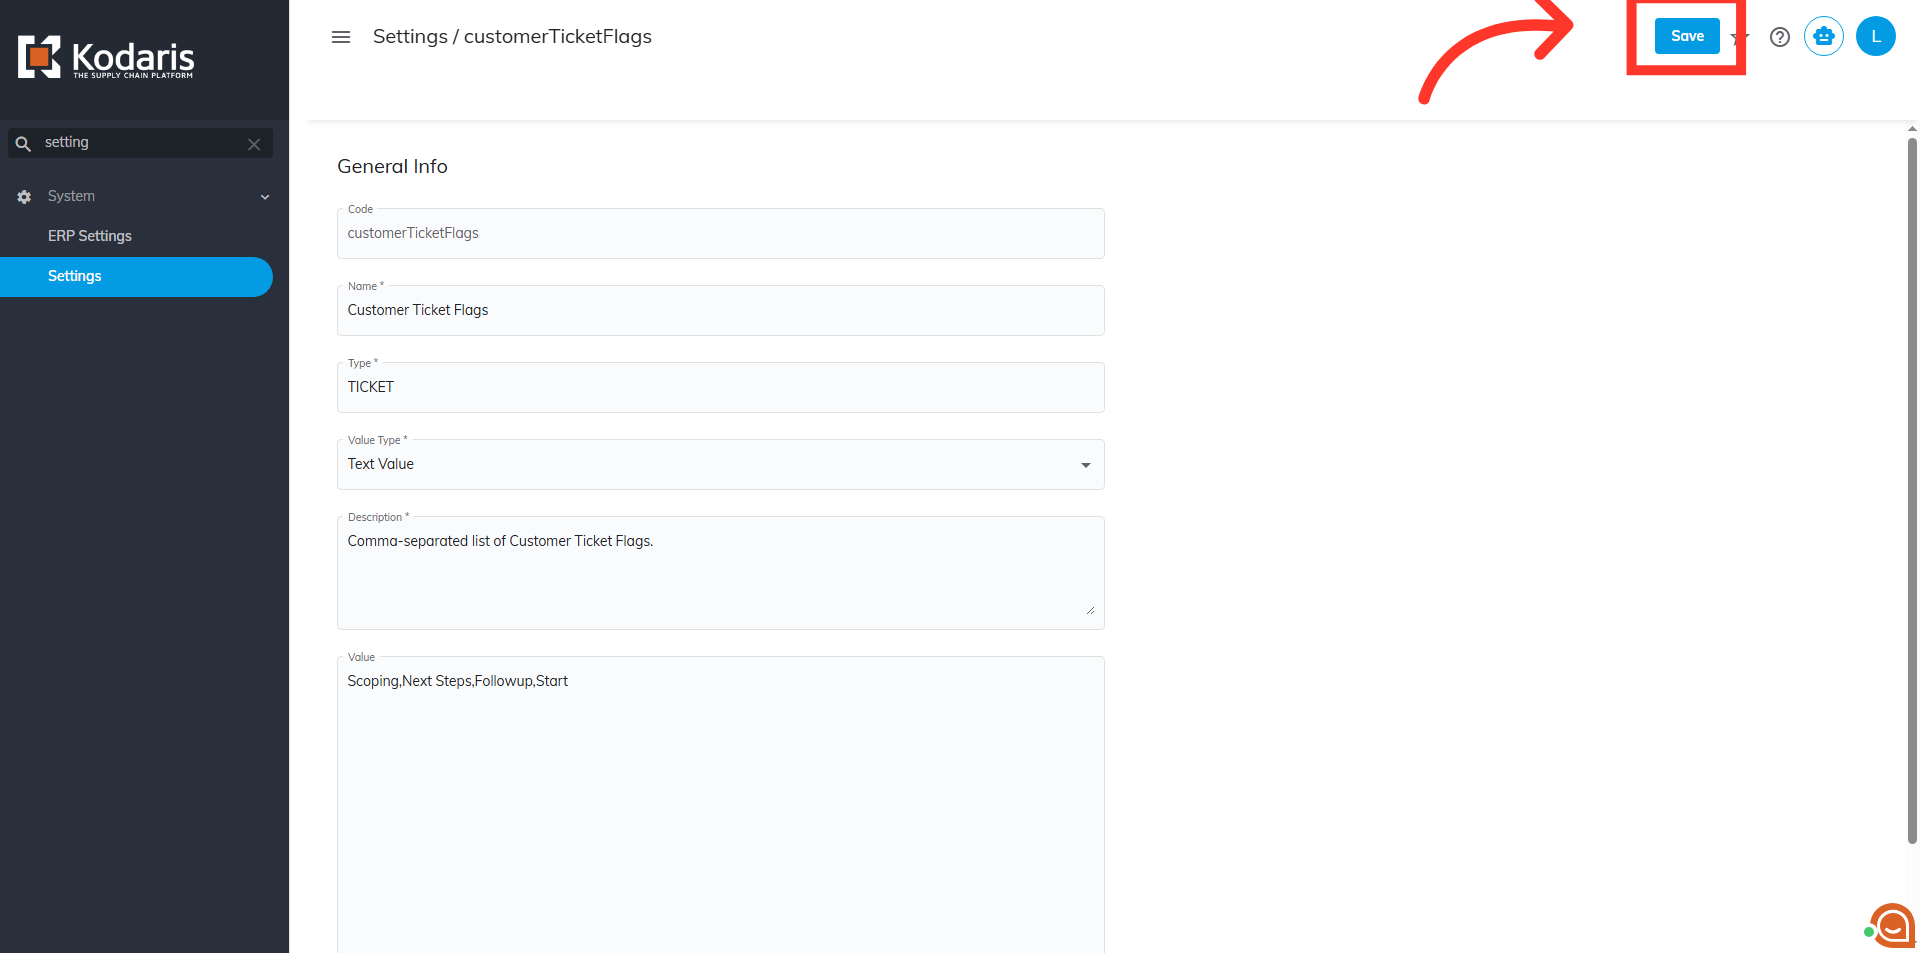
Click "Save"
Then, click "Save" to apply your changes.
Navigate to "Services" section
Once you have set up your desired ticket flags, navigate to your "Services" section to verify the updates.
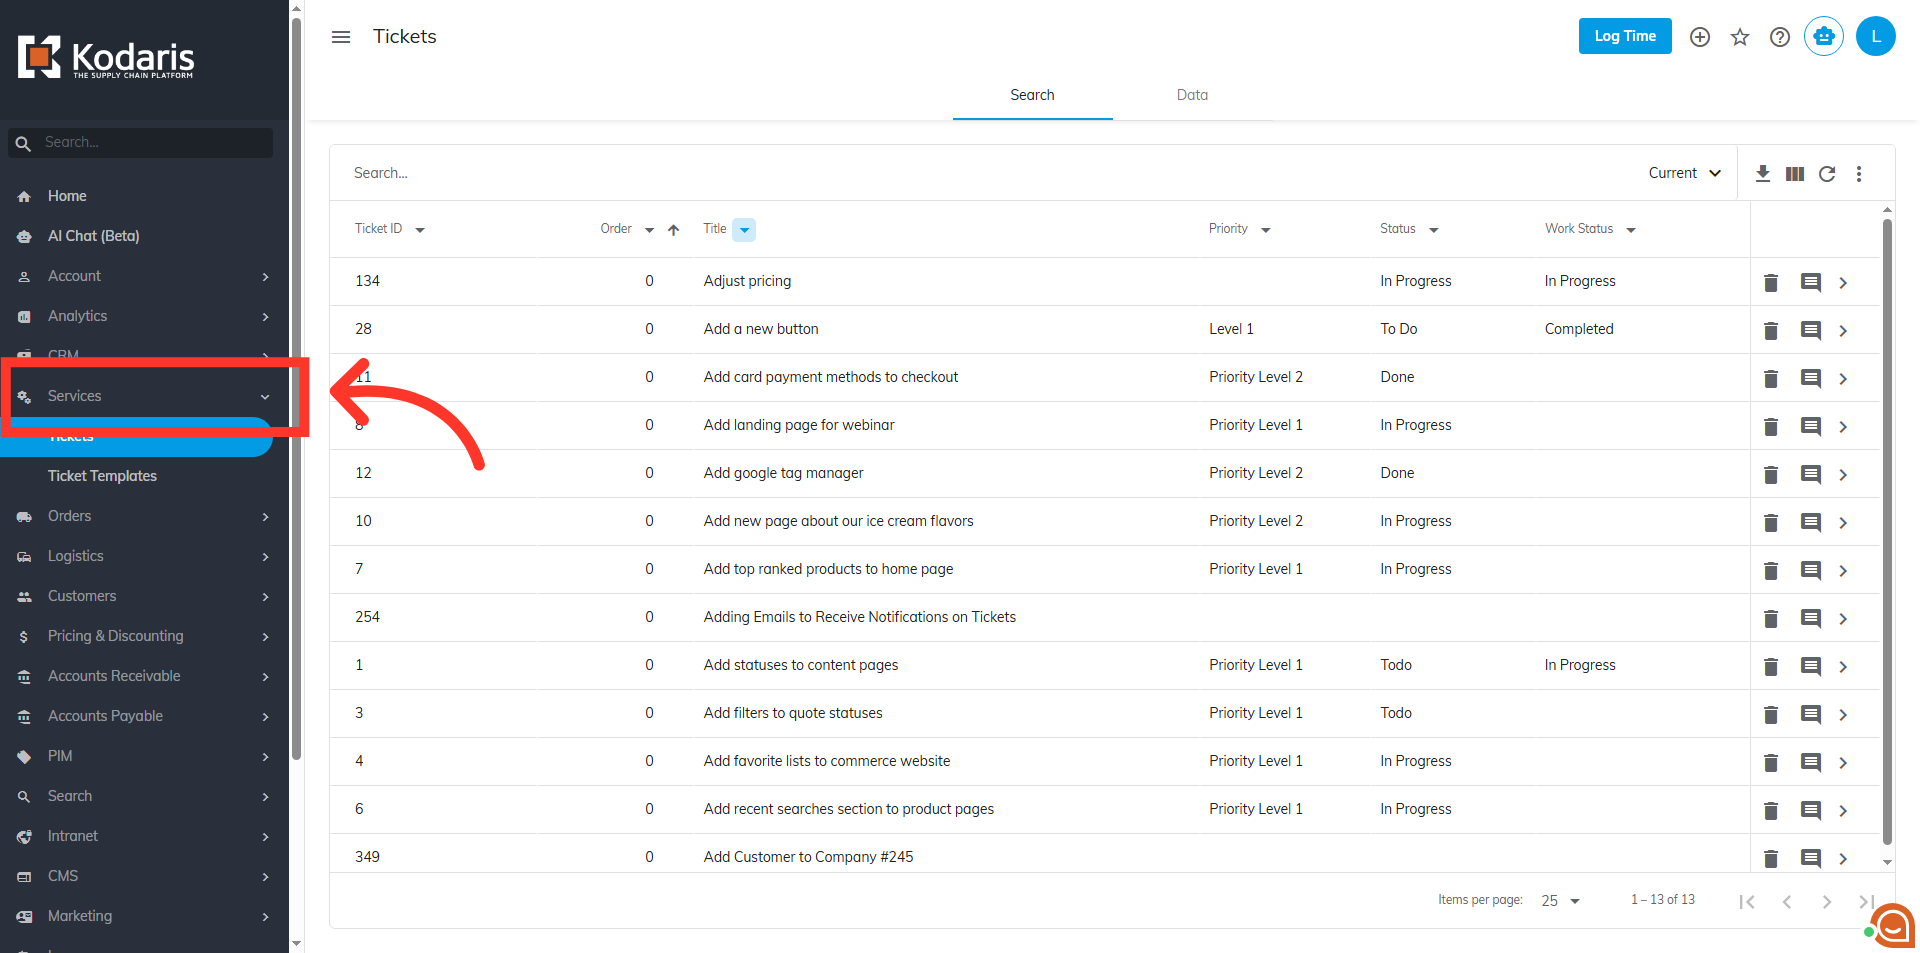
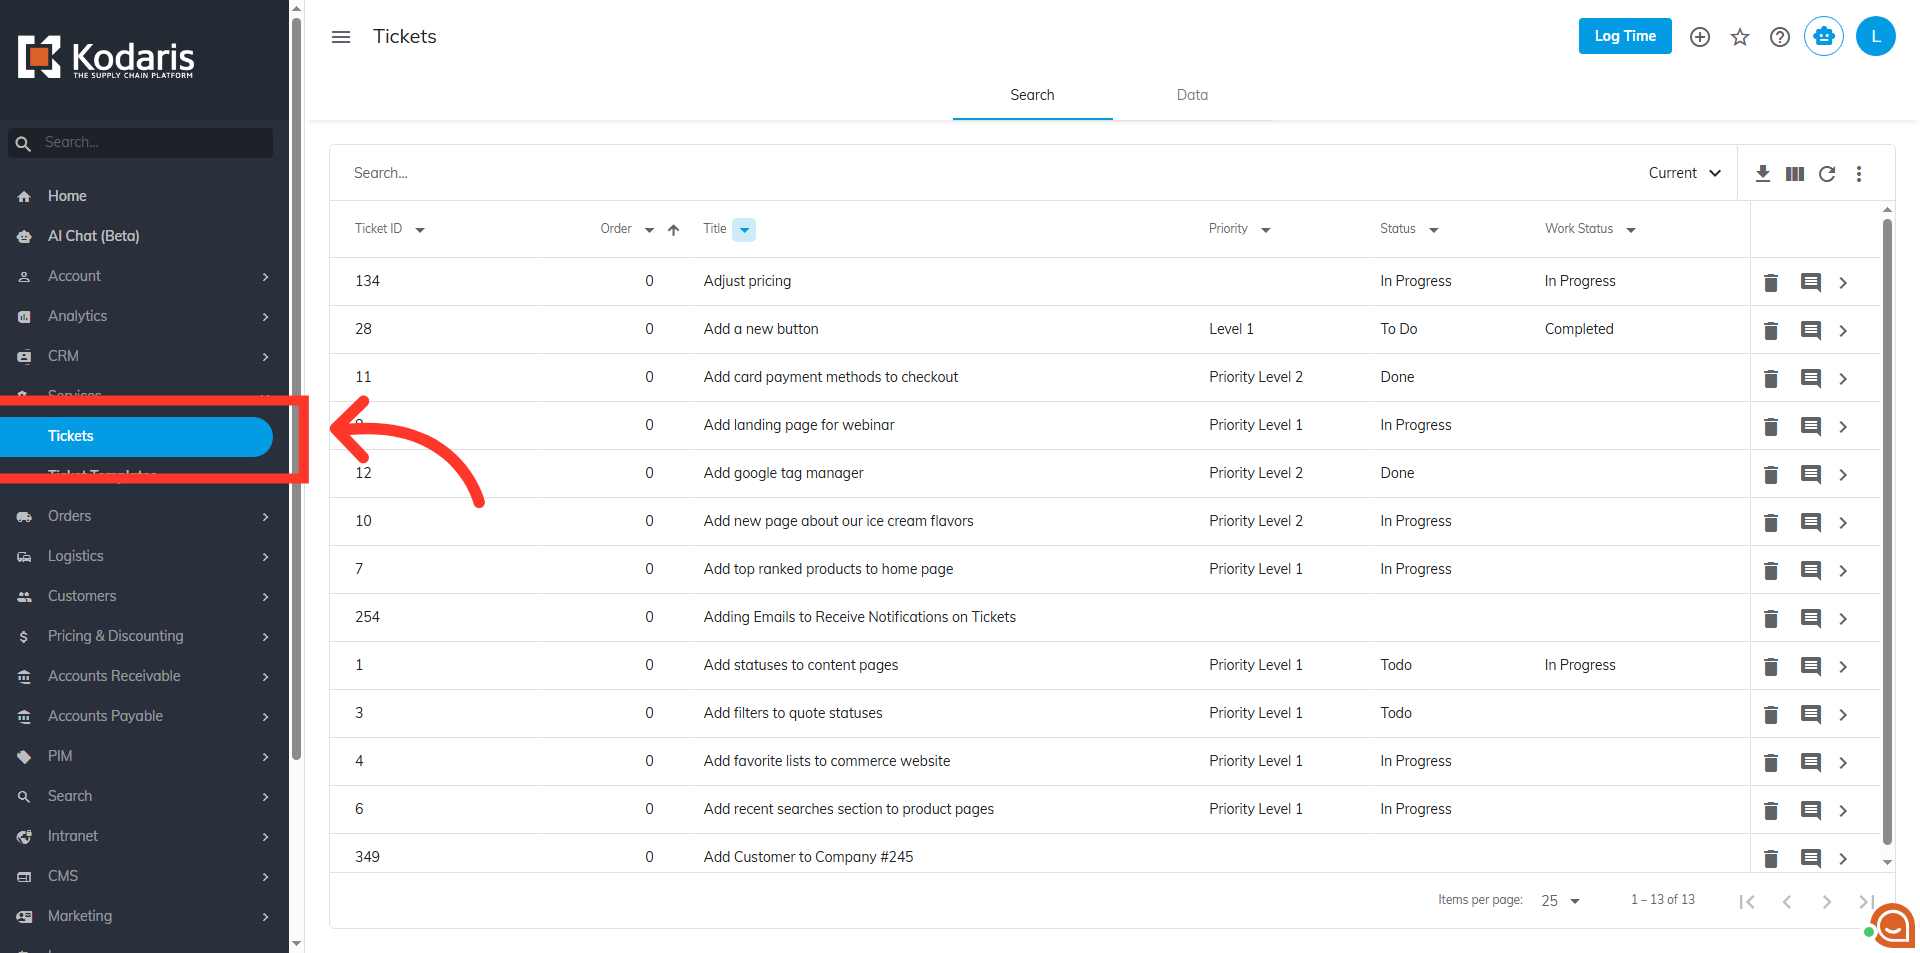
Access the "Tickets" screen
Click on "Tickets". In order to access and update "Tickets" your account must be set up either as an "administrator" or a "superuser," or have the roles of "ticketView," "ticketEdit," "ticketViewAssigned," and "ticketEditAssigned."
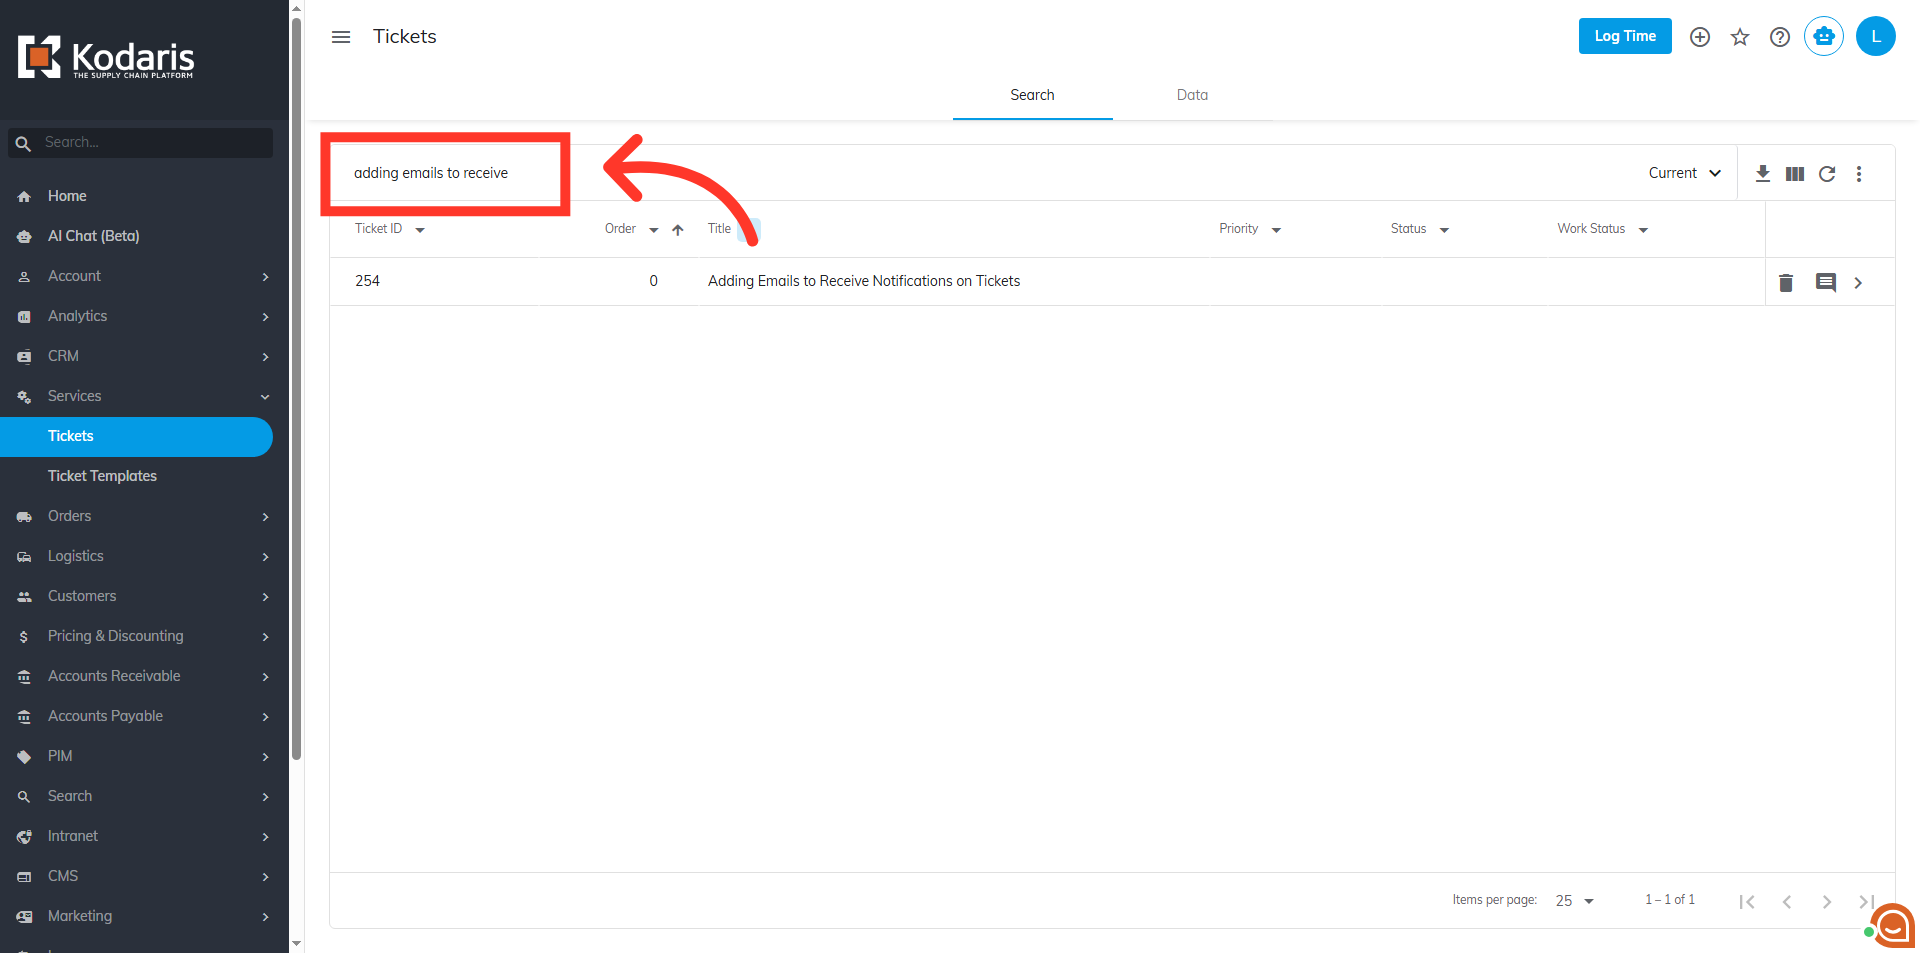
Search for a ticket
Enter keywords in the the "Search..." field to search for a ticket.
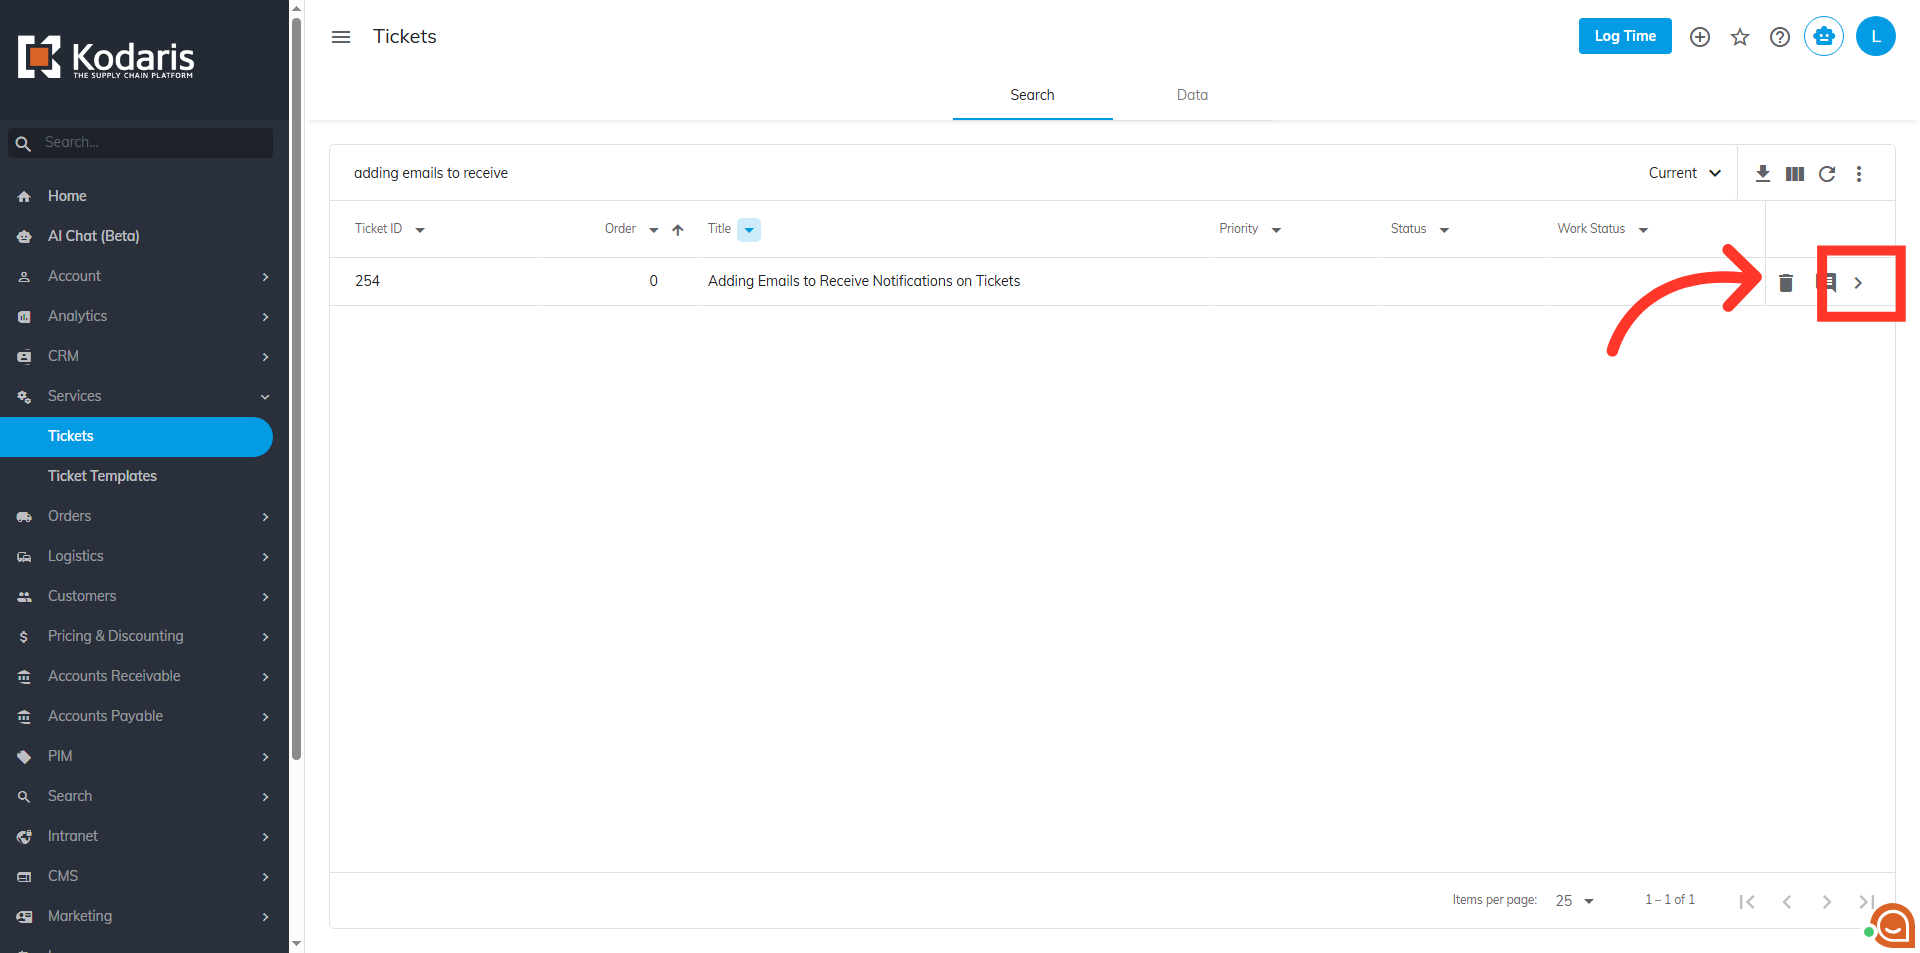
Click on the more details icon
Click on the more details icon to access your ticket’s details screen.
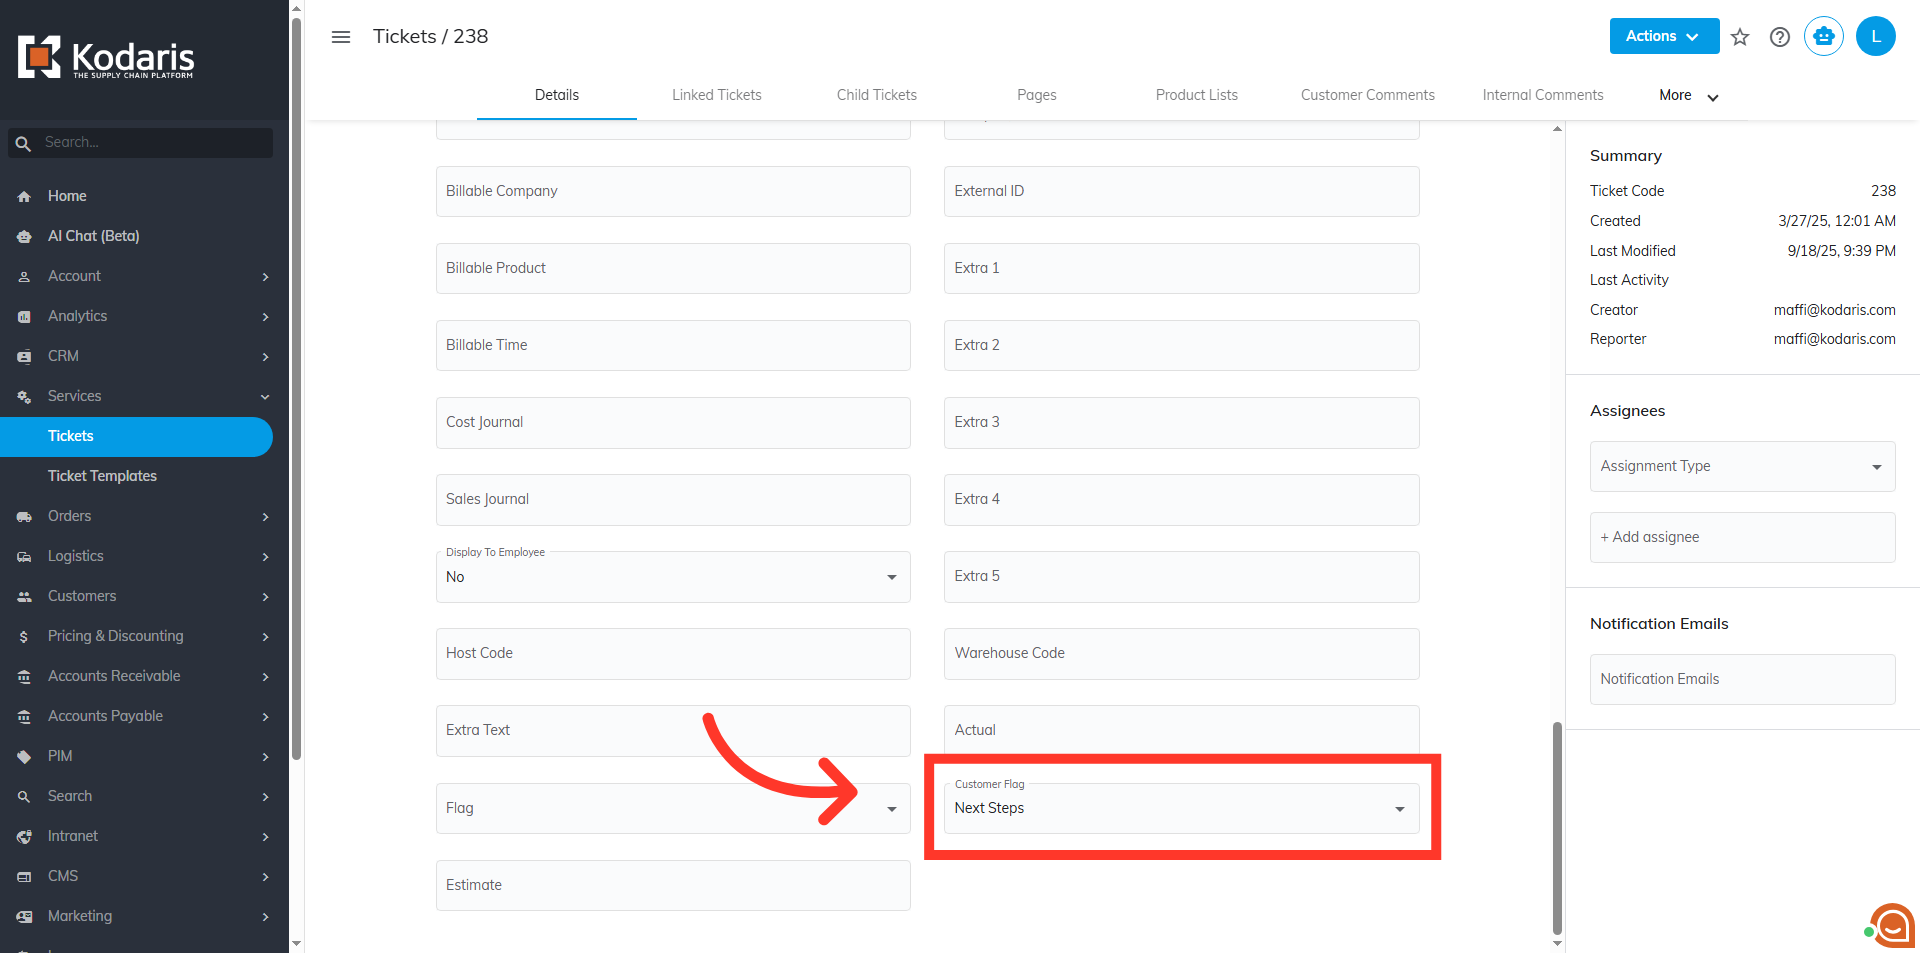
"Customer Flag" dropdown
On the details page, scroll down and click the "Customer Flag" dropdown. The set values will be in the dropdown.
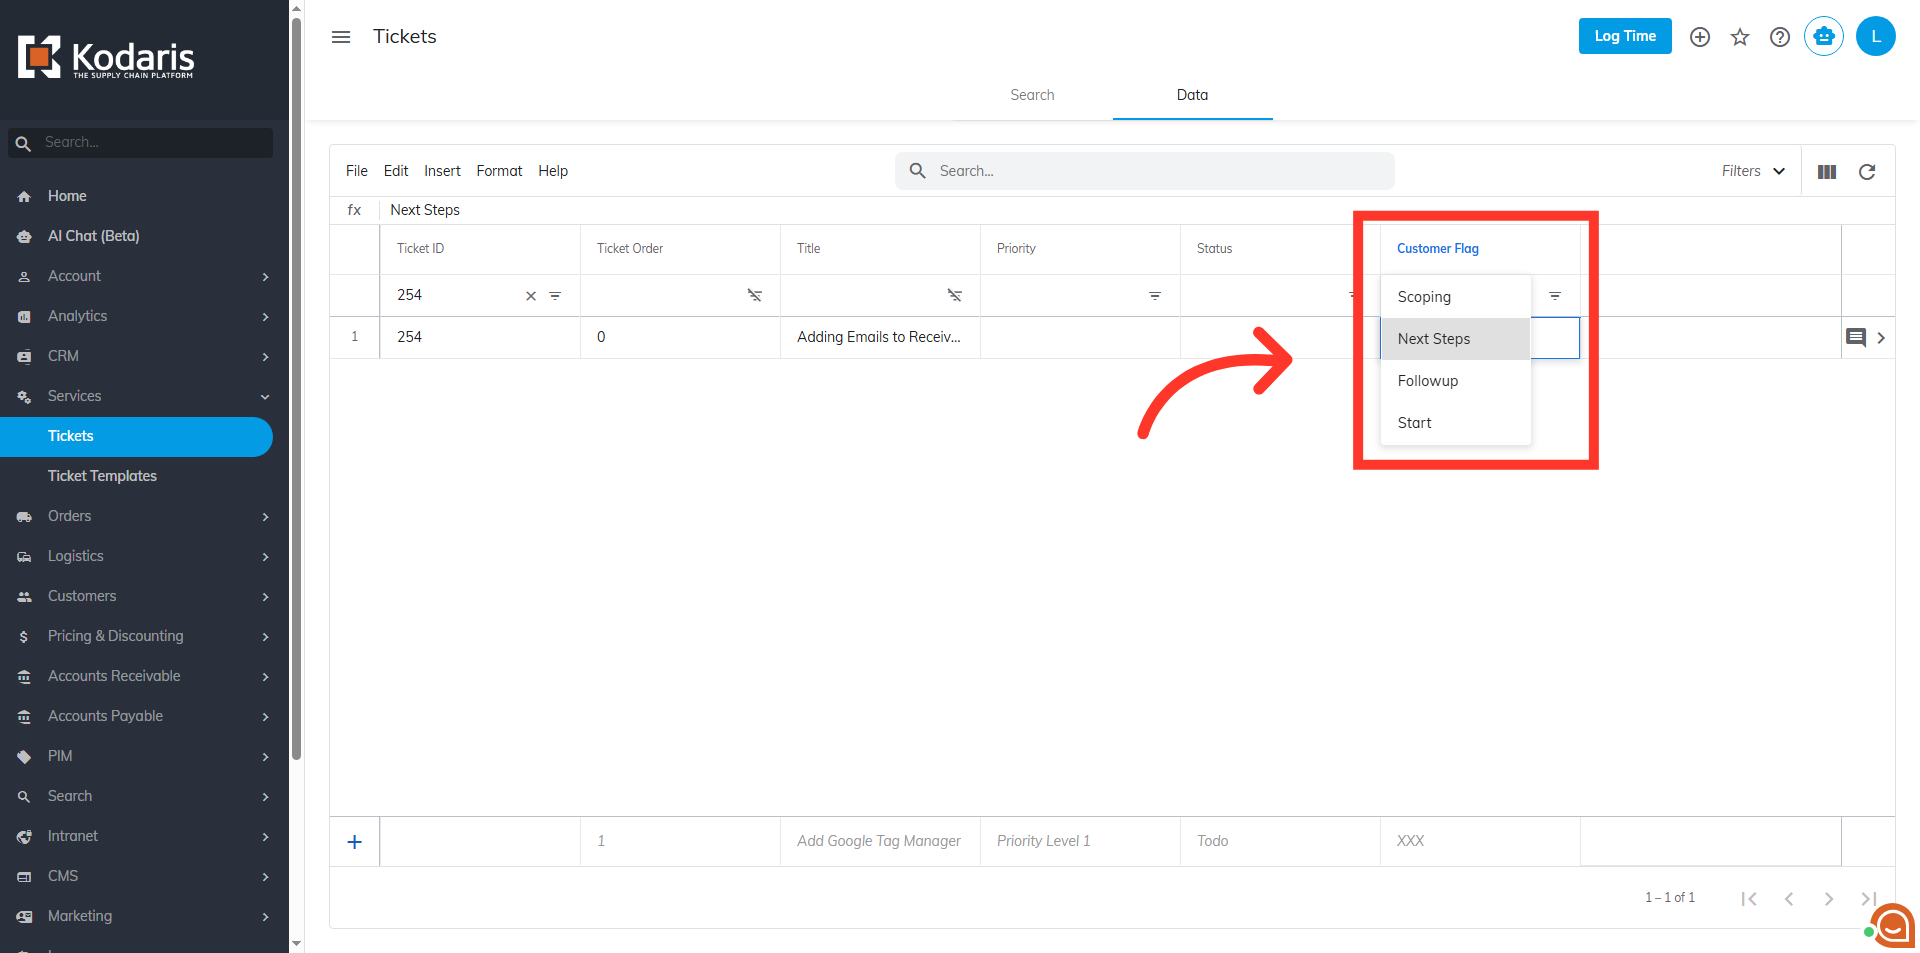
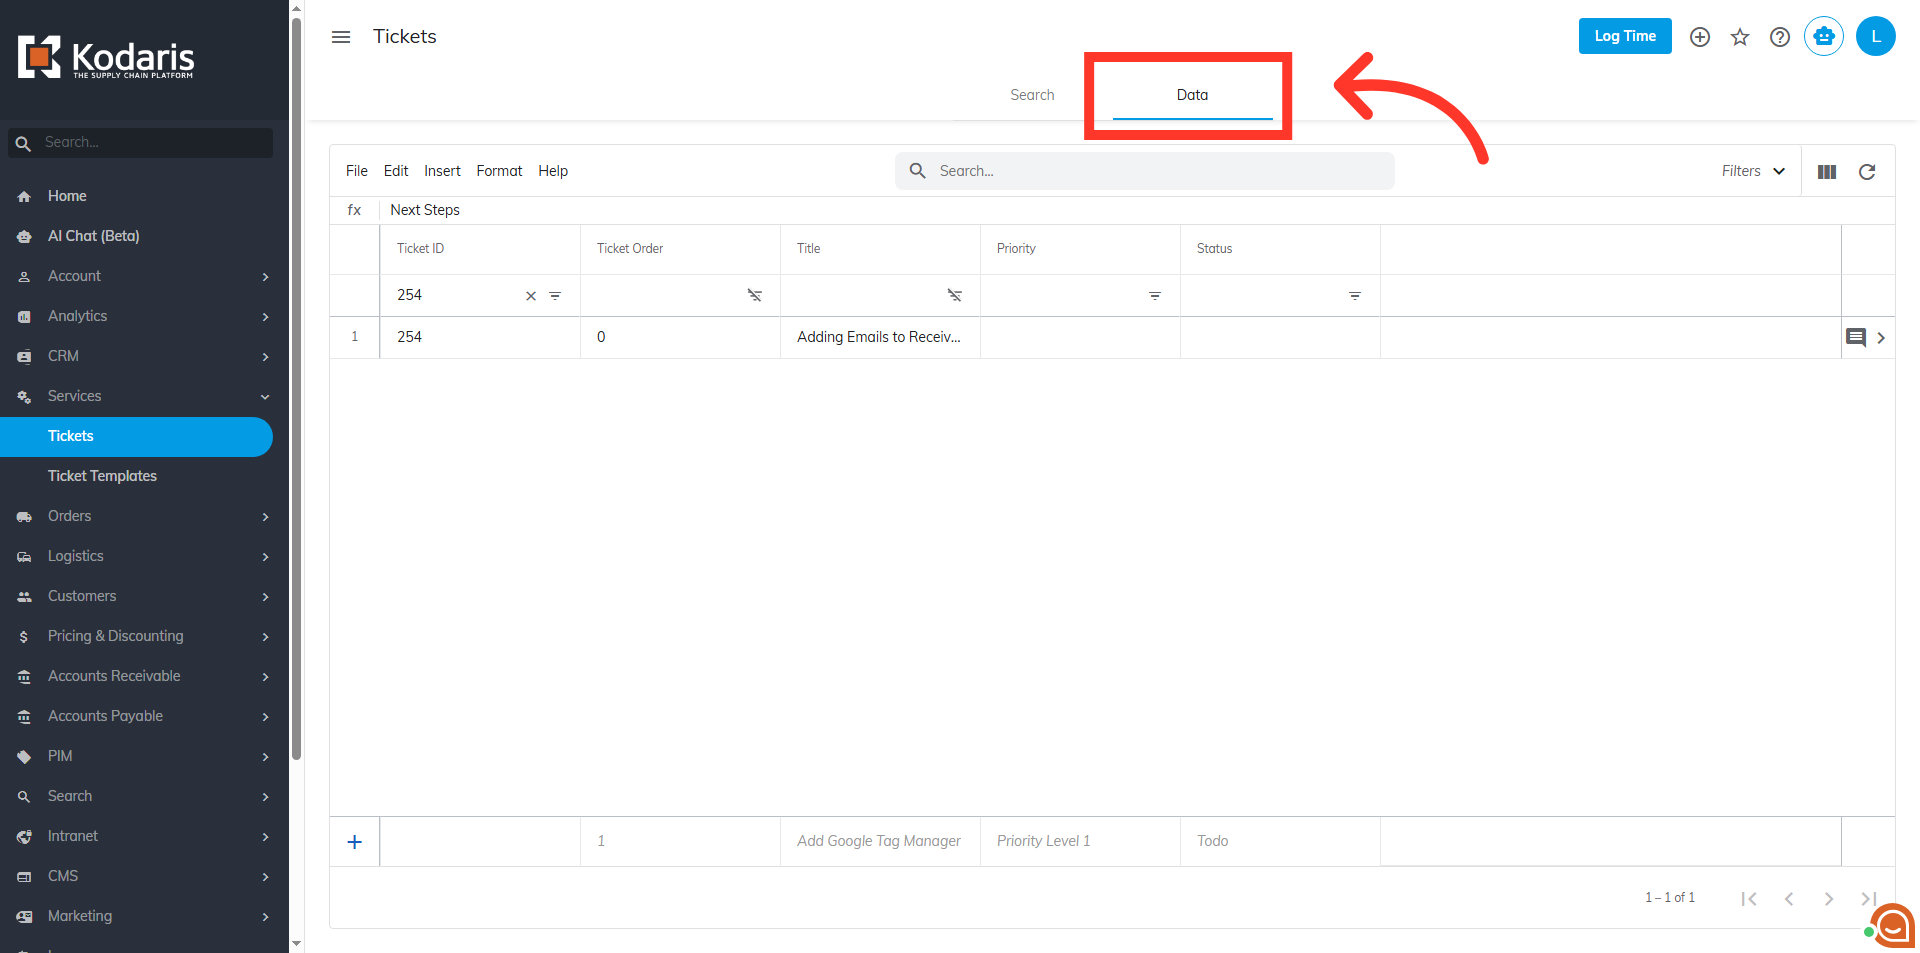
Go to the "Data" tab
You can also go to the "Data" tab of your "Tickets" screen to change the values from the grid. This can be helpful if you would like to update multiple tickets when using the data grid.
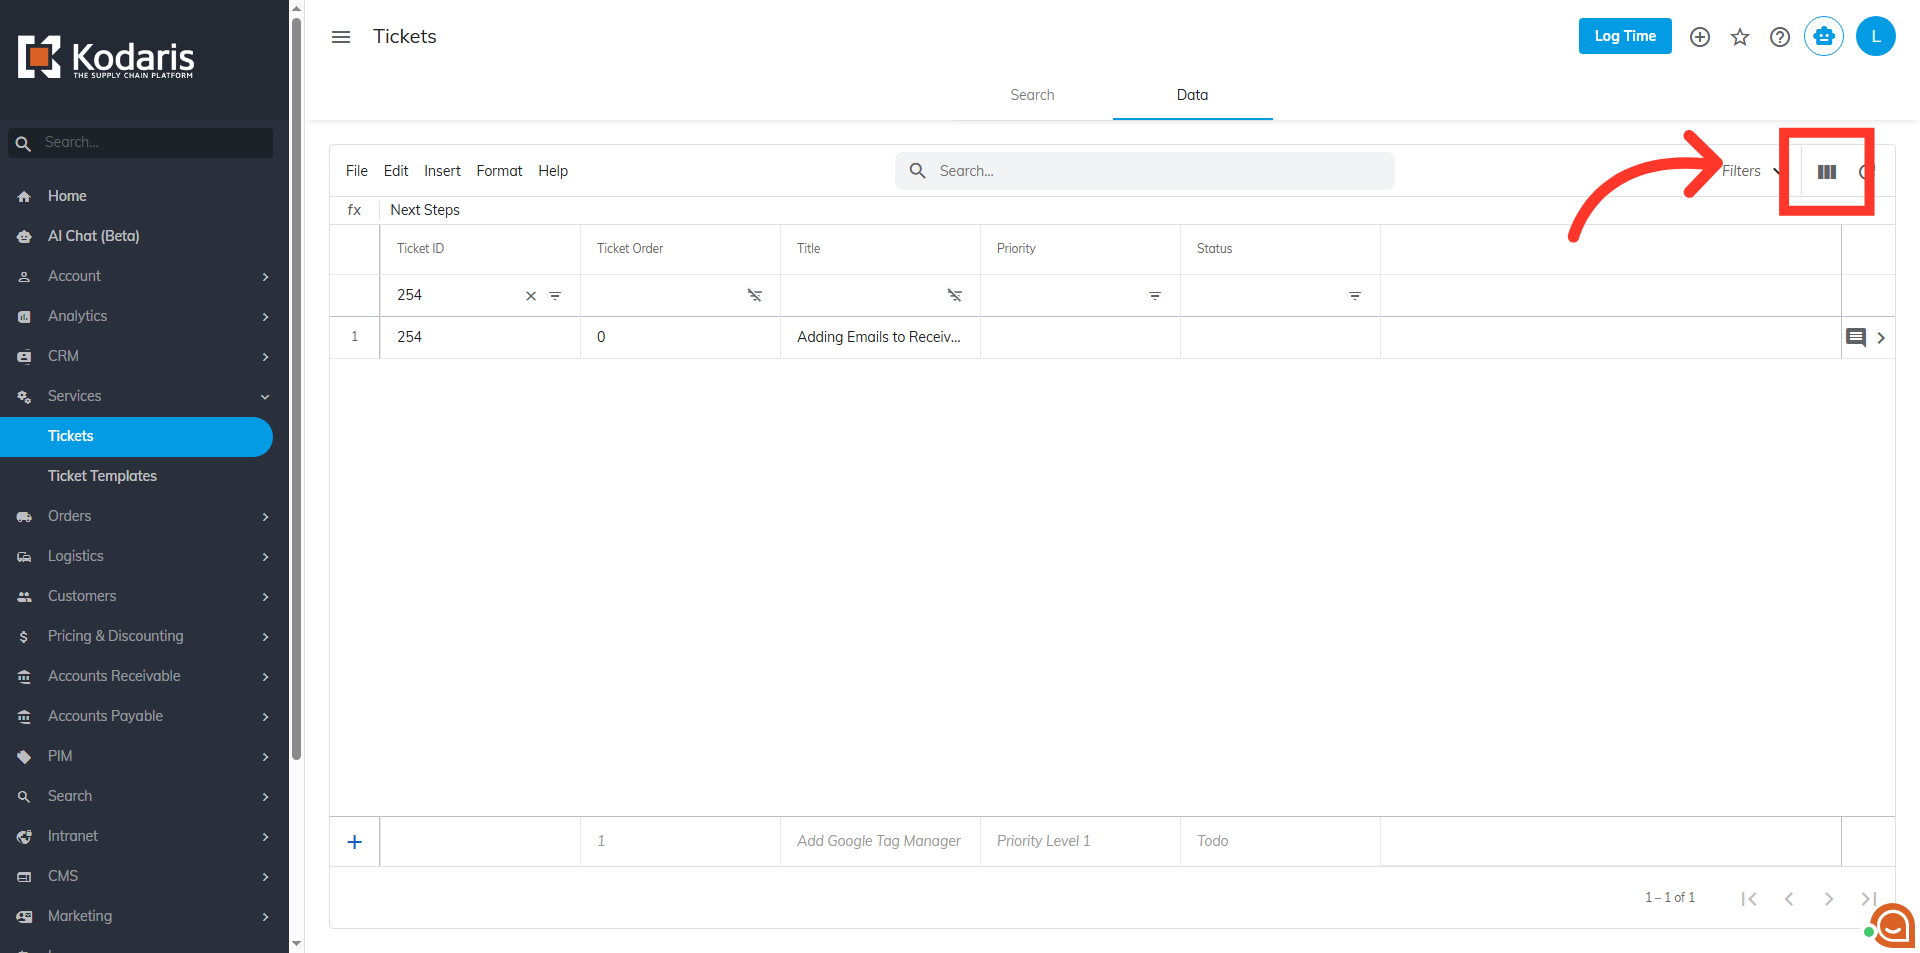
Click the "Show / Hide Columns" button
Click the "Show / Hide Columns" button.
Select "Customer Flag"
Select "Customer Flag" to make the column visible in the ticket grid.
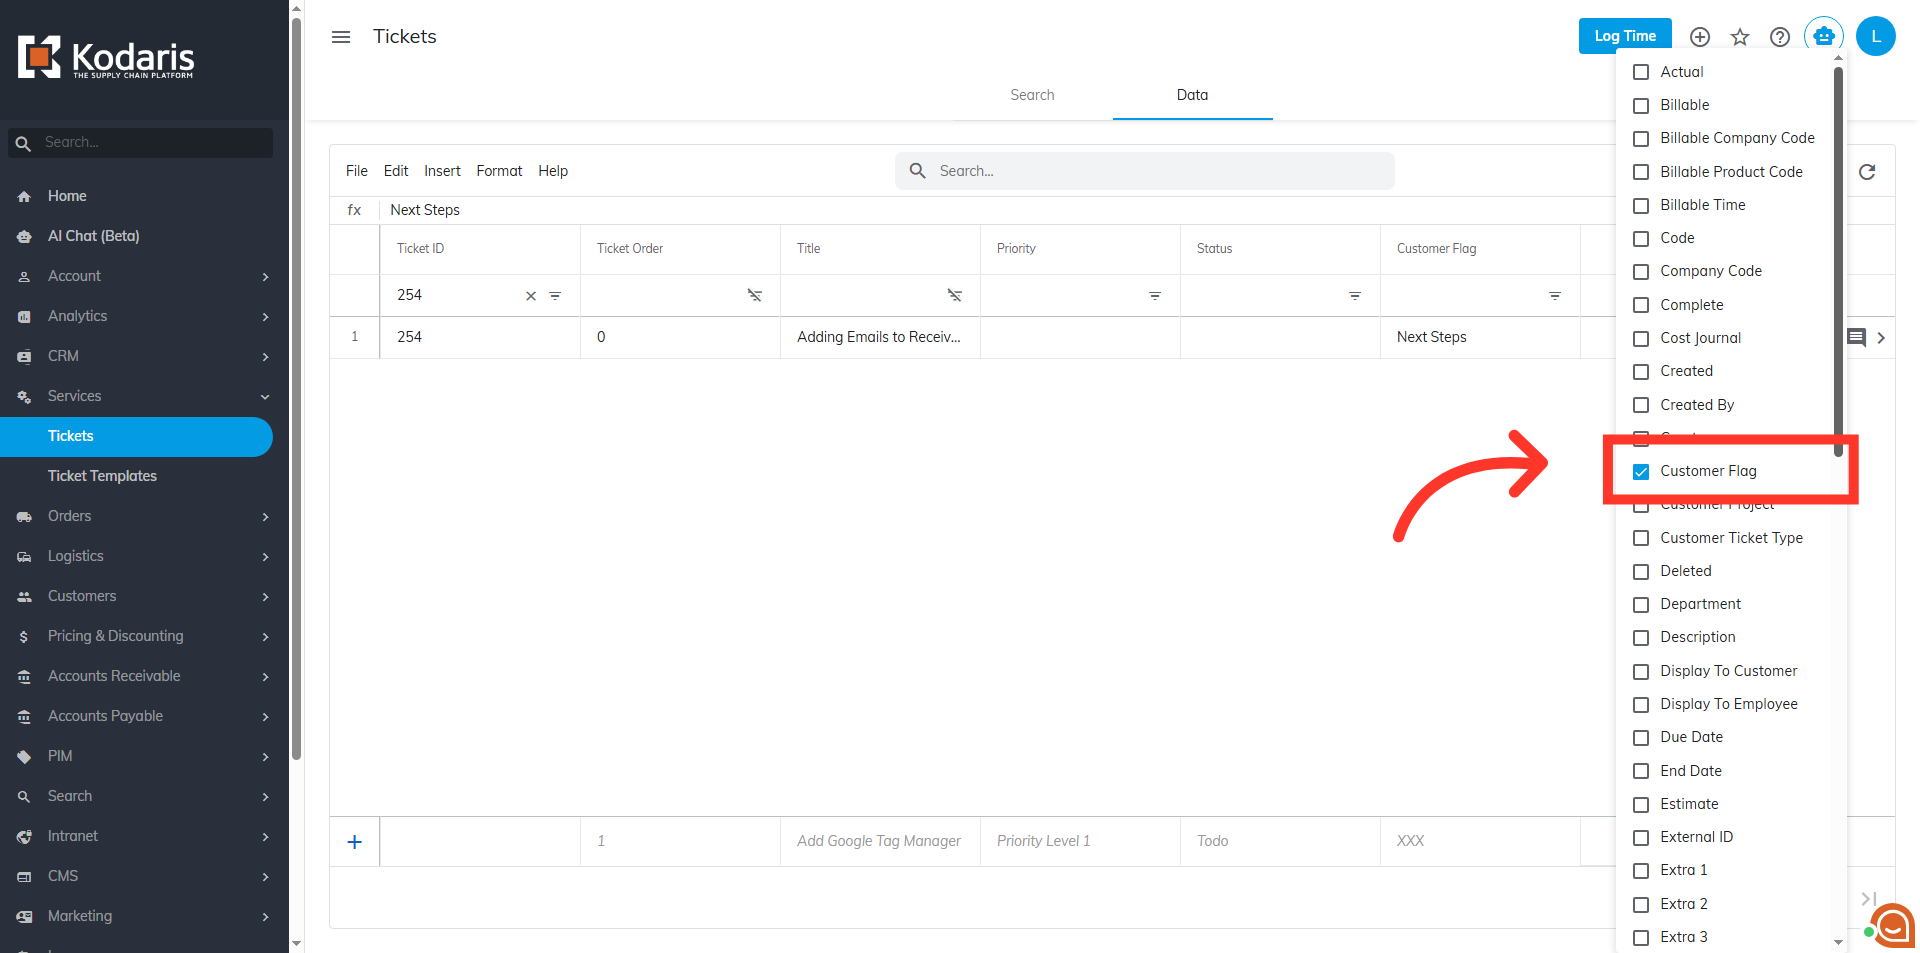
Verify values
The values you set earlier will be in the dropdown.