Operations PIM - Mass Delete Cross References by Import
Navigate to "PIM"
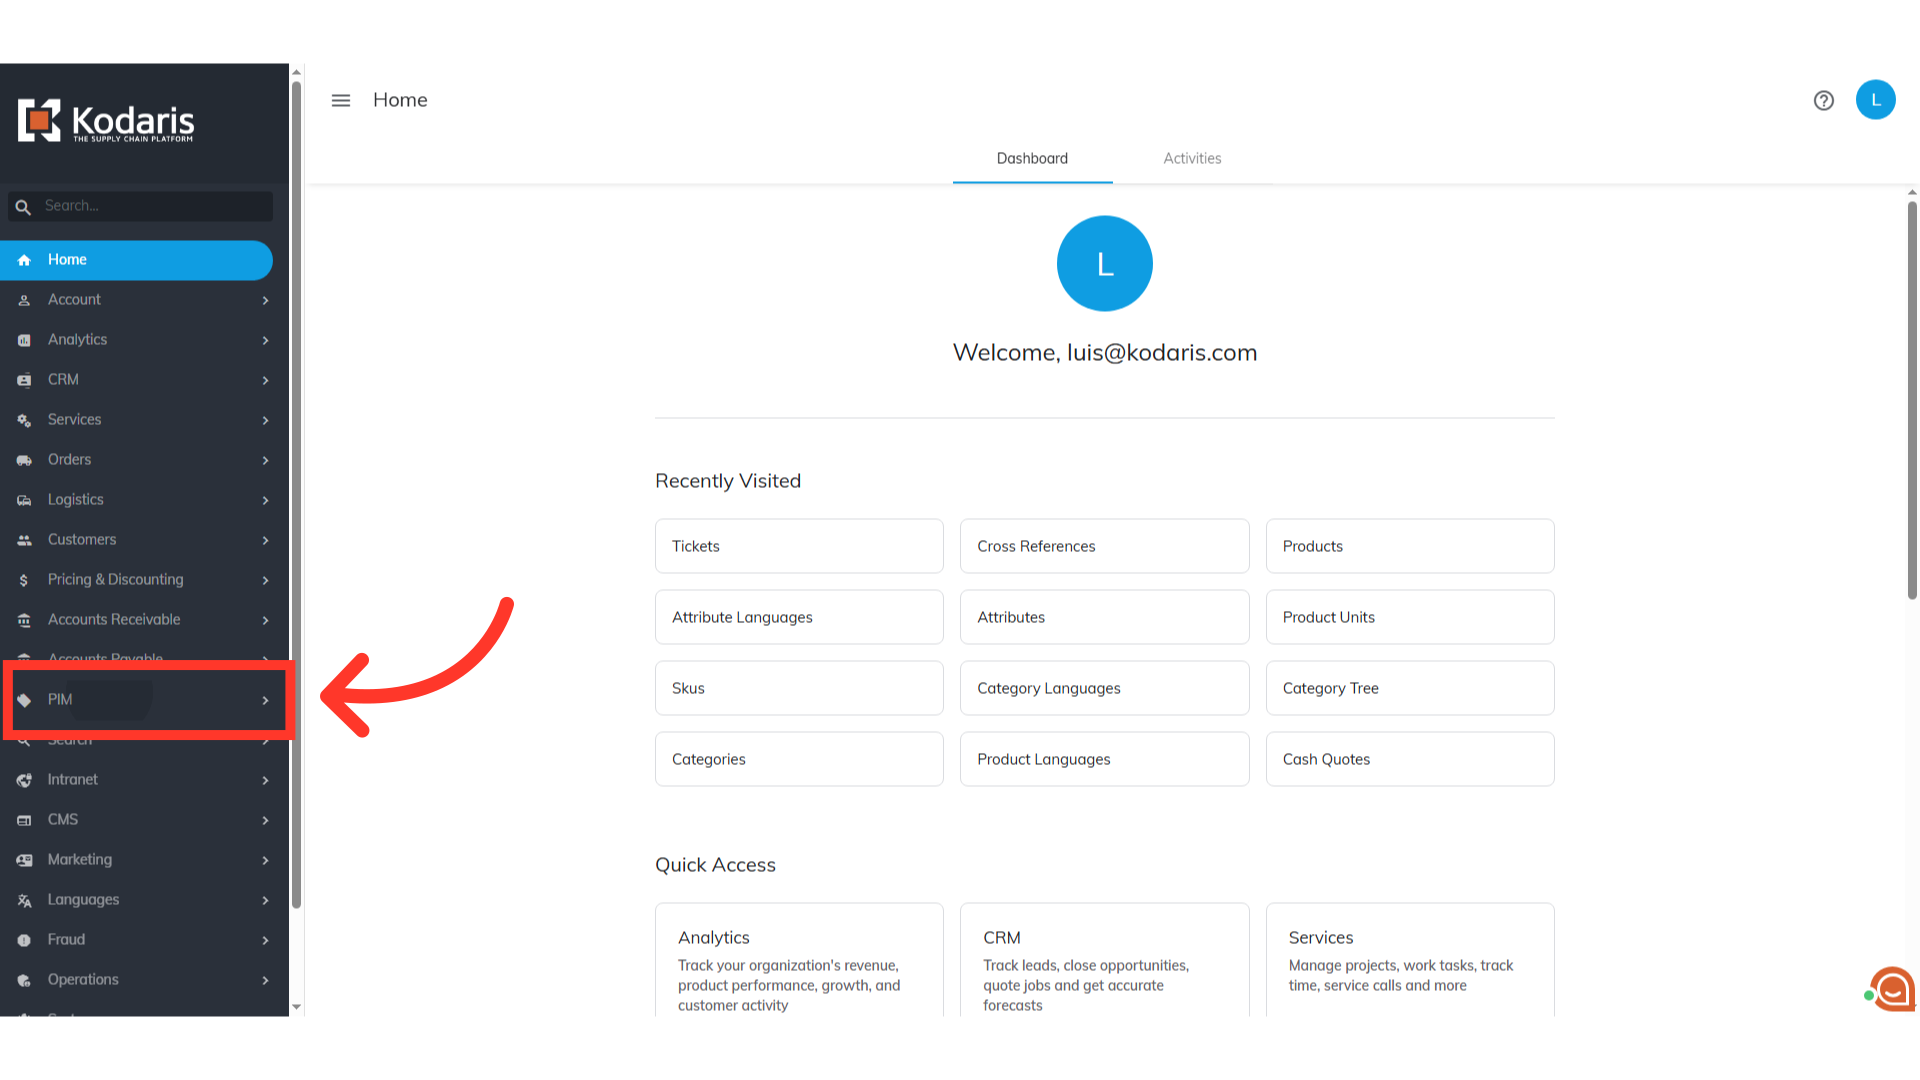
If there are multiple cross-references that need to be deleted in the operations portal, you can delete them by running a special import in the operations portal. Since deleting cross-reference can affect a lot of data, the best practice is to run the deletion imports after business hours. To start, navigate to the "PIM" section in the Operations Portal.
Click on "Cross References"
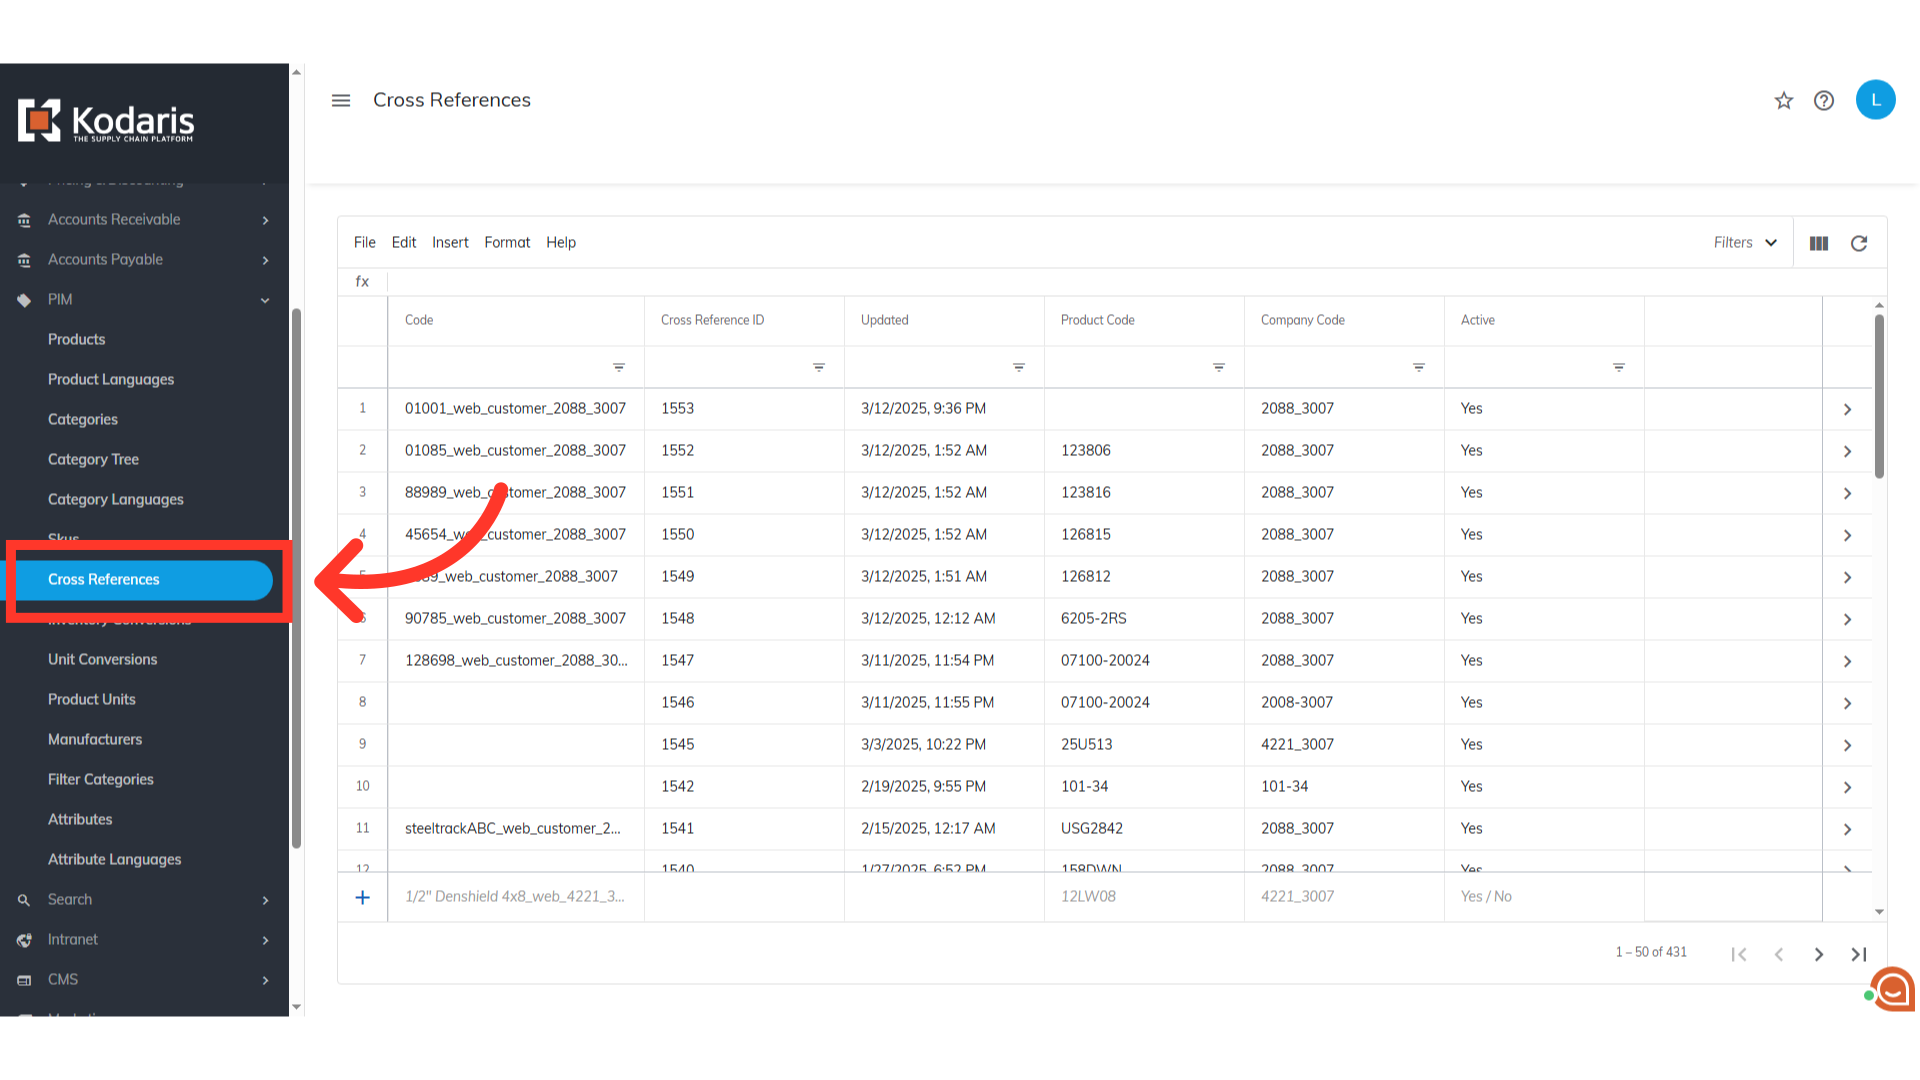
Then, click "Cross References". In order to access and update "Cross References", your account must be set up either as an "administrator" or a "superuser", or have the roles of "productCrossReferenceView" and "productCrossReferenceEdit" along with "importEdit" and "importView". These last two roles are needed for importing.
Exporting Cross-References Data
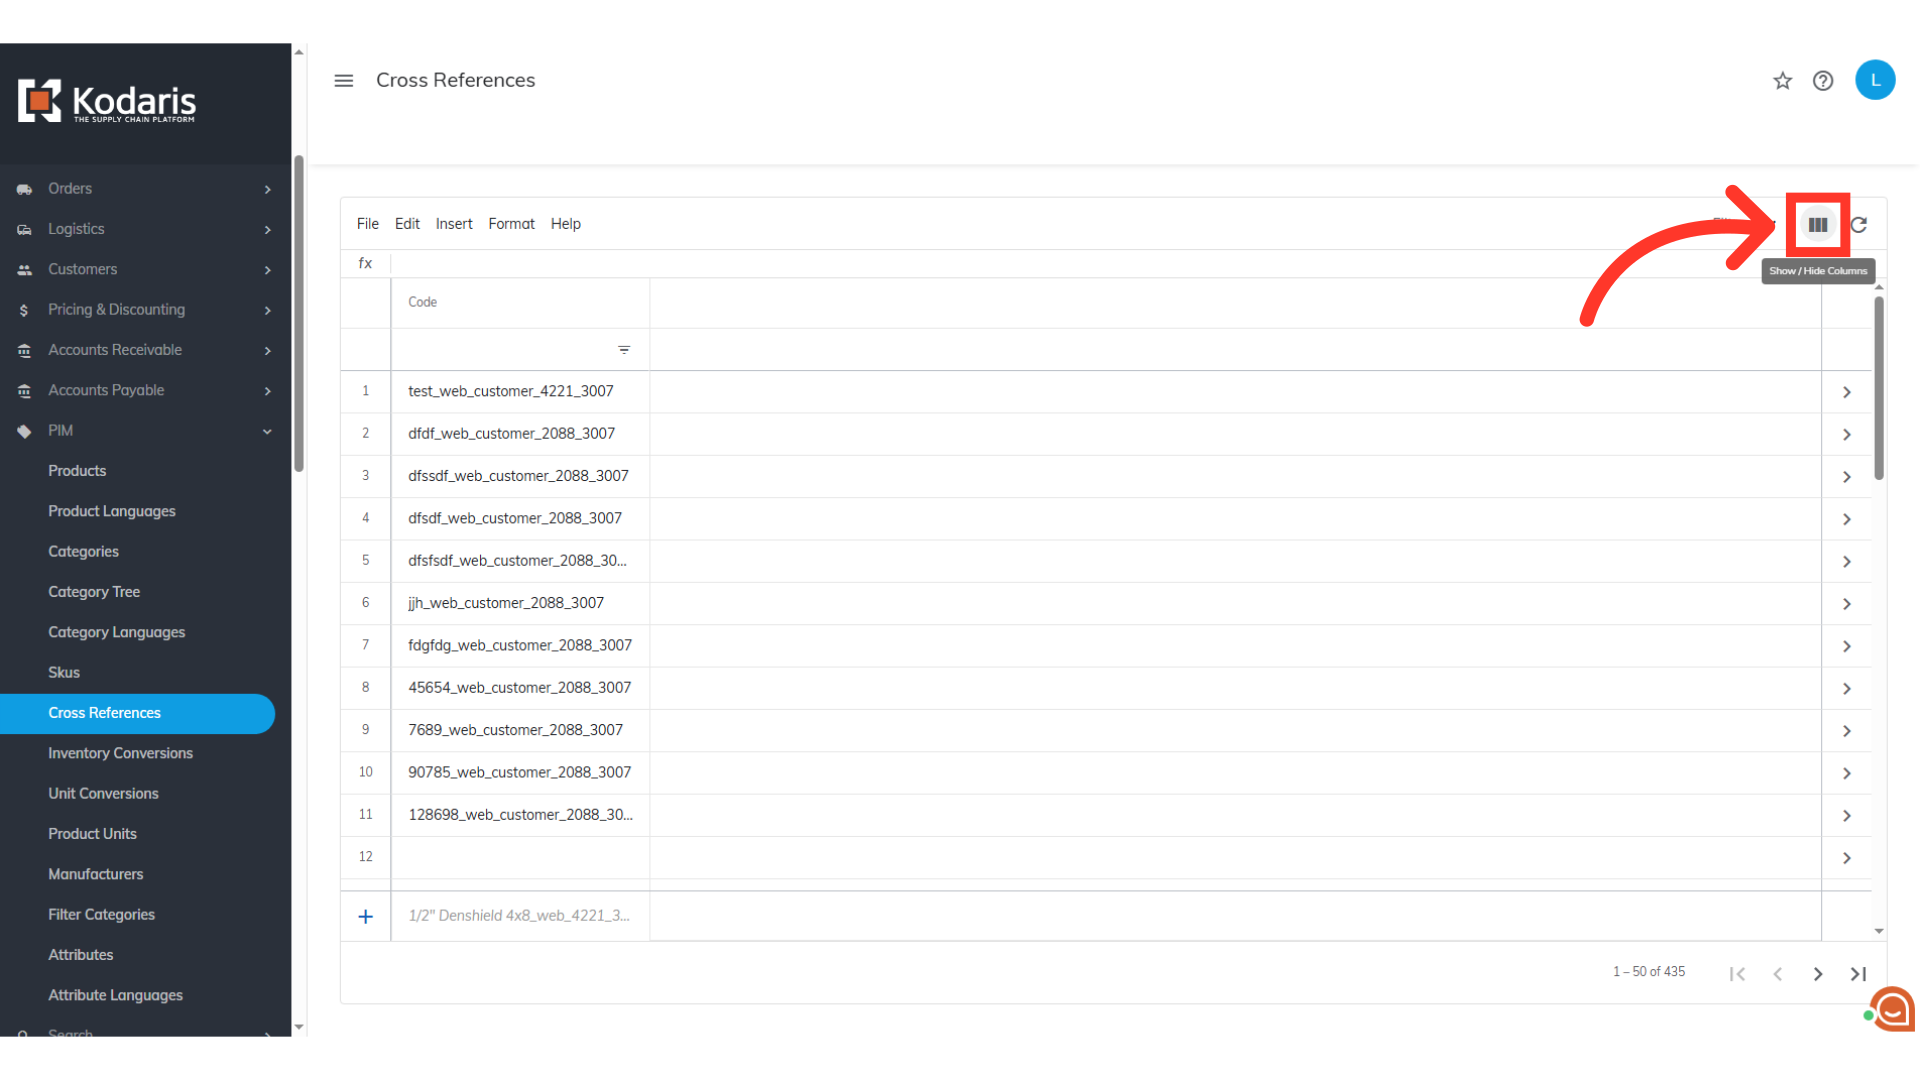
If you would like to use exported data from the operations portal for your import, you will want to choose the columns of data you would like to export. Click the "Show/Hide Columns" icon. You can also use your own .CSV spreadsheet as long as you have the required header row and needed data.
Select the needed columns
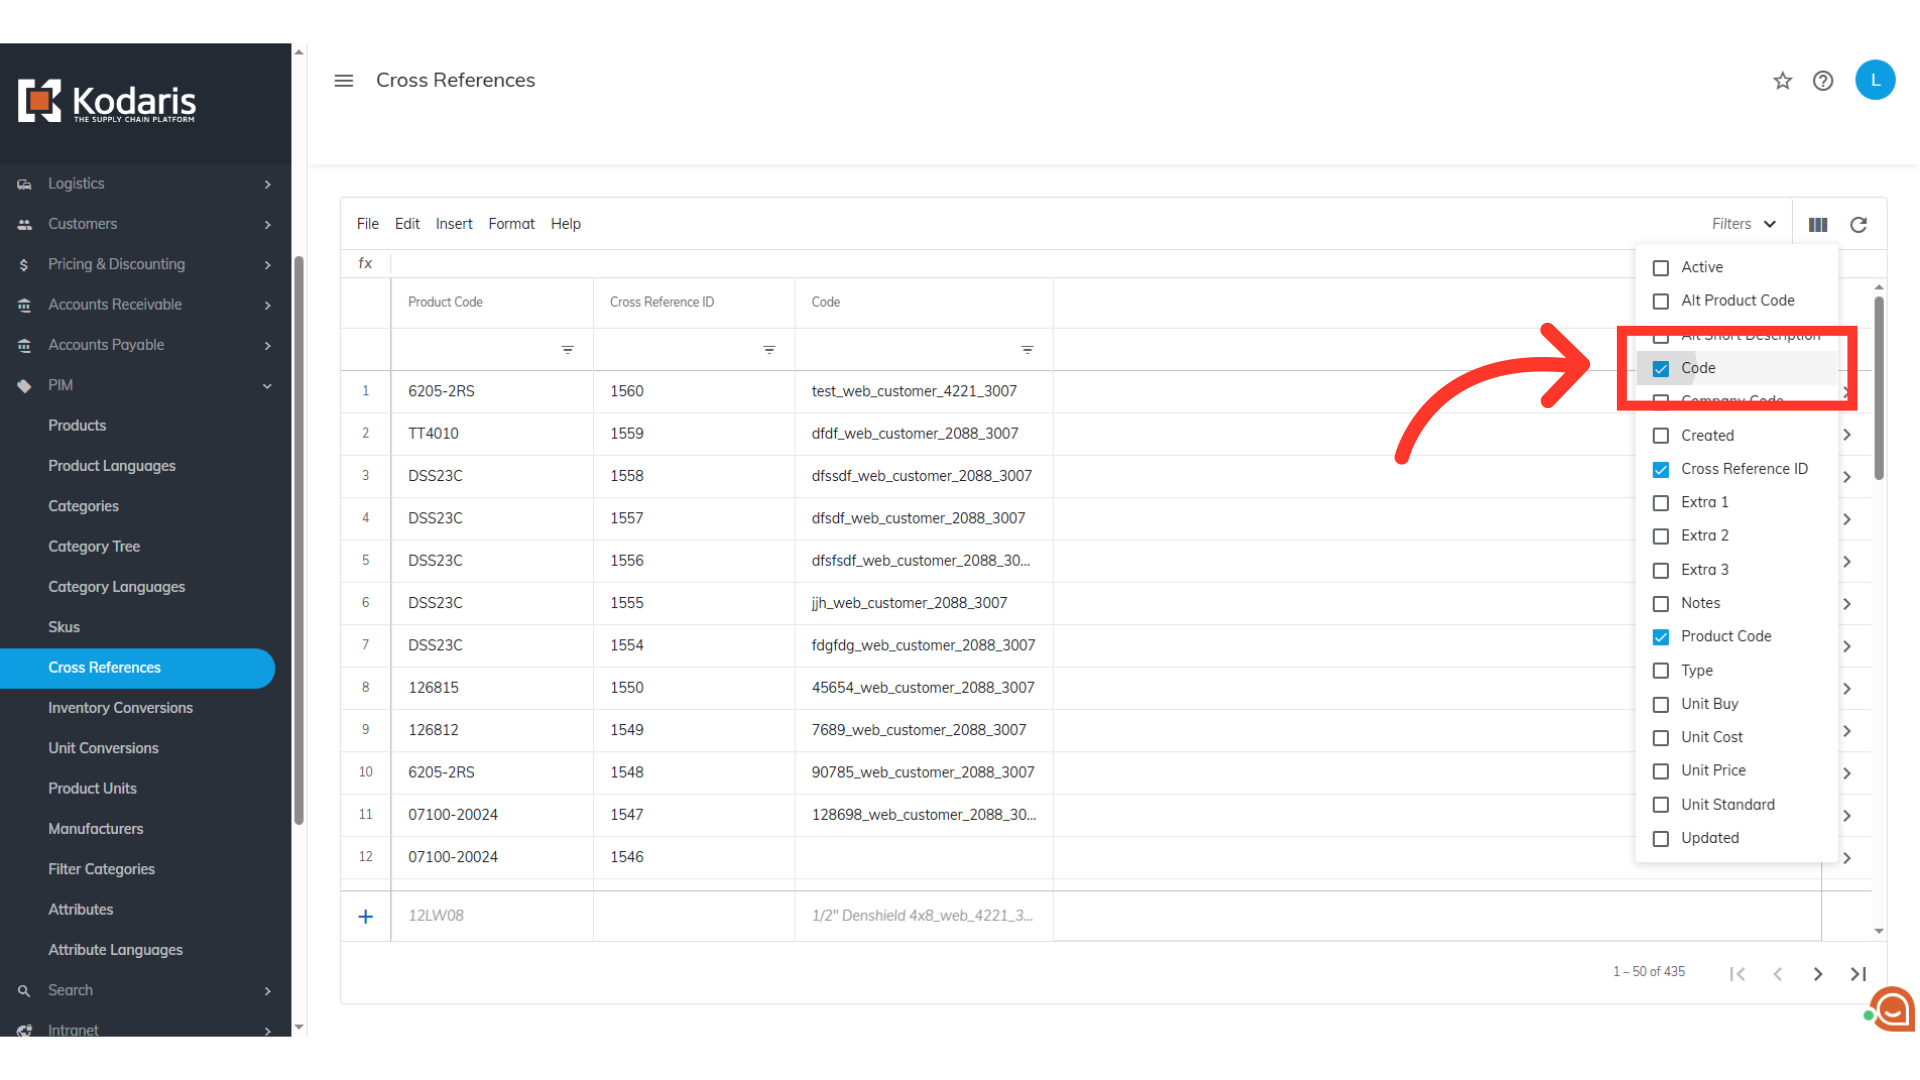
To use this export for importing, you will need to select the "Code" column. You can choose to add other columns if you would like, but for now, only the "Code" column is required. Additional columns will be added later.
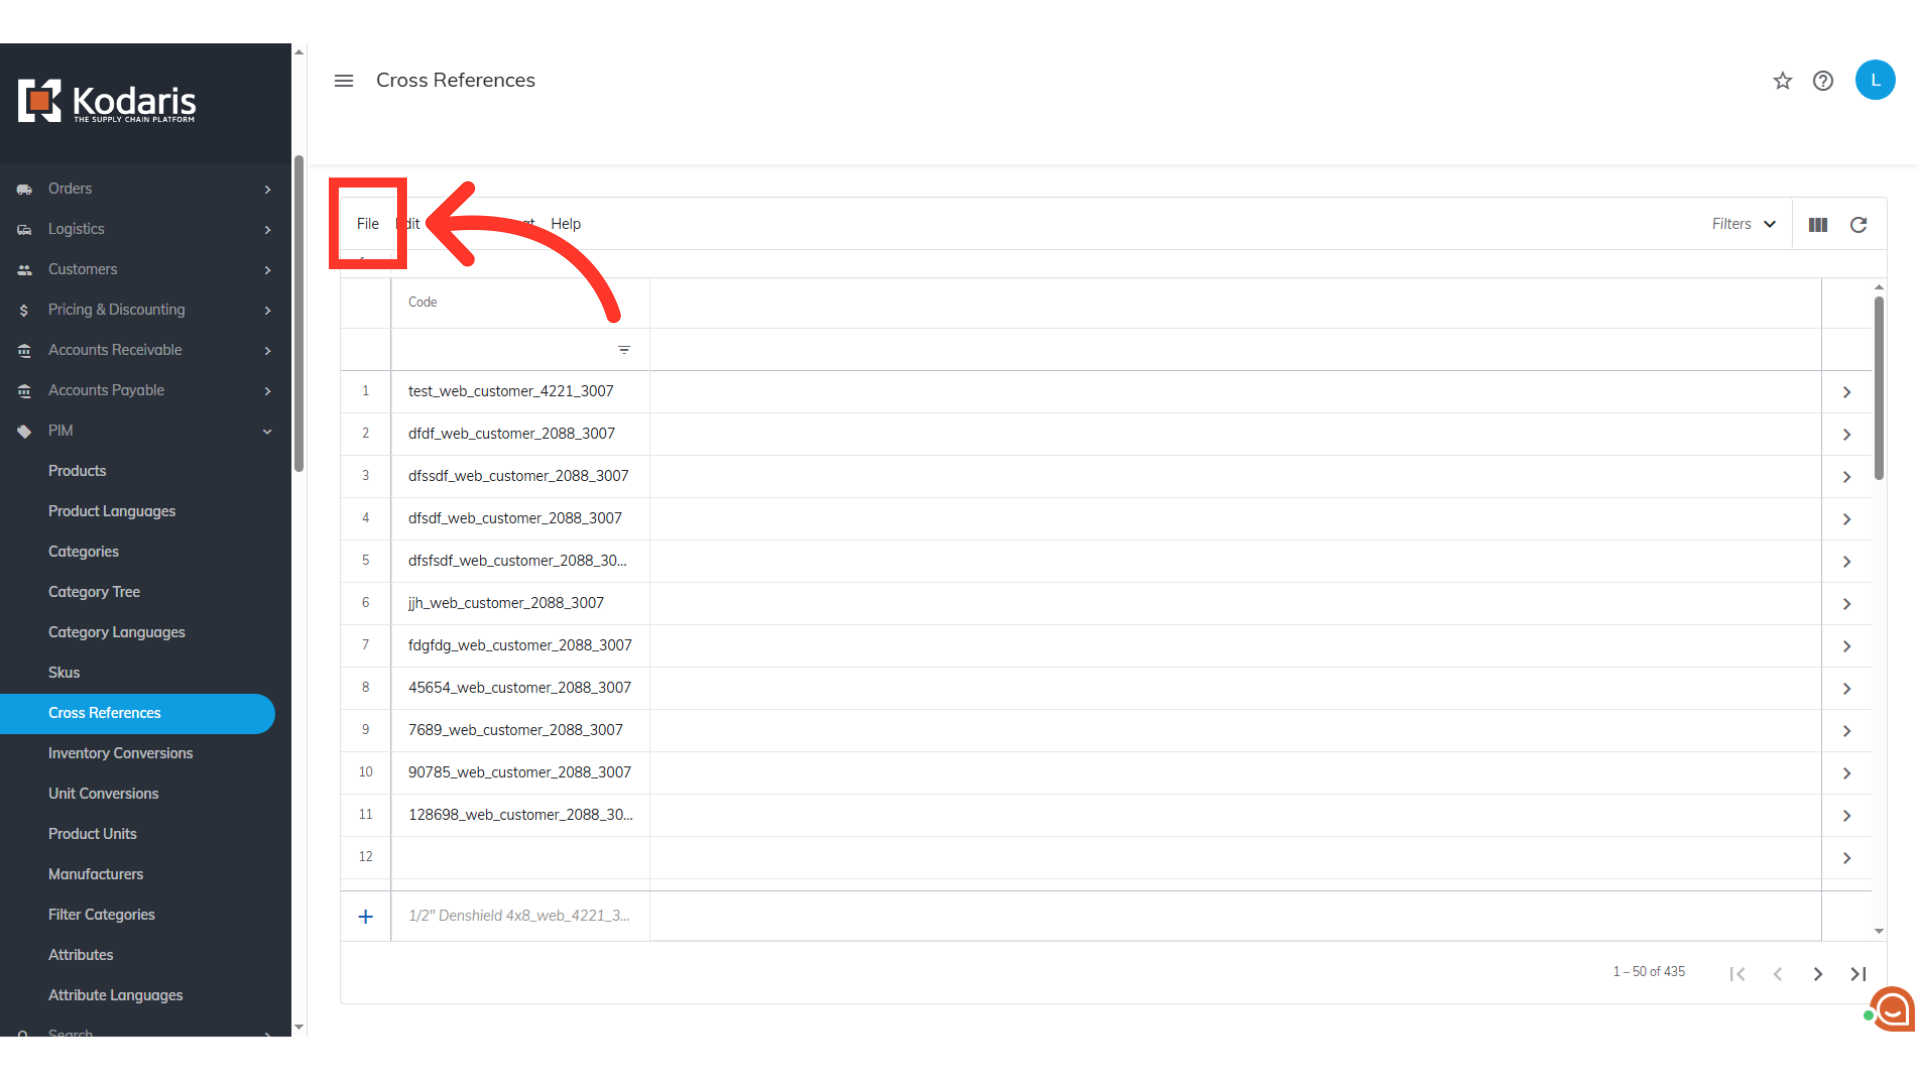
Click "File"
When you are ready to export, click "File" from the menu.
Select "Export"
Then, select "Export" from the options. This will give you a file in .CSV format

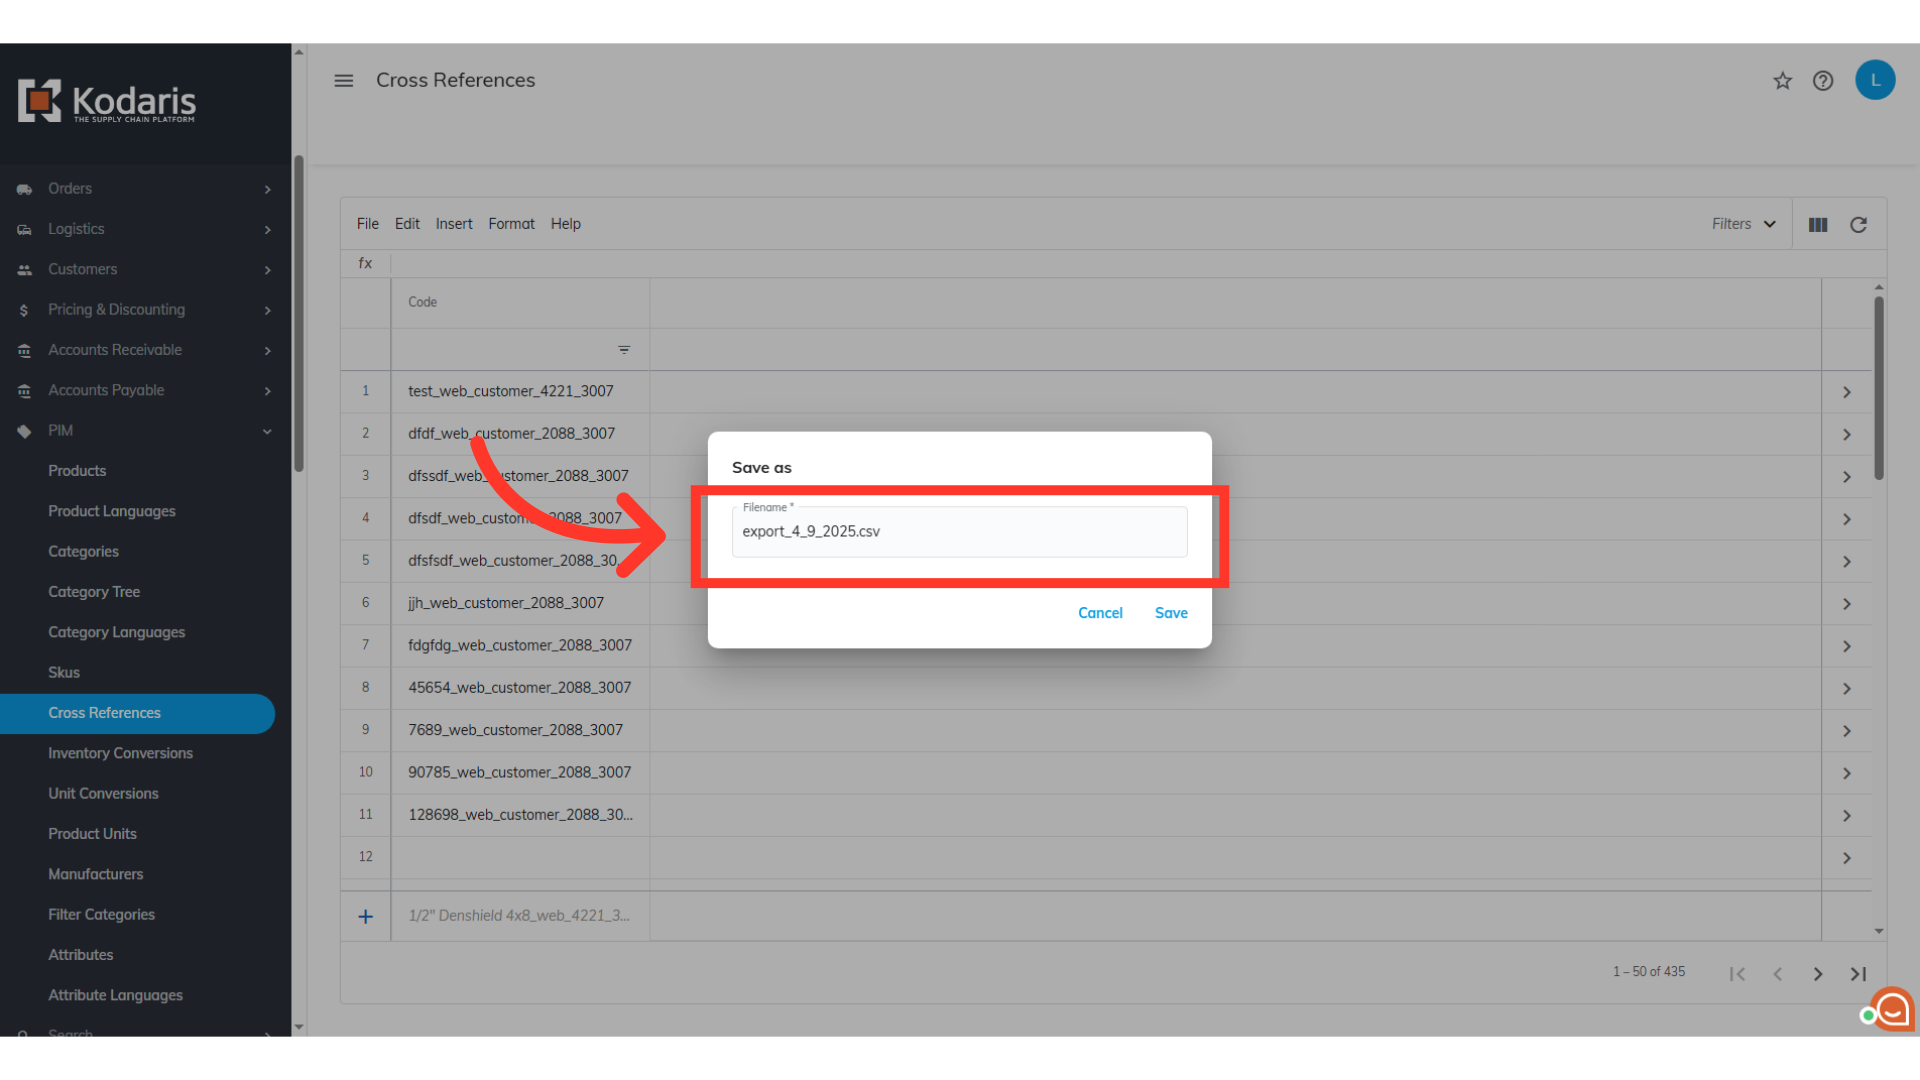
Rename the file, if needed
You can rename the file, if needed.
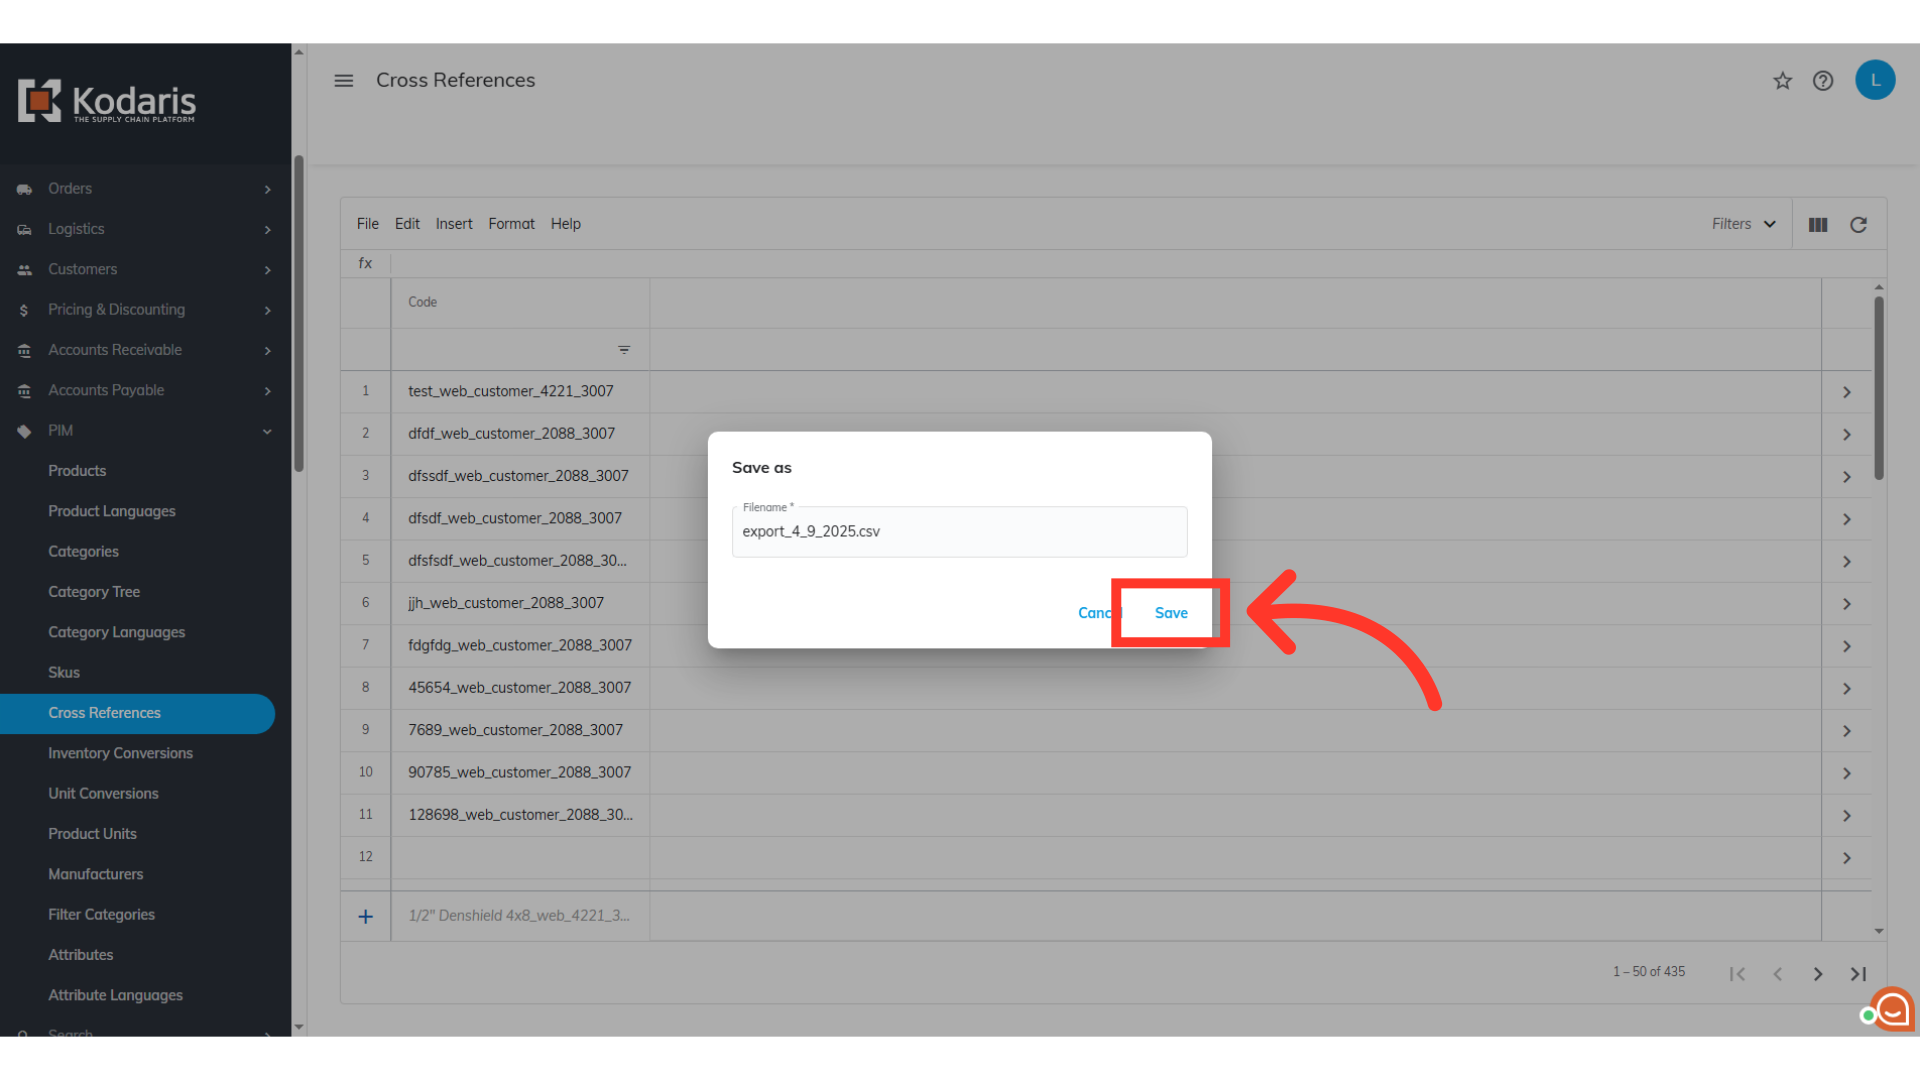
Click "Save"
Then, click on the "Save" button.
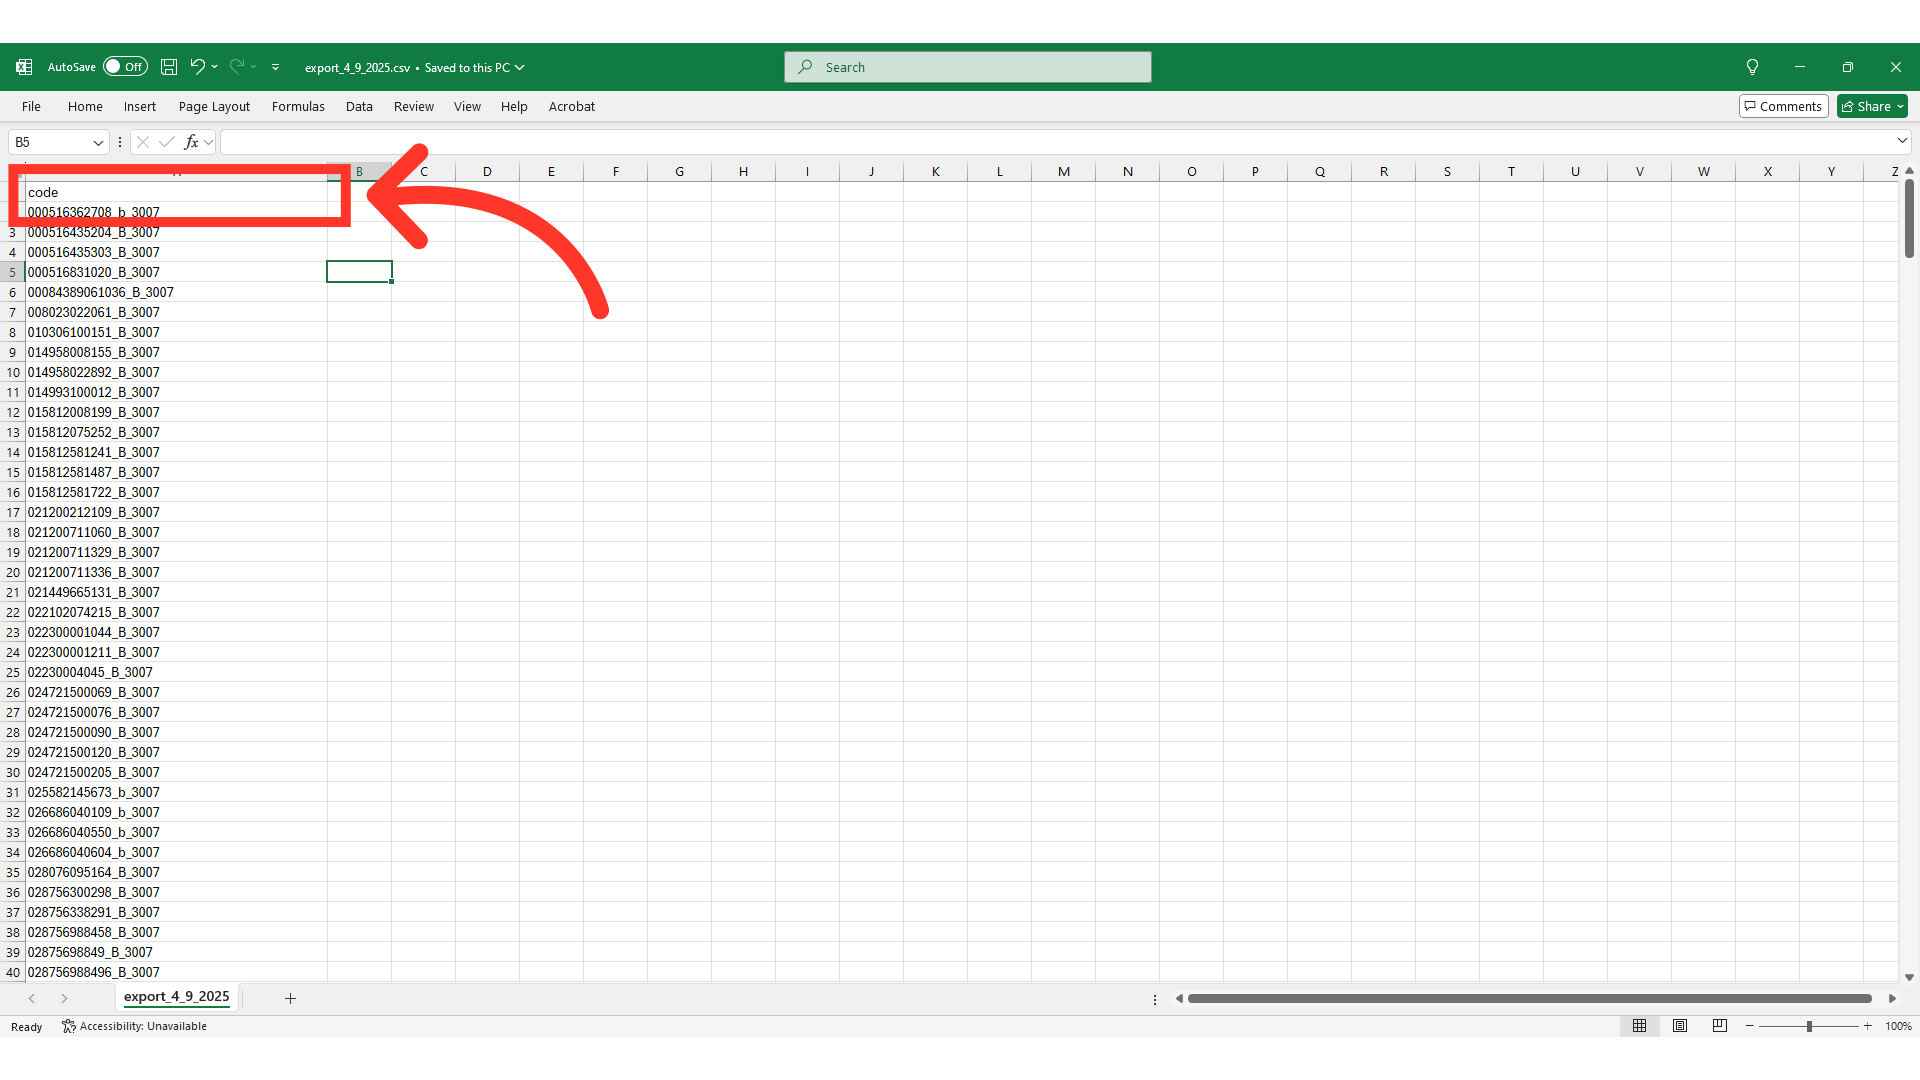
Example Exported Spreadsheet
You can see that for this example we have only exported the "code" data. The "code" column contains the cross-reference codes. When importing cross-reference data, the code is required as it is the identifying factor for matching information.
Header Row
You can now see that we have added two required columns to the spreadsheet, and it now has the header row that is needed. If you are using your own spreadsheet, you will need to make sure the columns "isSourceDeleted" and "sourceModifiedTime" have been added.

"code" = Code
The "code" column contains the cross reference and should be unique. It is required as it is the identifying factor for matching information.

"isSourceDeleted" = deletion value
The "isSourceDeleted" column is needed to trigger the deletion, and the value should be "TRUE".

"sourceModifiedTime" = deletion time
The "sourceModifiedTime" column is also required for mass deleting cross references. The value should follow the format indicated below and be close to the current time. The time does not need to be exact: “YYYY-MM-dd hh:mm:ss:SSS. An example of the correct format is 2024-09-10 11:45:00:311. Once you have your export or spreadsheet ready for import, be sure to save as .CSV file which is spreadsheet compatible. Double check that the spreadsheet you are importing only contains the cross references codes that you would like to delete from the system. Remove any rows from the spreadsheet that you do not want to delete from the system.

Save your .CSV for import
After completing the necessary changes, save the spreadsheet as a .CSV file for import. Ensure the spreadsheet contains only the data you intend to update.

Go to "File"
To initiate the import, go to "File".

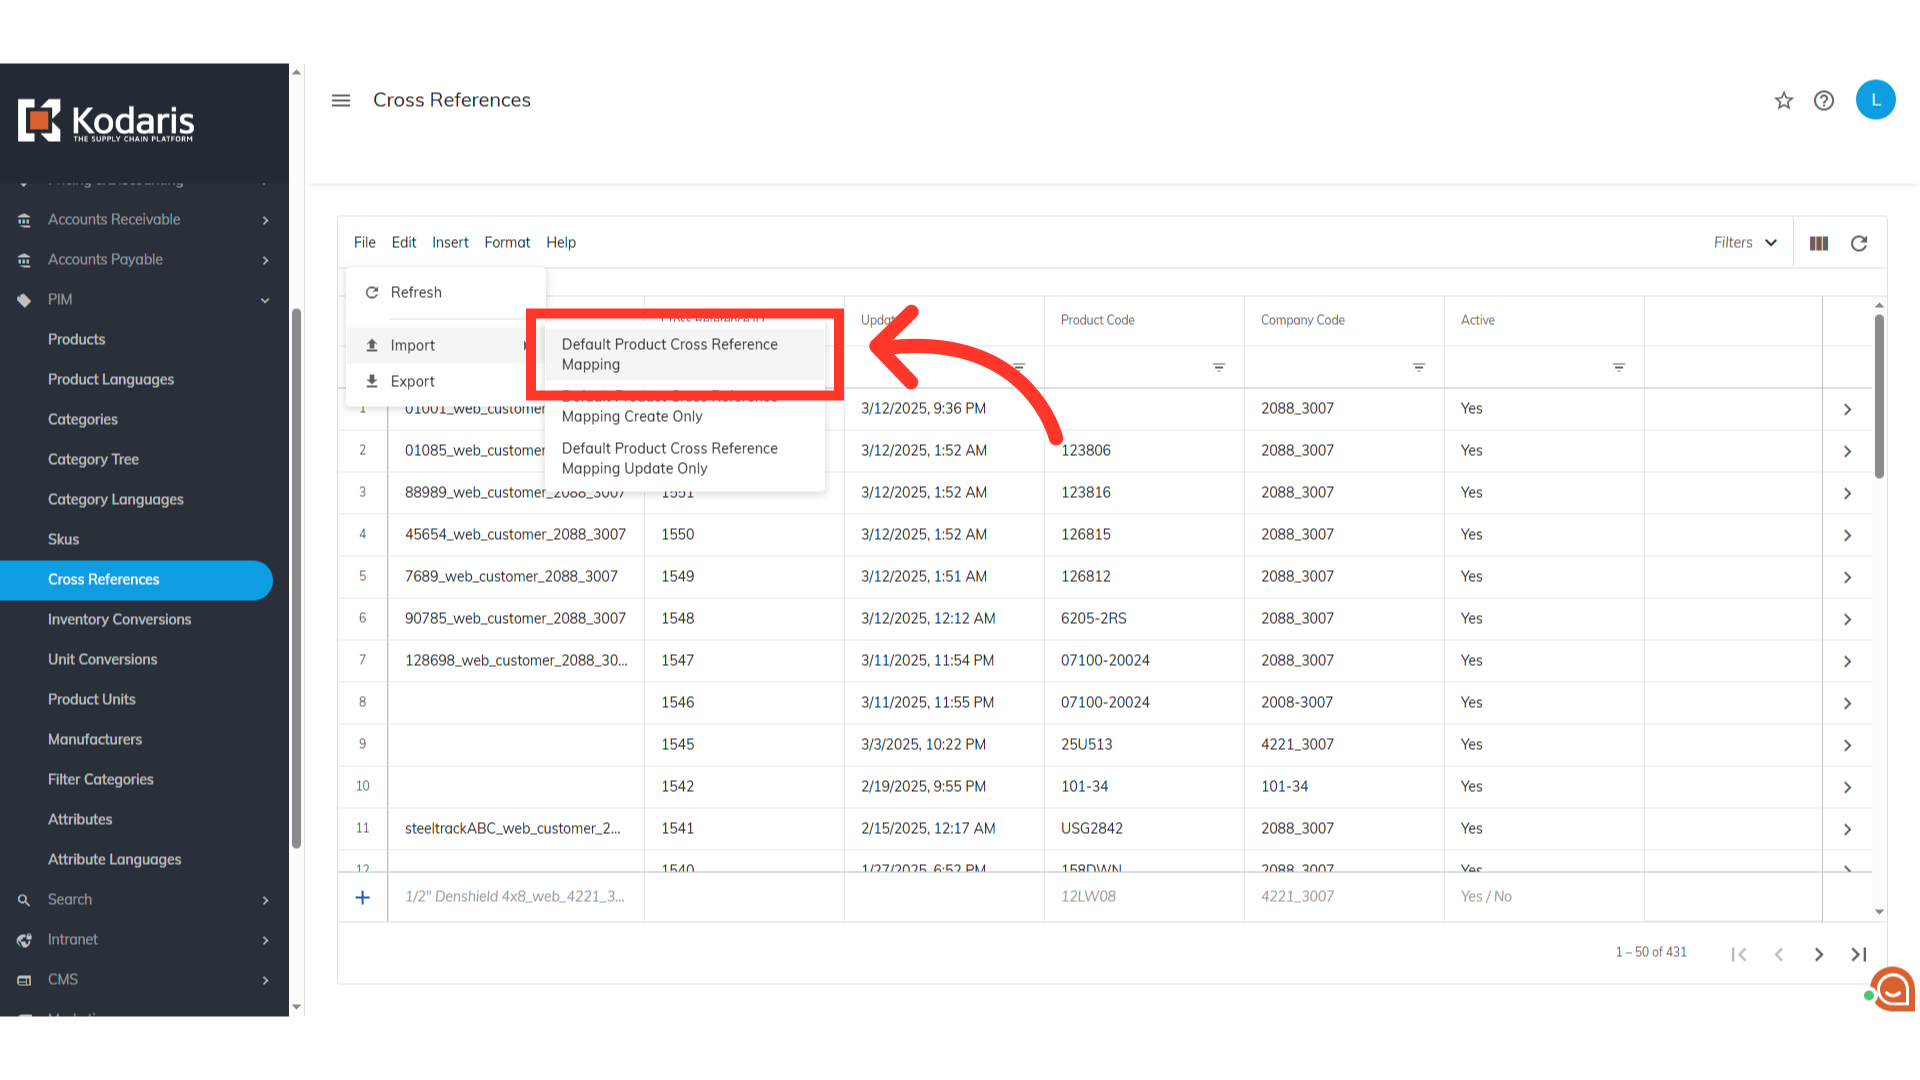
Choose "Default Product Cross Reference Mapping" from the import options
After that, go to "Import", then choose "Default Product Cross Reference Mapping".
Select file and click "Open"
Choose the .CSV file you would like to import. Please be sure that you select the correct file. An import message will appear letting you know that the import file is in process and to check back in a few minutes for the imported data. After the import has completed, you can verify the changes in the operations portal.

Verify the correct deletions
When the import is complete, refresh the "Cross References" screen. Then, review the Cross References screen to verify that the information has been deleted.

Email Report
An email report will also be sent once your import is successful.
