Operations Customers - Mass Update Company Addresses by Import
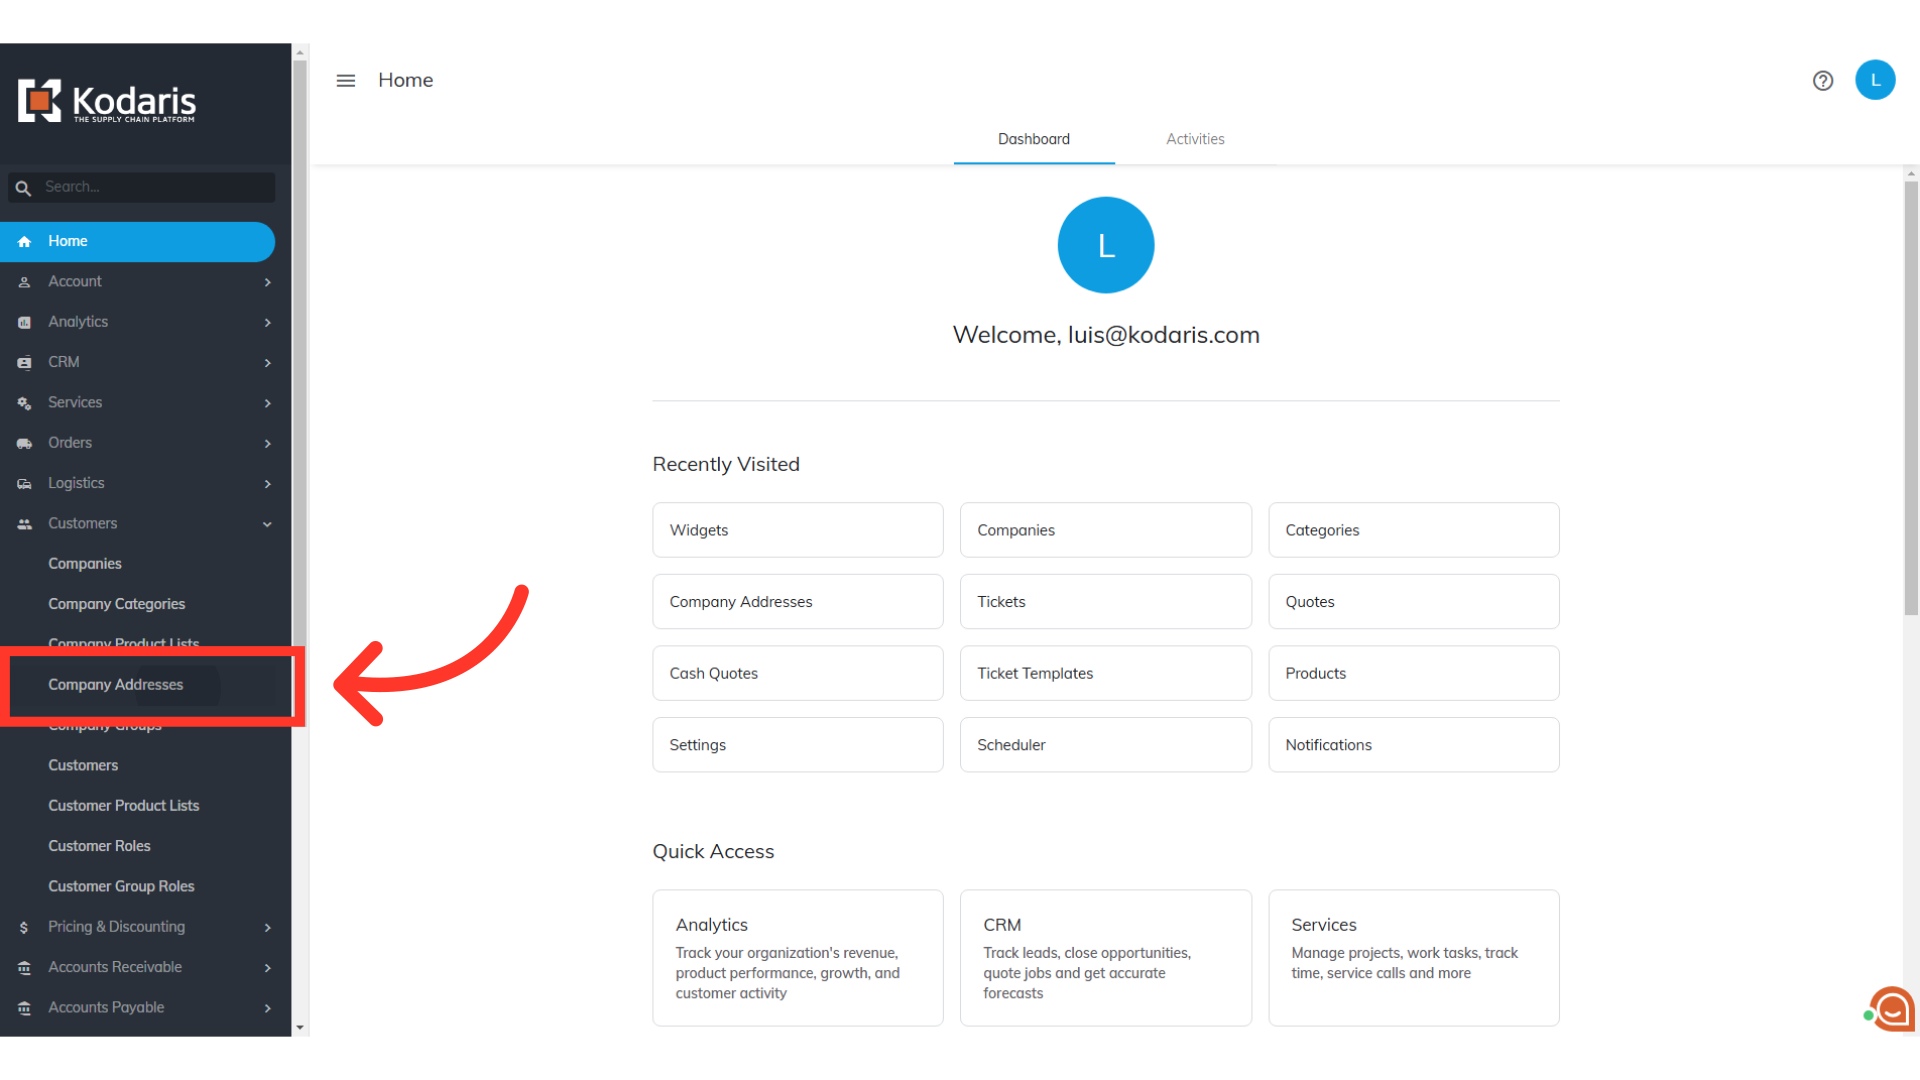
Navigate to "Customers" section
Company addresses can be mass updated or created by import in the operations portal. To be able to add or update a company’s address using the import feature, you must have the companies set up in the operations portal before importing. Before importing, it is helpful to first export data to make sure that you have the correct header row that you will use for the import. To do this, navigate to "Customers" section in the Operations Portal.

Click "Company Addresses"
Then, go to the "Company Addresses" screen. In order to access “Customer Addresses” you will need to be set up either as an "administrator" or a "superuser", or have the appropriate roles: "companyAddressView" and "companyAddressEdit".
Click on the "Data" tab
Click on the "Data" tab where you will see a data grid with all existing Company addresses.

Click the "Show/Hide Columns" icon
Click on the "Show/Hide Columns" icon.

Select the needed columns
You will need to select "code" as this is one of the identifying factors for matching information in the system. "companyCode" is also required, but not included in the column list. This column will automatically be included in your export. We are also selecting the "Location Name" column for this example.

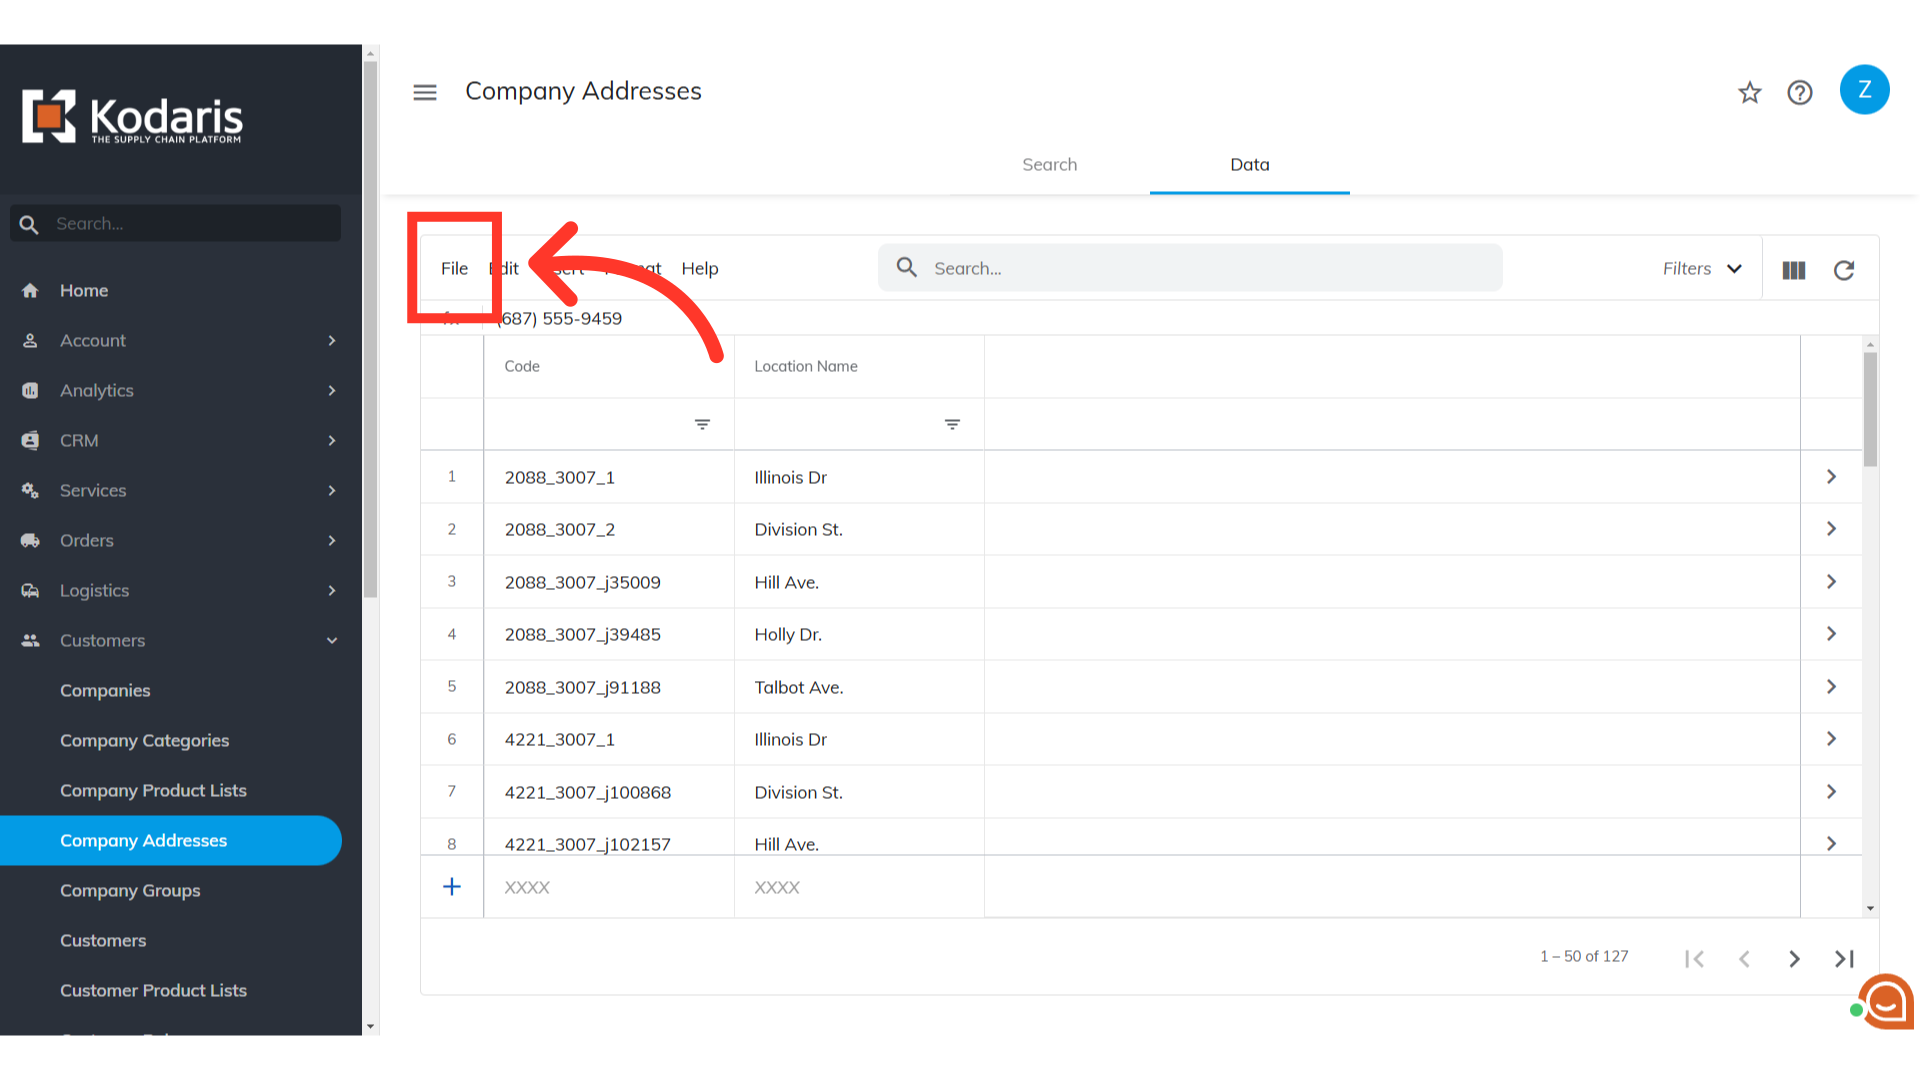
Click "File"
Now, click the "File" menu.

Click "Export"
Select the "Export" option.

Click "Save"
You can rename the export file from here if preferred. Otherwise, click "Save". The file will be downloaded to your computer.

Exported File
The exported file will include the data from the company addresses grid along with the header row that is needed to import data back into the operations portal. In this example, we have added a new row of data to be imported.

"code" = Code column
Remember that "code" in the export is the "Code" in the grid. The "code" field is required when importing as it is an identifying factor when matching information. These are the unique codes for each of the addresses in the system. You will input a unique code here if creating a new company address. Existing codes cannot be edited, otherwise the system will consider the edited code as a new address and will create new data in the system. Update your spreadsheet accordingly to your standards.

"locationName" = Location Name column
For this example, we have chosen to update the location name. The "locationName" column shows the name of the location and this data can be updated or created if needed.

"companyCode" = Company Code
The "companyCode" column shows the company code for which you are adding addresses, and is required when importing as it is an identifying factor when matching information. This field should not be edited and should be an exact match to company codes from the system.

Click "File"
Once the the spreadsheet has been updated and saved as a .CSV file, it is ready to import. Navigate back to the "Company Addresses" screen and click on "File".
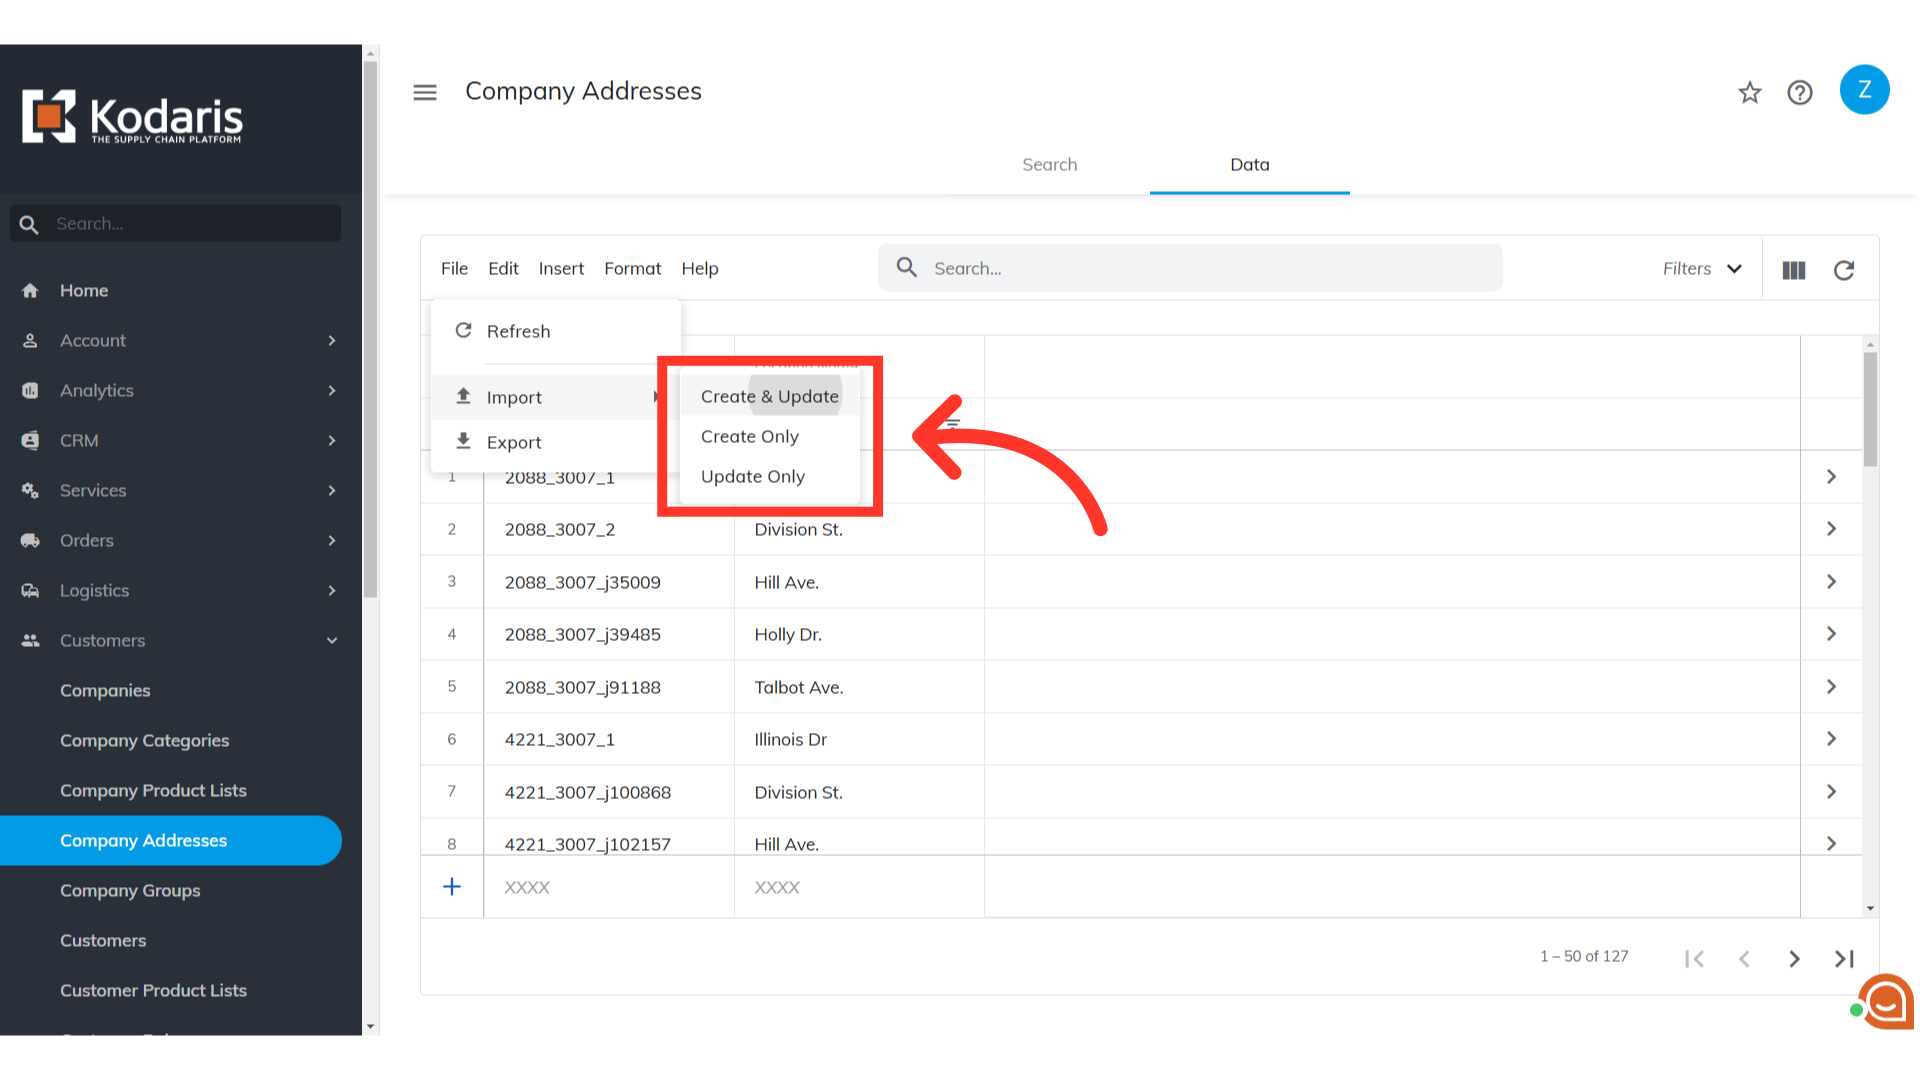
Click "Import"
Then, click "Import".

Select import type
Choose your preferred import option. "Create & Update" will create any new company addresses included in the spreadsheet and also update existing with the data in your spreadsheet. "Create Only" will only create new company addresses with the data in your spreadsheet. "Update Only" will only update existing company addresses with the data in your import. Since we are creating and updating information, we will want to choose the "Create & Update" option.
Select the CSV file and click "Open"
Choose the .CSV file that you would like to import. Please be sure that you select the correct file, as there are no rollbacks for imports. If you are importing a large amount of data, it may take a short amount of time to complete. The import will continue to run in the background.

Email Report
Once the import is complete, you should receive an email report containing data counts of created, updated, skipped, and failed. You can also verify the changes made by checking the "Company Addresses" screen.
