Operations PIM - Upload One Primary Image to Multiple Products via Import
Navigate to "PIM"
If you would like to use the same primary image across multiple products, you can save time by using the import feature to complete this task. Start by navigating to the "PIM" section in the Operations Portal.

Click "Products"
Then, click "Products". In order to access, edit, and export products, you will need to be assigned the role of "administrator" or "superuser". Or have the roles of: "productView", "productEdit", "exportEdit" and "exportView".

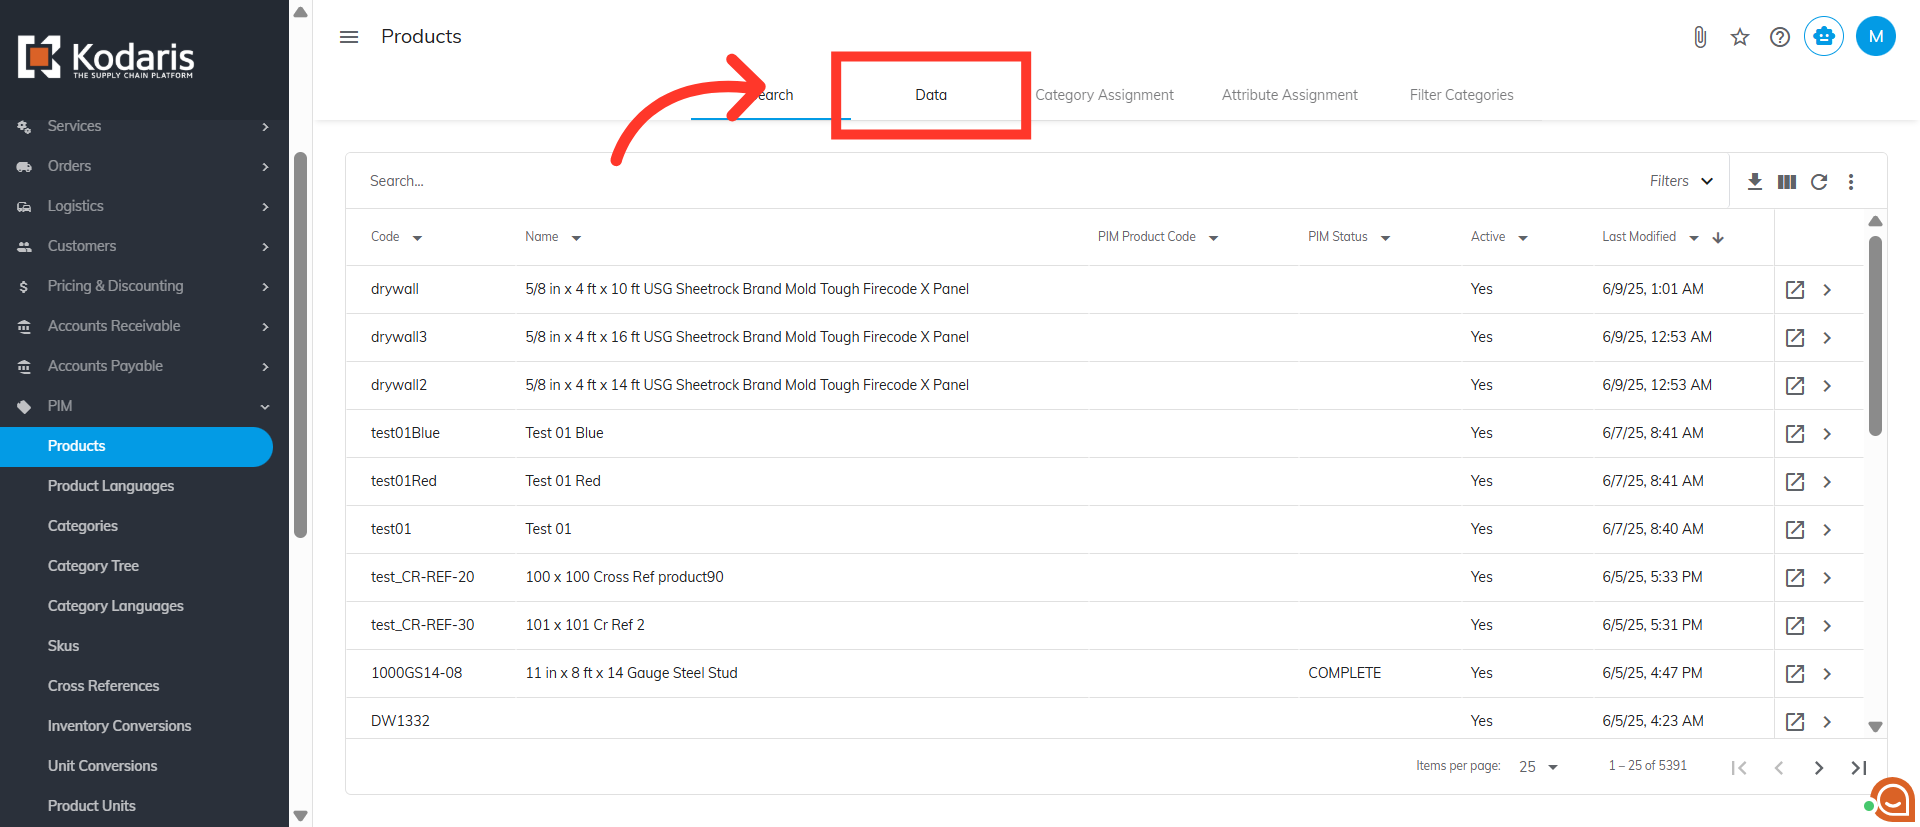
Click "Data"
Next, go to the "Data" tab.
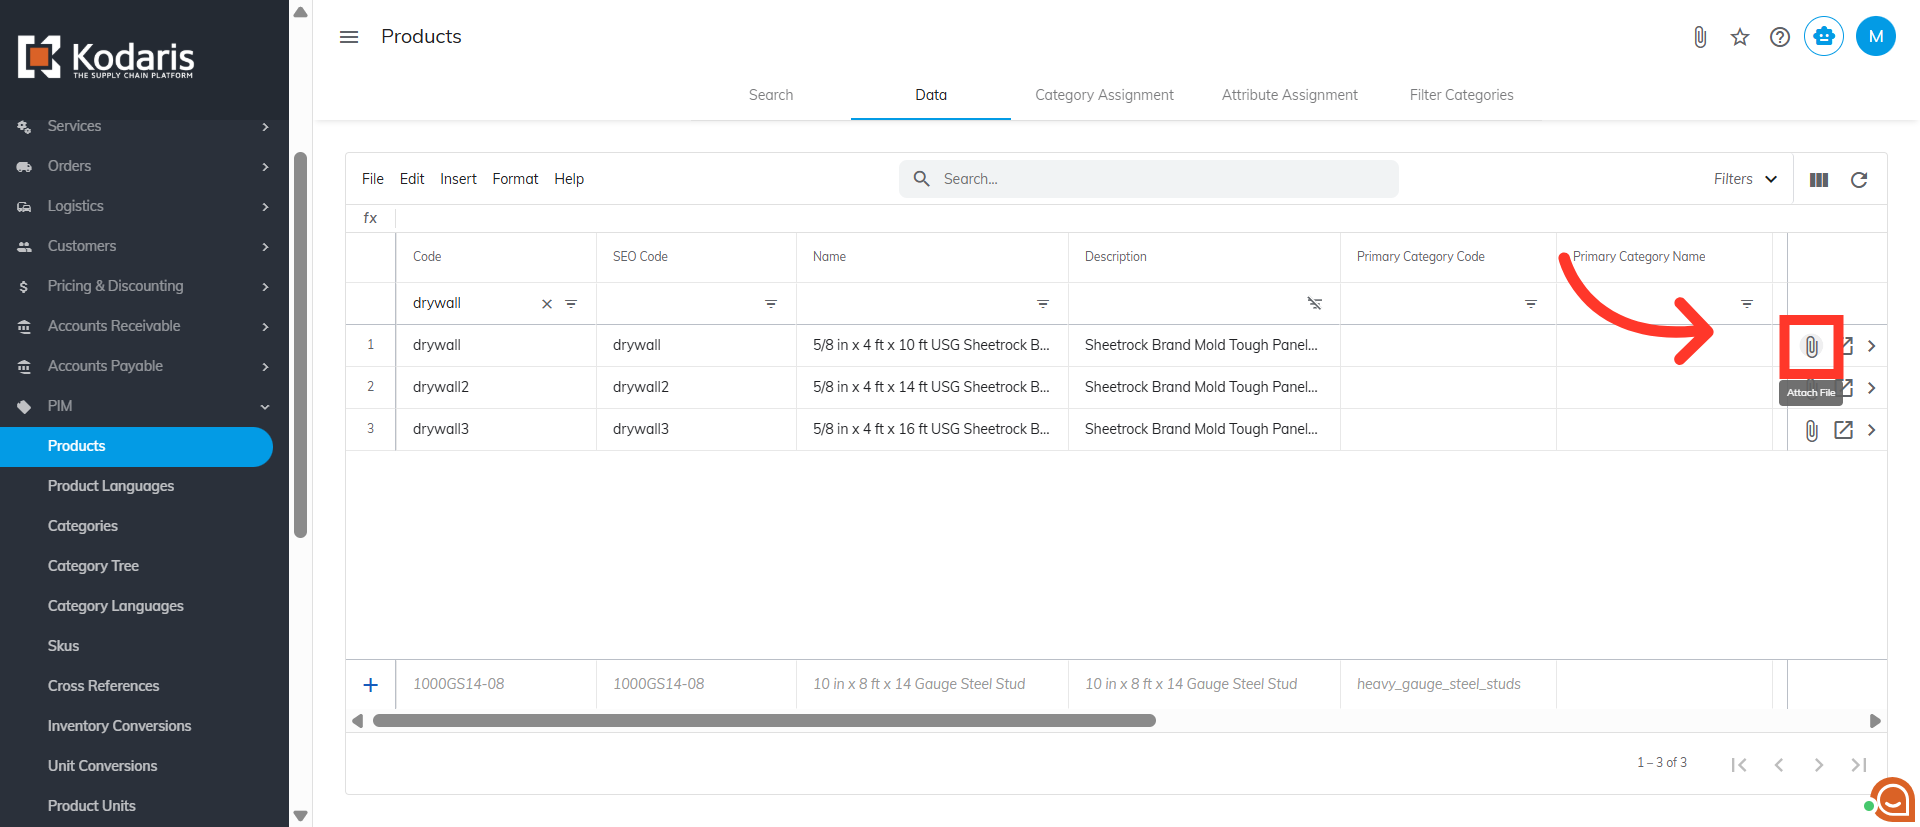
Click the "Code" column filter
To begin, your primary image will need to be added to a product. This image will be used for importing in the following steps. Click the "Code" column filter.

Enter the product code to search
Enter the product code.

Click the "Attach File" icon
Click the "Attach File" icon to initiate uploading the image.
Select "Primary Image"
Choose the "Primary Image" option.
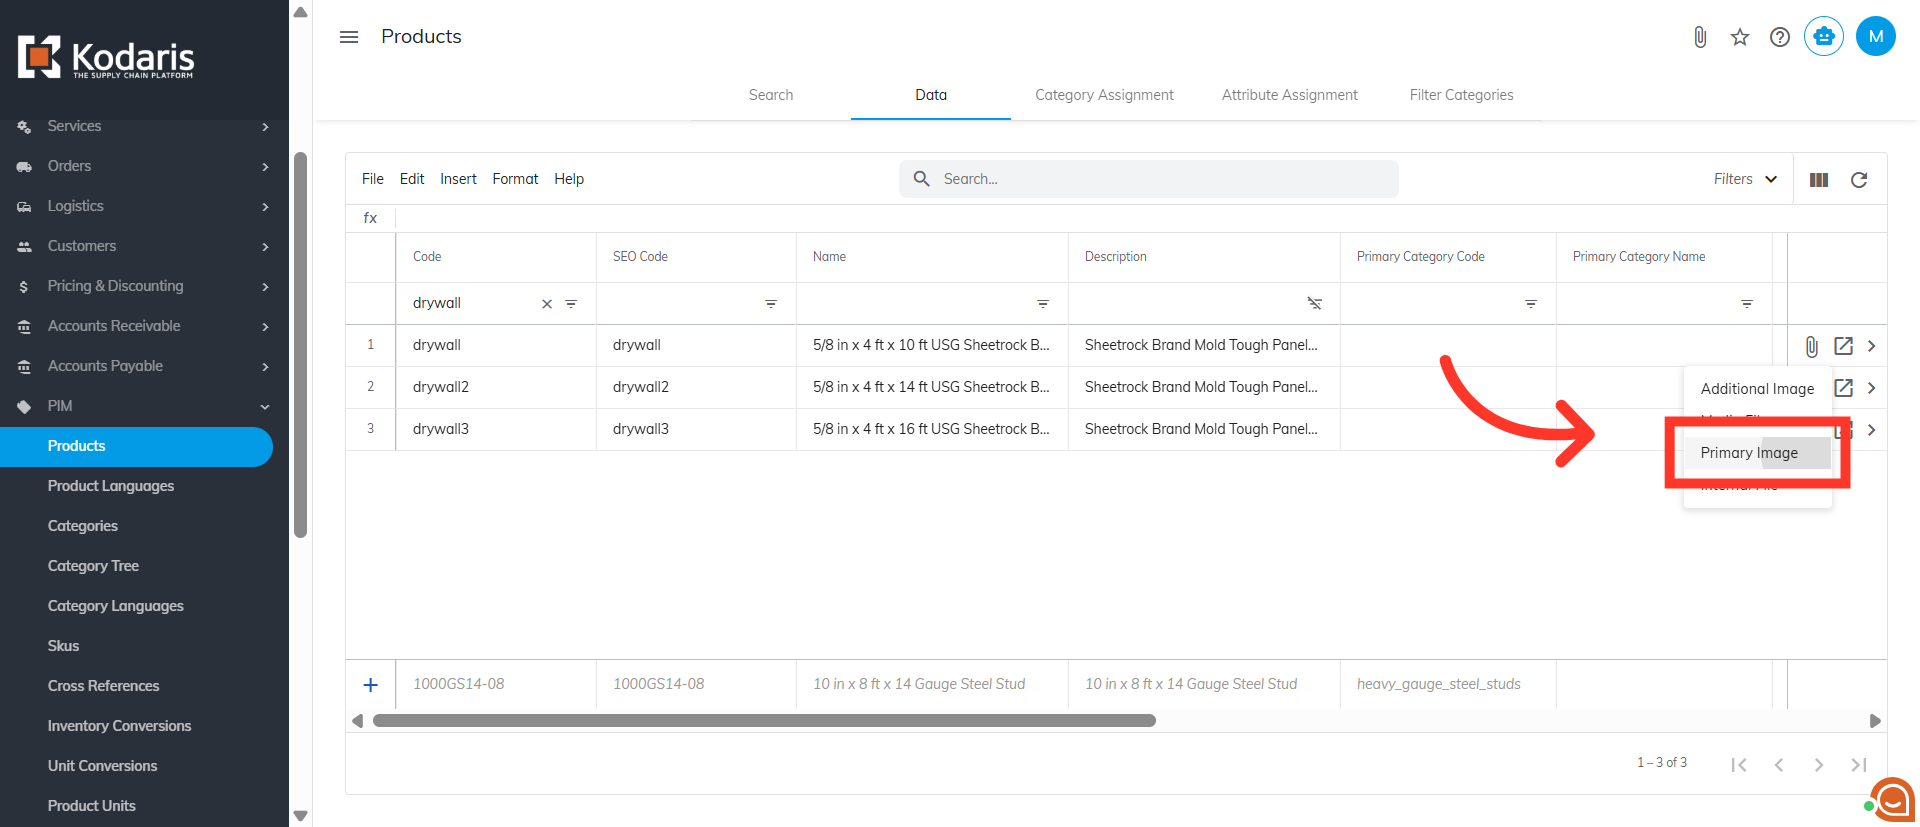
Select the image and click "Open" to upload
Select the image and click "Open" to upload the primary image.

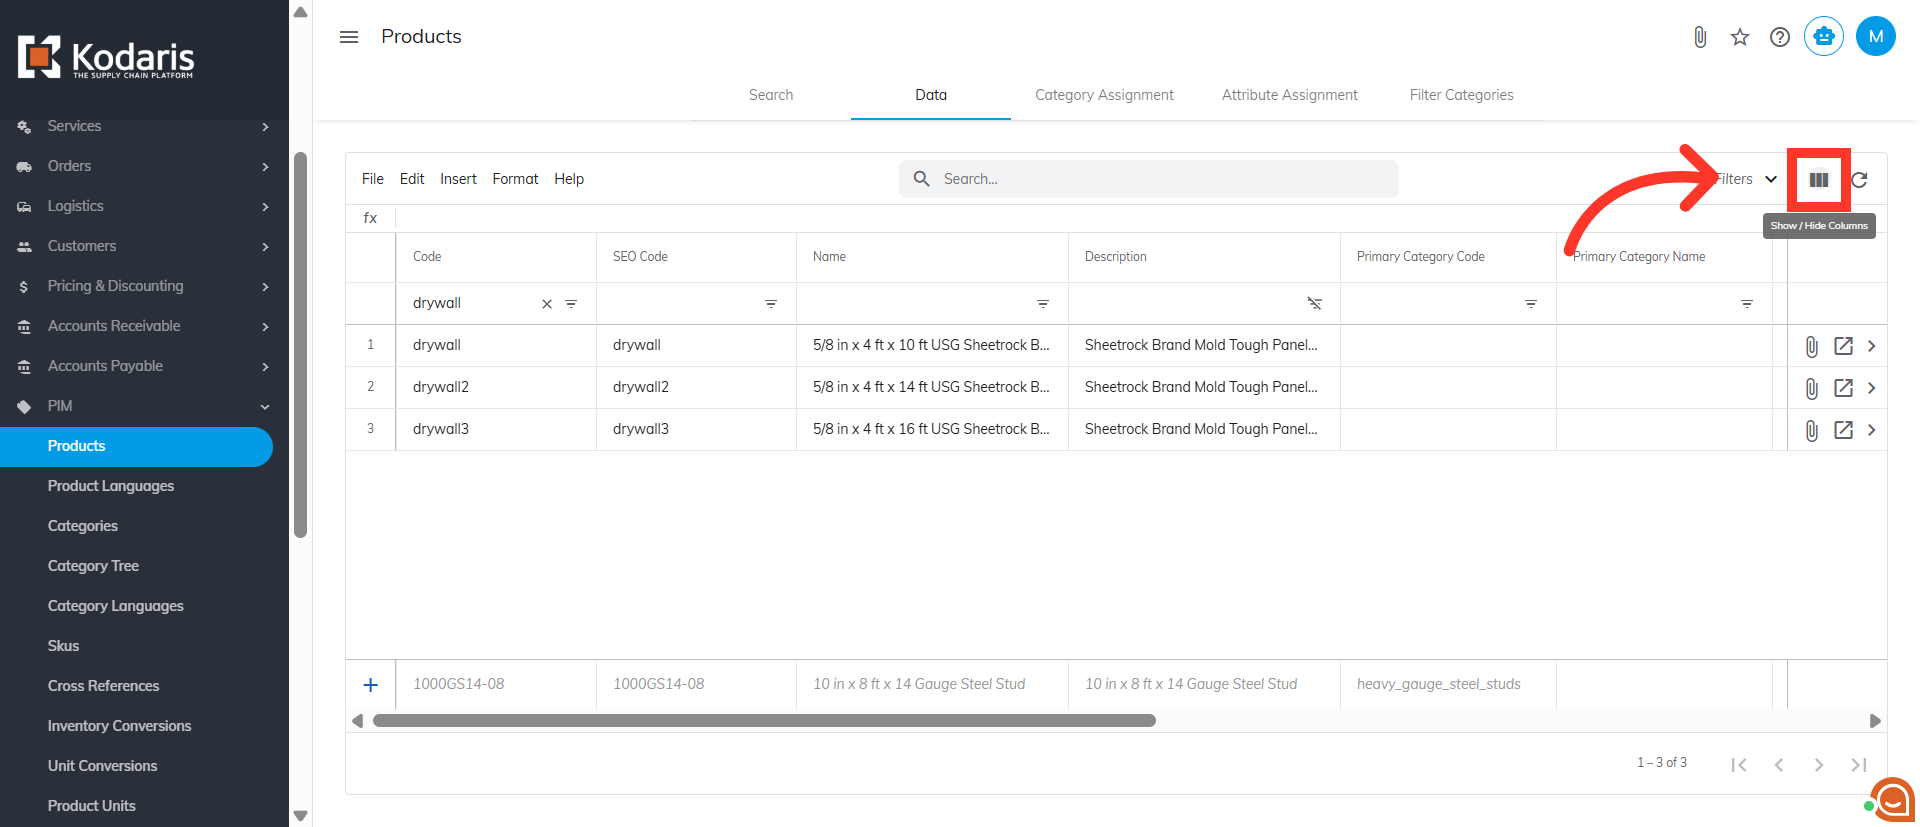
Click "Show/Hide Columns" icon
Next steps are to copy the uploaded image URLs. These image URLs will be used in your import. To display the URLs, click the "Show/Hide Columns" icon.
Select needed columns
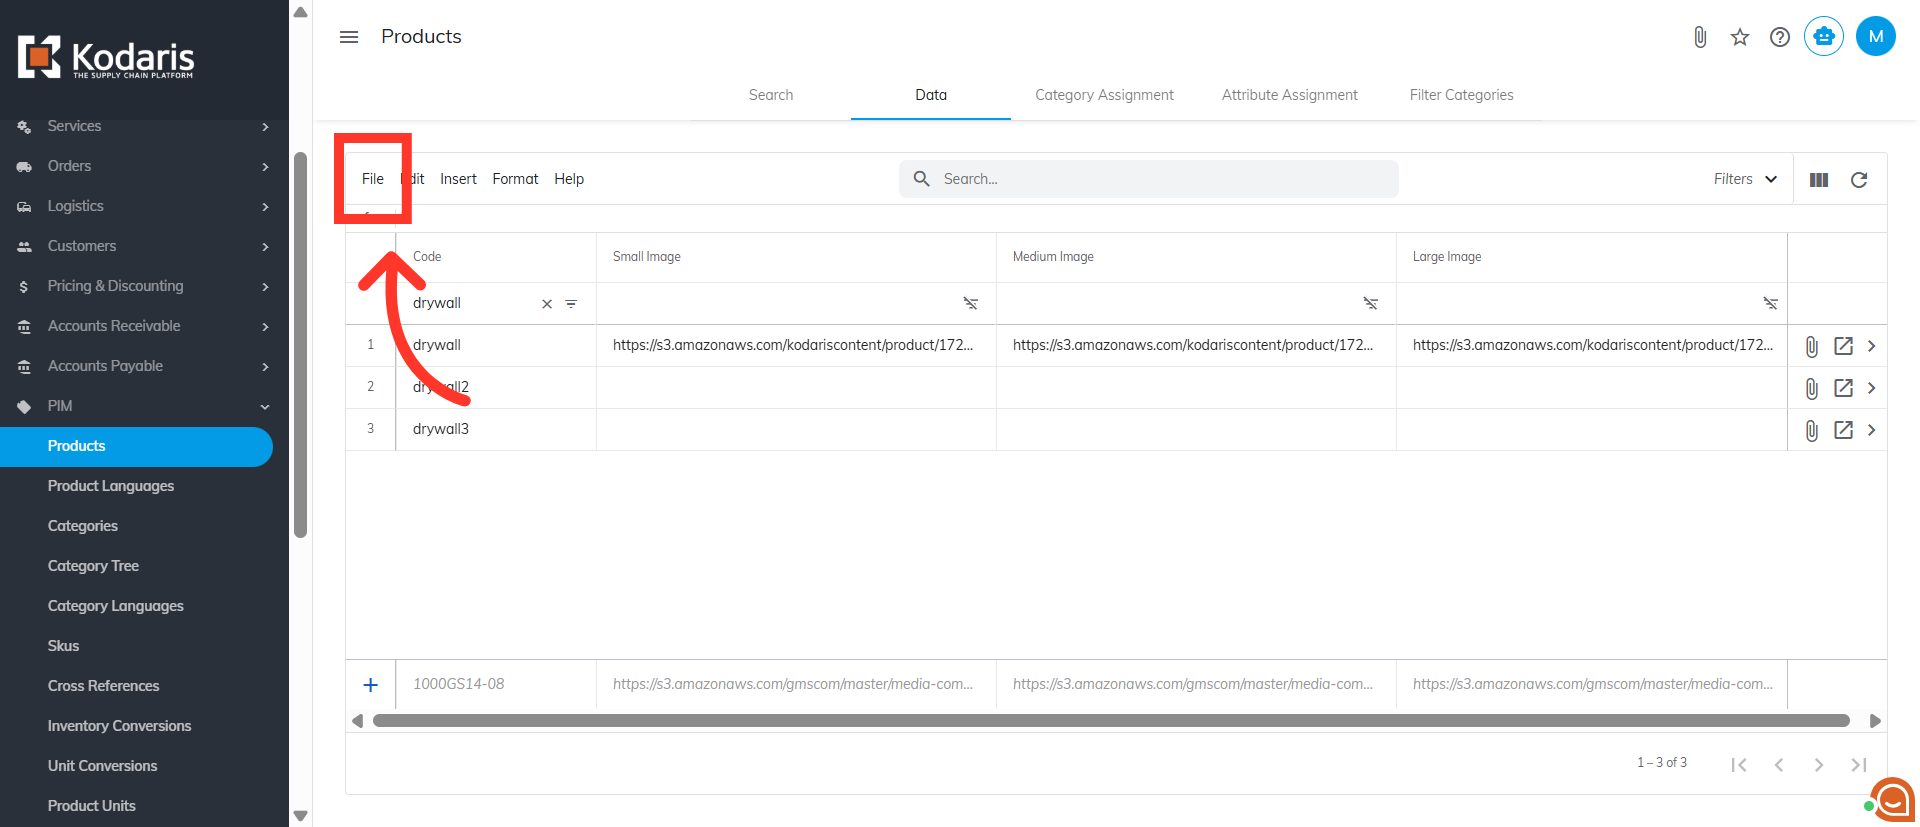
Select the needed columns: "Small Image", "Medium Image", and "Large Image".

Click "File"
You will see the URLs for small, medium, an large sizes of the image. You can now export the product image URLs. Click "File" from the menu.
Click "Export"
Then, click "Export".

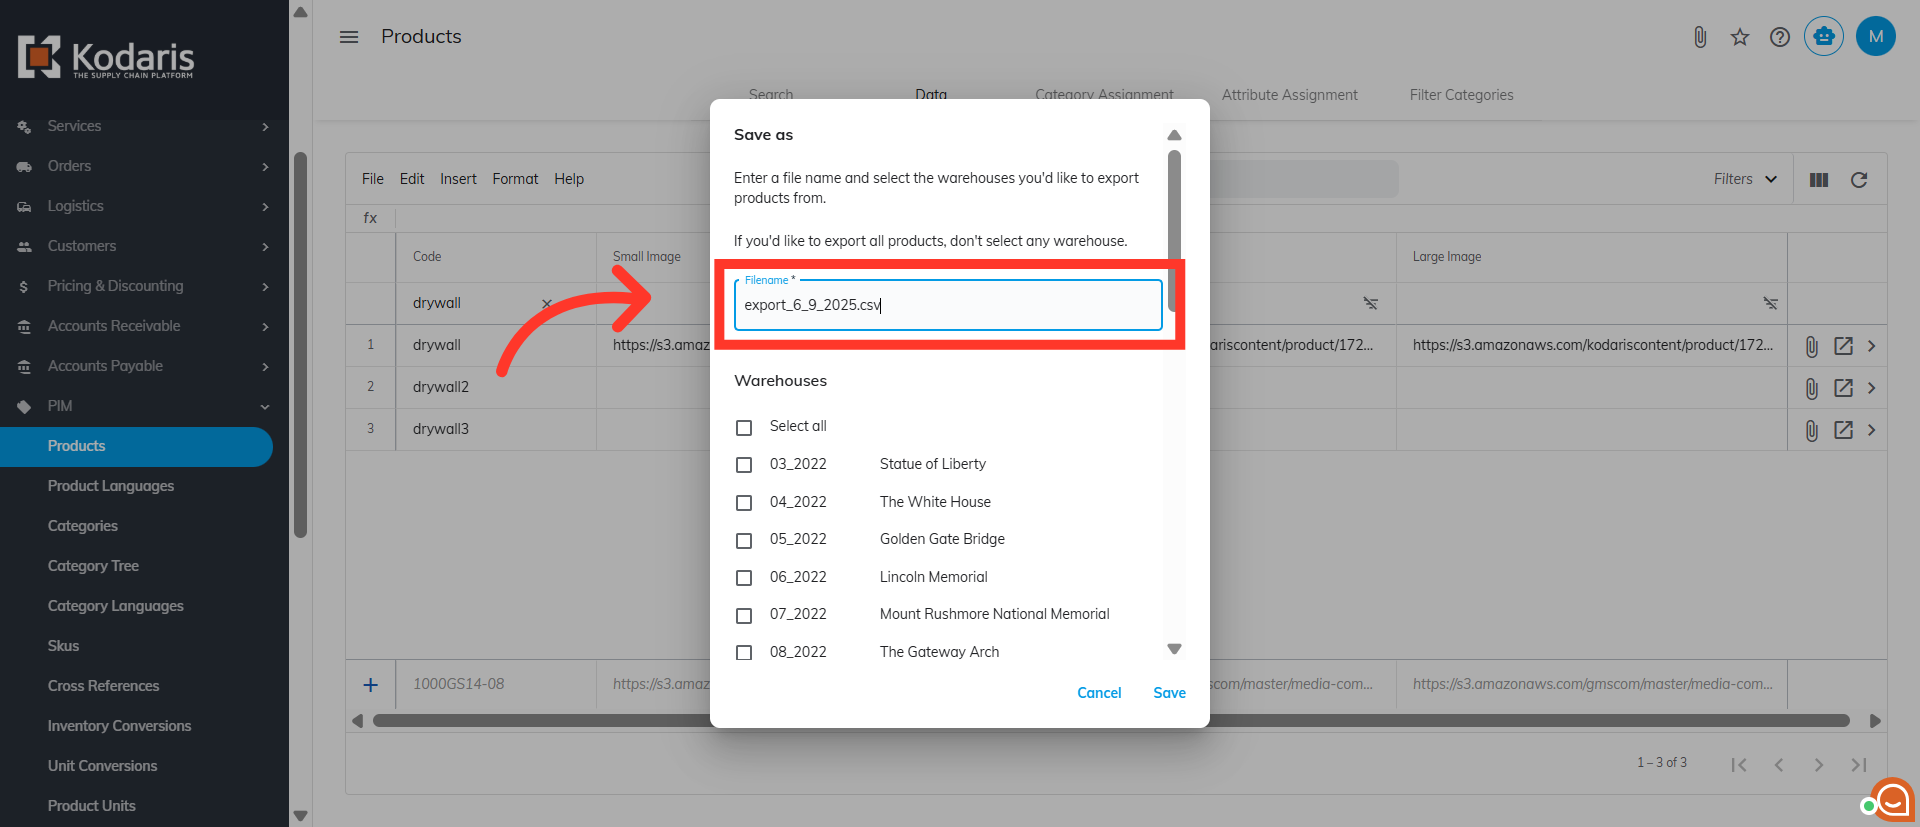
Rename the file, if needed
You can rename the file, if needed.
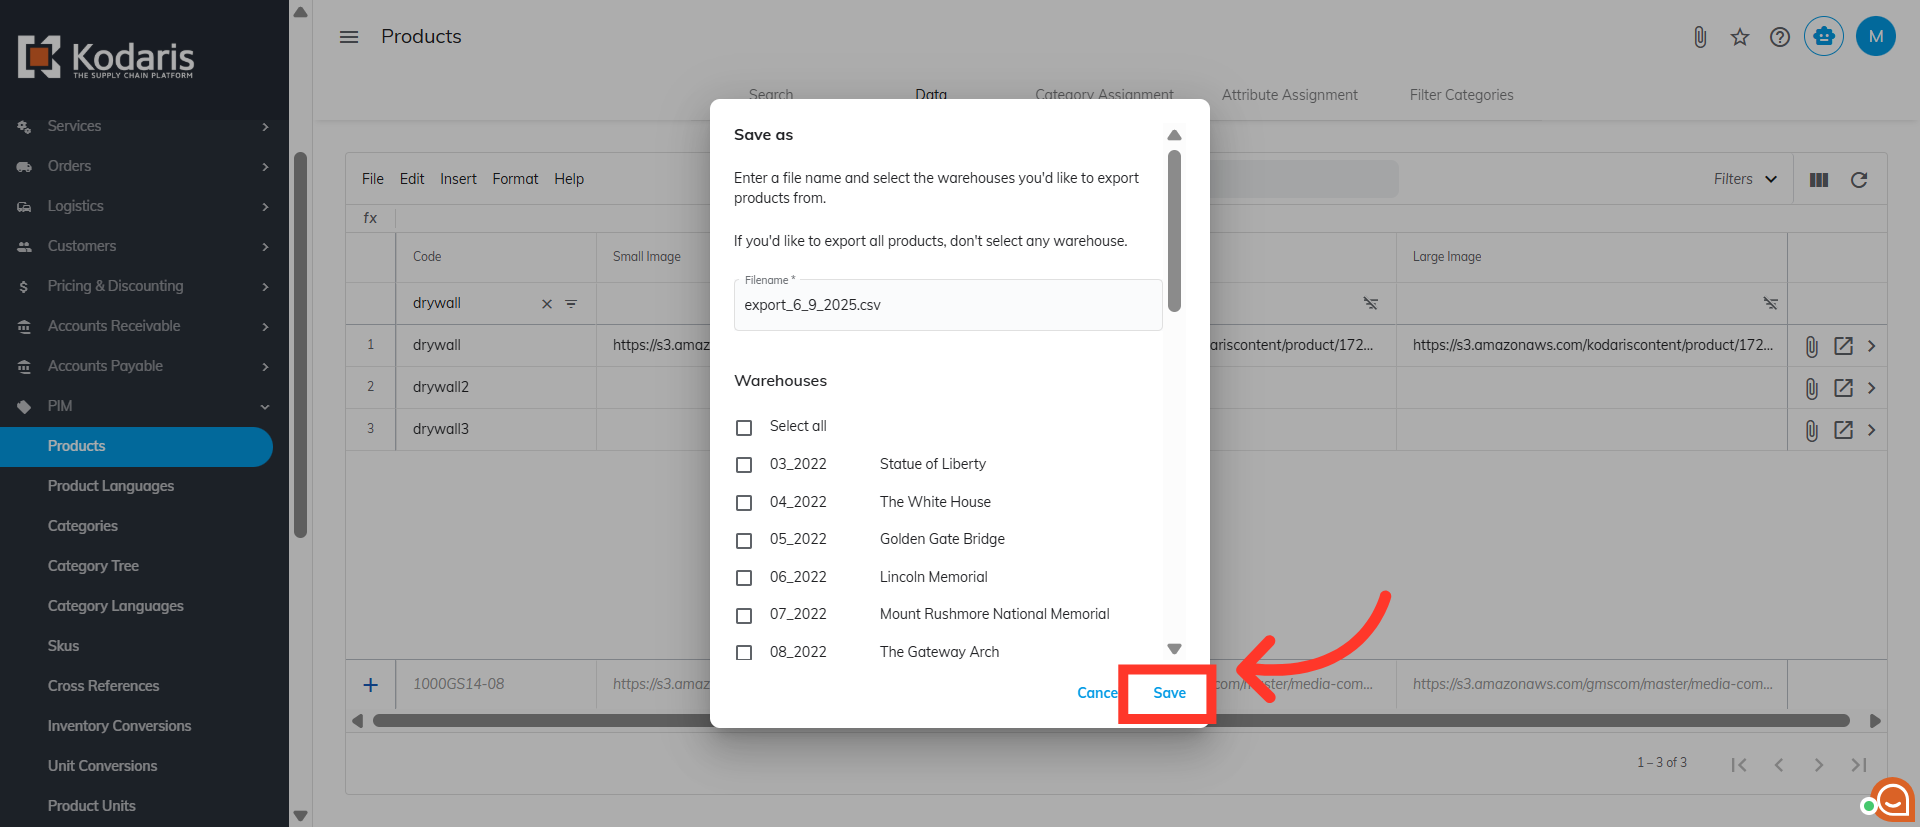
Click "Save"
Now, click "Save" to download the file.
Example of exported spreadsheet
Here's an example of the exported file, which contains the necessary header row for importing, along with the image URLs.
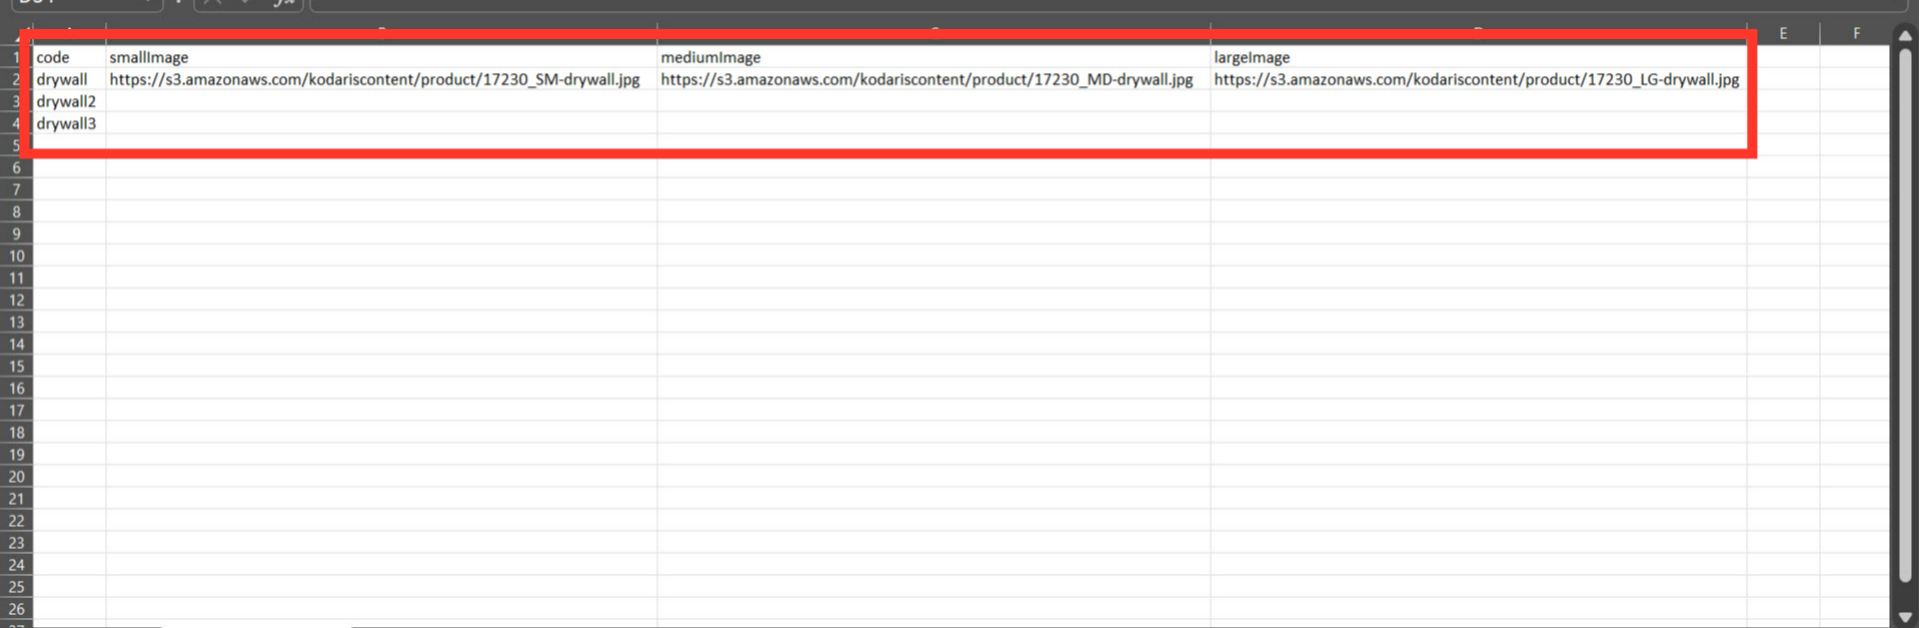
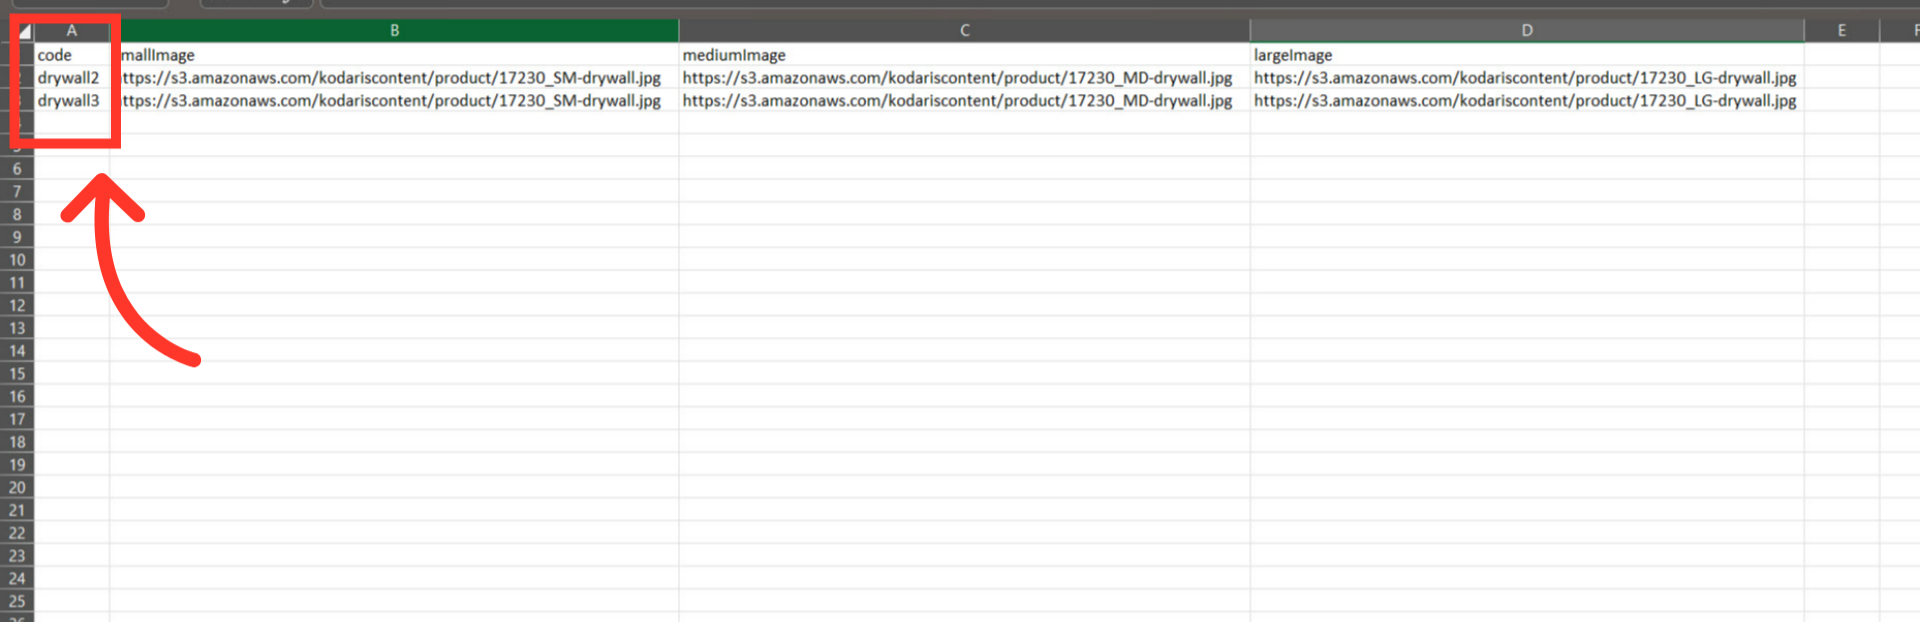
"code" = product code
The "code" column contains the product codes for the products that you would like to add the primary image to. When importing data, the code is required as it is the identifying factor for matching information. You will want to add any product codes that will share this same image.
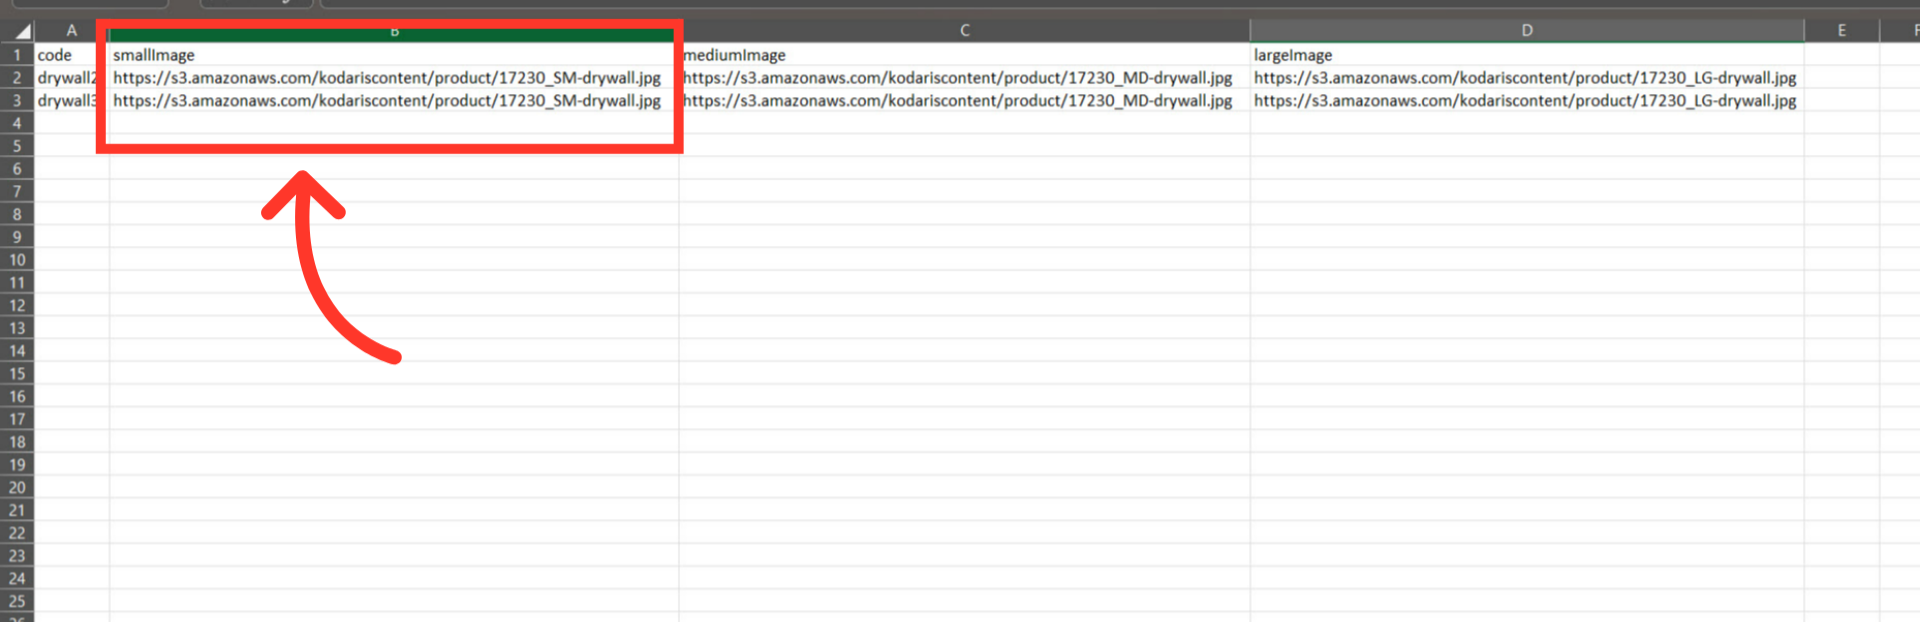
"smallImage" = URL for the small size of the image
The "smallImage" column contains the URL of the small / thumbnail version of the image.
"mediumImage" = URL for the medium size of the image
The "mediumImage" column contains the URL of the medium / standard version of the image.

"largeImage" = URL for the large size of the image
The "largeImage" column contains the URL of the large size of the image.

Prepare the CSV import file
This examplespreadsheet shows the format of a sample .CSV import file. It has the necessary header row and data you will need to import.

Save your CSV for import
After completing the necessary changes to your spreadsheet, save it as a .CSV file. Ensure the spreadsheet contains only the data you intend to update by import.

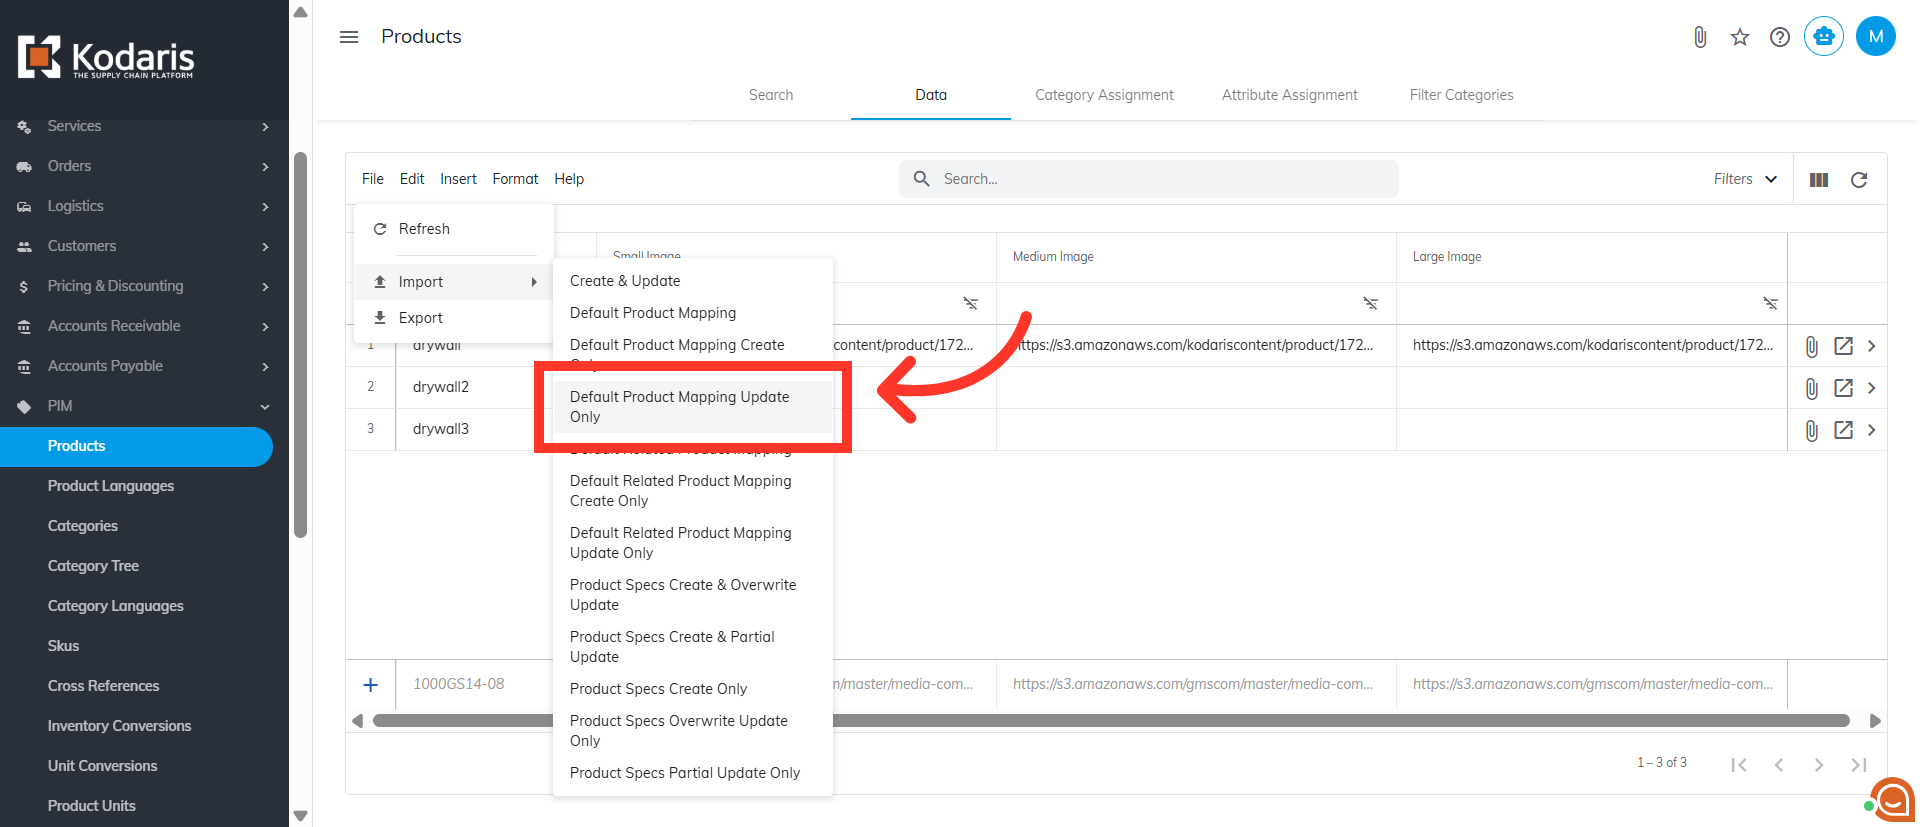
Click "File"
Now you're ready to import, go back to the Products Data tab on Operations Portal, and click on the "File" menu.

Click "Import"
Next, click "Import".

Select "Default Product Mapping Update Only"
Then, select "Default Product Mapping Update Only" since you're updating existing products.
Select file and click "Open" to upload
You will be asked to upload a .CSV file from your computer. Select the correct file, as imports are irreversible. The import will run in the background. Allow a few minutes for the data to be imported, and note that larger imports may take longer.

Import is done
When the import is done, you can see that the URLs have been added to the products.

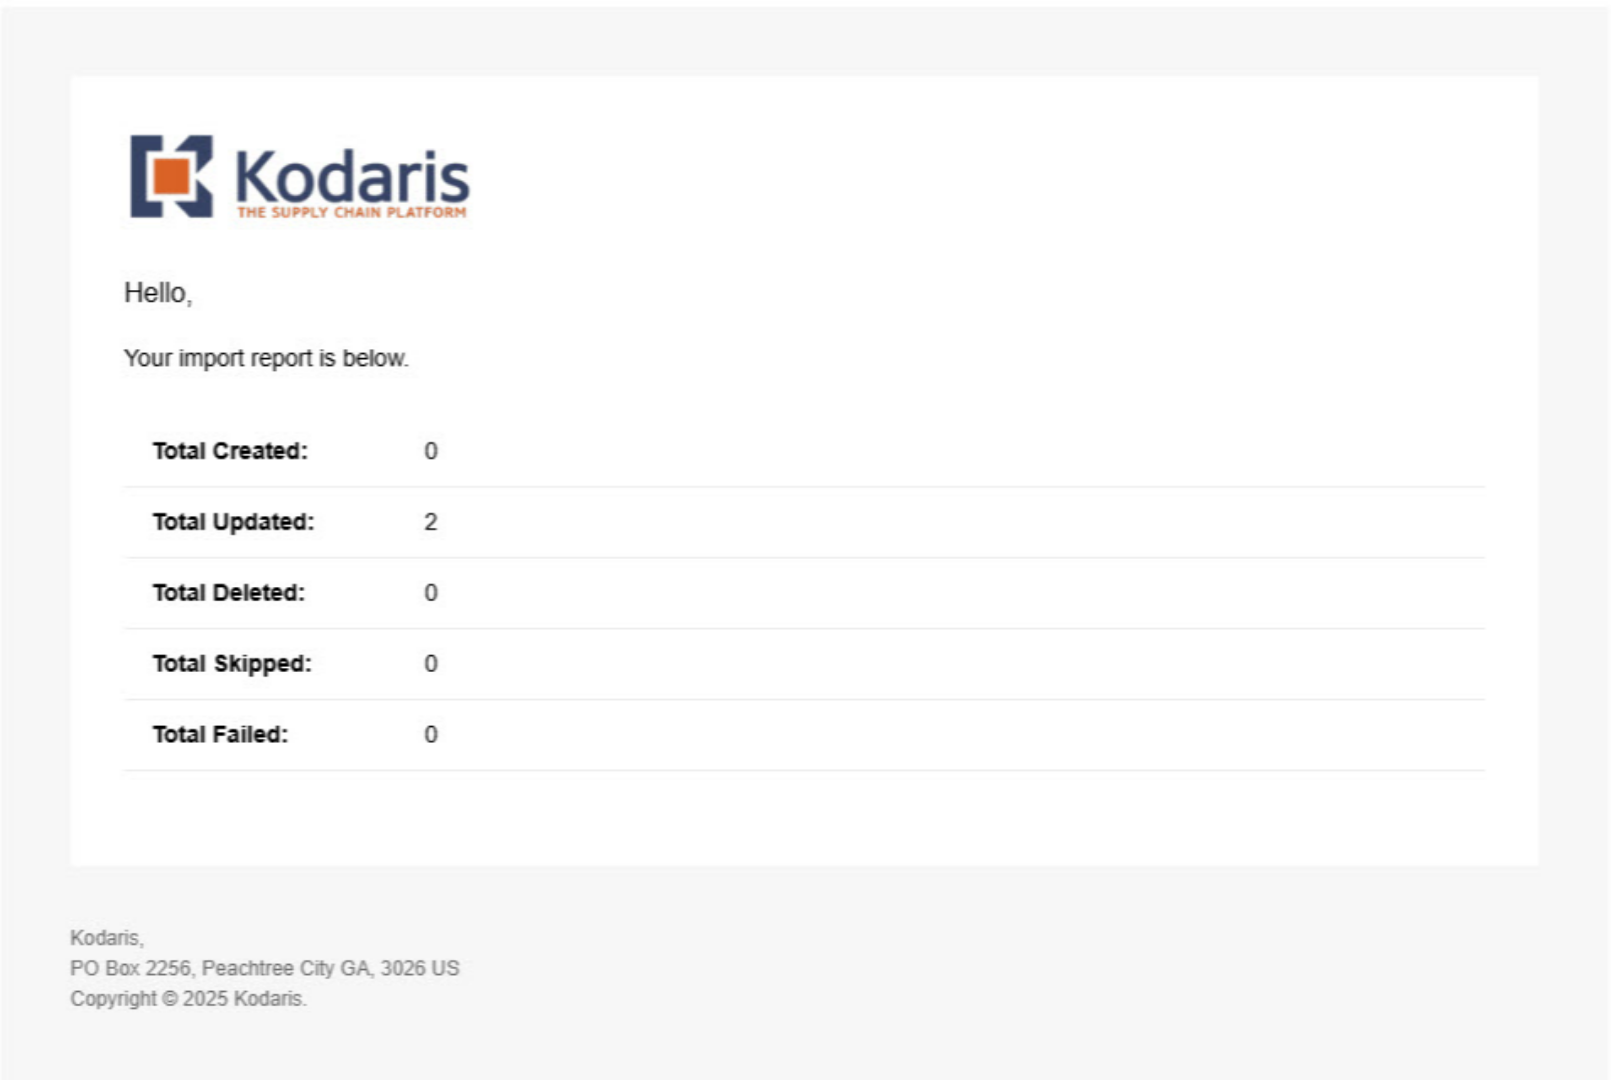
Email Report
An email report will also be generated once your import is successful.