Operations Order Management - Add "Nonstock" Custom Item
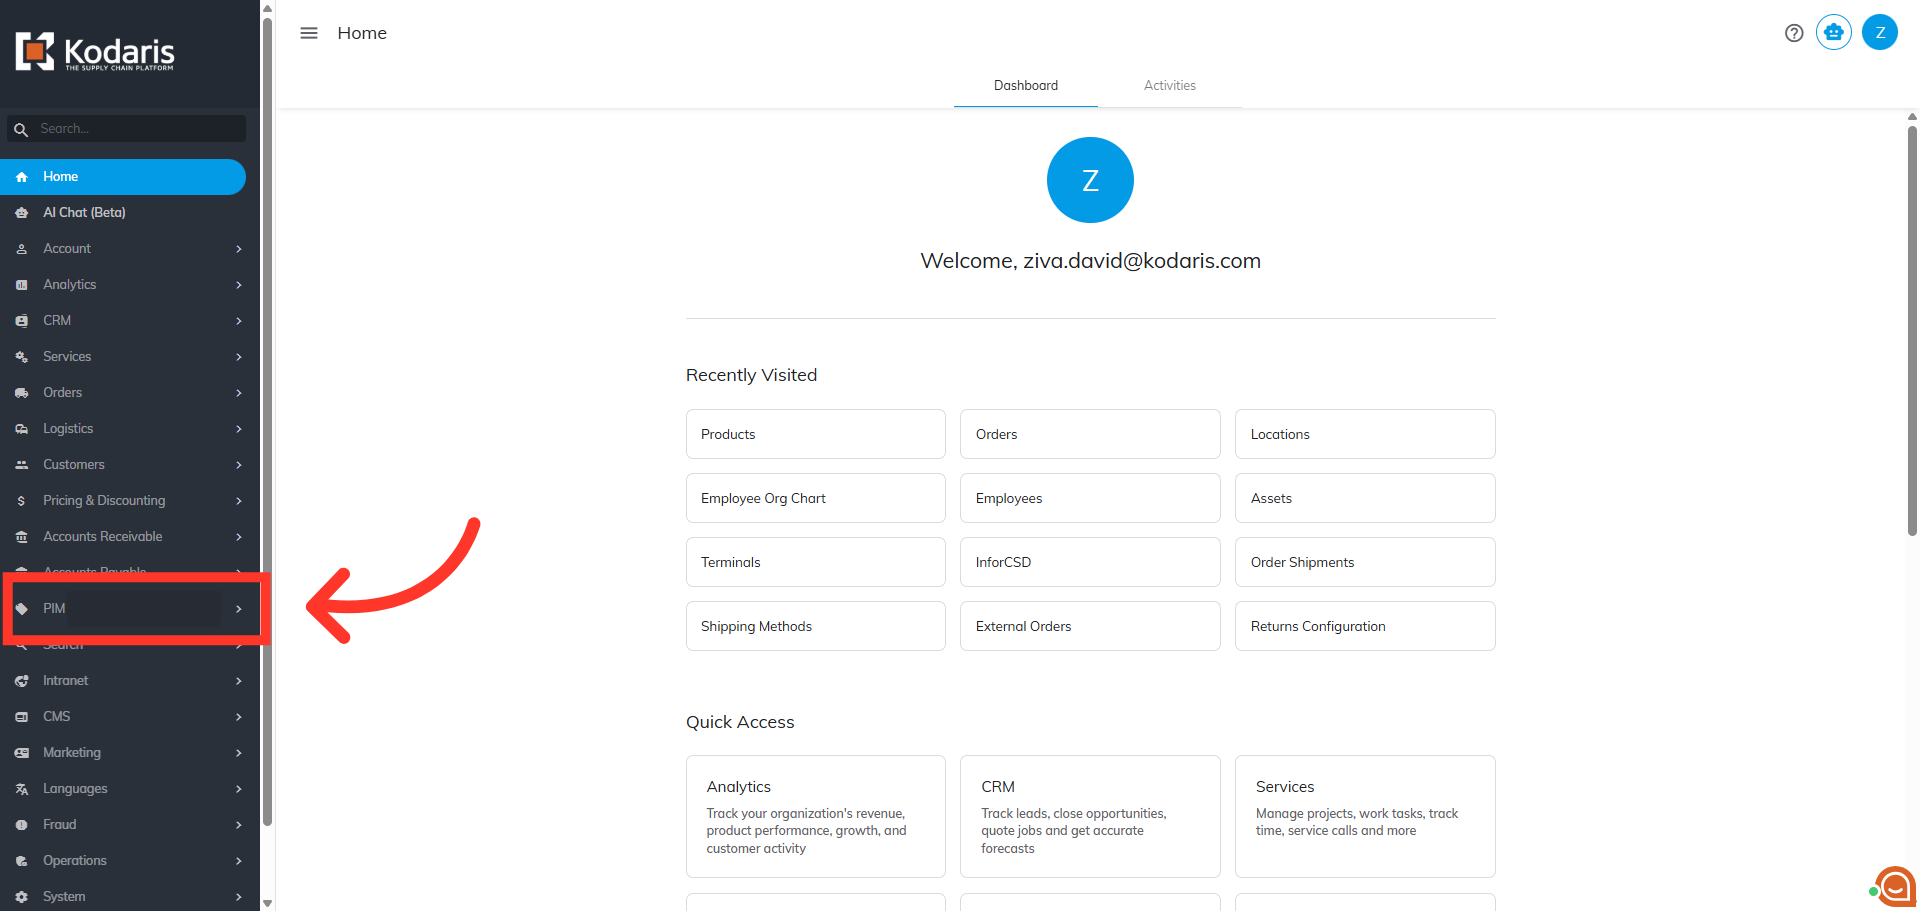
Navigate to "PIM"
To allow your customers to place an order for a custom item on your site, you will first need to add the option to your site so that it is available to your customers. To do this in the system, we will add a generic product code "NONSTOCK" which will be used to order custom items. Start by navigating to the "PIM" section in the Operations Portal.
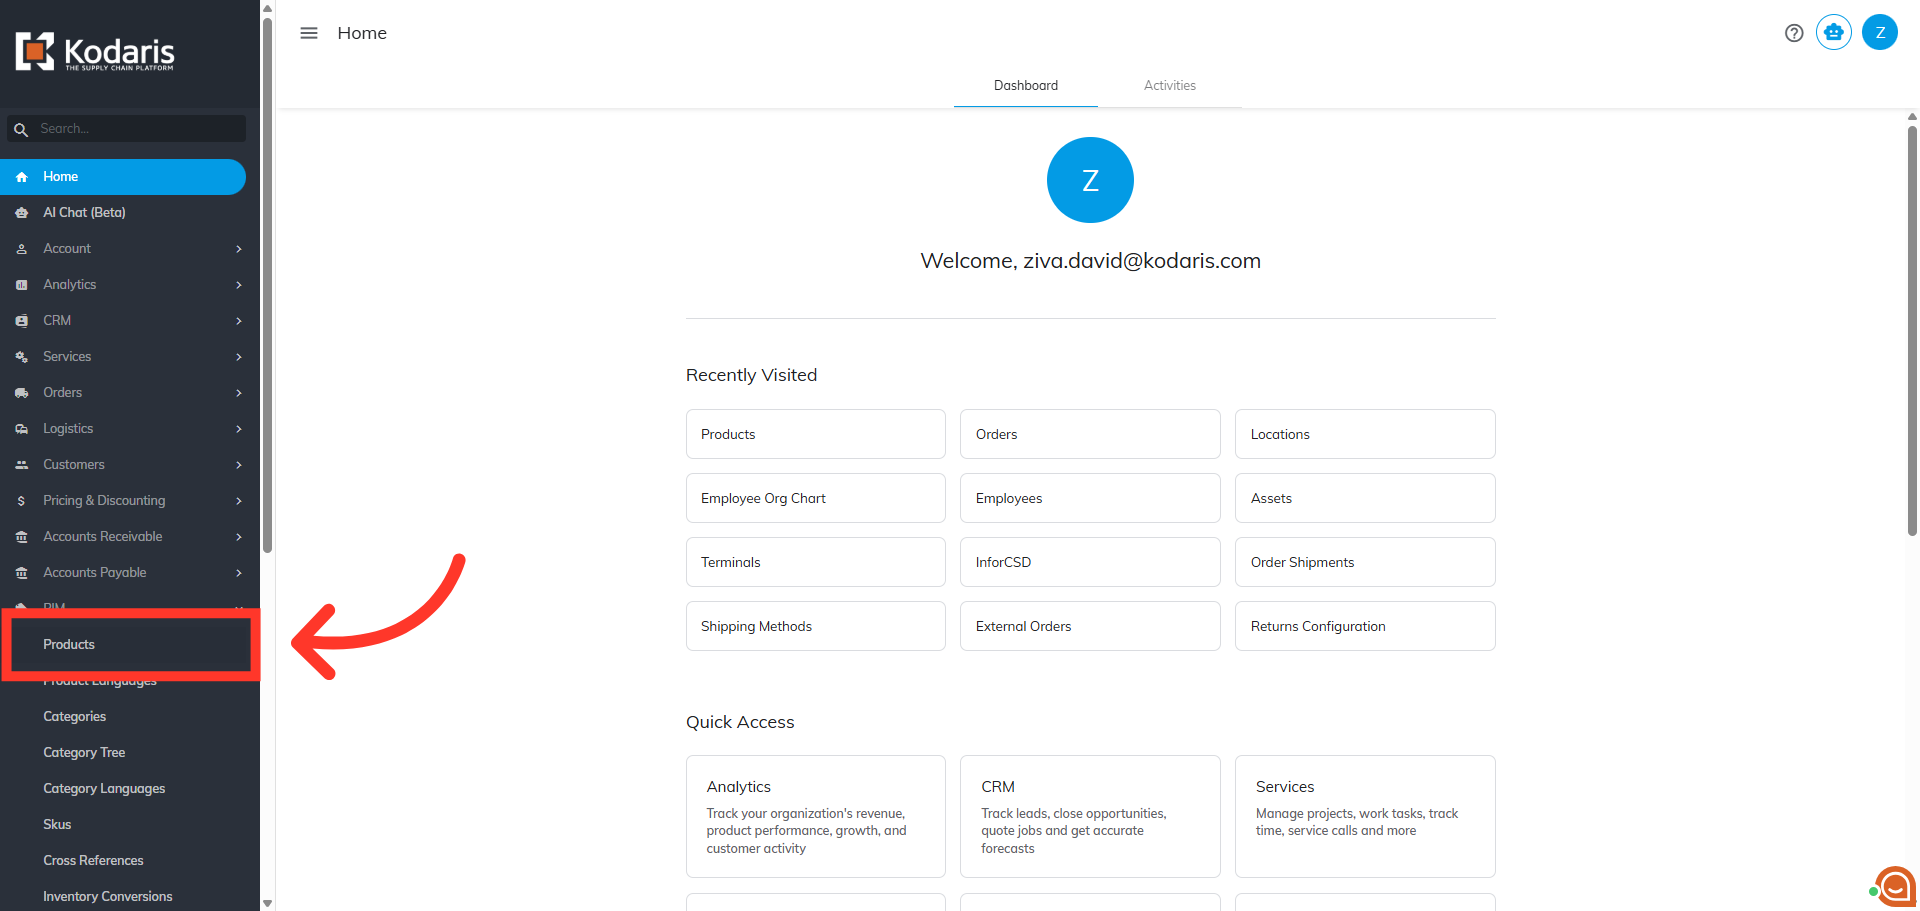
Click "Products"
Then, click "Products". In order to access and update “Products” you will need to be set up either as an “administrator” or a “superuser”, or have the role of: “productEdit”.
Go to the "Data" tab
Go to the "Data" tab.
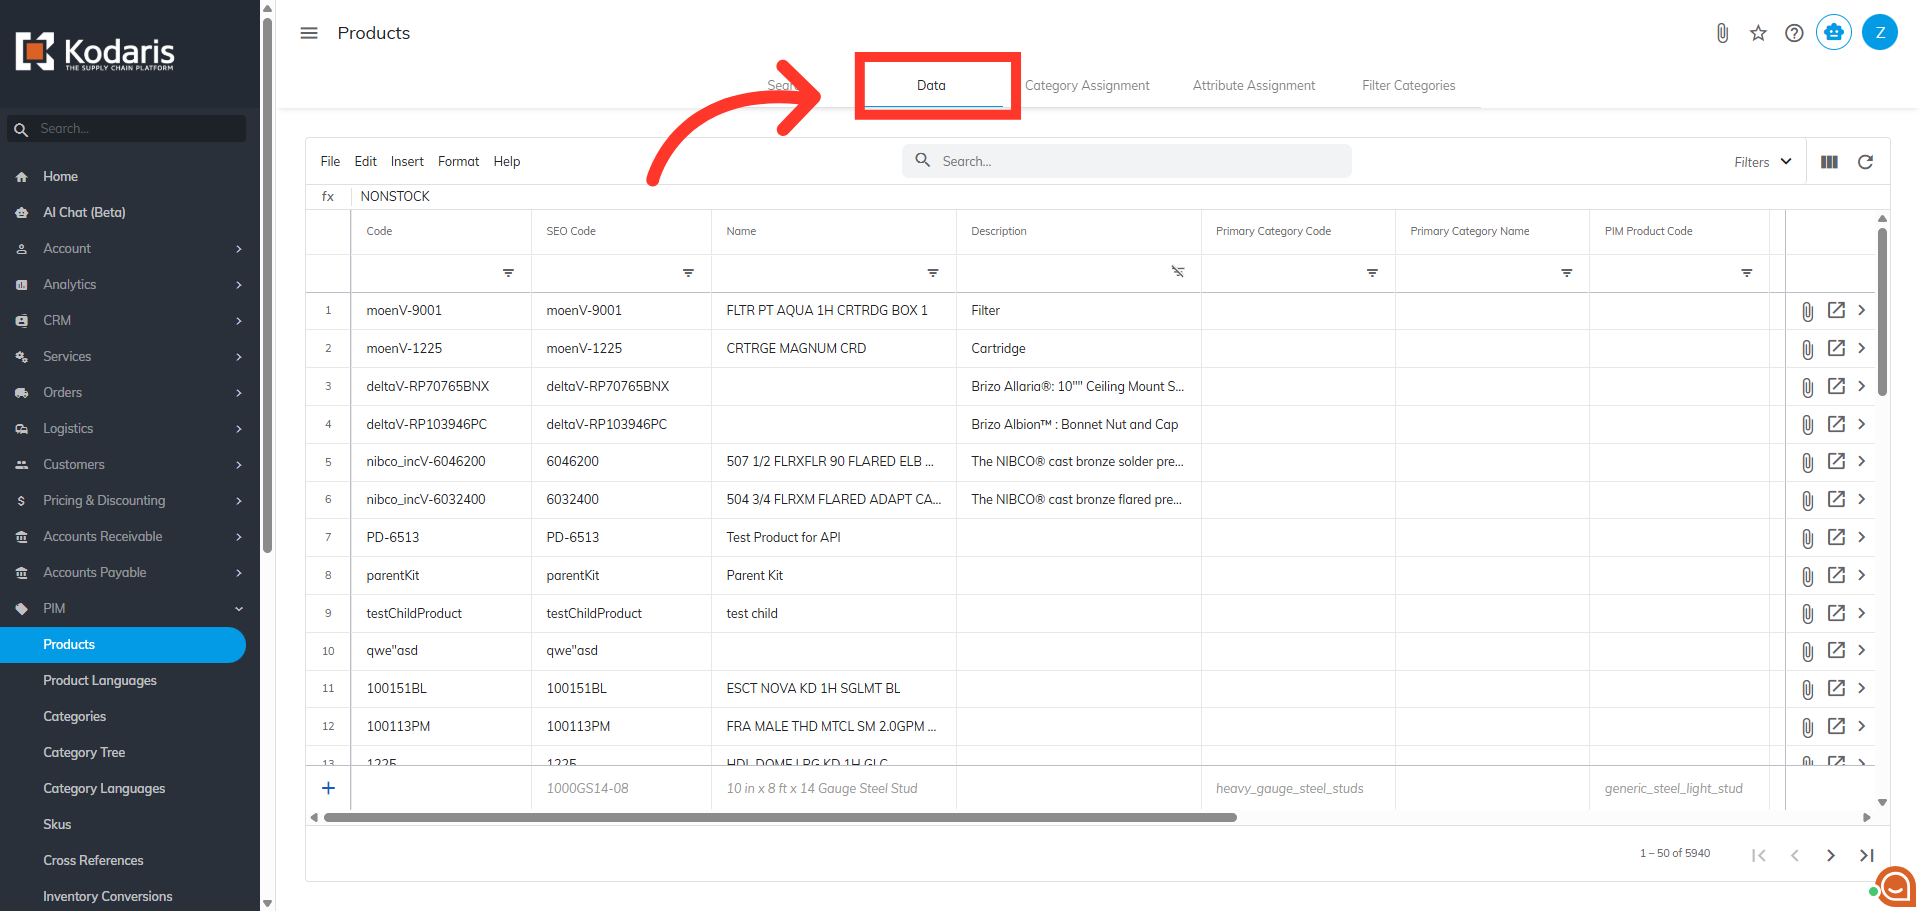
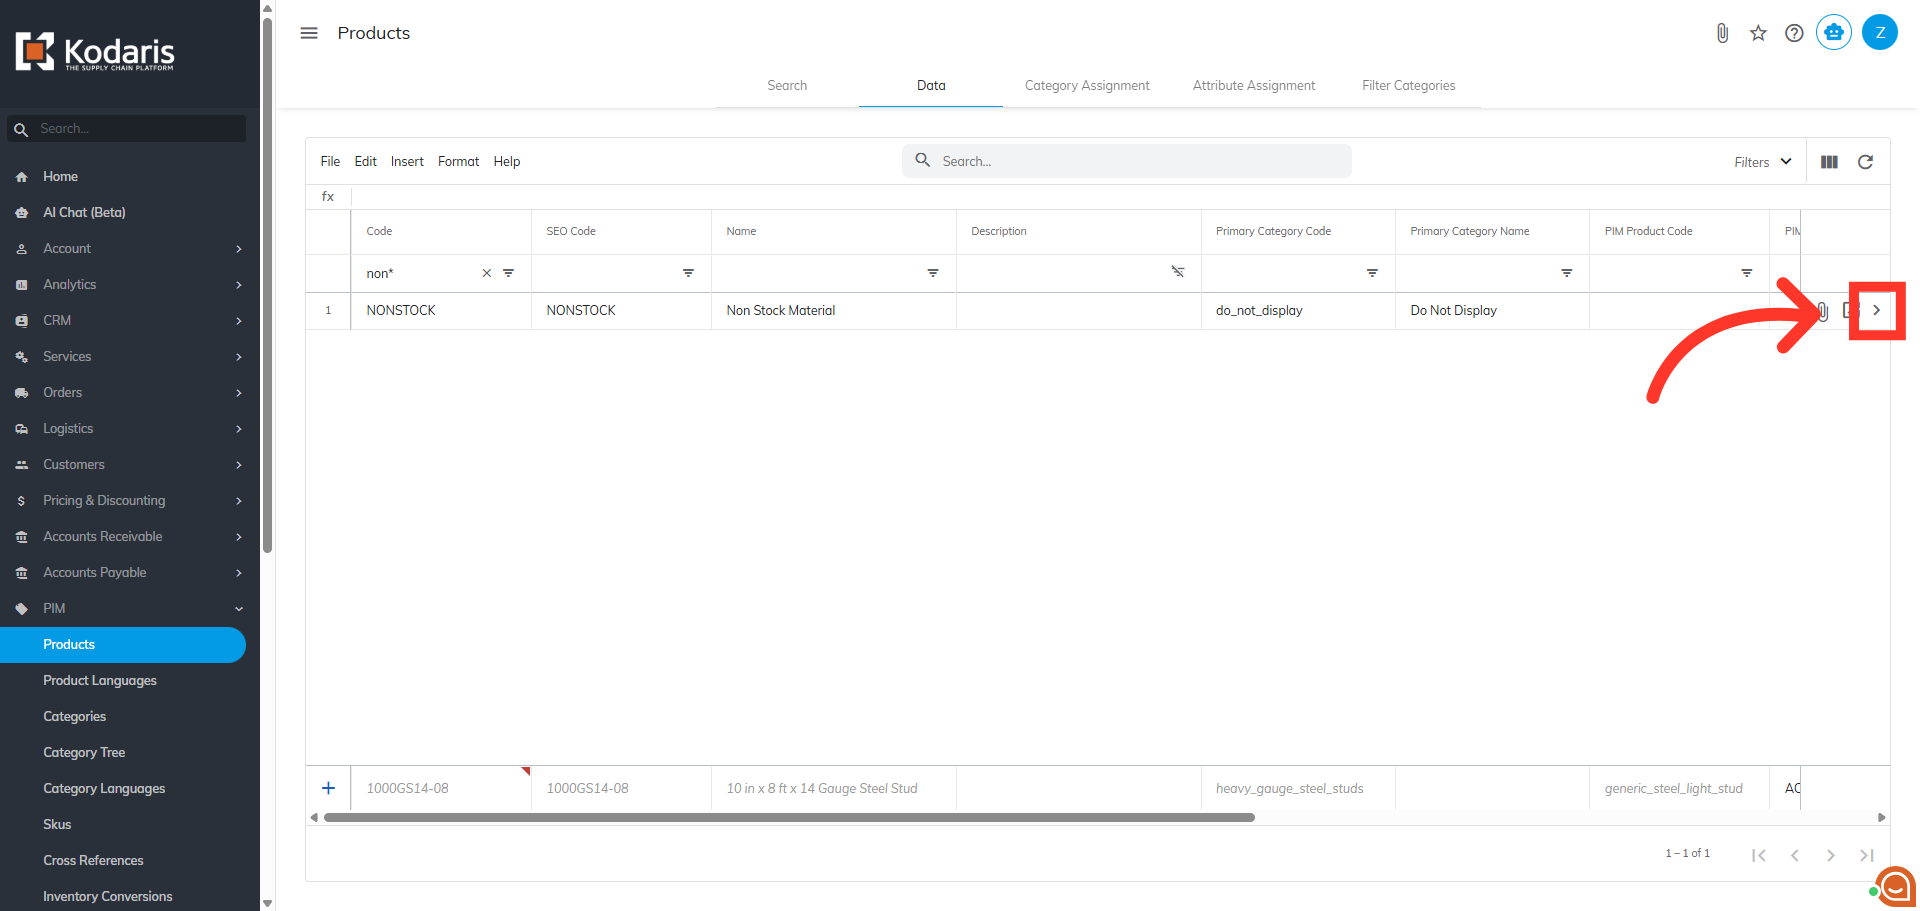
Enter "NONSTOCK" to "Code" field
To manually add the NONSTOCK code to the system, you will type "NONSTOCK" in the "Code" field. You can add a name and description if you'd like, then hit the "Enter" key to add the product. NOTE: If your ERP is connecting to the system,, you will need to set up the "NONSTOCK" code in your ERP and it will automatically sync back to the Operations Portal.

Go to the Nonstock item details page
Once the code has been set up, you can enhance the data for the website by clicking the more details icon to access the details page.
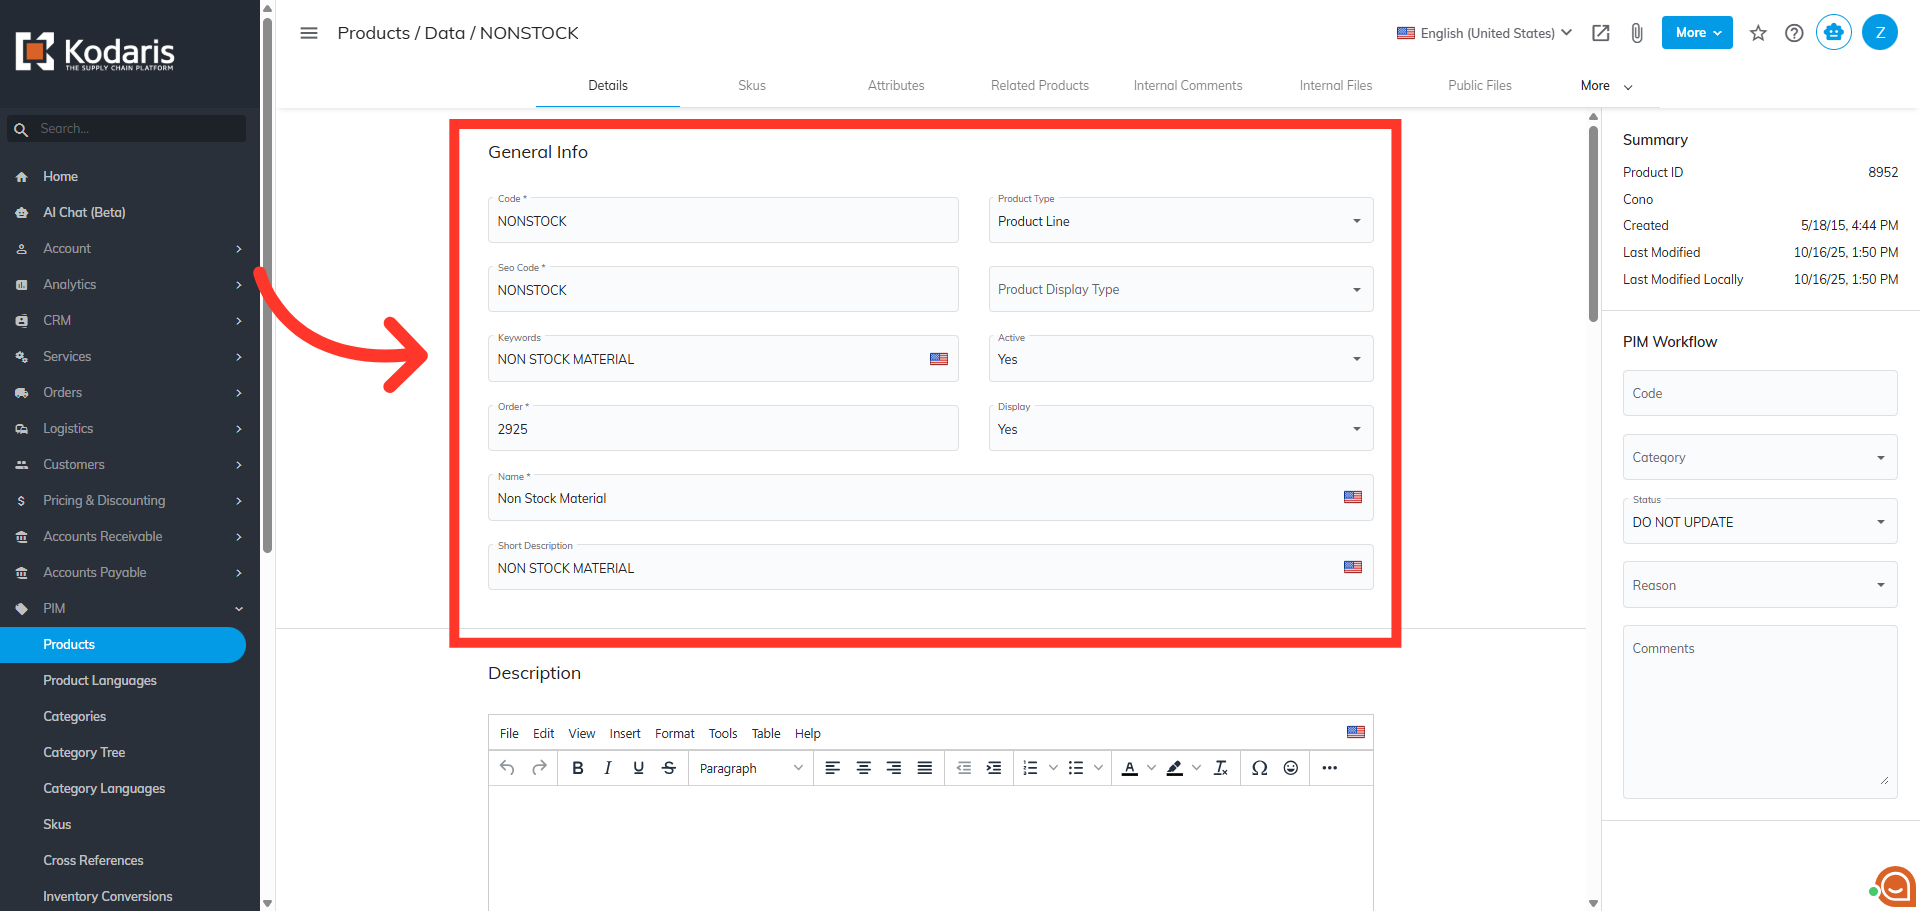
Add more details to the Nonstock item
Here, you can add more details for the product details on the commerce site.
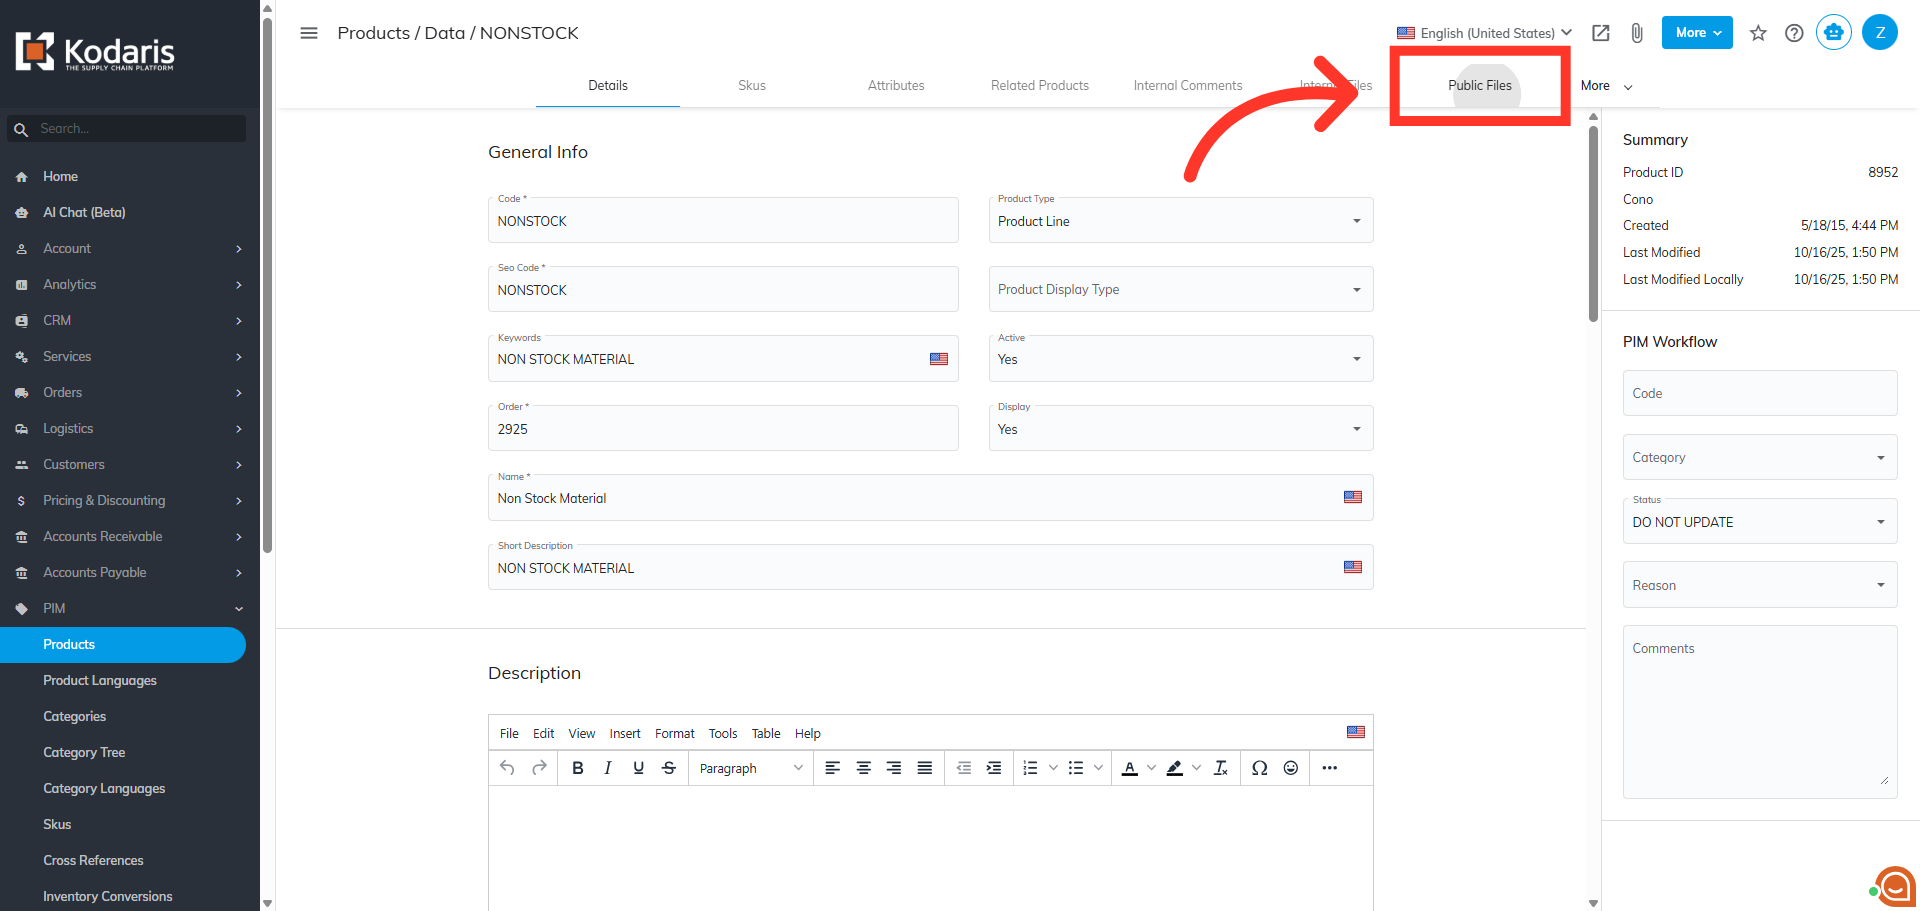
Click "Public Files"
To add an image, go to the "Public Files" tab.
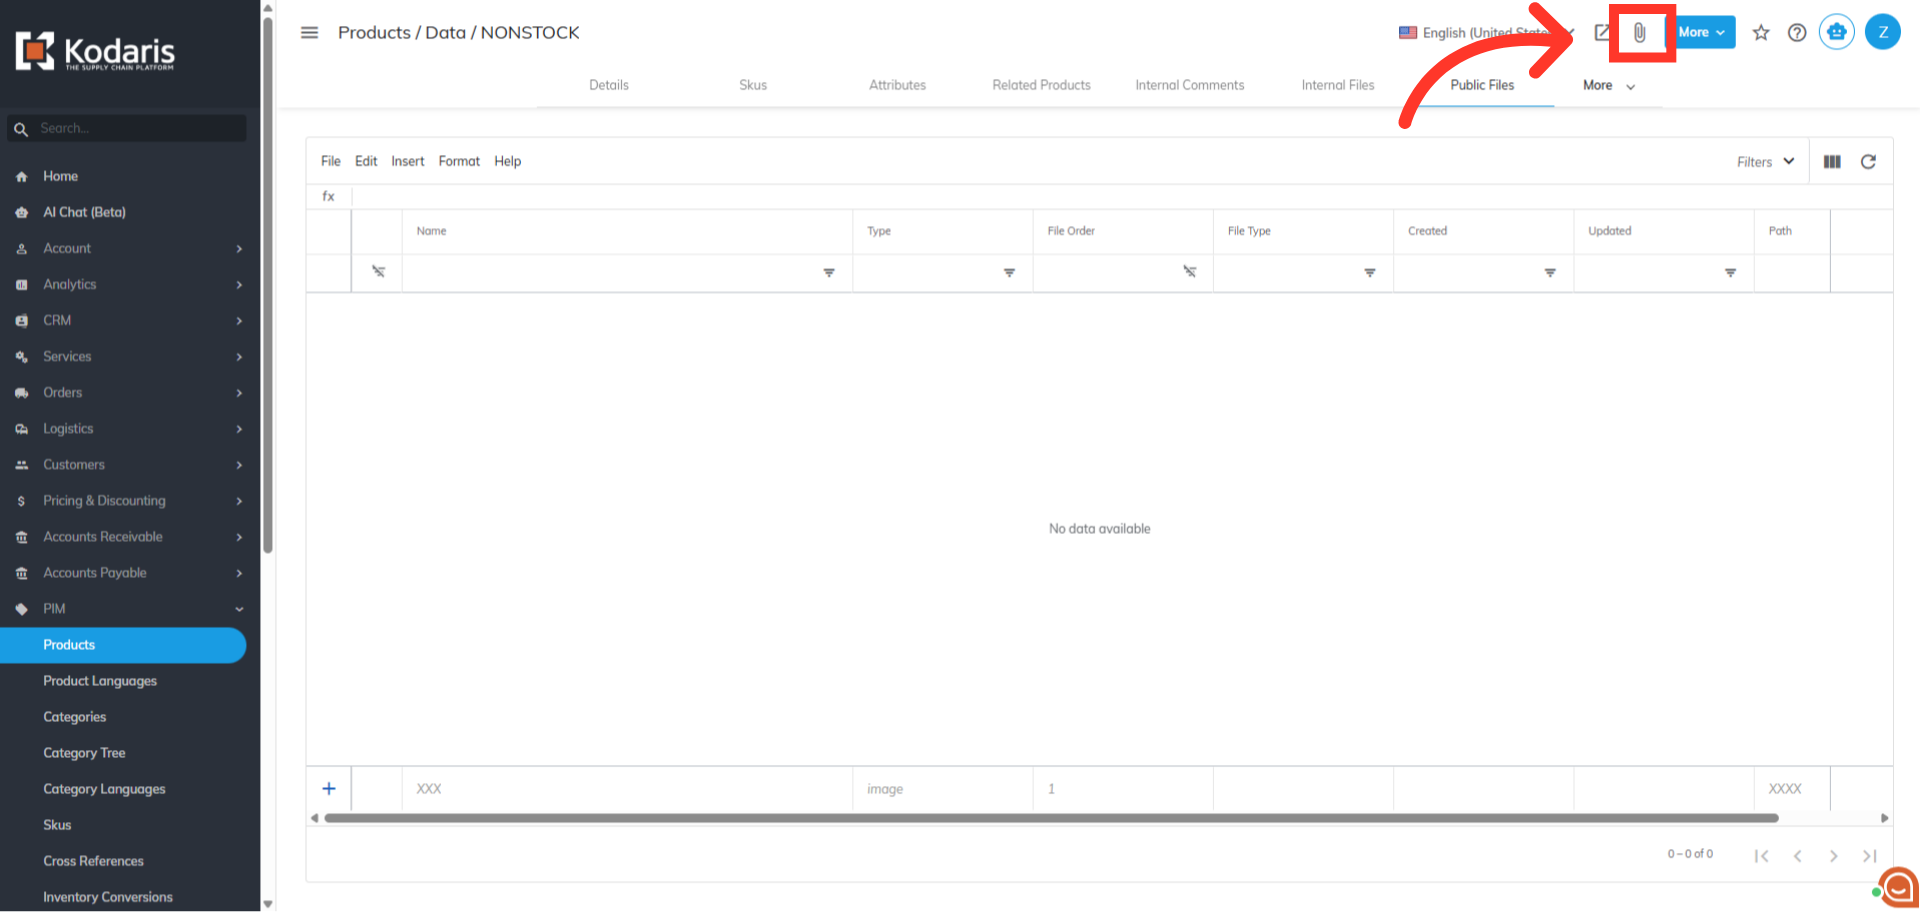
Click "Attach File"
Click the "Attach File" icon.
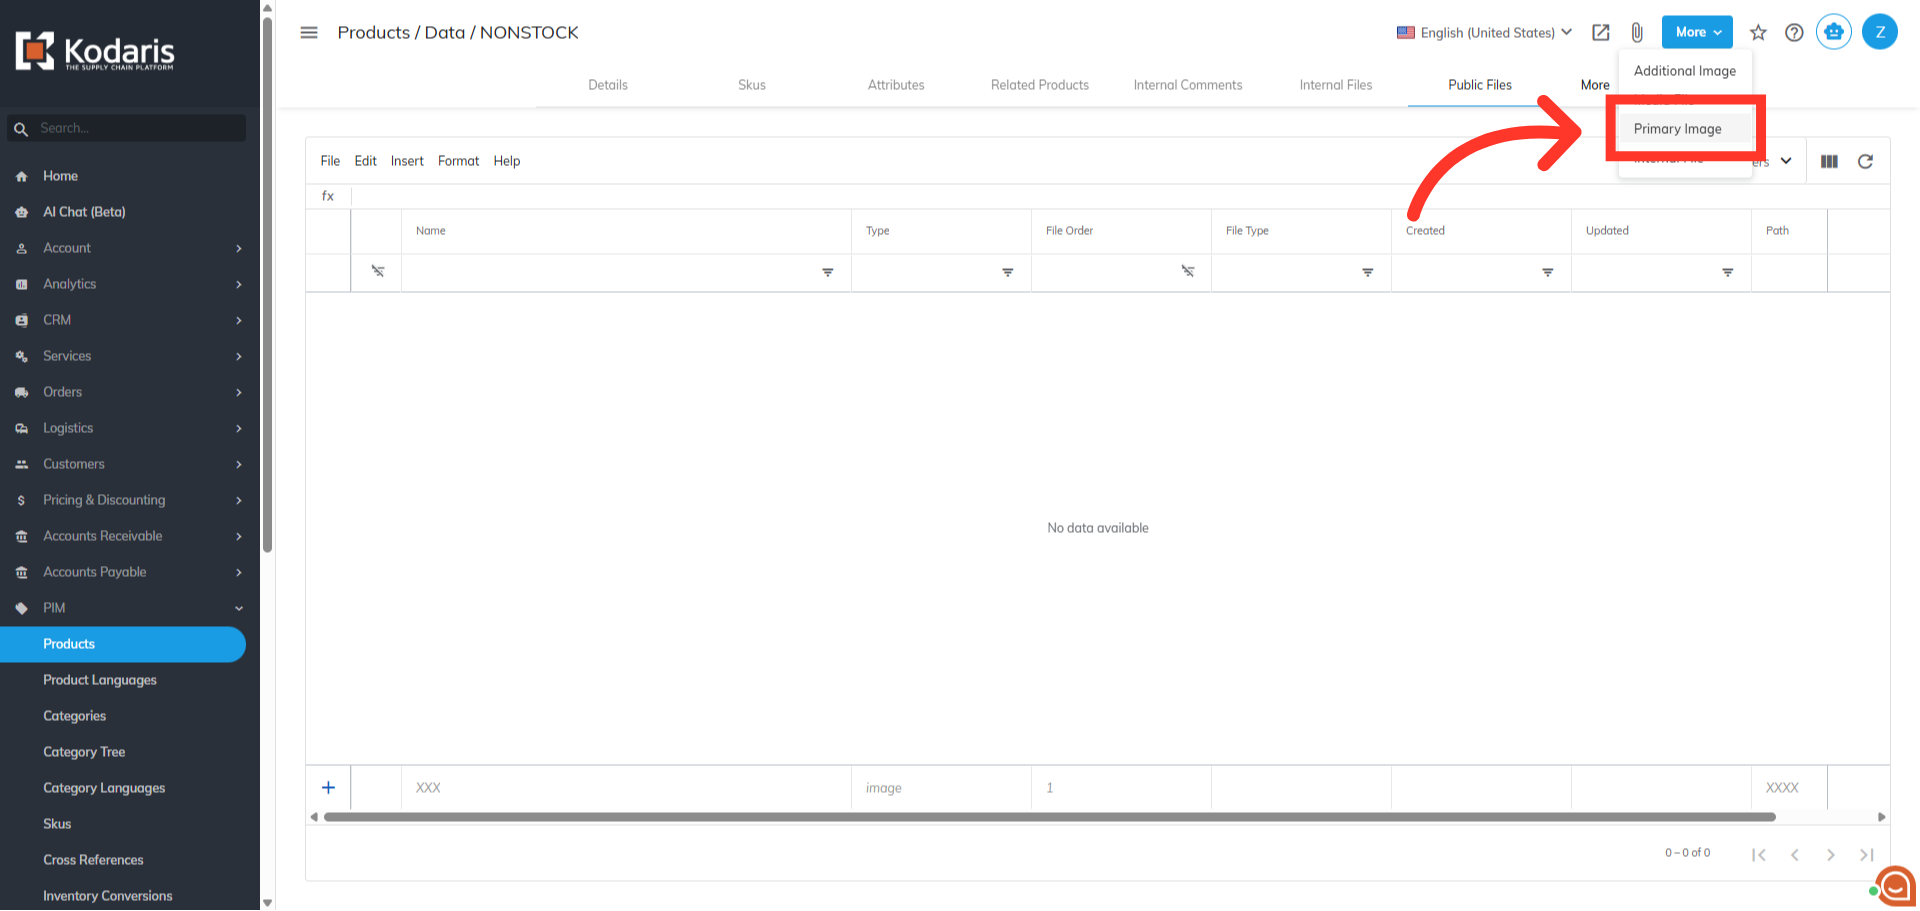
Select "Primary Image" and upload the image
Then, select the "Primary Image" option from the menu and upload the image.
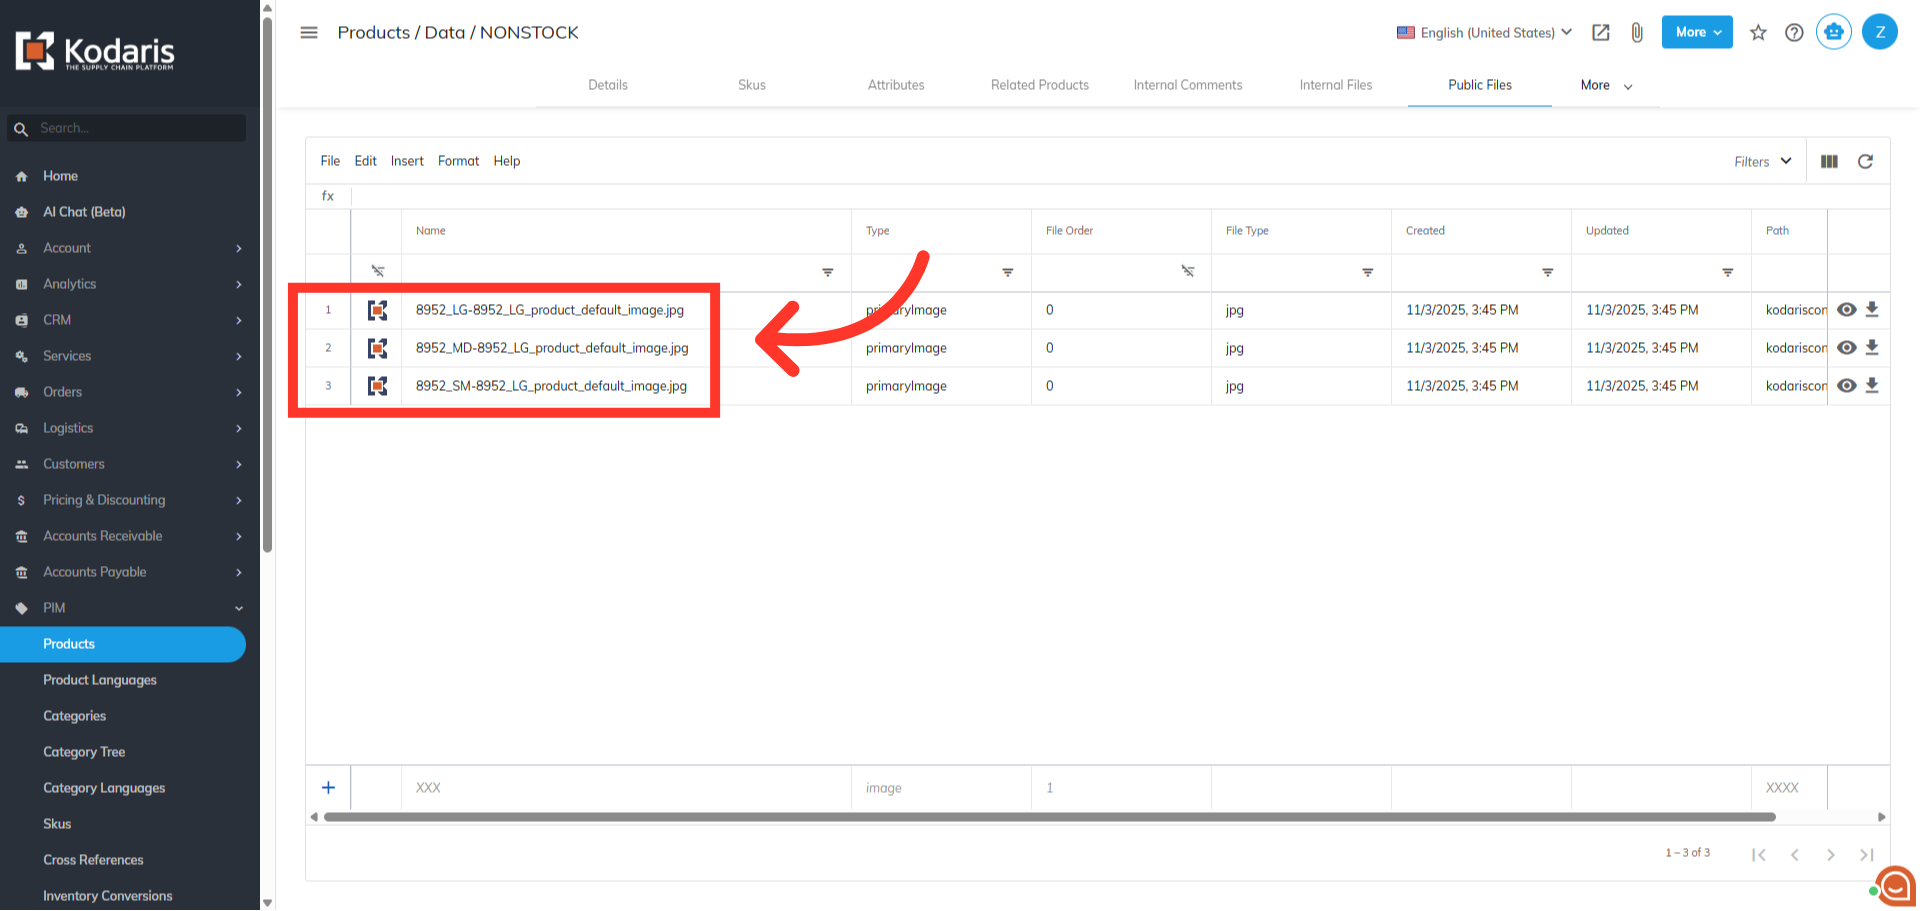
Verify images
You can verify that the images have been added.