Operations Customers - Create or Update Company Product Lists by External ID (by Import)
Navigate to the "Customers" section
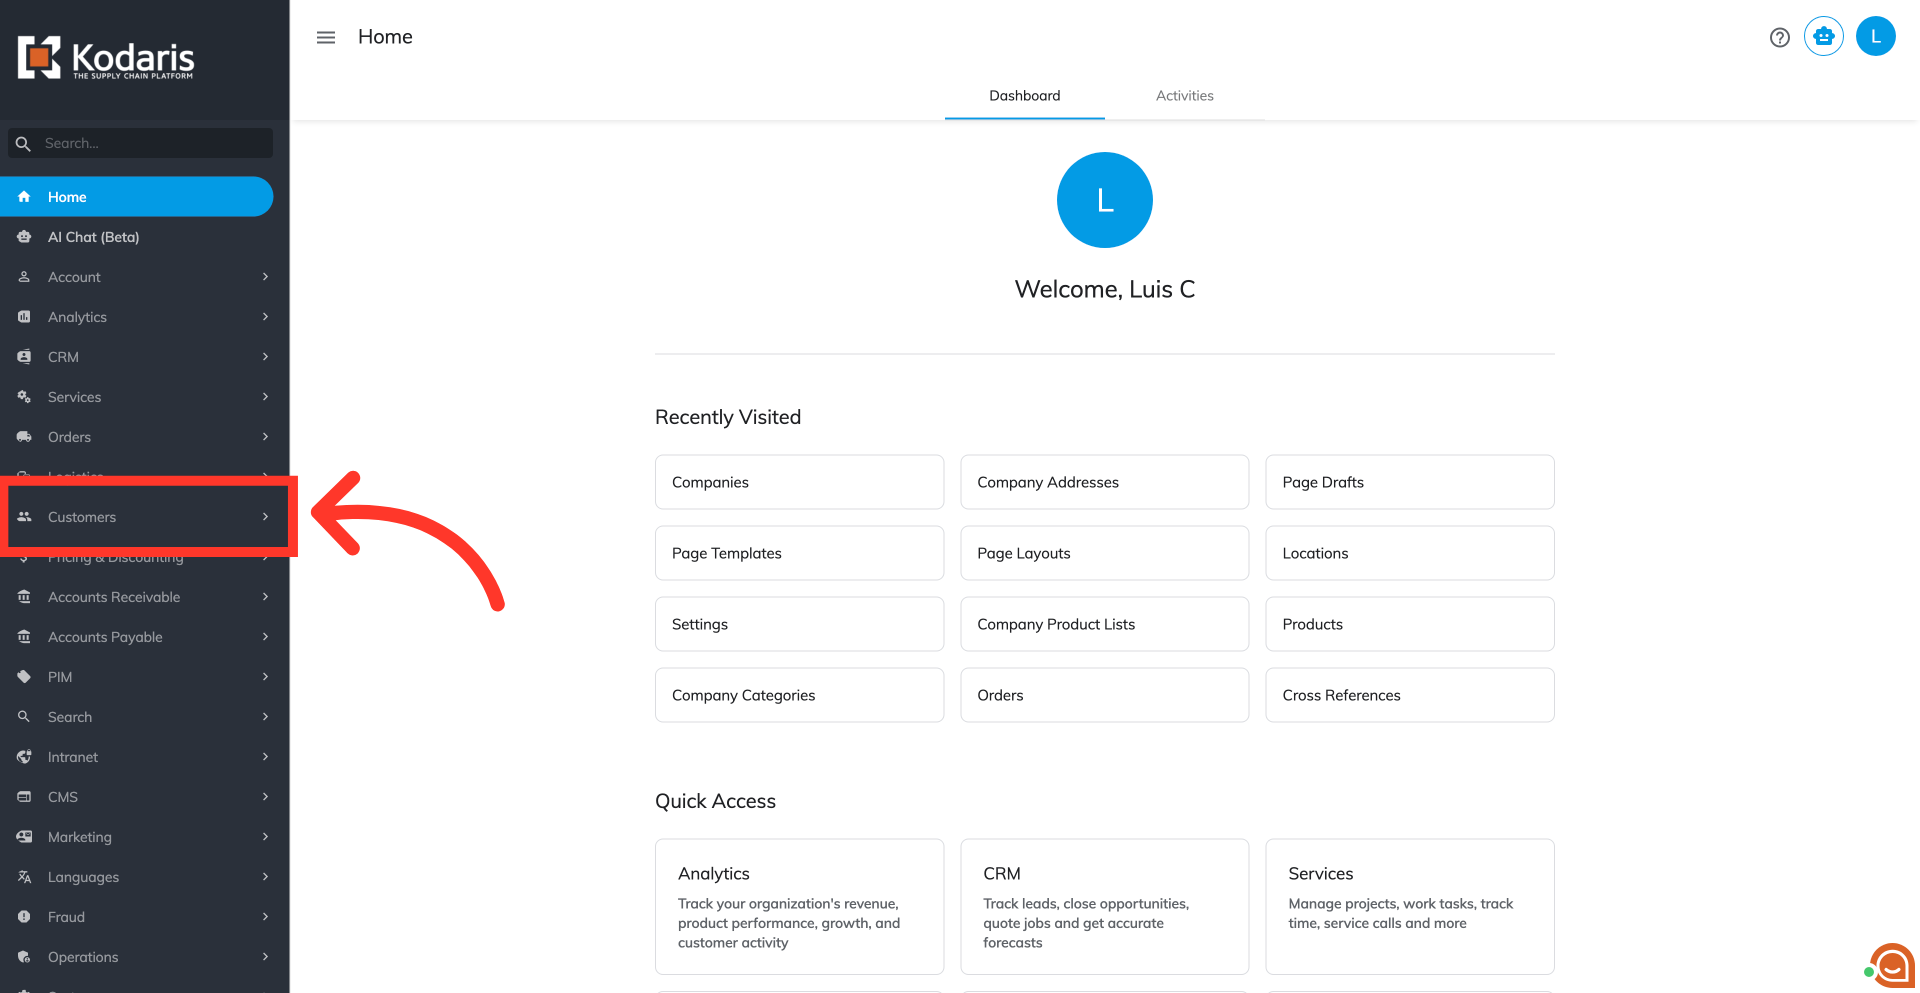
To create or update company product lists using the External ID by importing, navigate to the "Customers" section in the operations portal.
Go to "Company Product Lists"
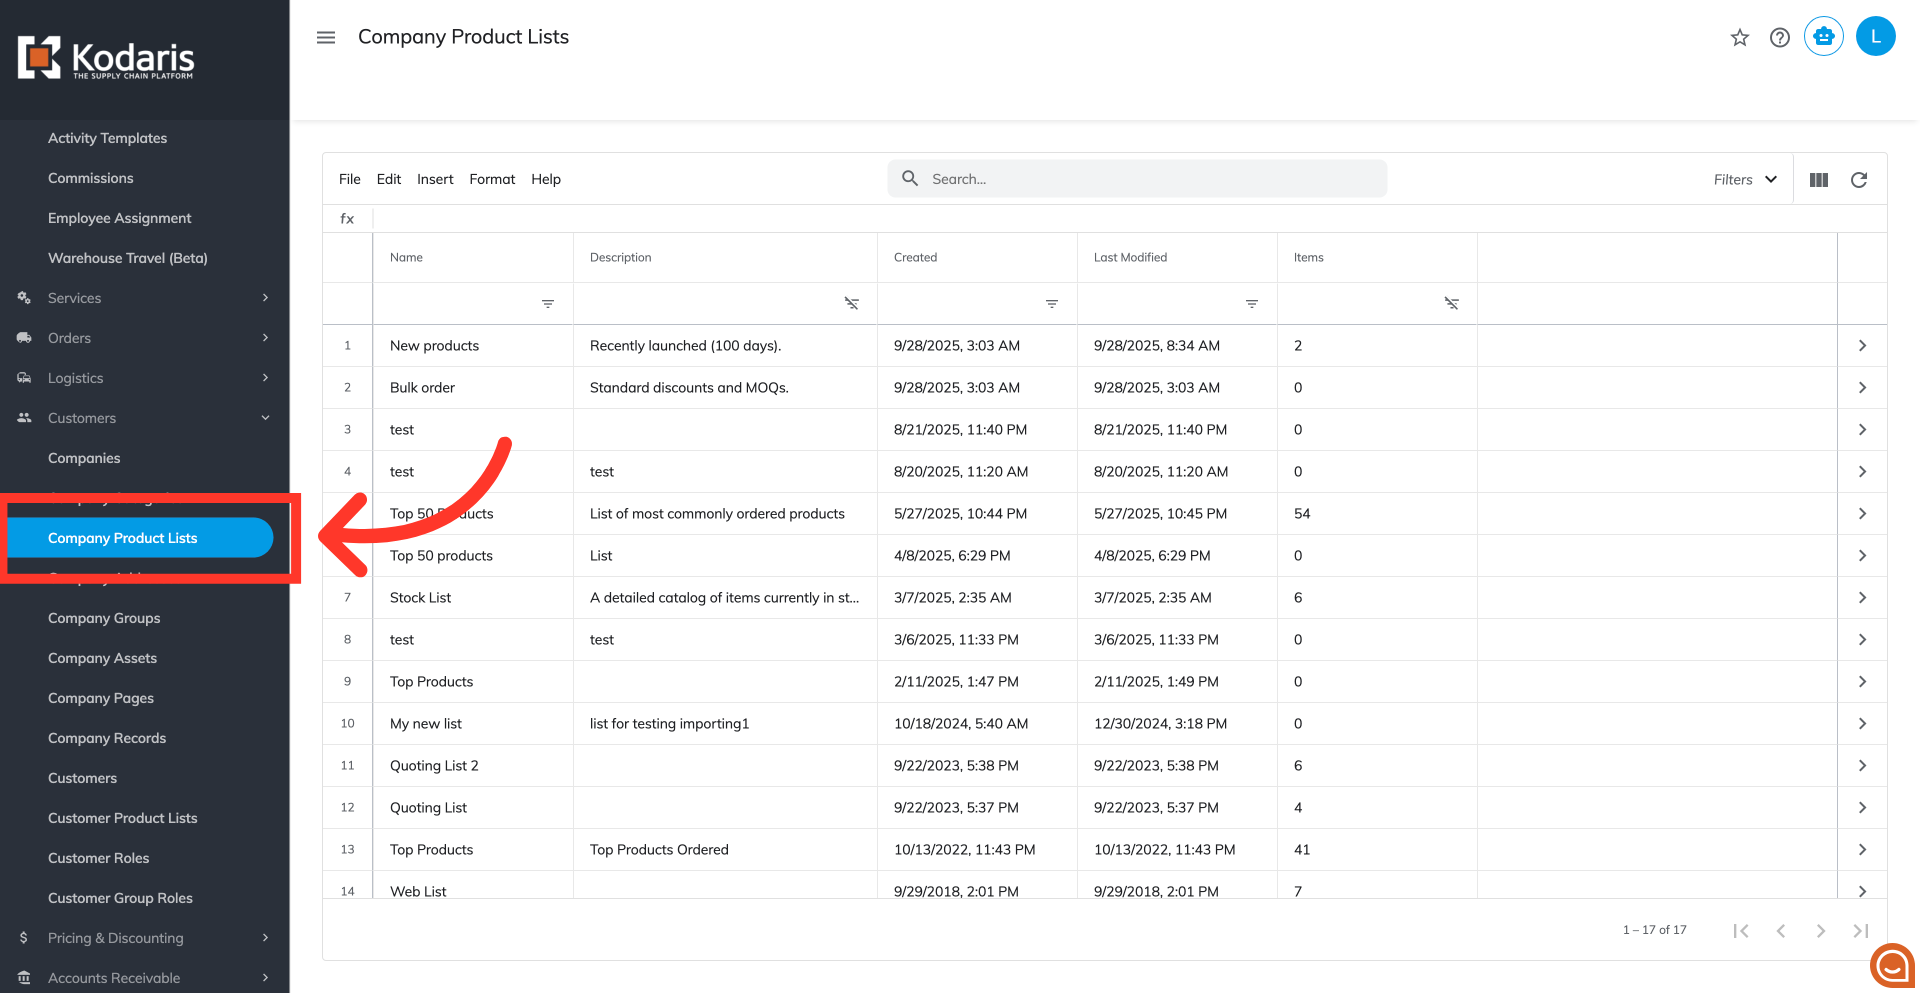
Next, click "Company Product Lists". In order to access "Company Product Lists" the user will need to be set up either as an "administrator" or a "superuser", or have the appropriate role: "companyWishListEdit".
Click on the "Show/Hide Columns" icon
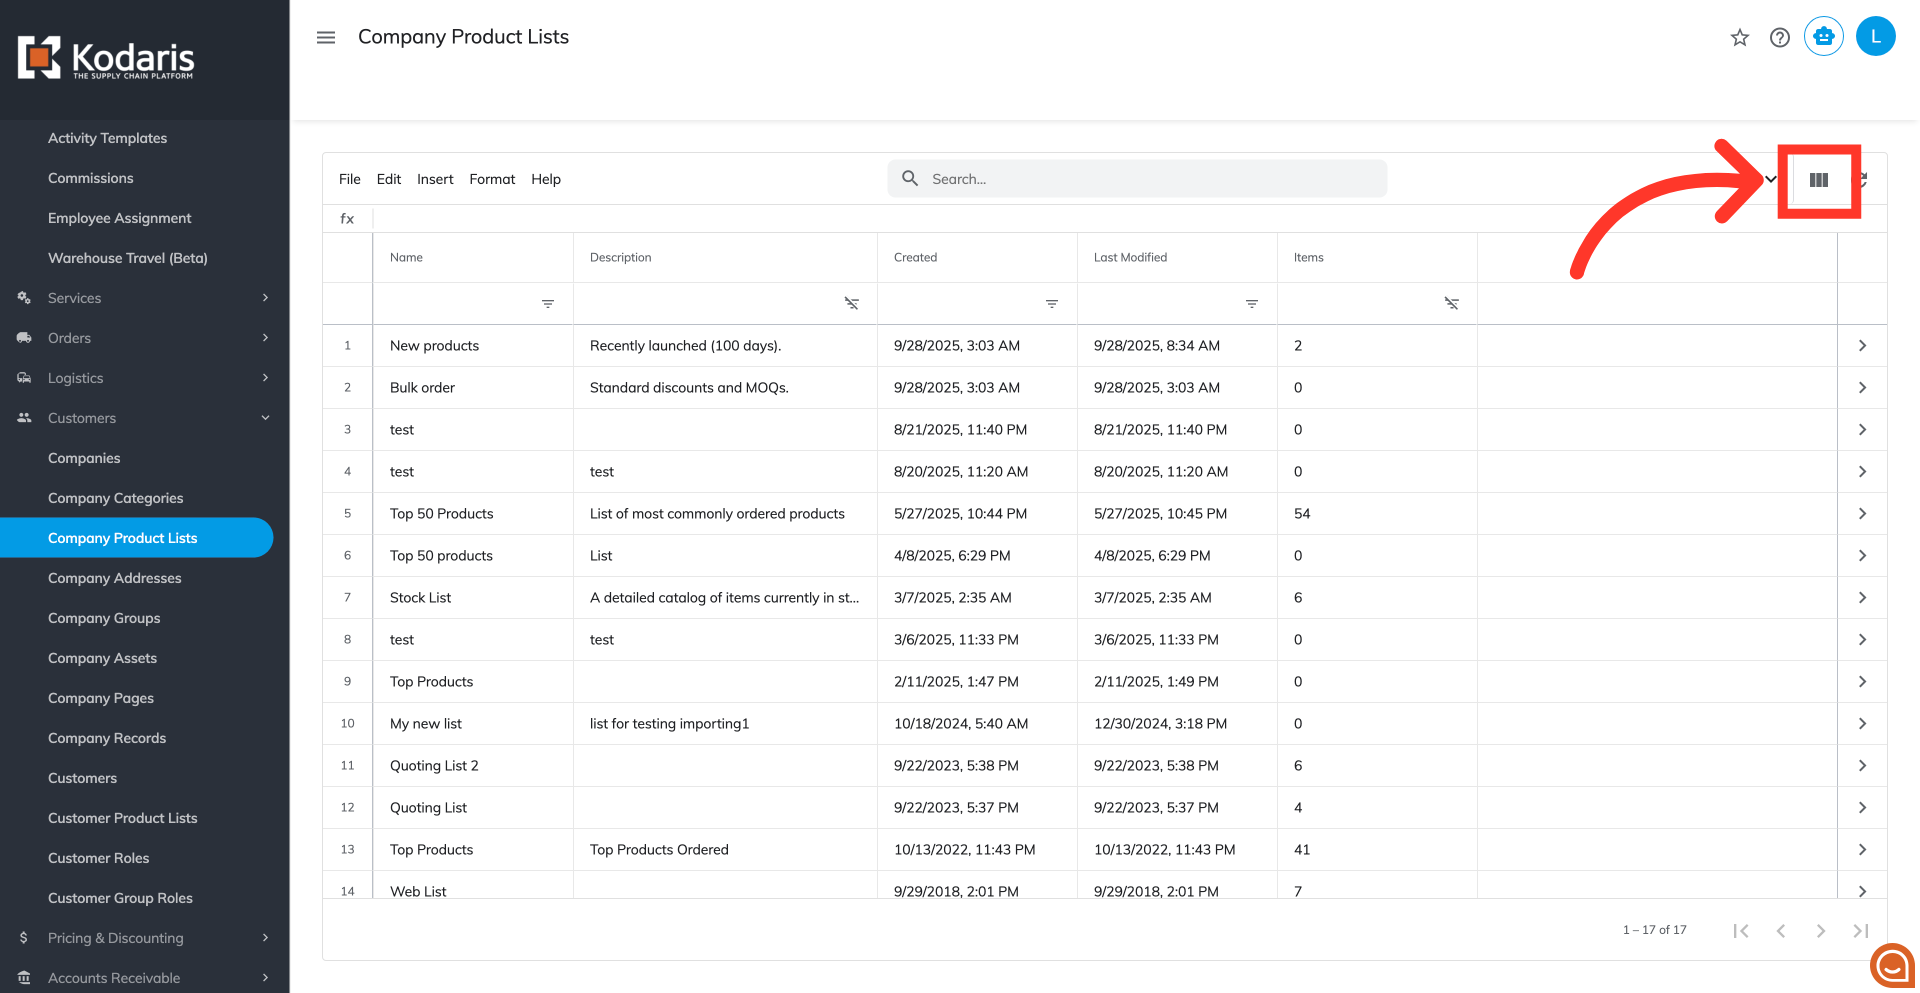
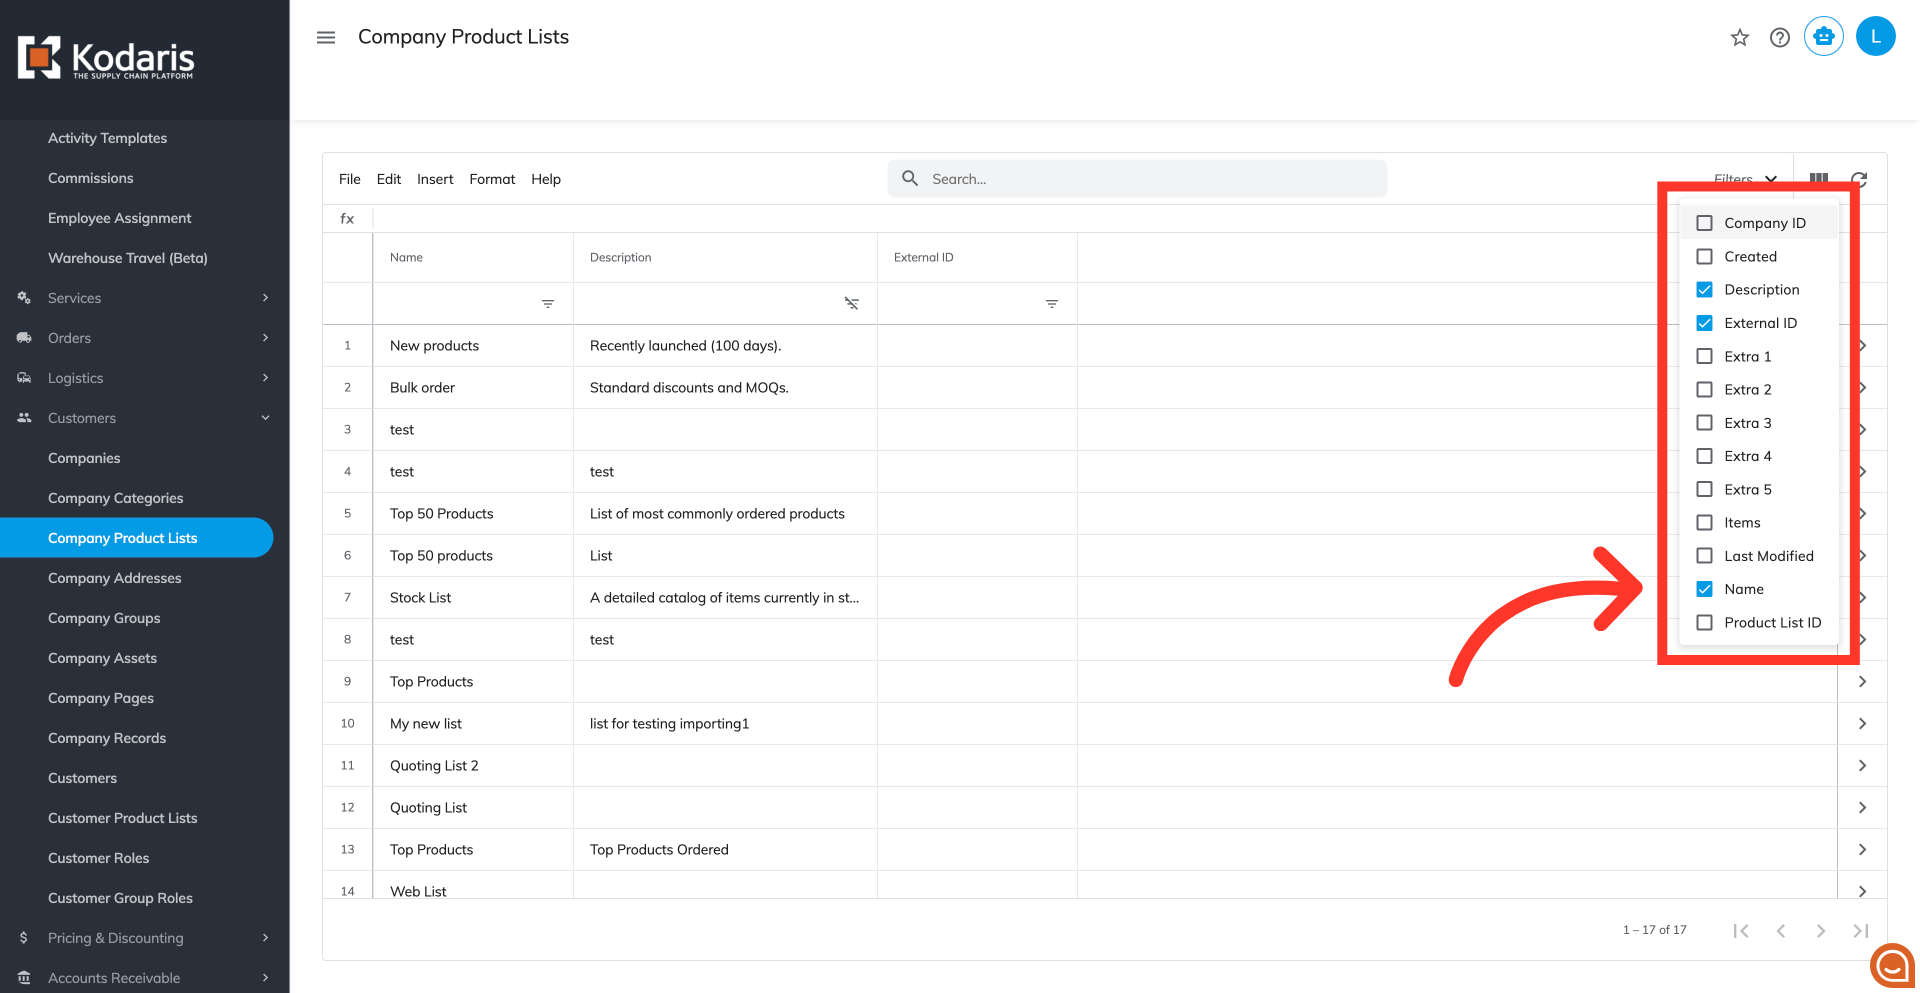
Click on the "Show/Hide Columns" icon.
Select the needed columns
To prepare for importing company product lists using the External ID, ensure your screen displays the "External ID", "Company Code", "Name", and "Description" columns. You can also add additional columns if needed. To remove column data that is not needed, just uncheck the columns you don't need.
Click on "File" menu
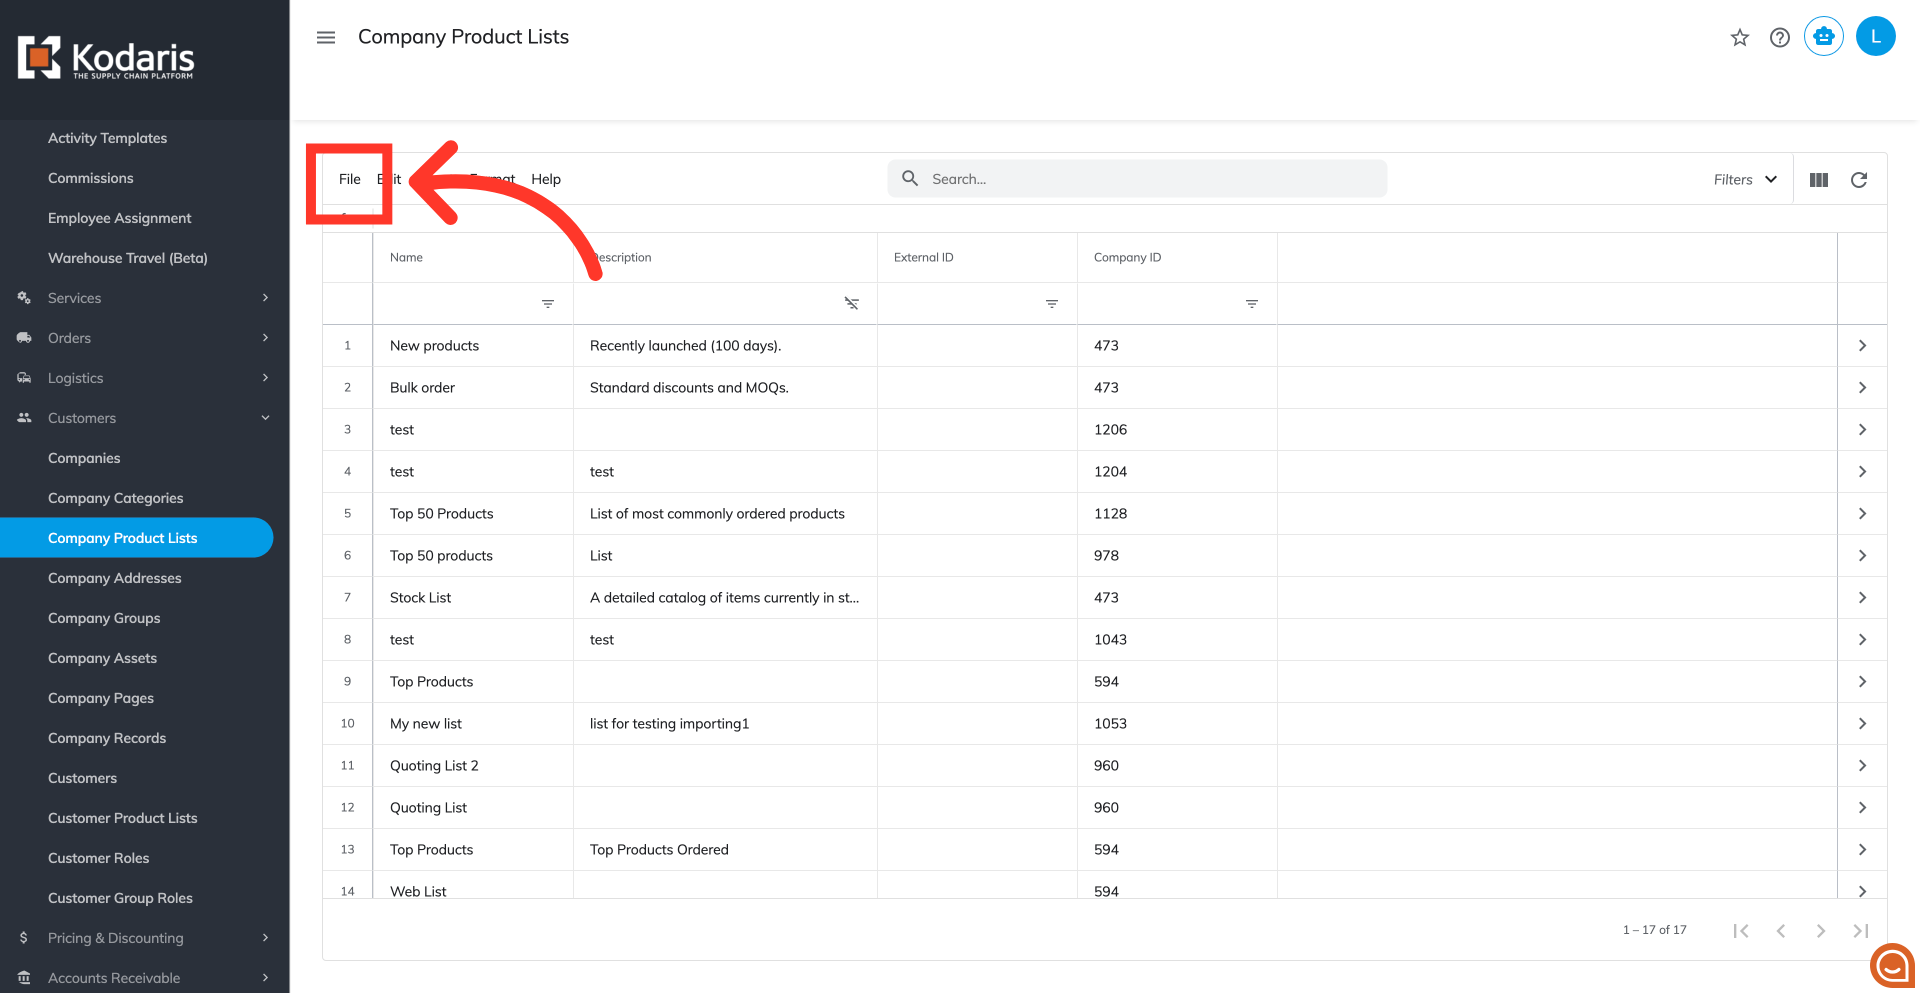
Once you have the desired column view, click "File" from the menu.
Click the "Export" option
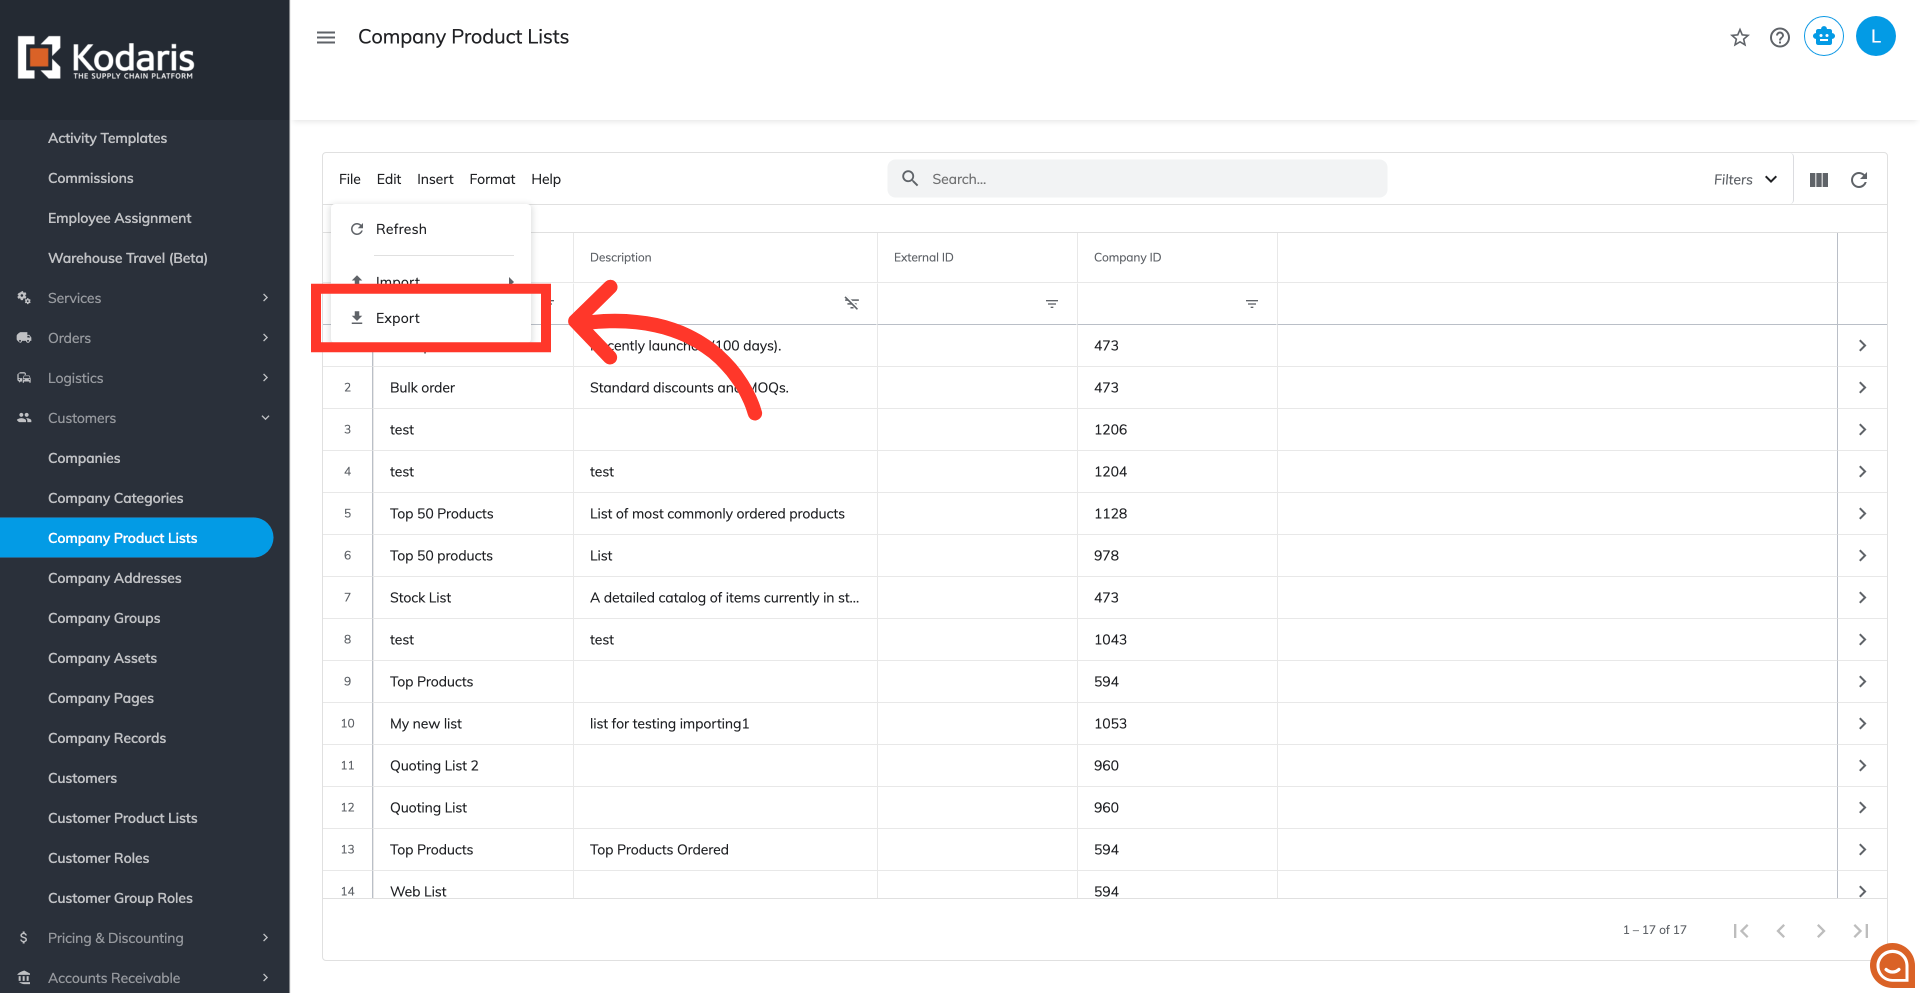
Click the "Export" option. This export will have the needed header row and data that can be used for importing back into the portal.
Type the desired file name
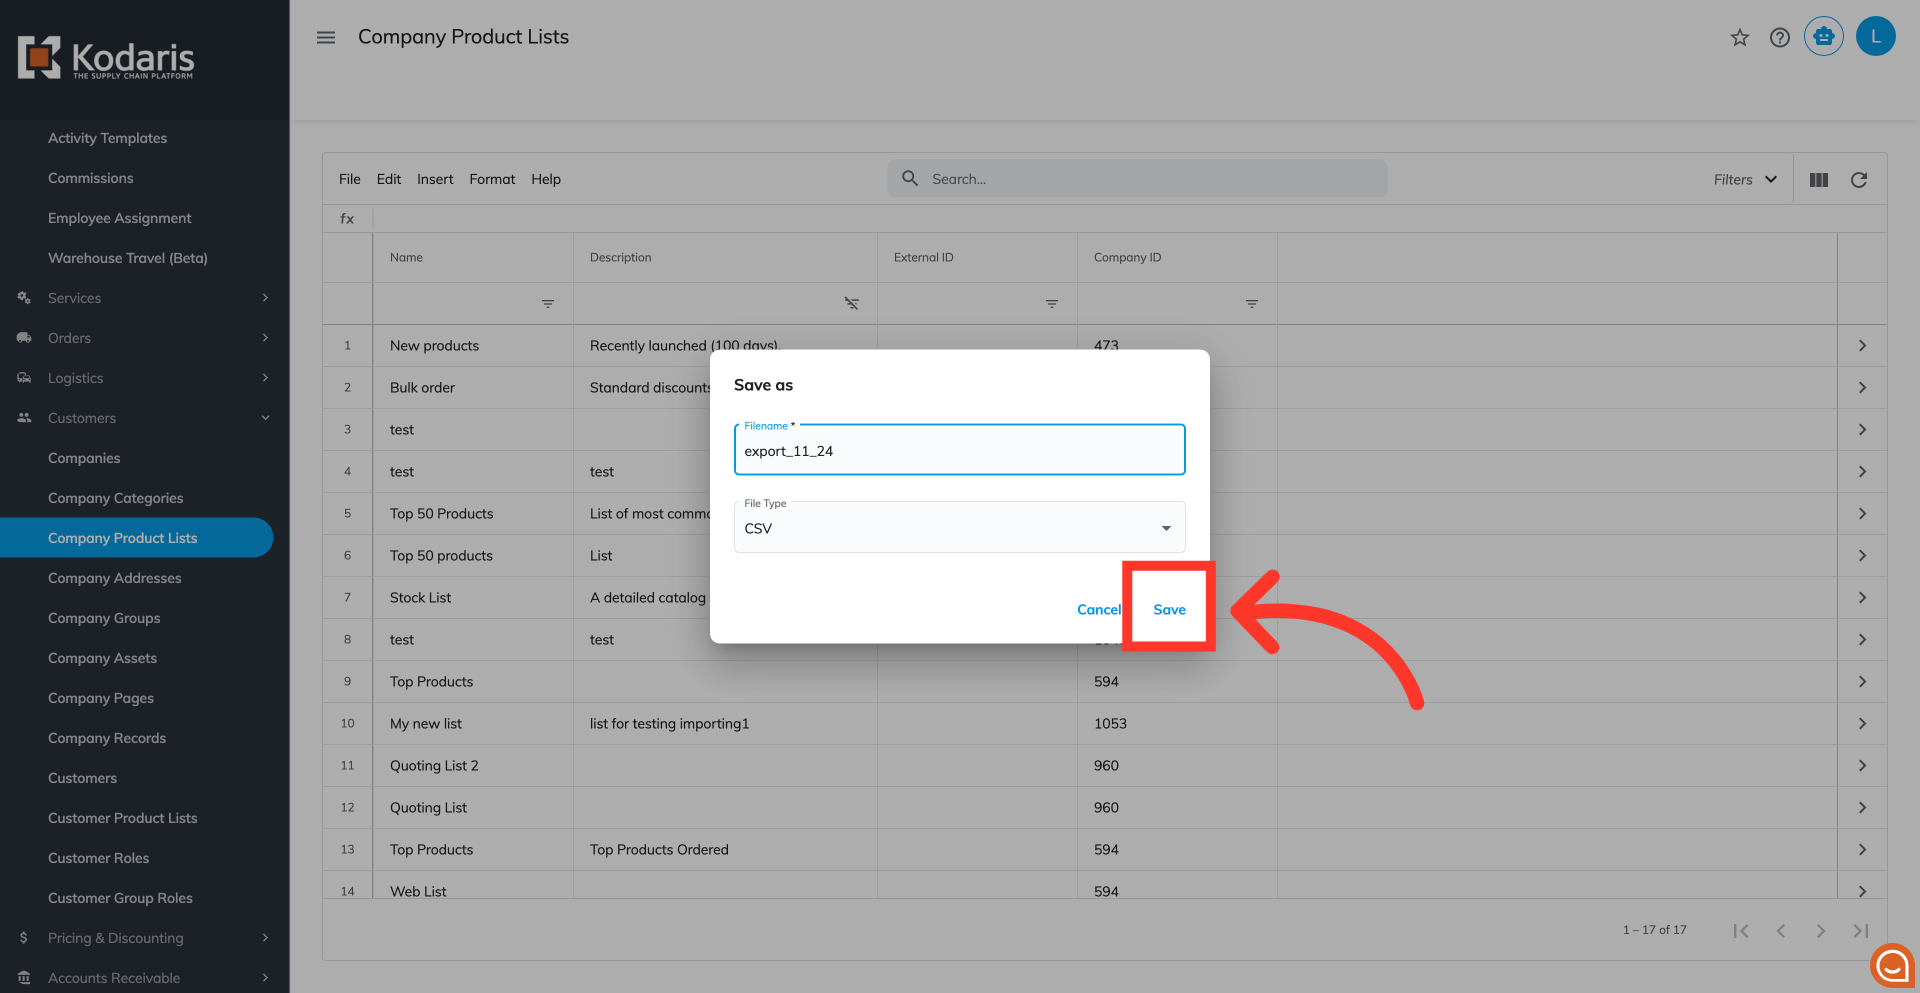
Type in your desired filename for your CSV file.

Click on the "Save" button
Click the "Save" button.
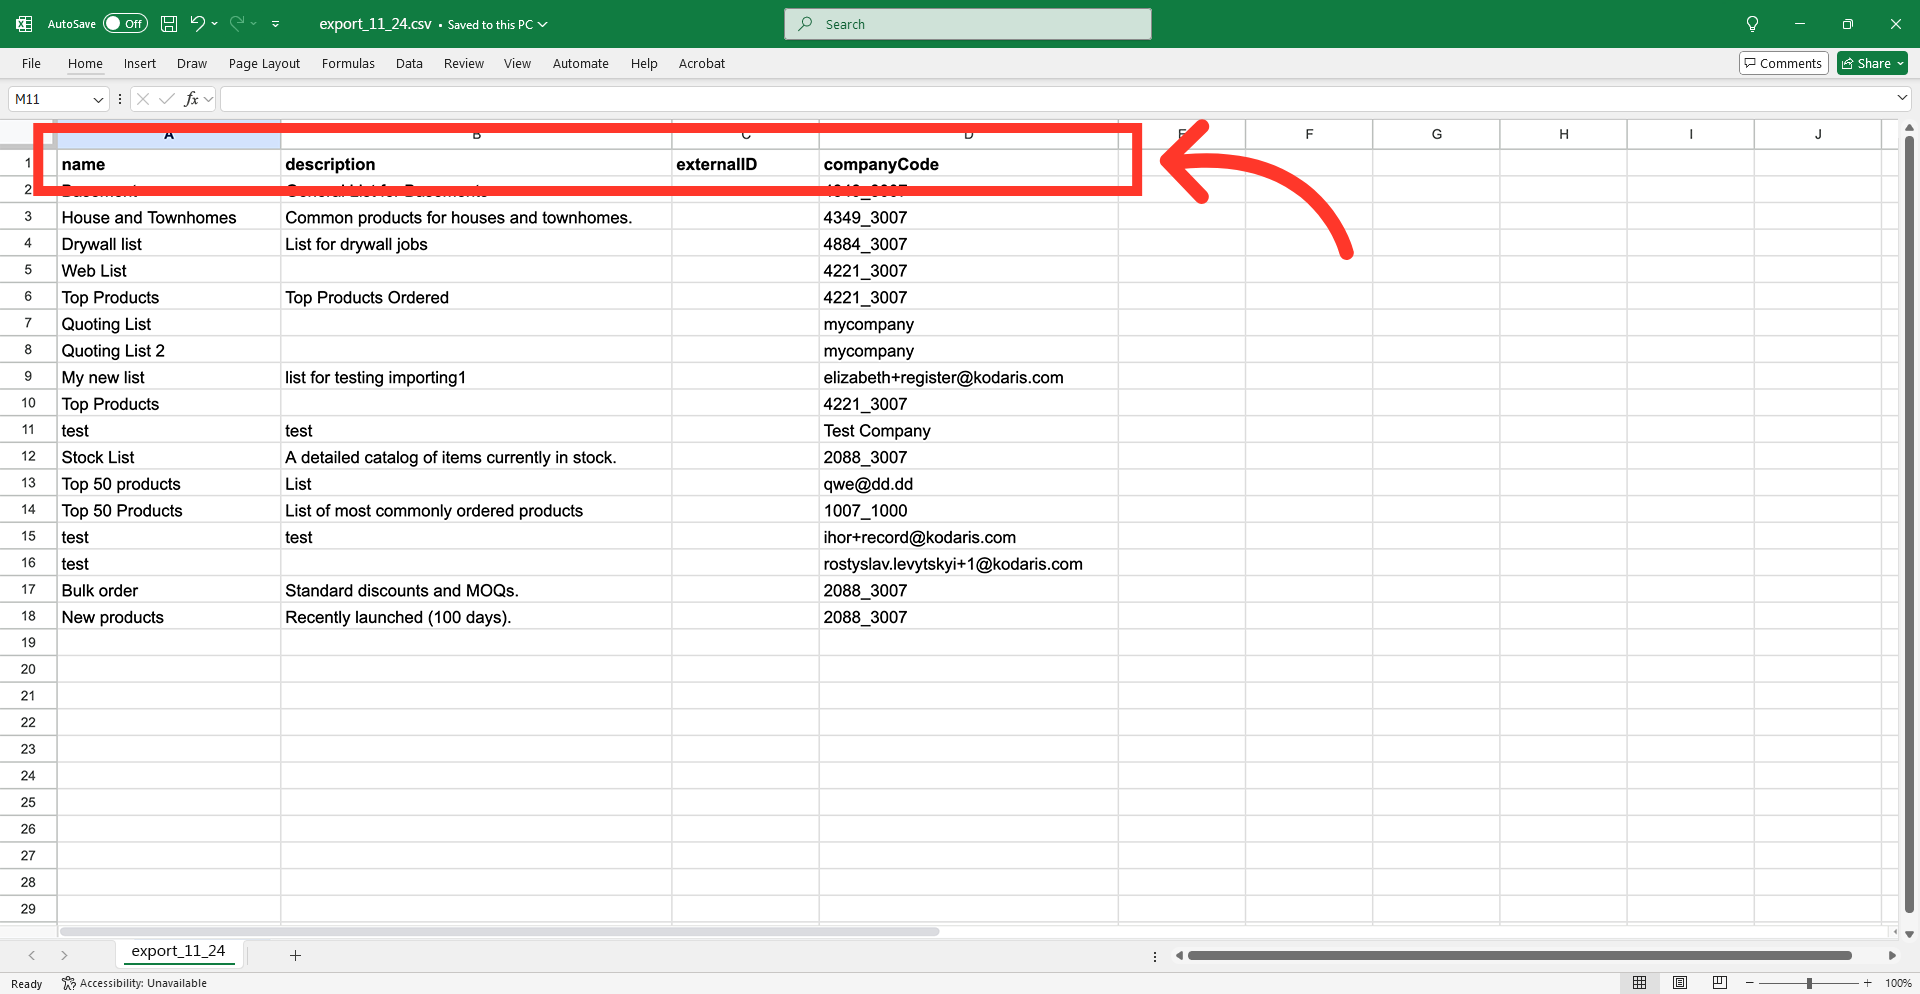
Example spreadsheet
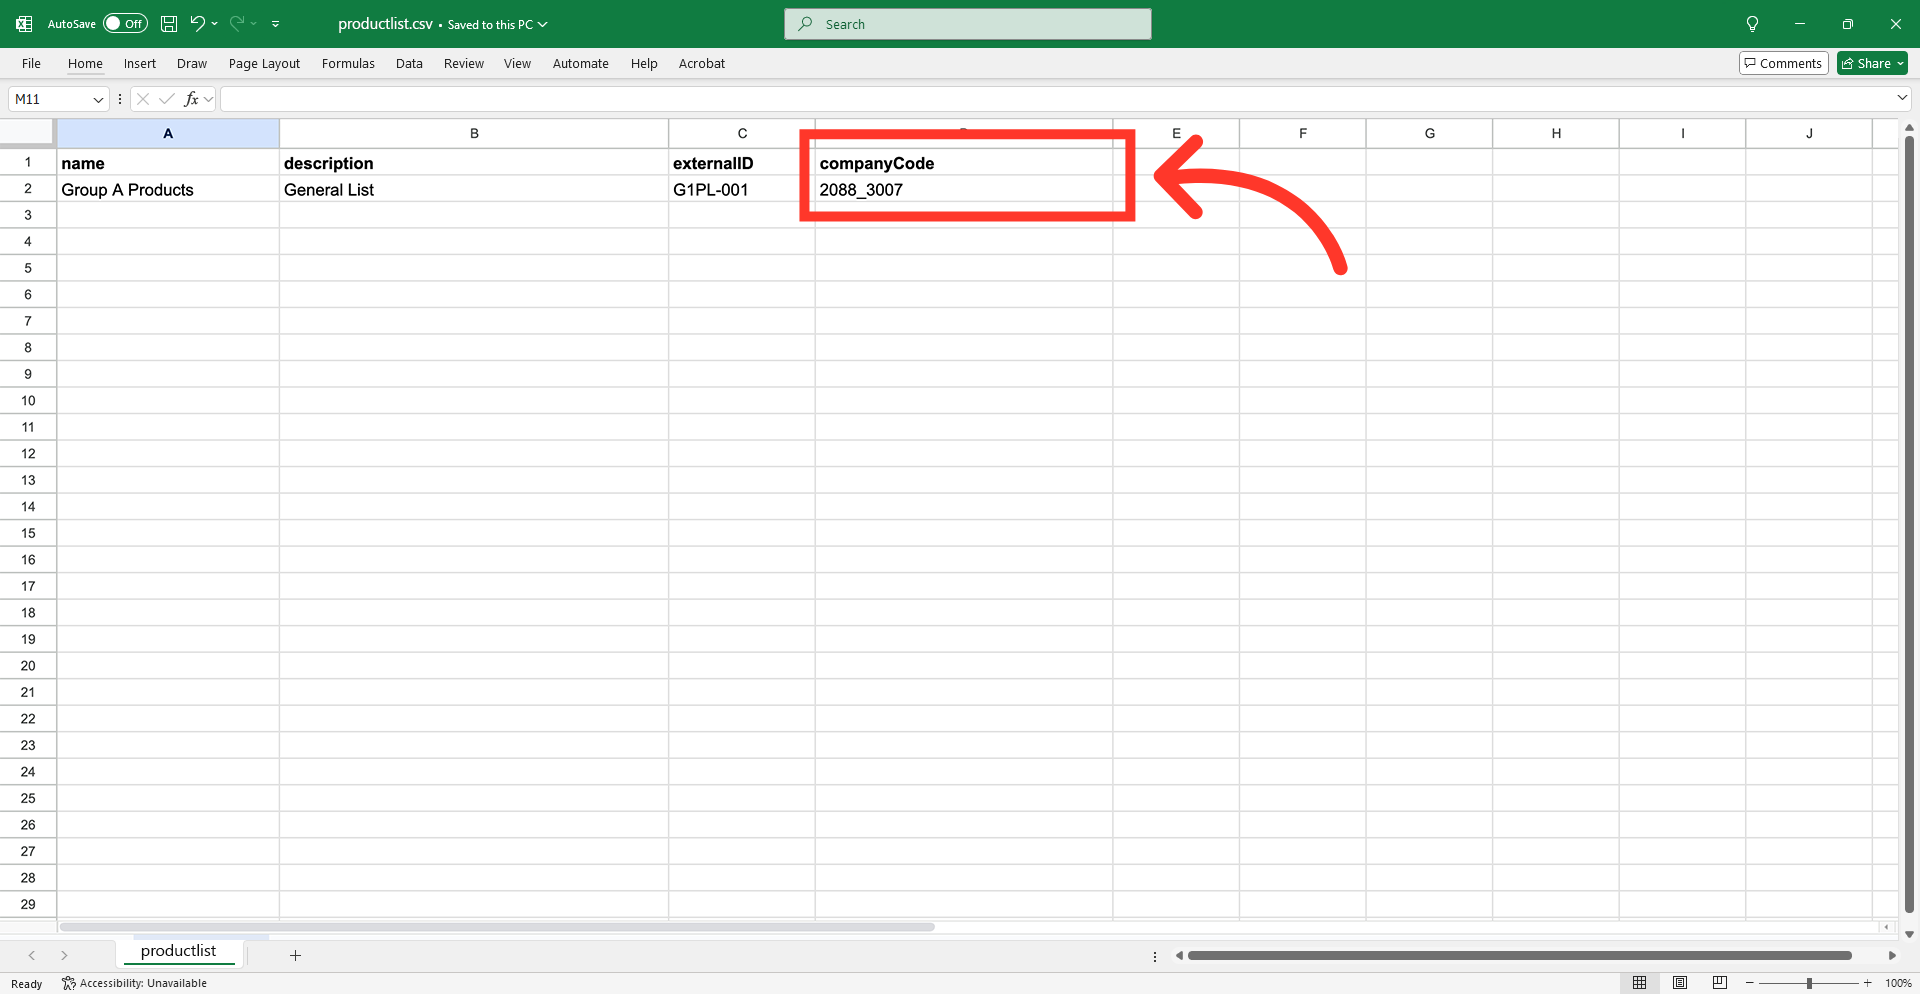
You can see in this sample export that we have the header row that is needed to import data, and also the exported data from the data grid.
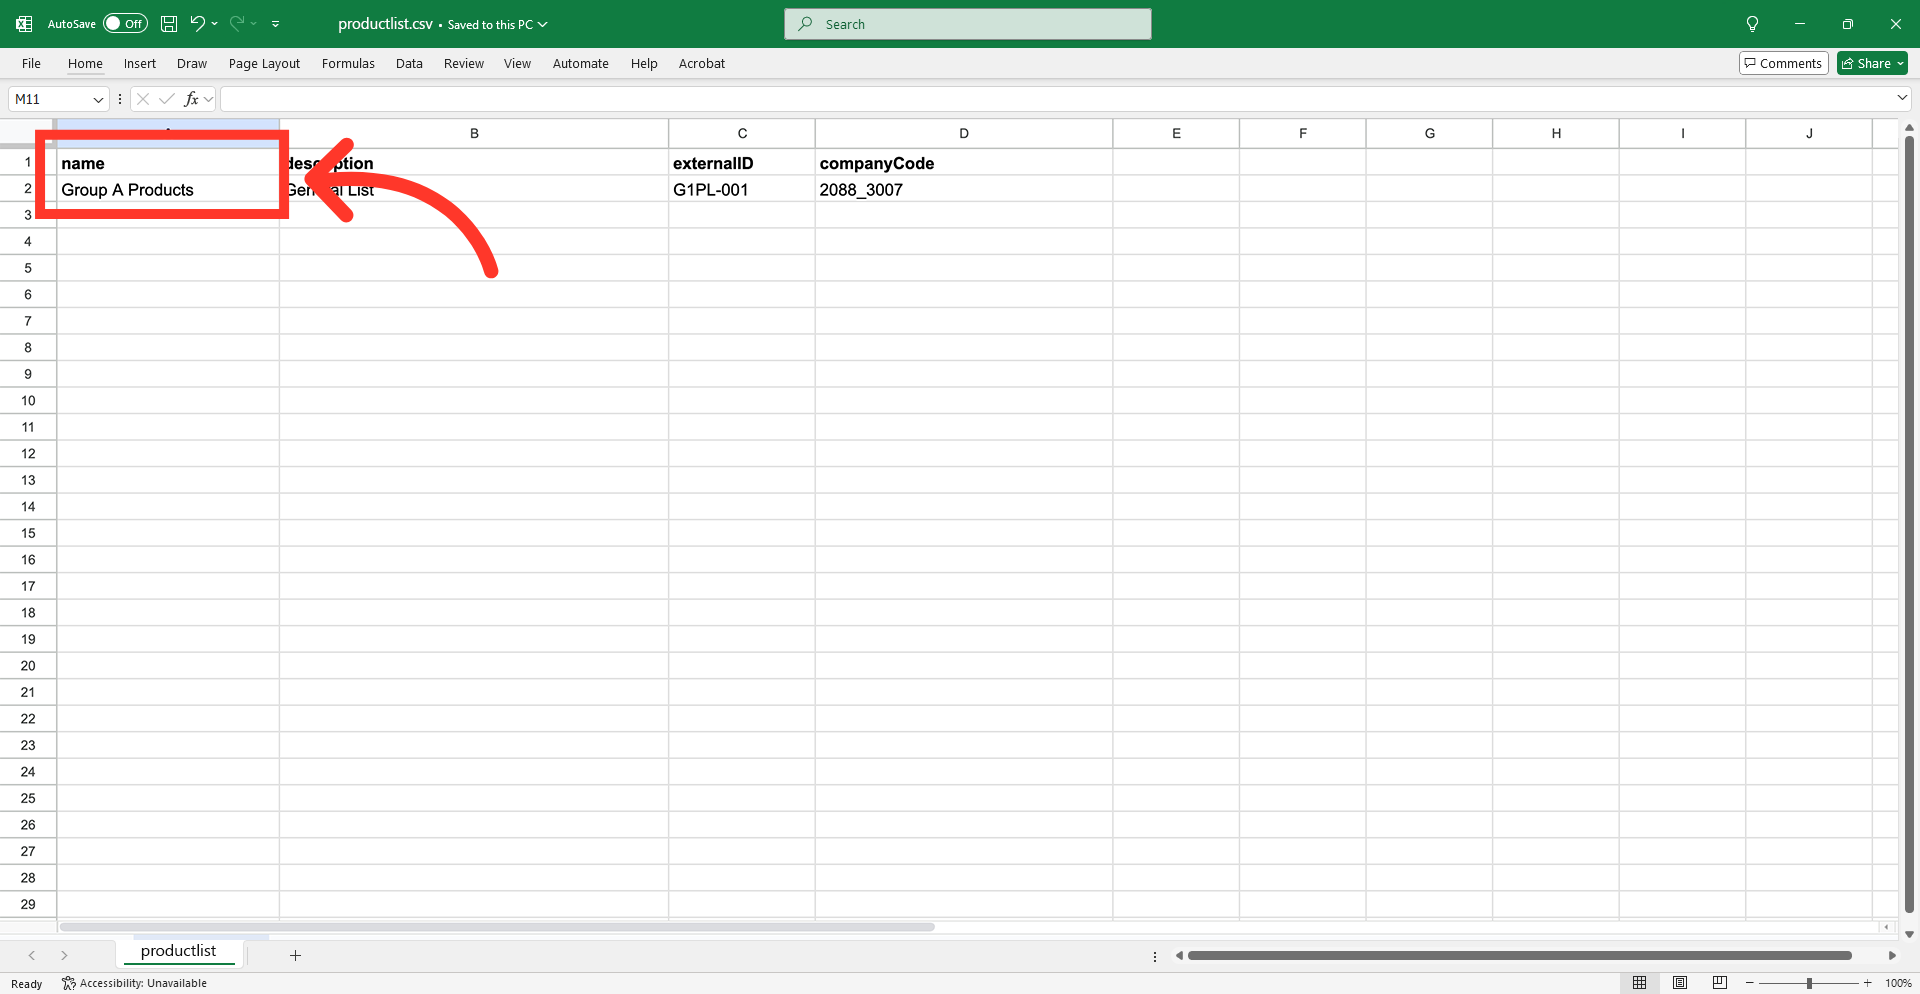
"name" = Product List Name
Update the "name" column with the desired product list name. This name is visible to your customers.
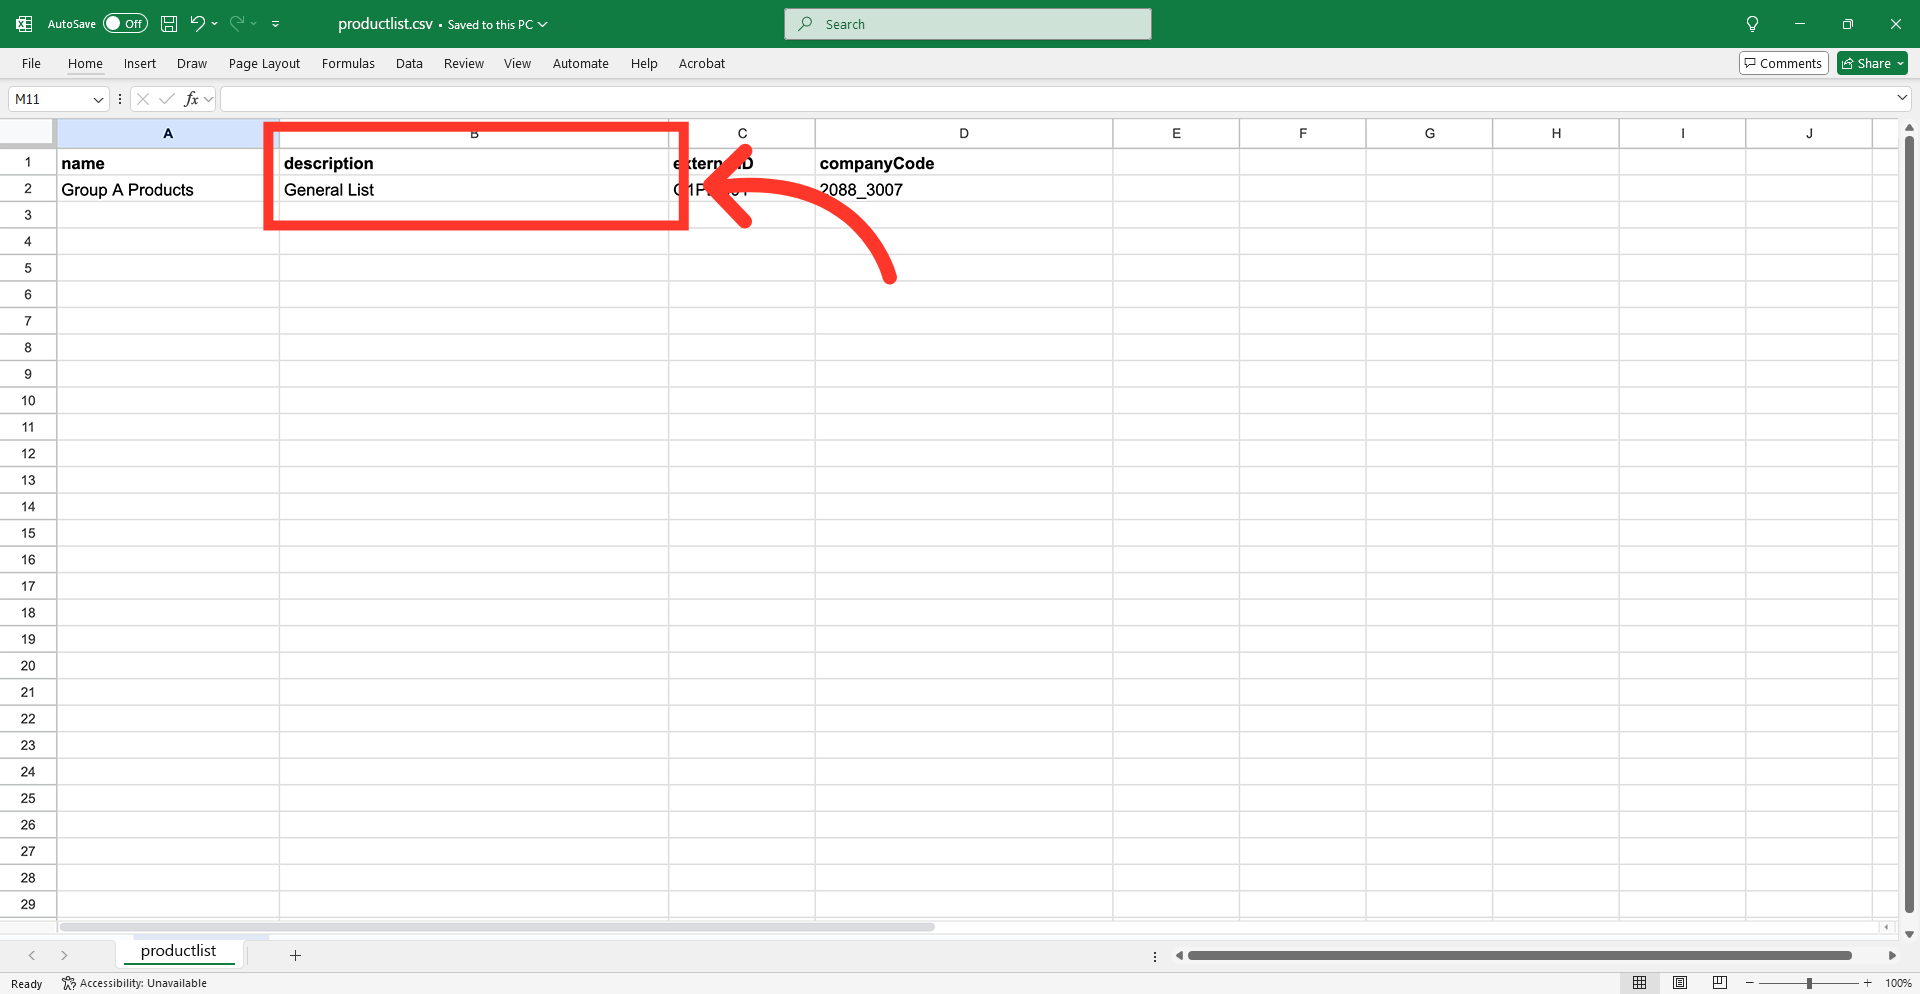
"description" = Product list description
Enter the values you would like to use in the "description" column. The description is an optional field for any additional notes or details regarding the list's purpose. Product lists descriptions are visible to your customers.
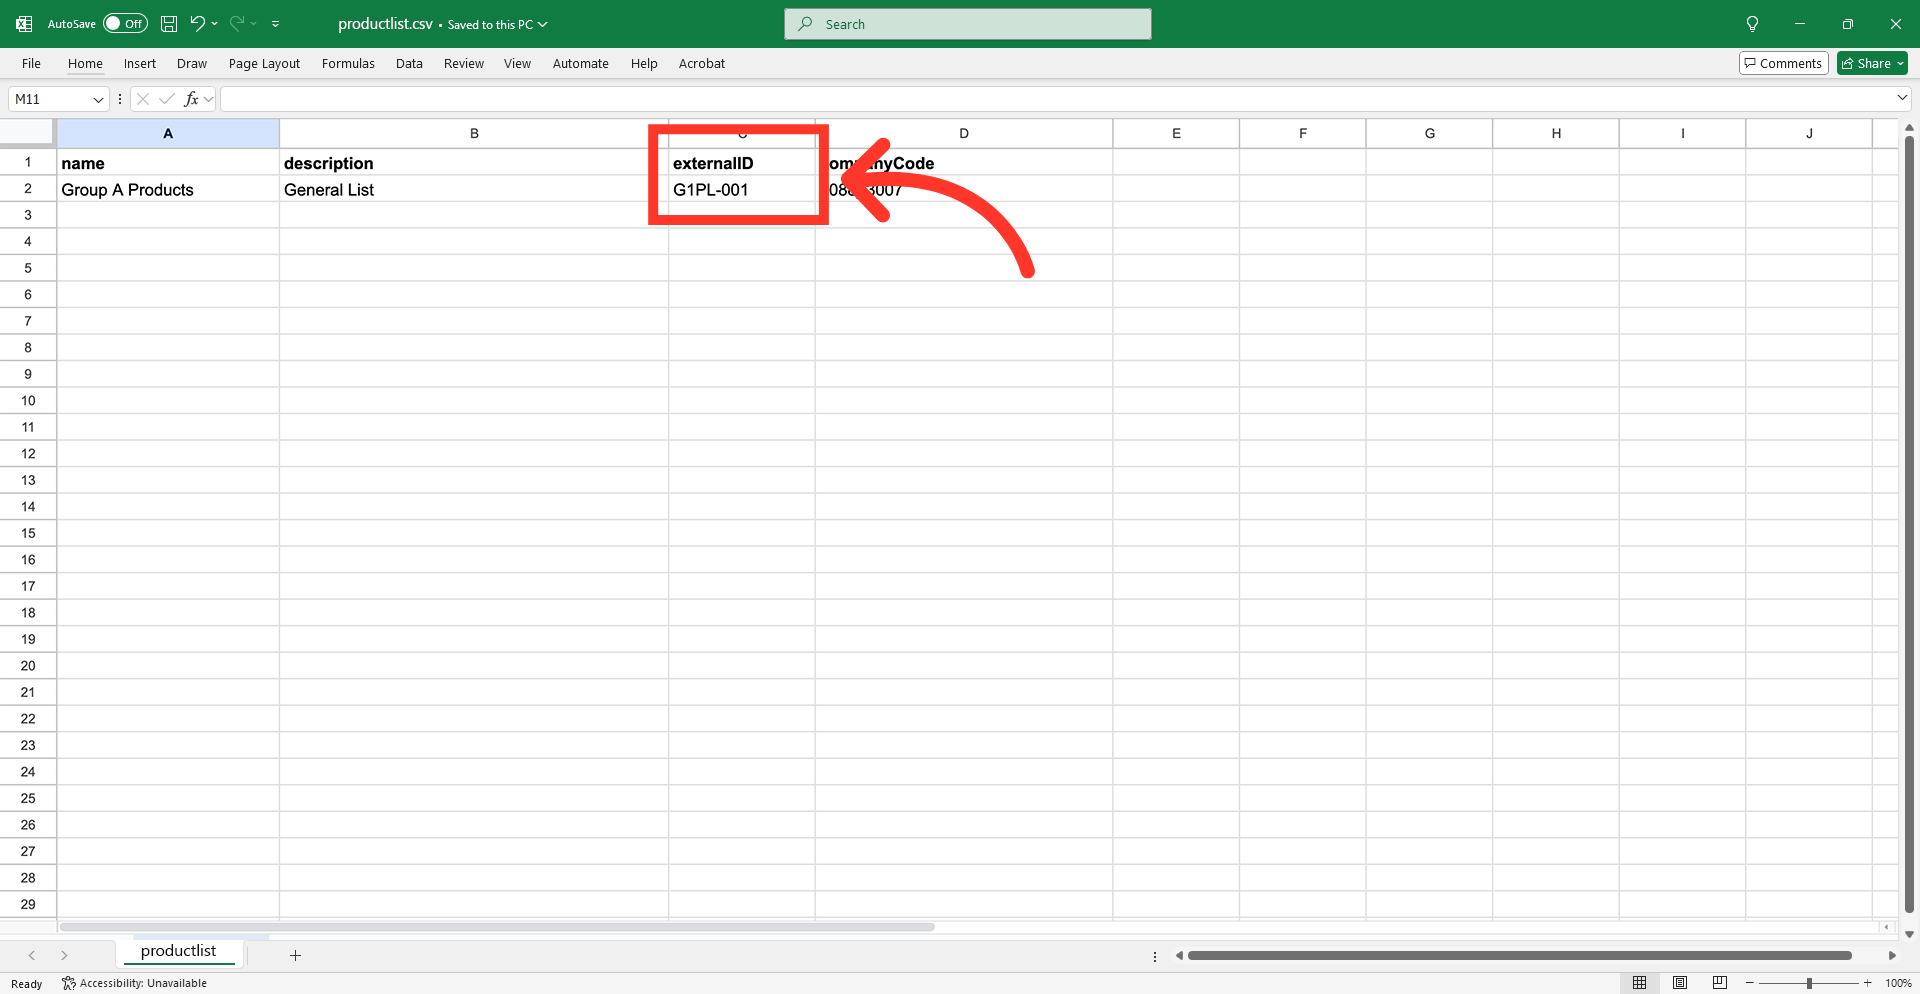
"externalID" = External Identifier
The "externalID" is a unique code for product lists. This code can be anything you choose, as long as it is unique and is not required. You will need the external id to add products to your product lists by import.
"companyCode" = company code
The "companyCode" column is the company code and identifies the company for which the product list is being created or updated.
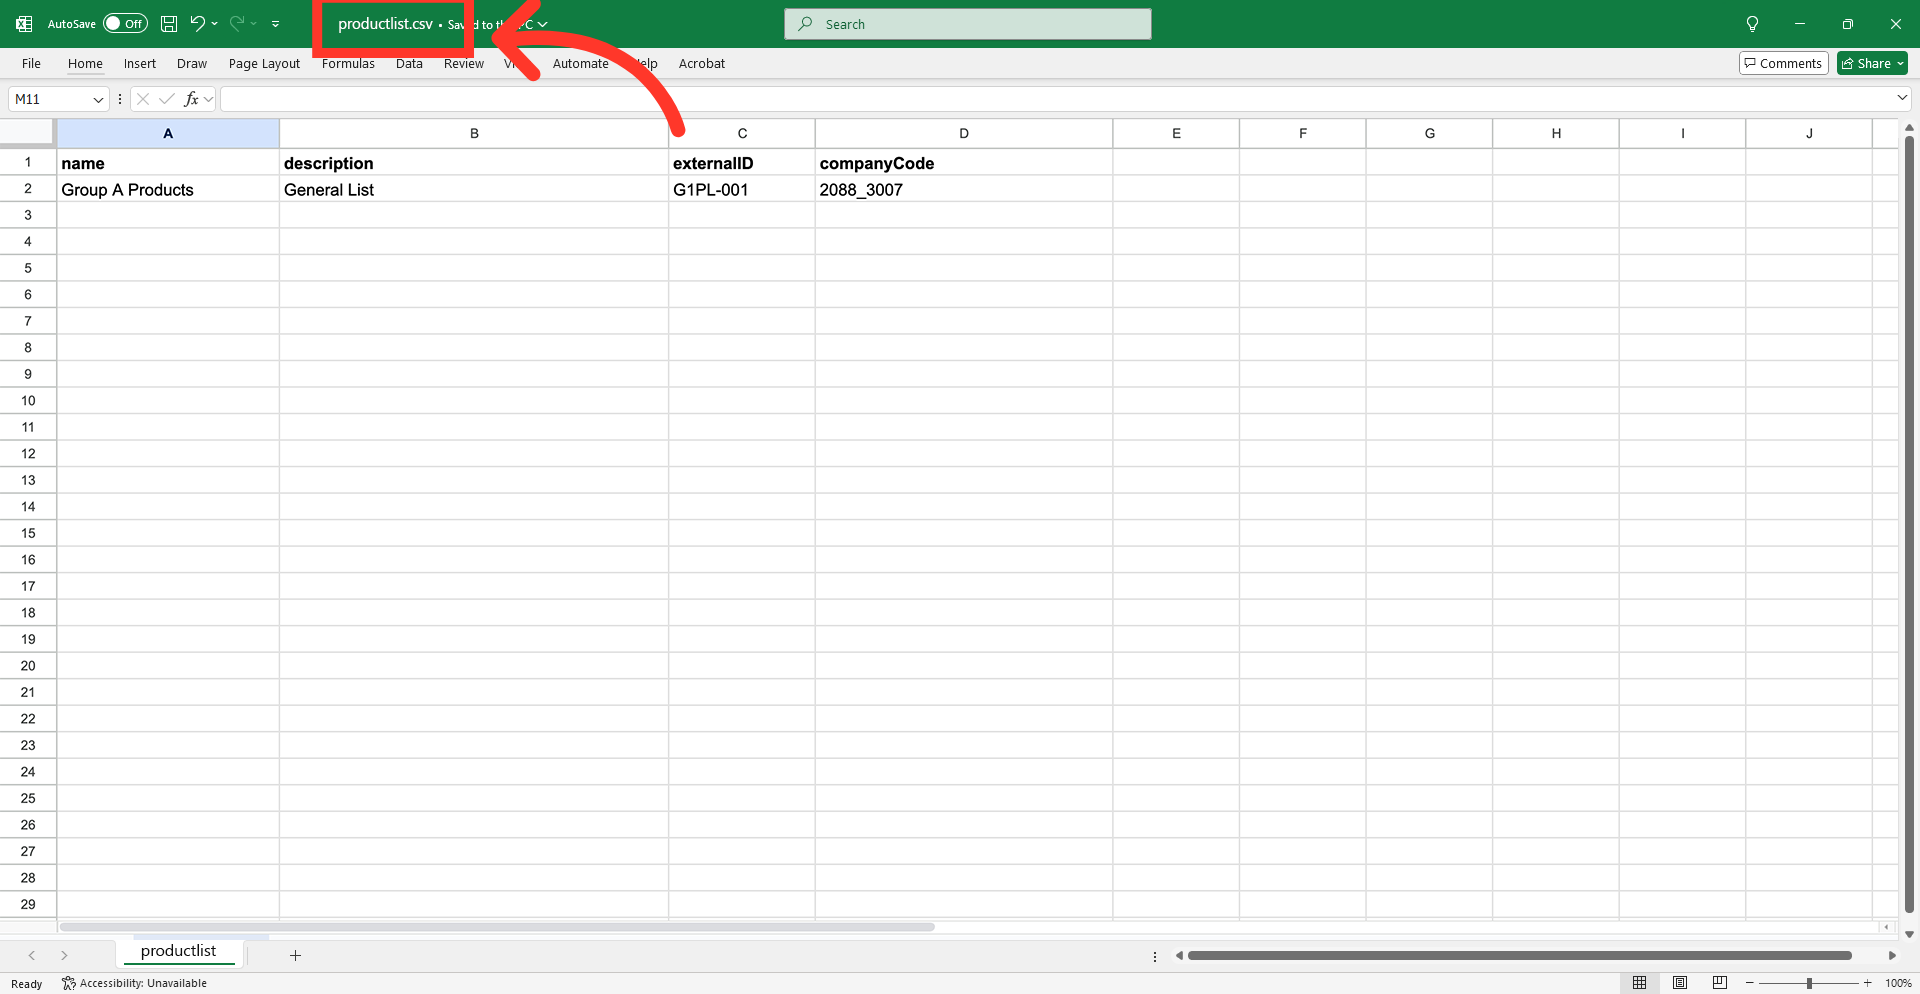
Save the file as CSV
After completing the necessary changes, save the spreadsheet as a "CSV" file for import. Ensure the spreadsheet contains only the data intended to be created or updated.
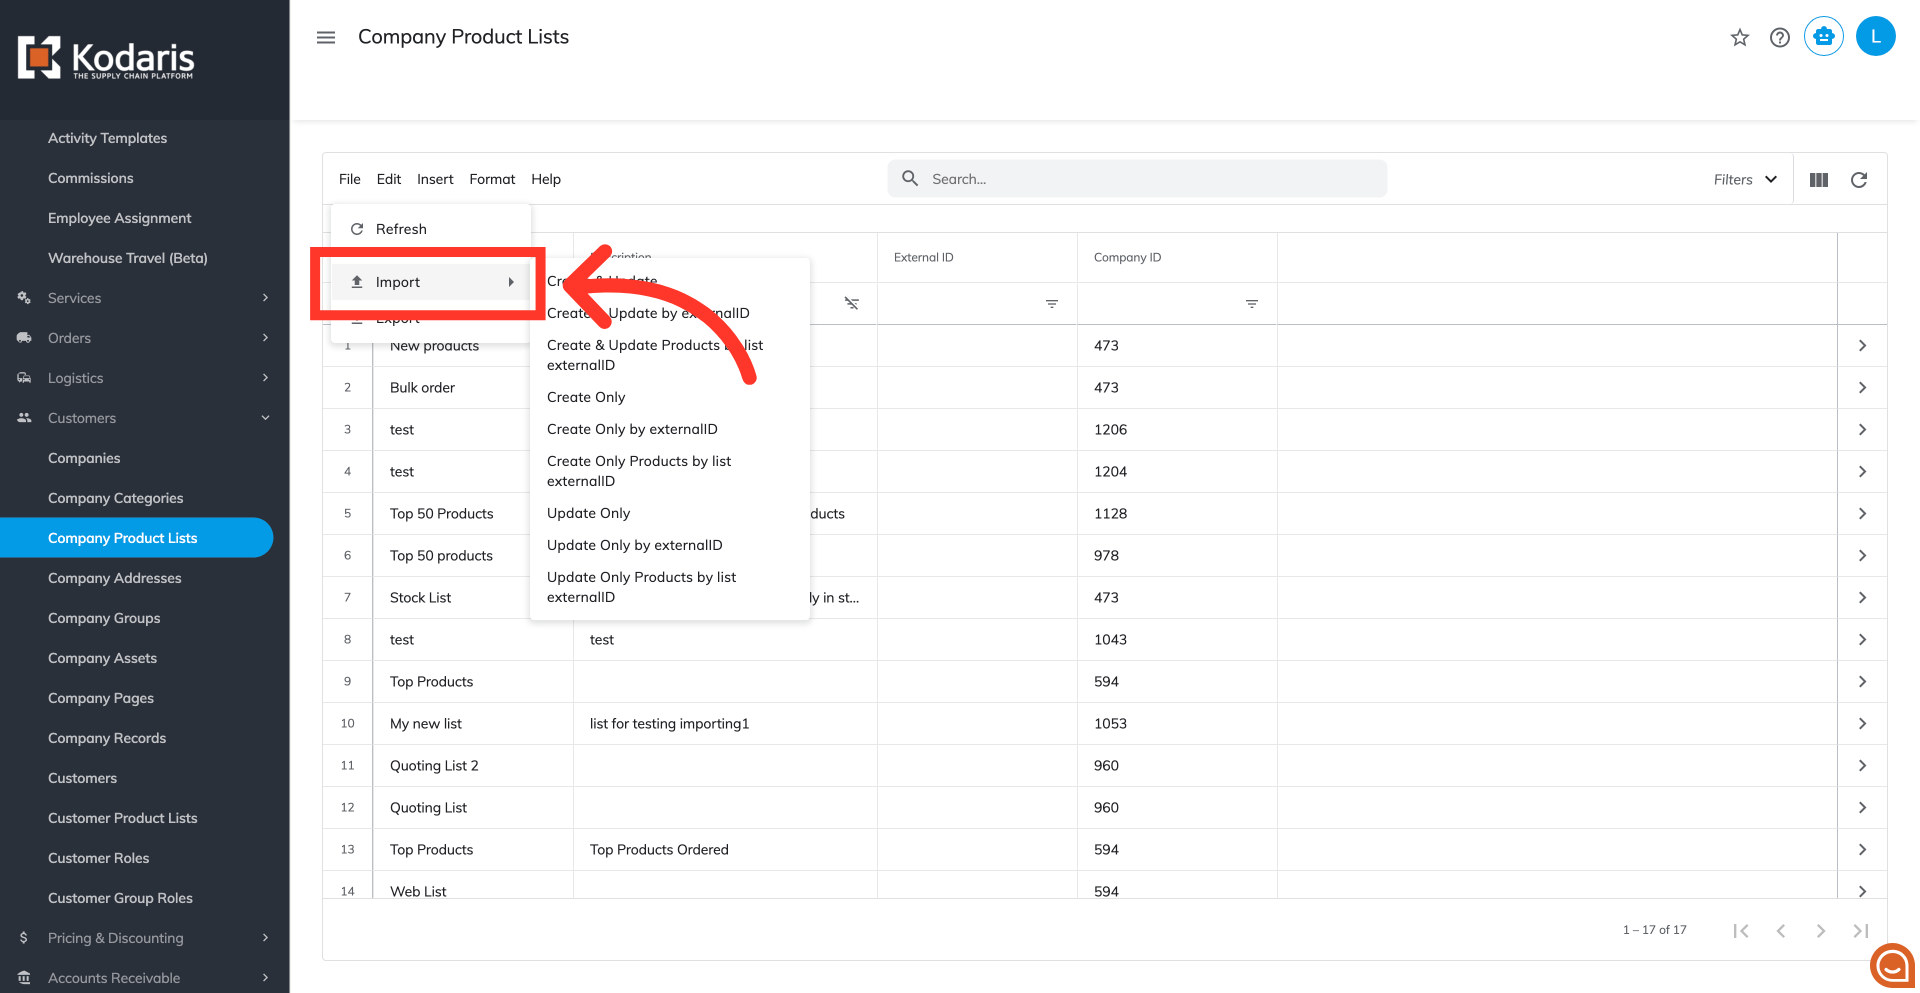
Click "File"
The CSV file is now ready for import. Go back to the "Company Product Lists" screen and click on "File" from the menu.

Select "Import"
Then, select "Import."
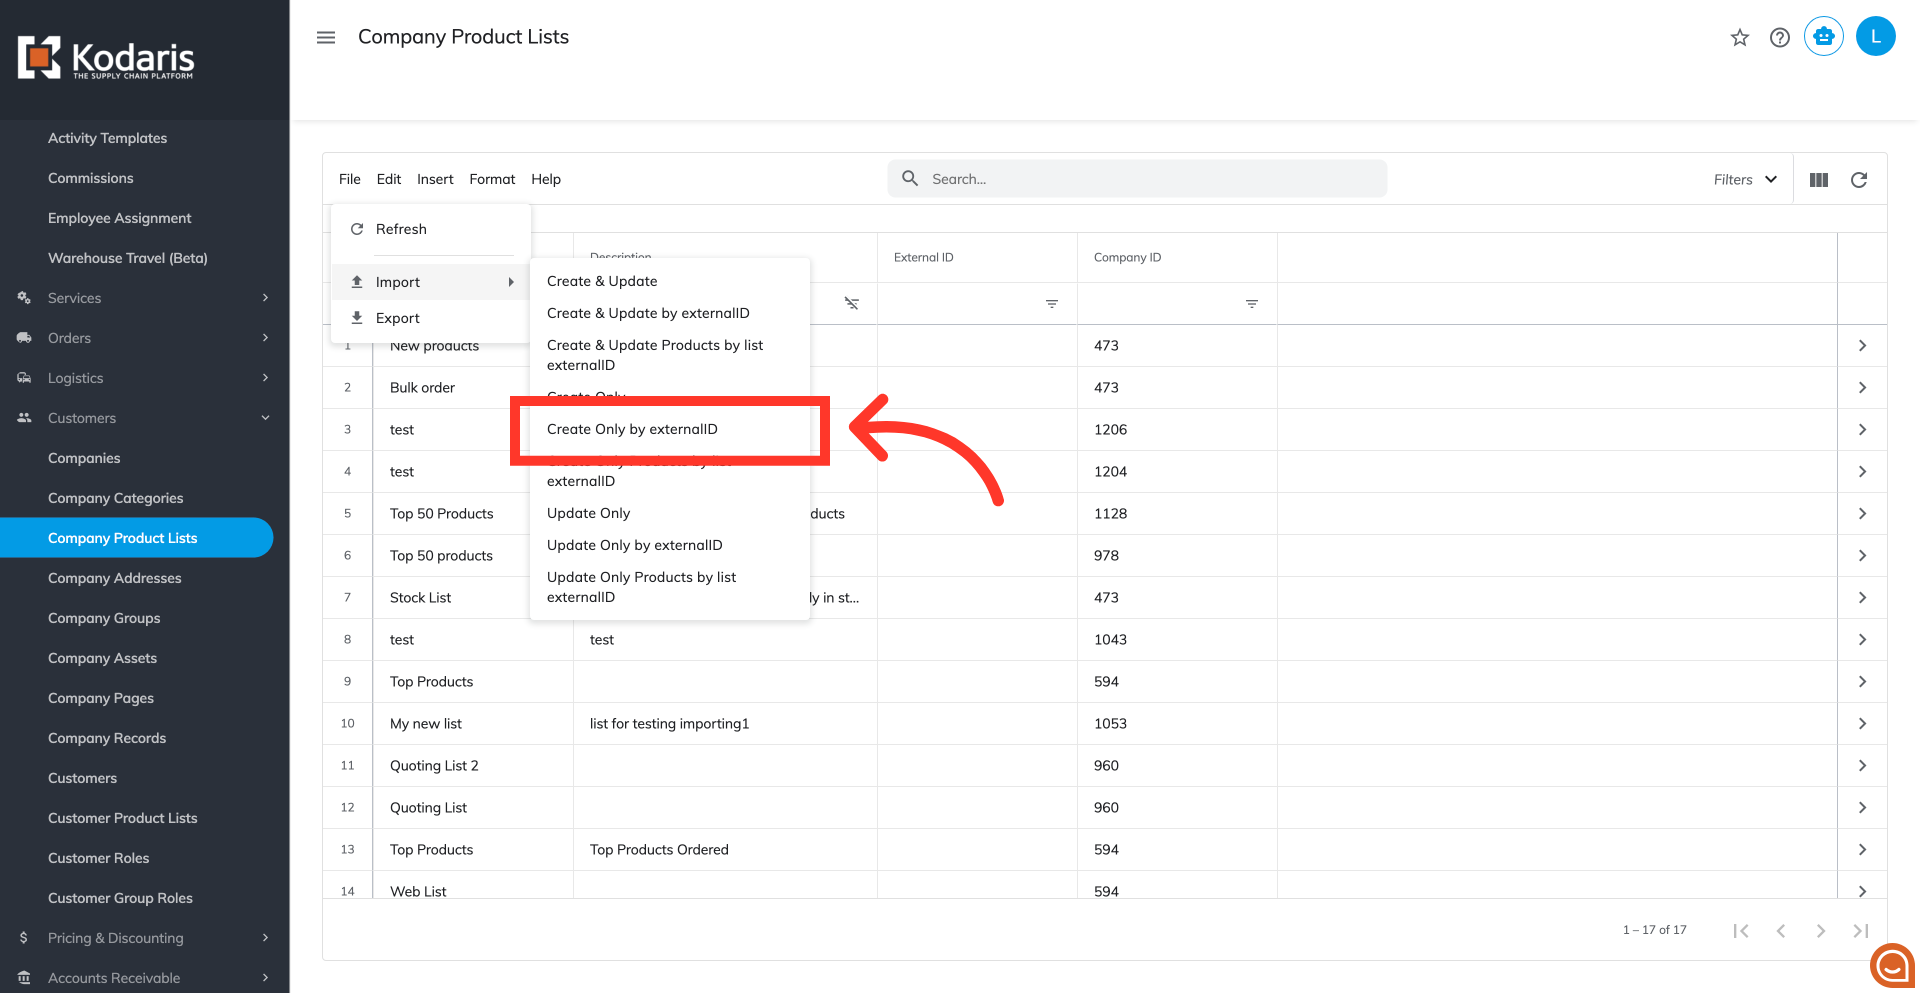
Choose "Create Only by externalID"
Since we only want to create with this import, we will want to choose "Create Only by externalID". If you are creating and updating product lists by external id, you will want to choose "Create & Update by externalID".
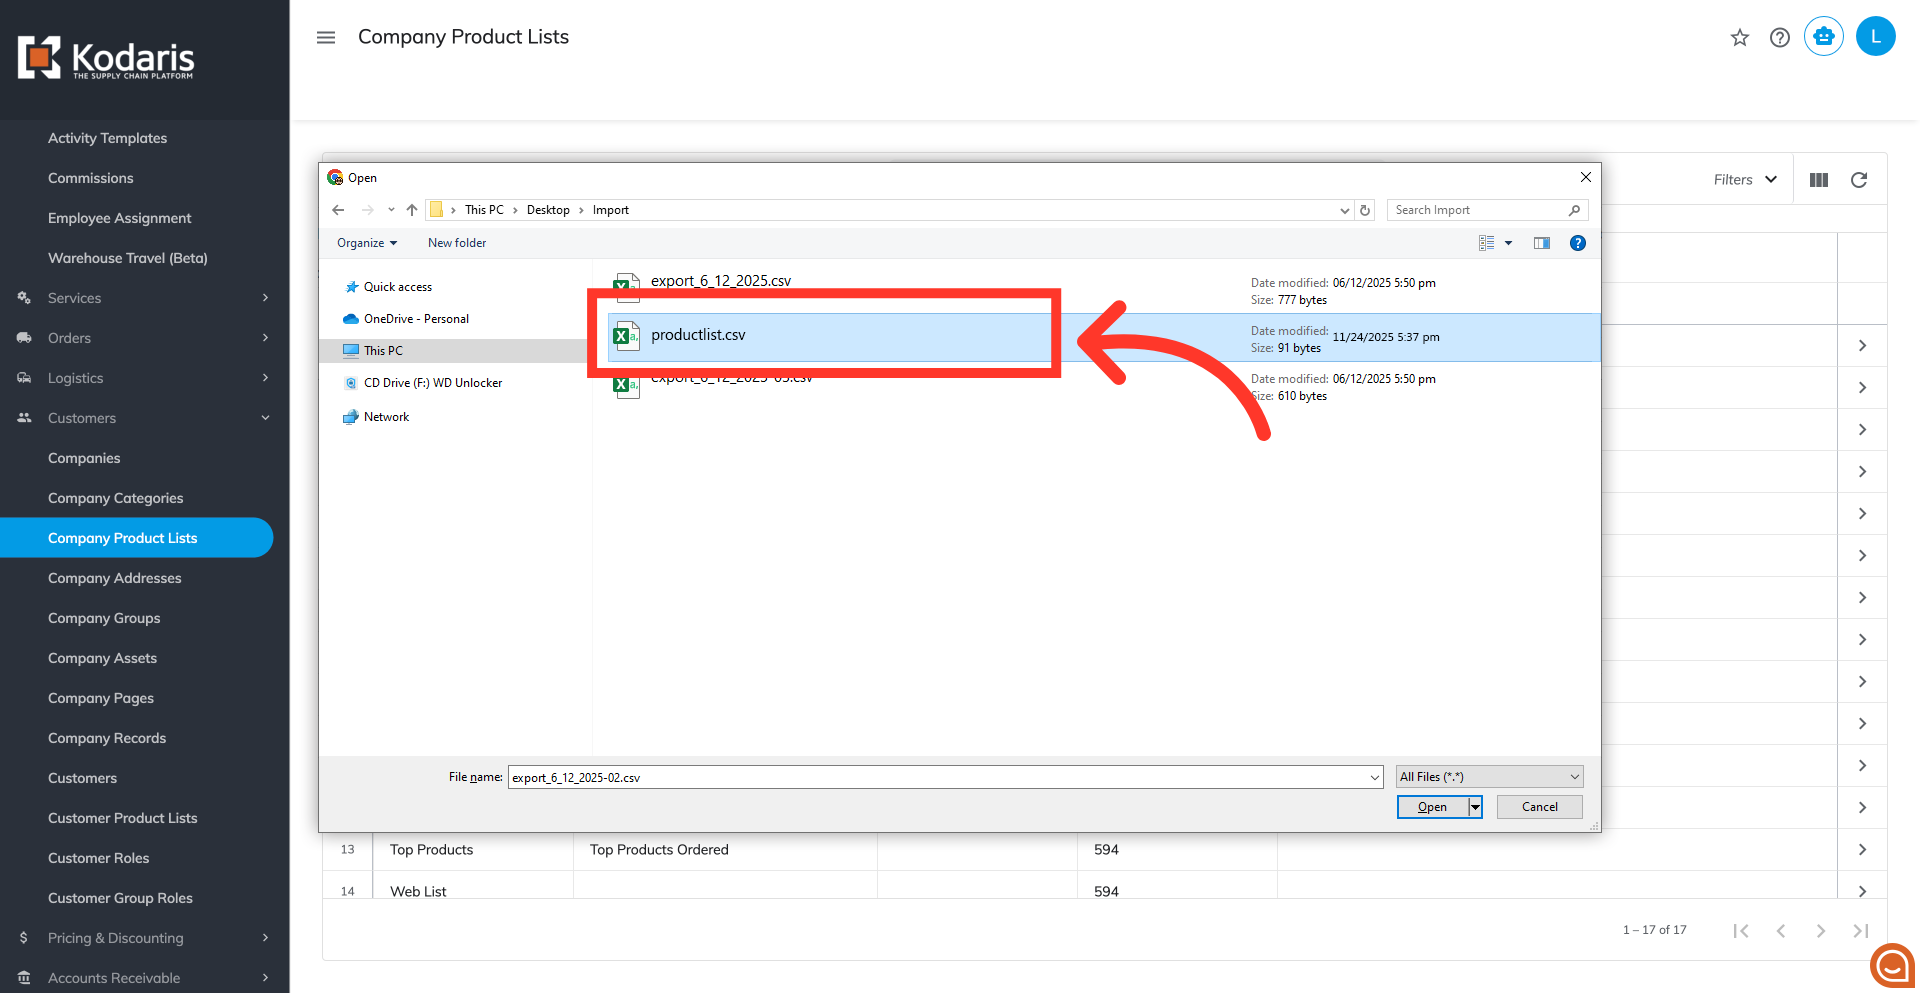
Select the file
You will be asked to upload a CSV file from your computer. Select the correct file, as imports are irreversible. The import will run in the background. Allow a few minutes for the data to be imported, and note that larger imports may take longer.
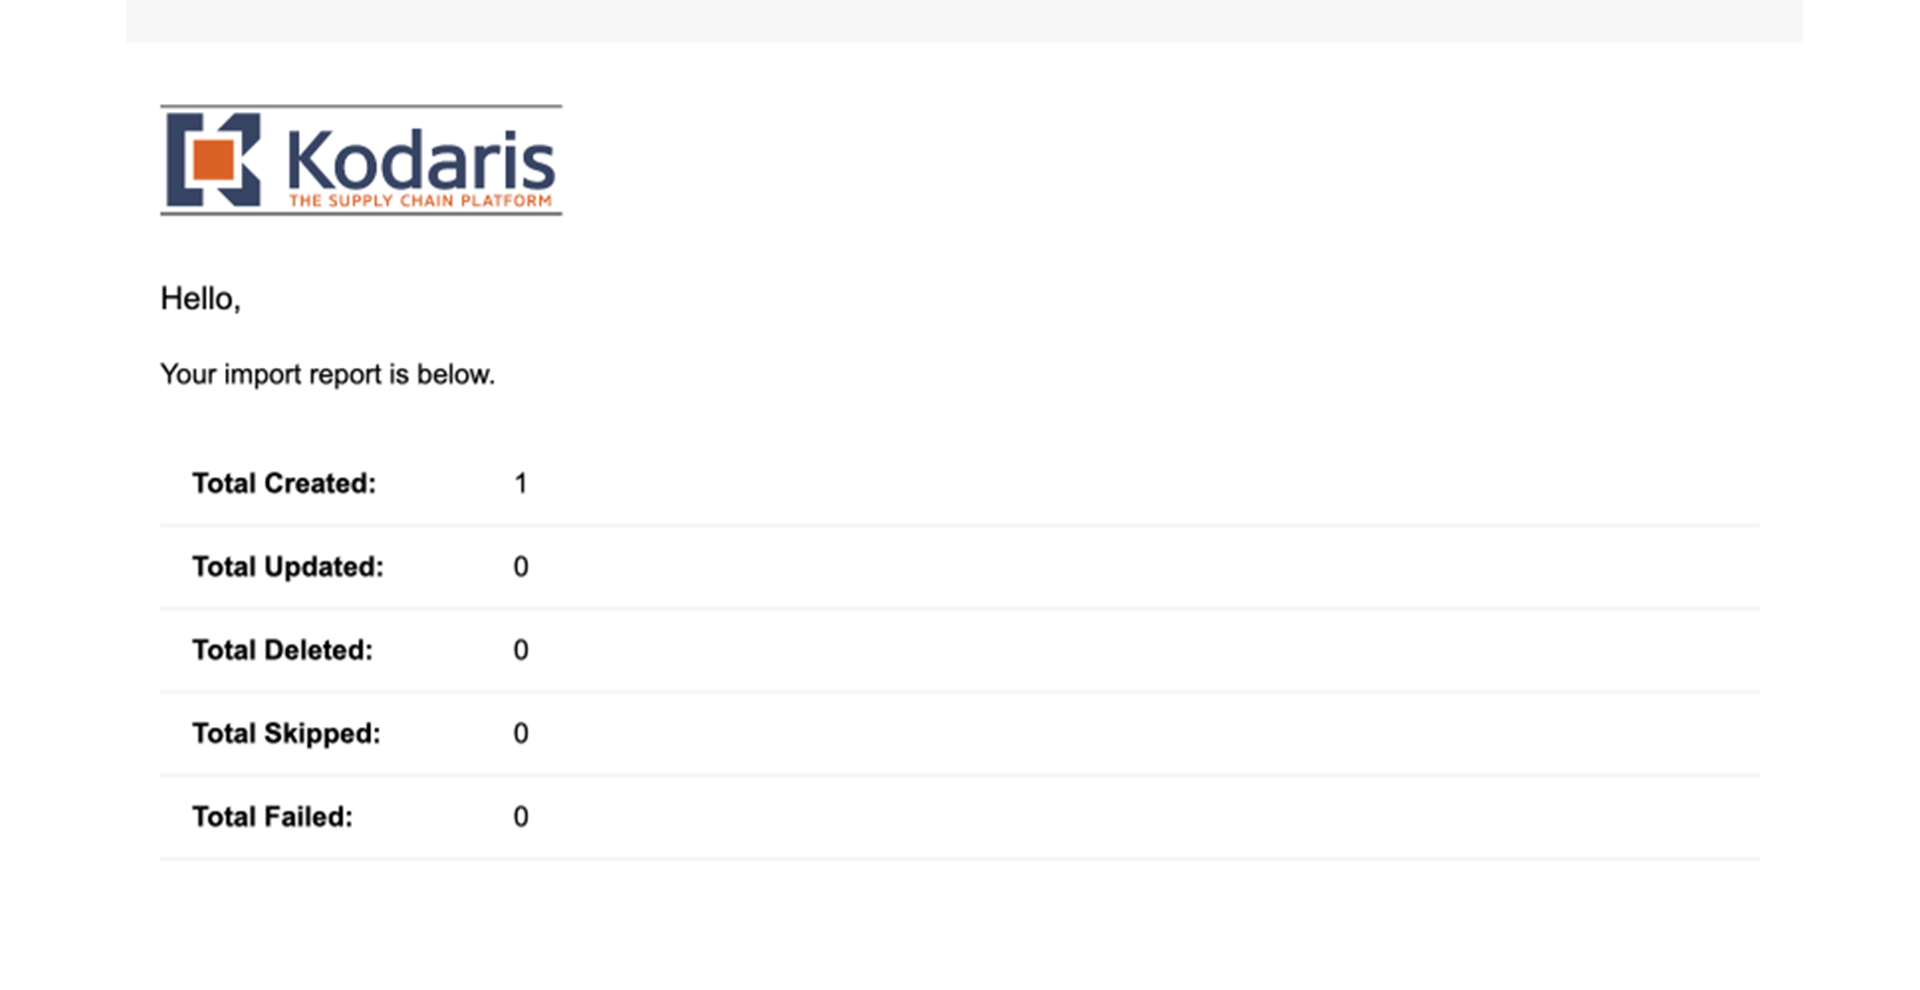
Email Report
An email report will also be generated once your import is complete.