Operations Services - Clone a Ticket Group
Navigate to "Services" section
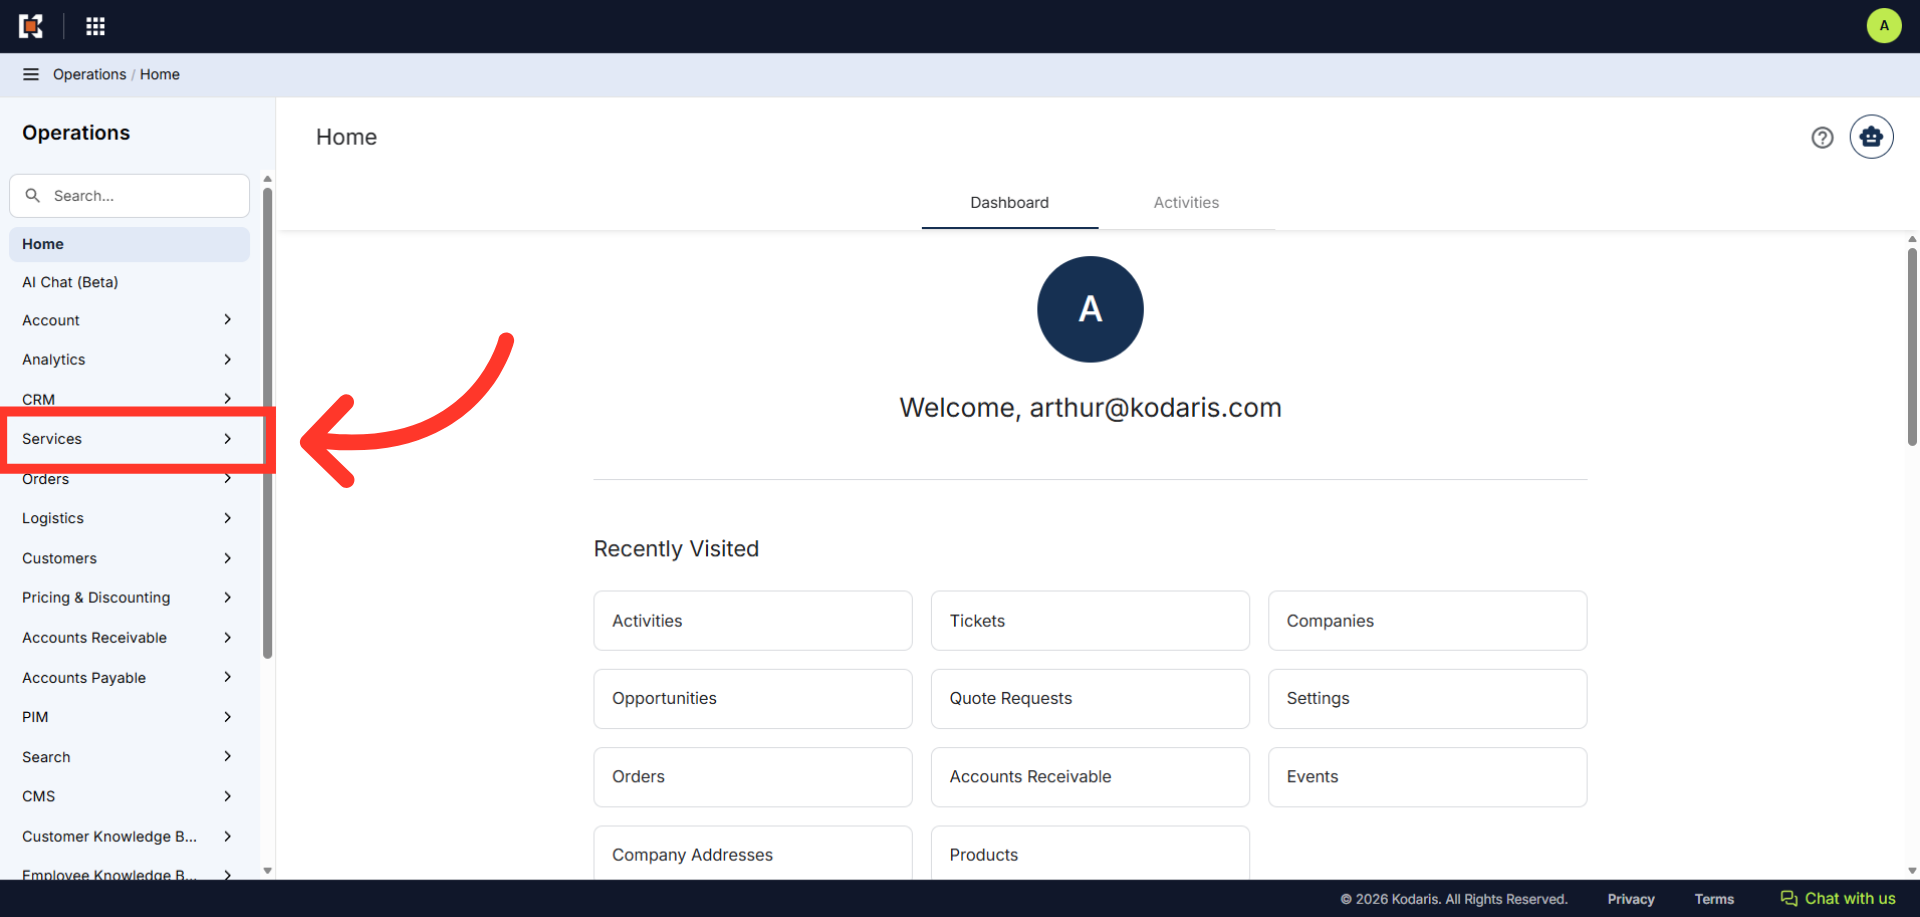
In order to clone a Ticket Group, navigate to "Services" section in the operations portal.
Click "Tickets"
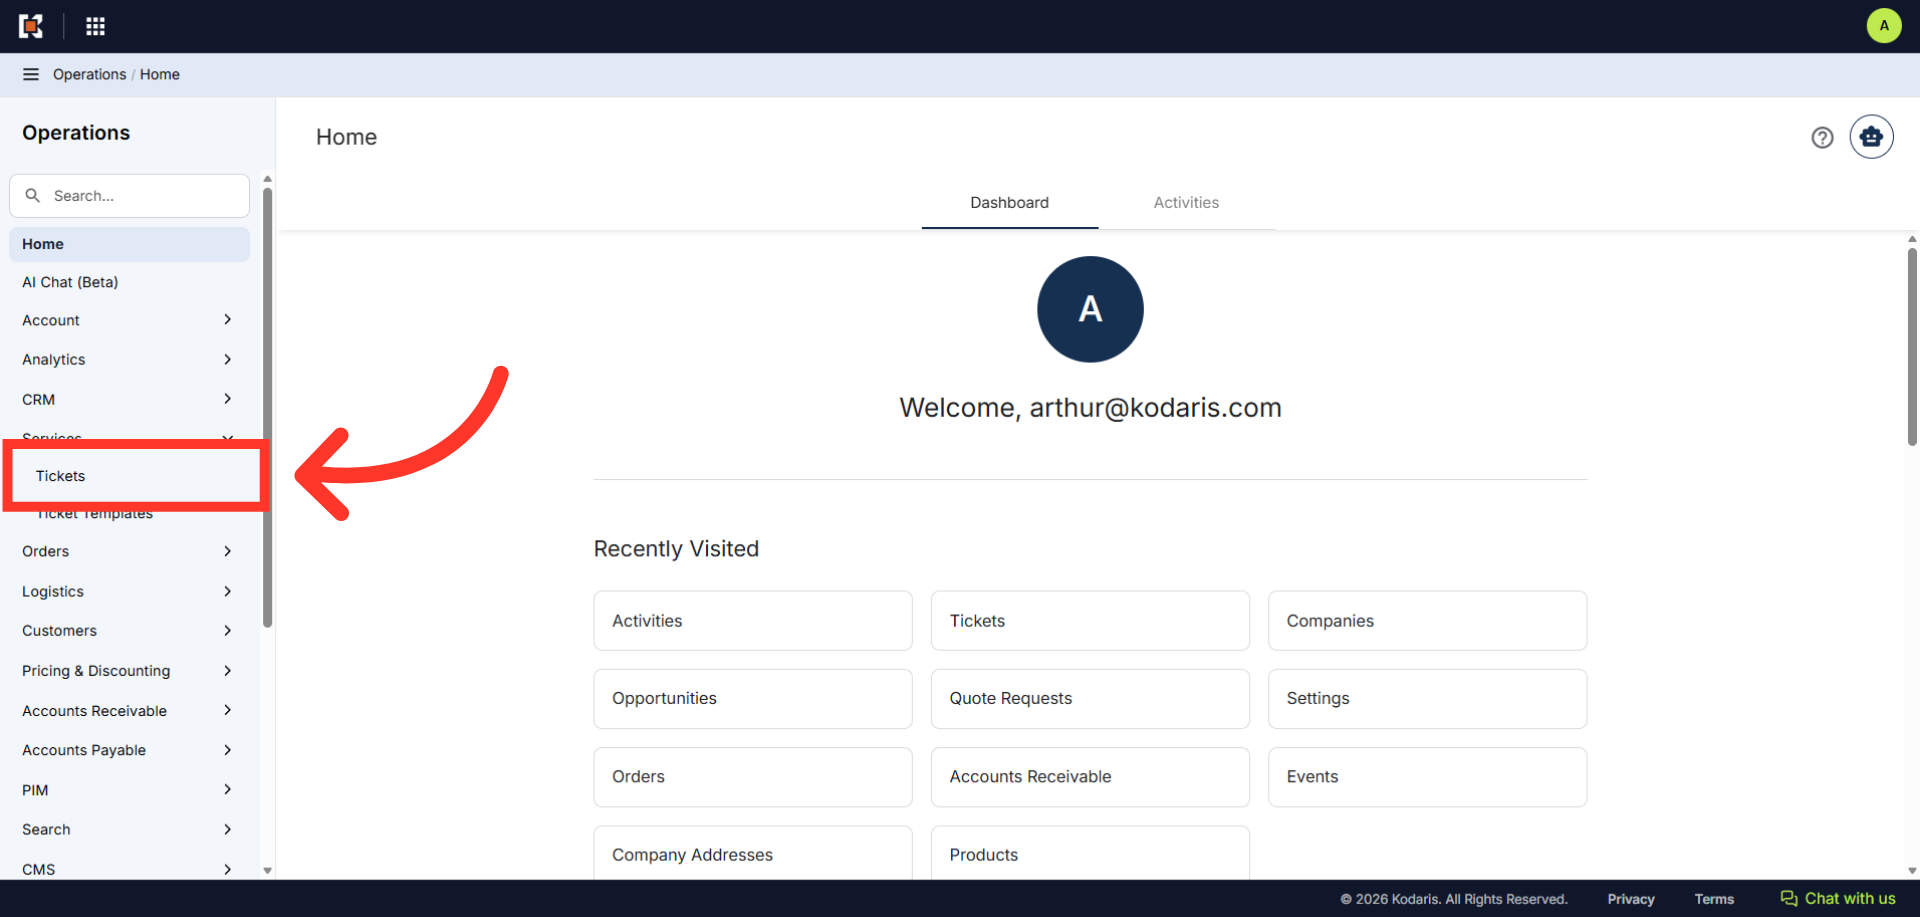
Click "Tickets". In order to access and update "Tickets" you will need to be set up either as an "administrator" or a "superuser", or have the roles of: "ticketView" and "ticketEdit". If you have users that should only work on tickets assigned to them, the role "ticketEditAssigned" can be used instead.
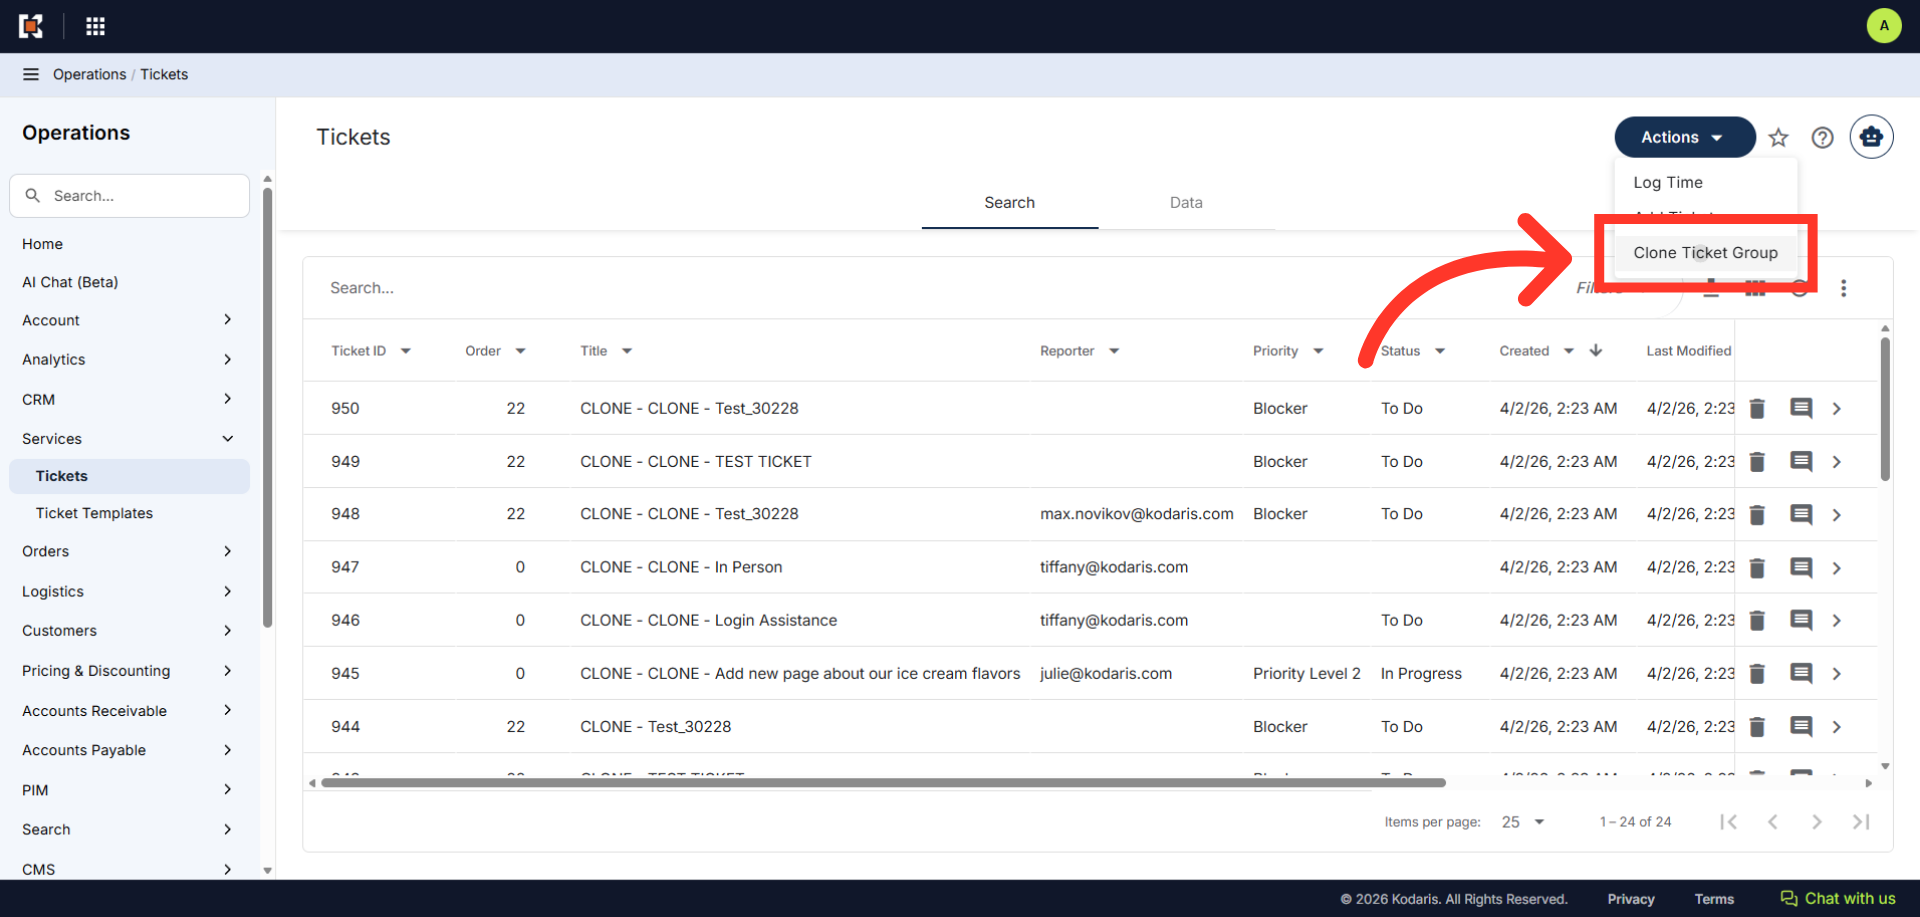
Click "Actions"
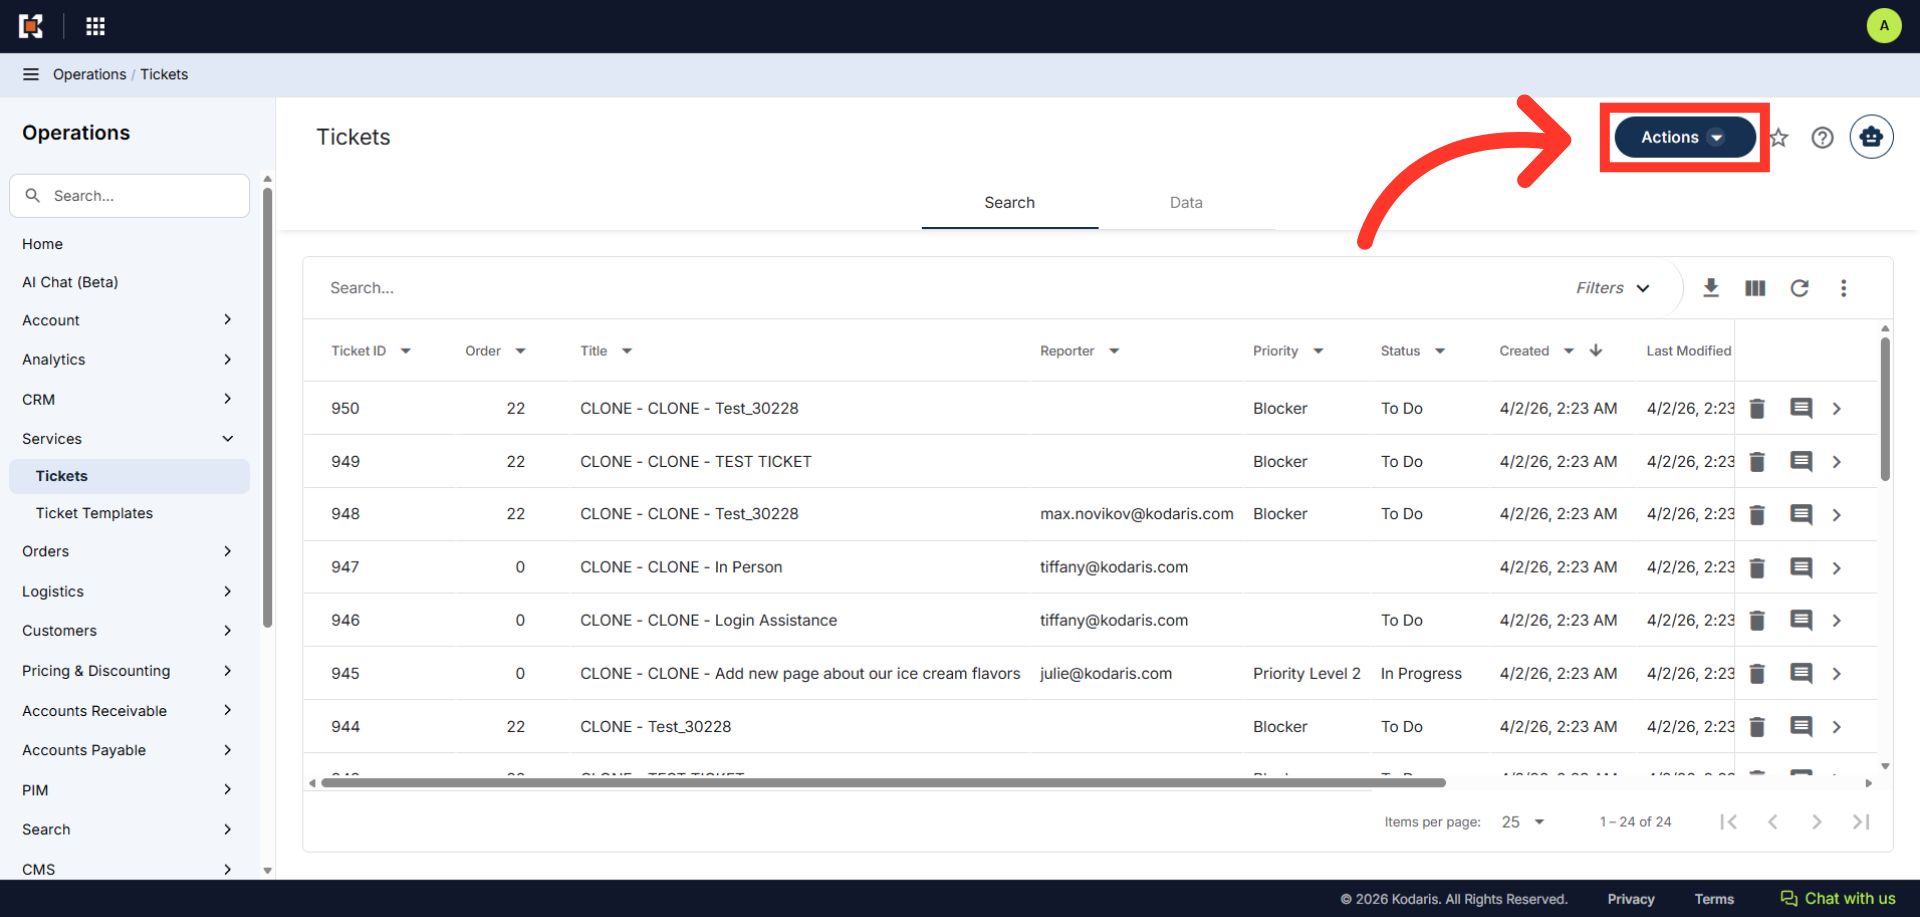
Next, click the "Actions" button.
Select "Clone Ticket Group"
Then, select the "Clone Ticket Group" option.
"Clone Ticket Group" dialog box should appear
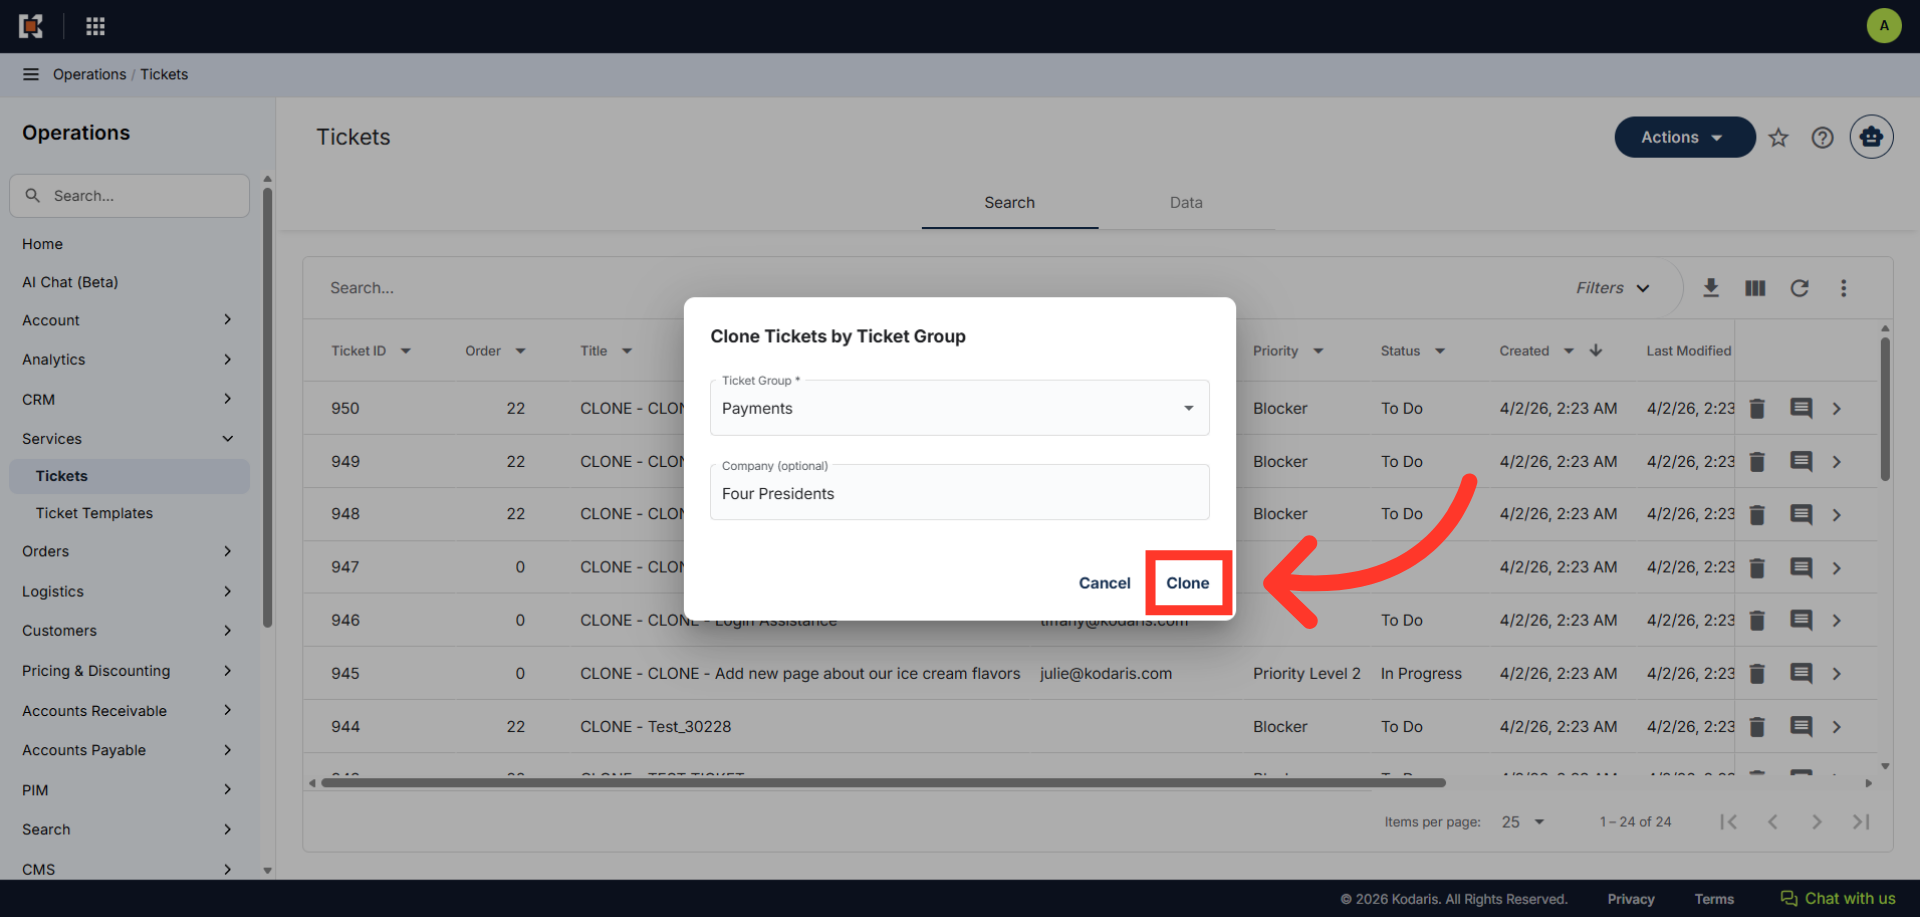
The "Clone Ticket Group" dialog box will appear.
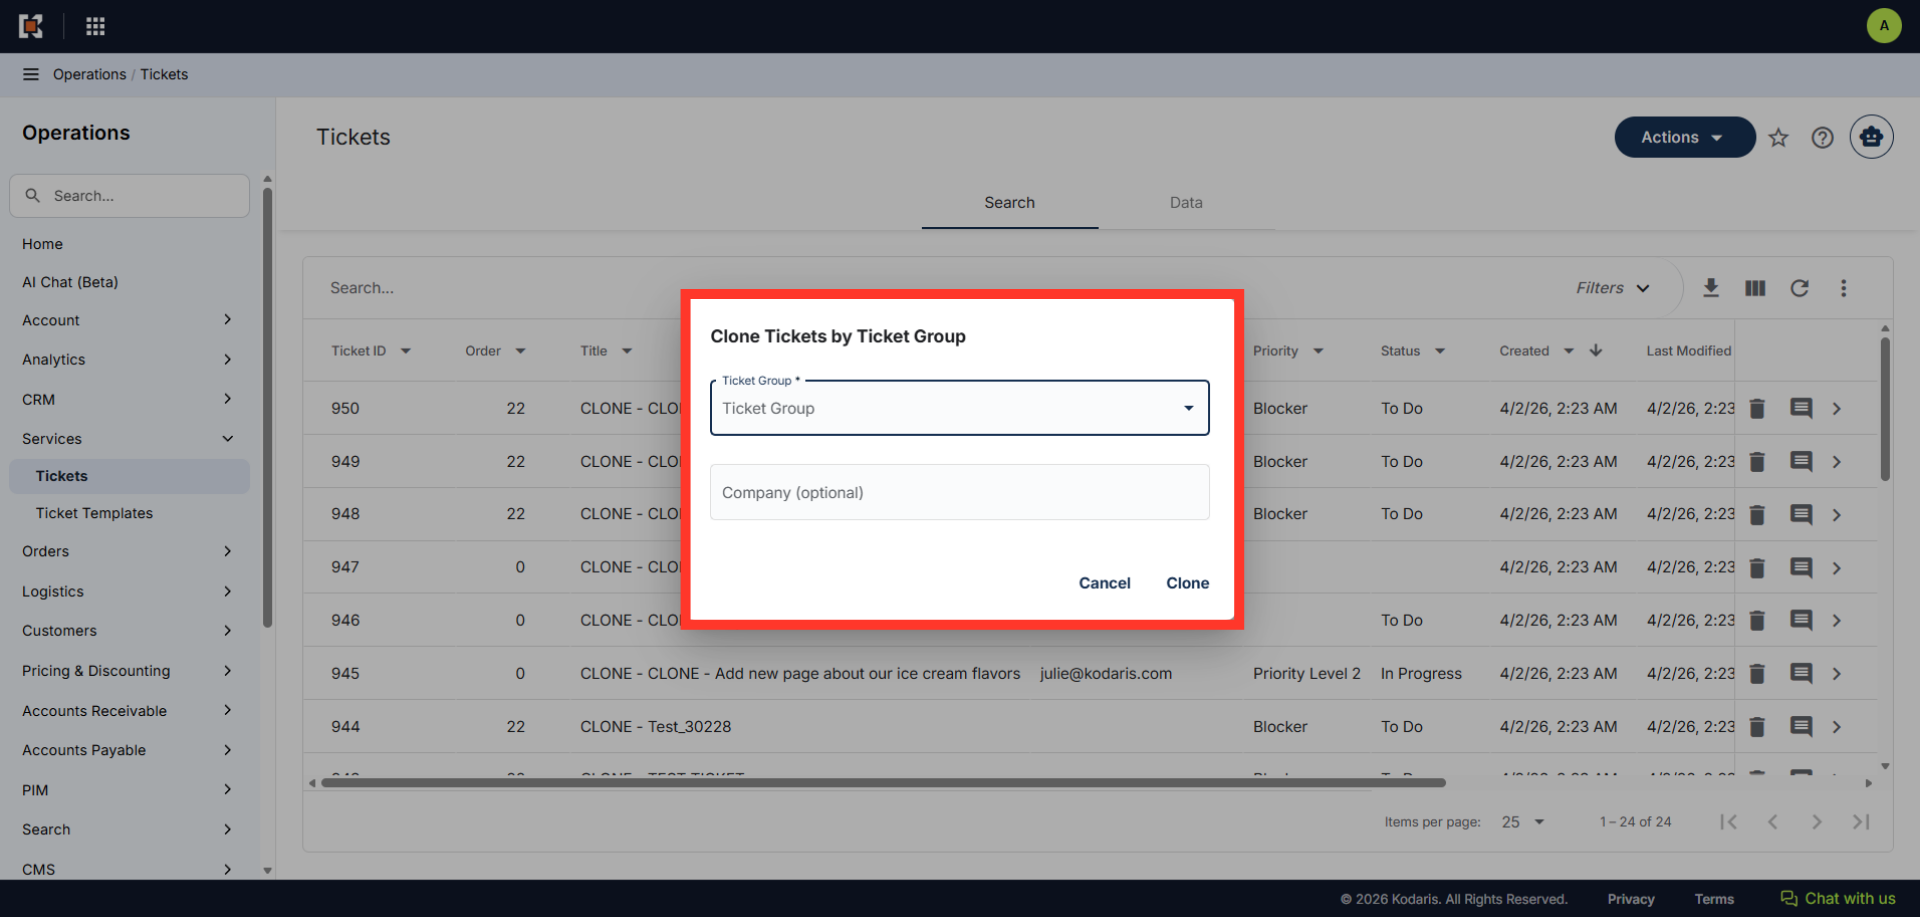
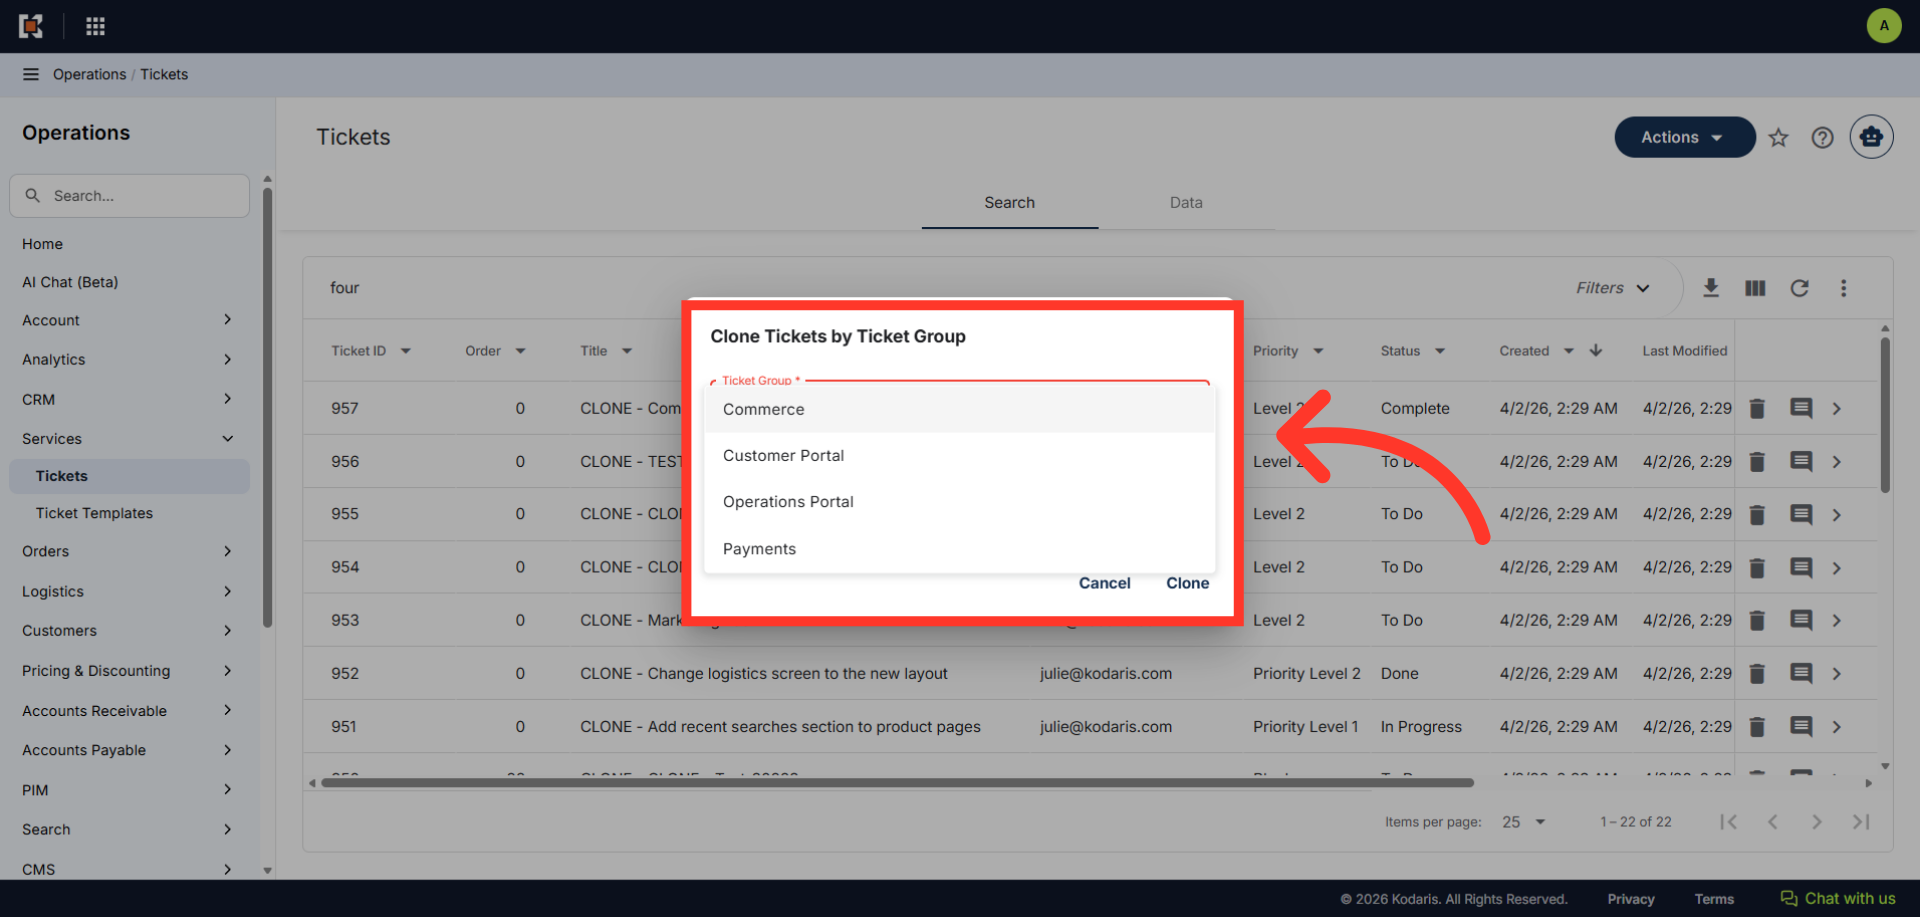
Select a Ticket Group
Select the ticket group that you would like to clone.
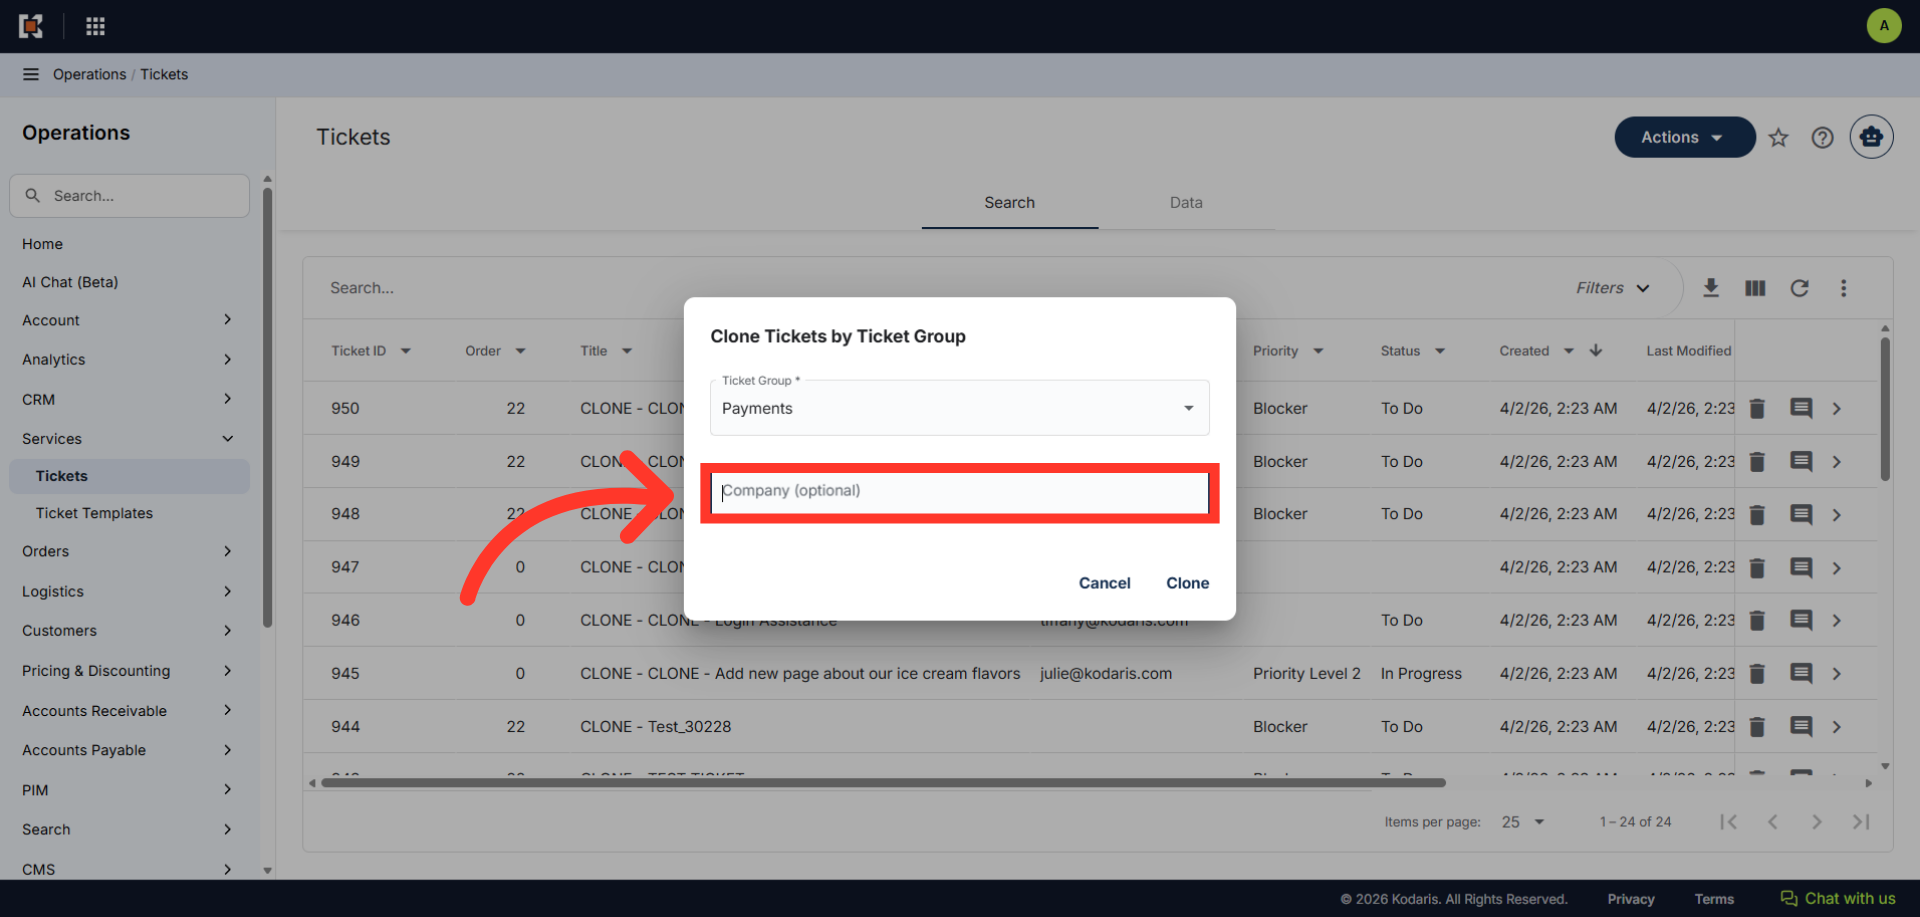
Enter Company Name
If you would like to assign this ticket group to a company, enter the company name. This is optional.
Click "Clone"
Click "Clone".
Ticket Group Cloned Message would appear
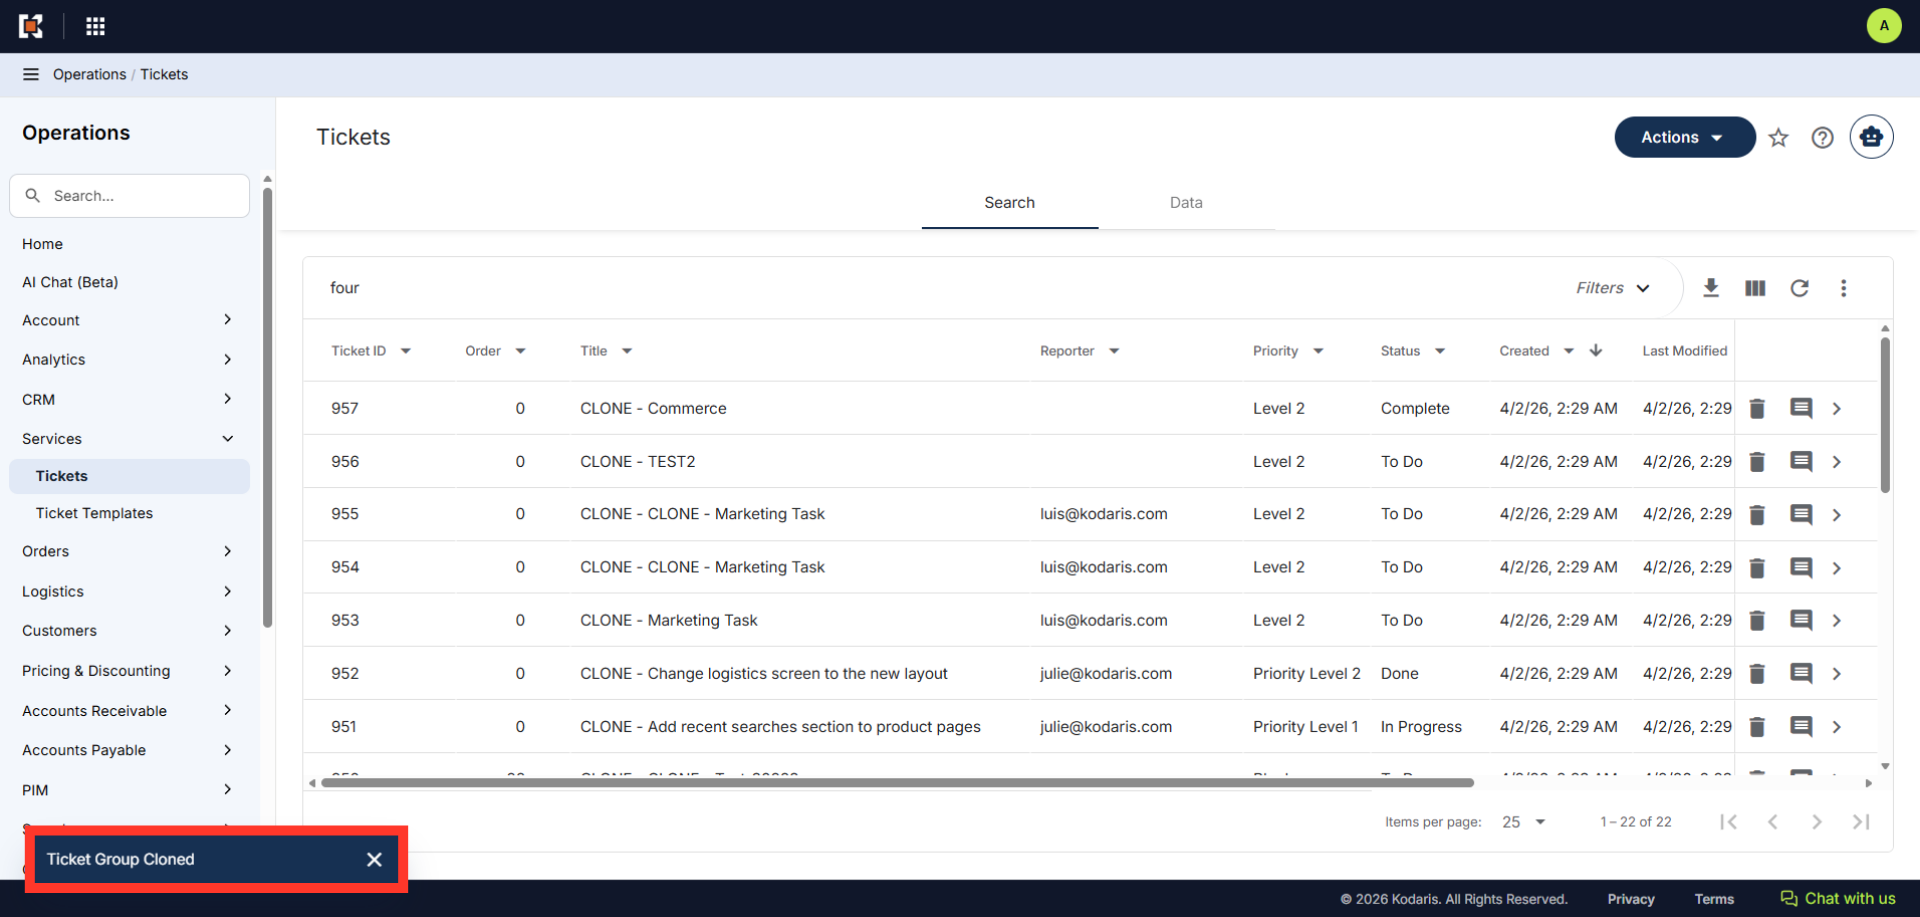
You will see a message confirming that the selected ticket group was cloned.
Click the "Show / Hide Columns" Icon
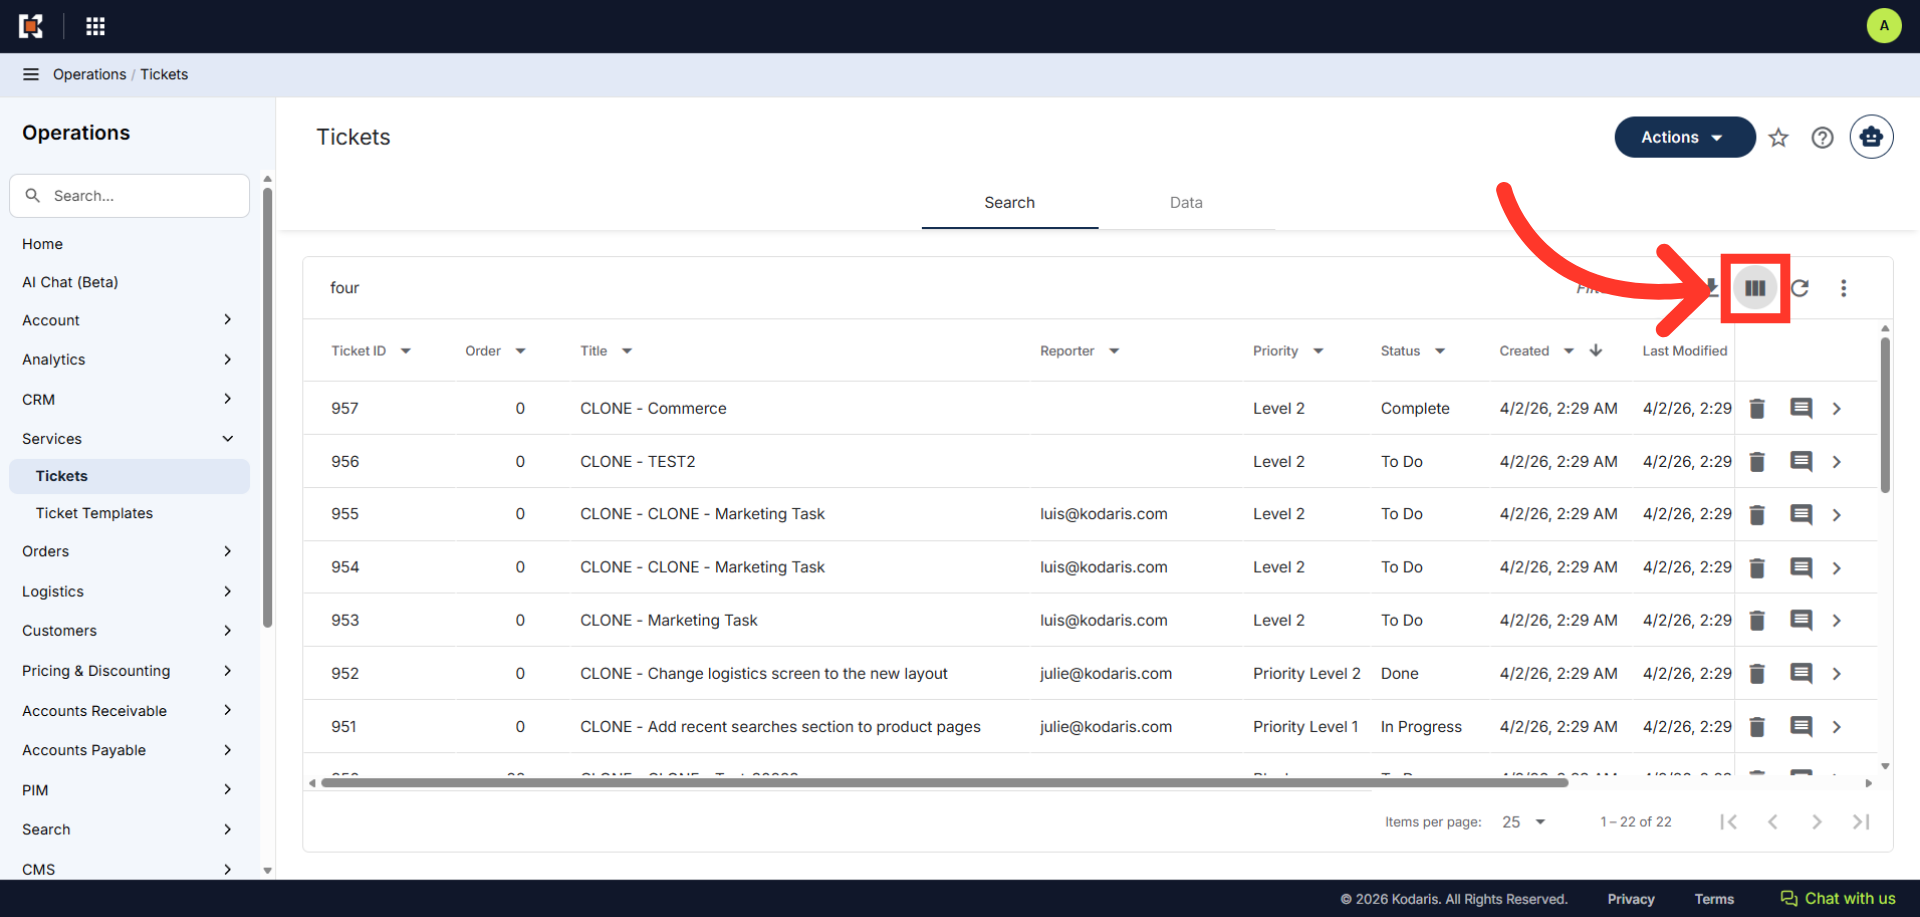
Next, click the "Show / Hide Columns" Icon. You can use the "Show/Hide" icon to add any needed columns to your view.
Click "Ticket Group"
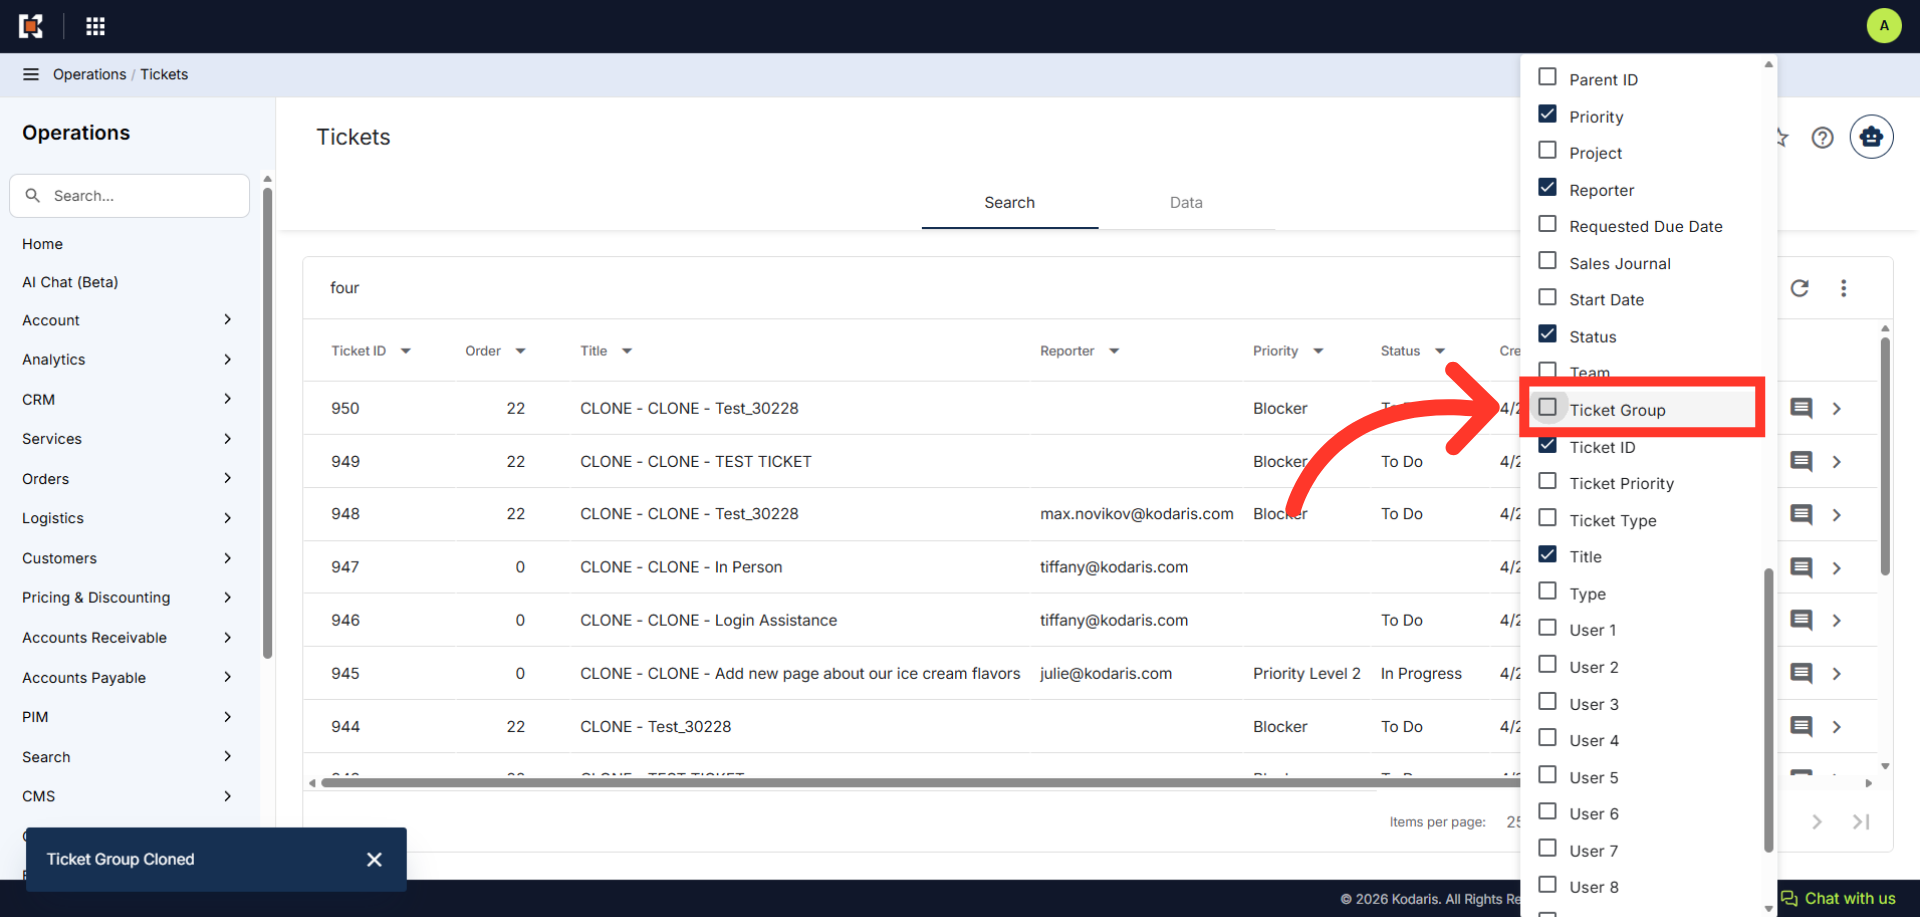
Click "Ticket Group".
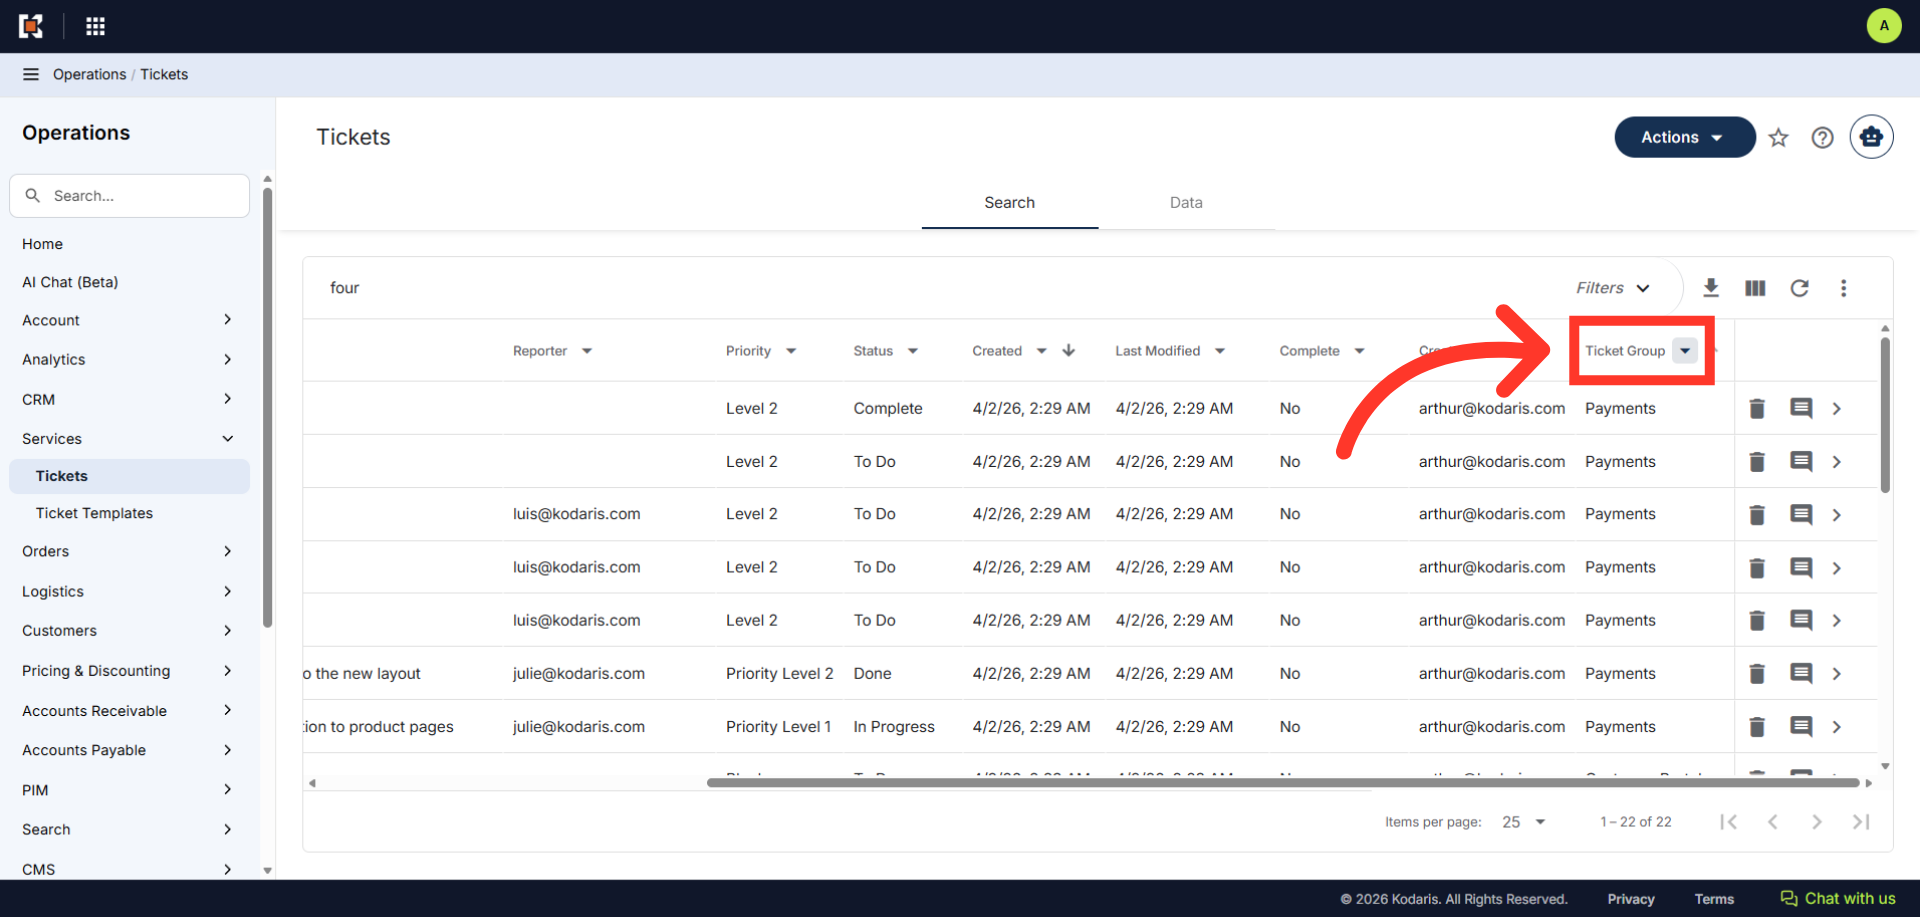
Click the "Ticket Group" column dropdown
Click the "Ticket Group" column dropdown.
Select the Cloned Ticket Group
Select the ticket group you've just cloned.

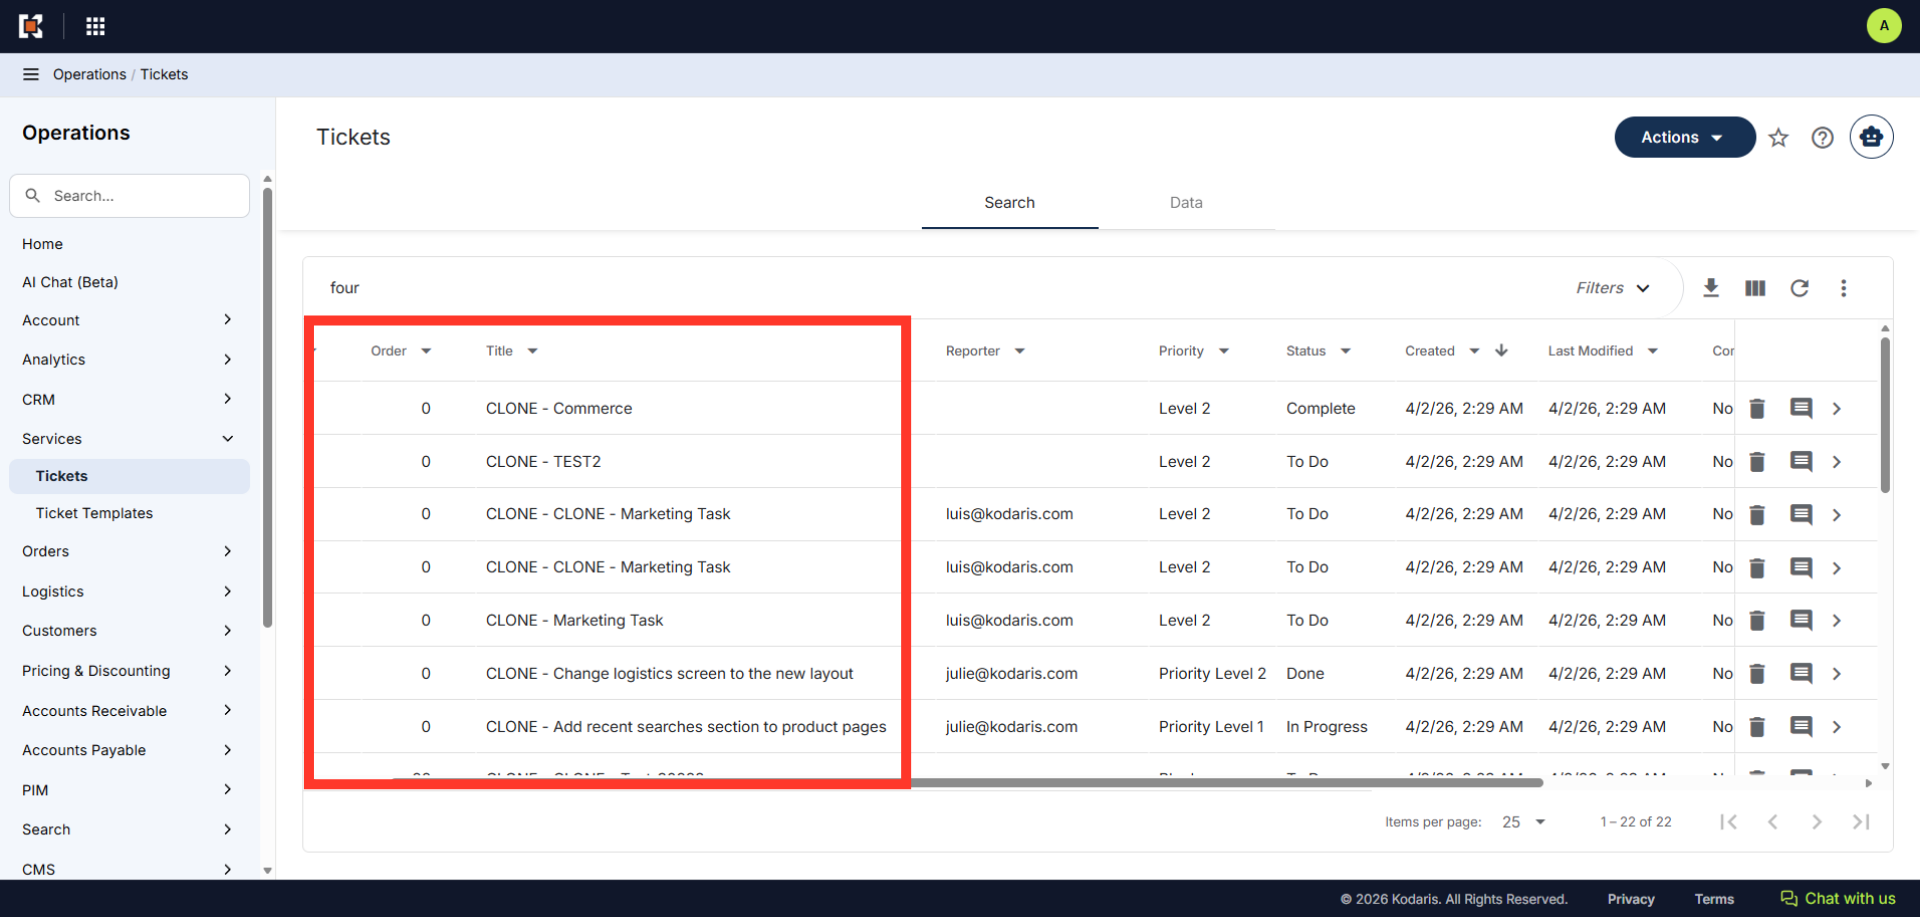
Cloned Ticket Group
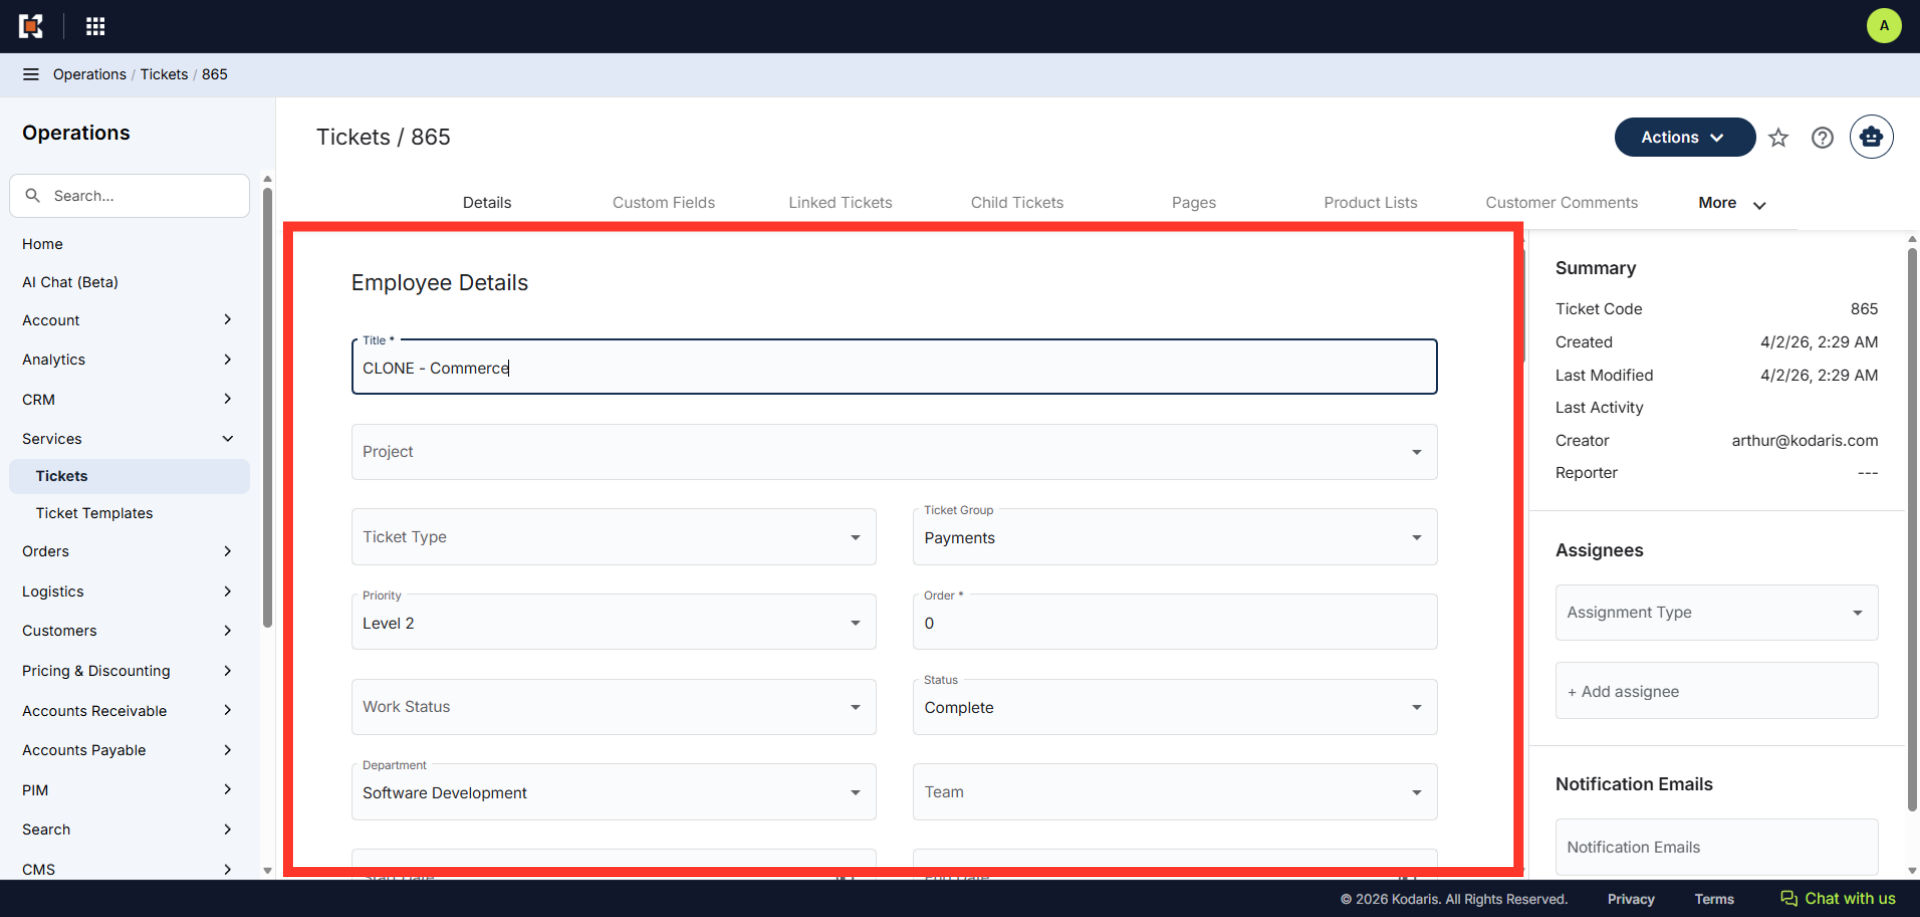
The cloned ticket group will have "CLONE" in the title.
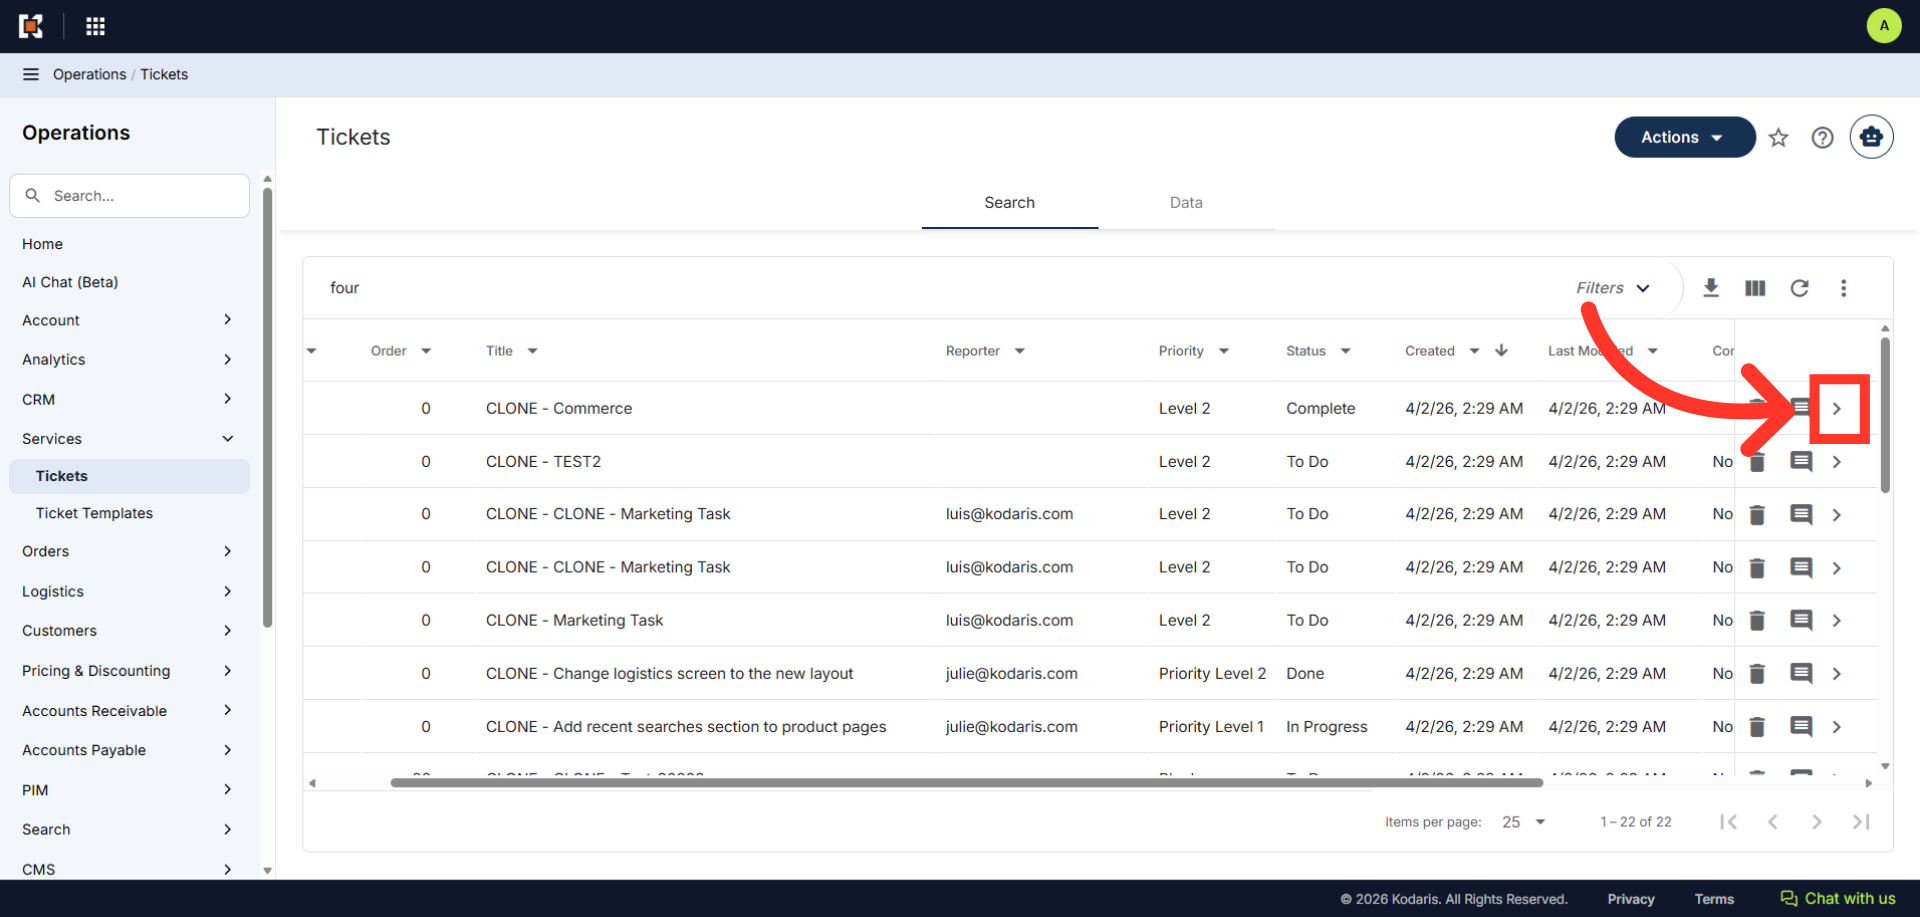
Click the more details icon
To update the ticket, click the more details icon.
Update Ticket Details
Update the title, and any other ticket fields or details if needed.