Operations CRM - Add an Activity
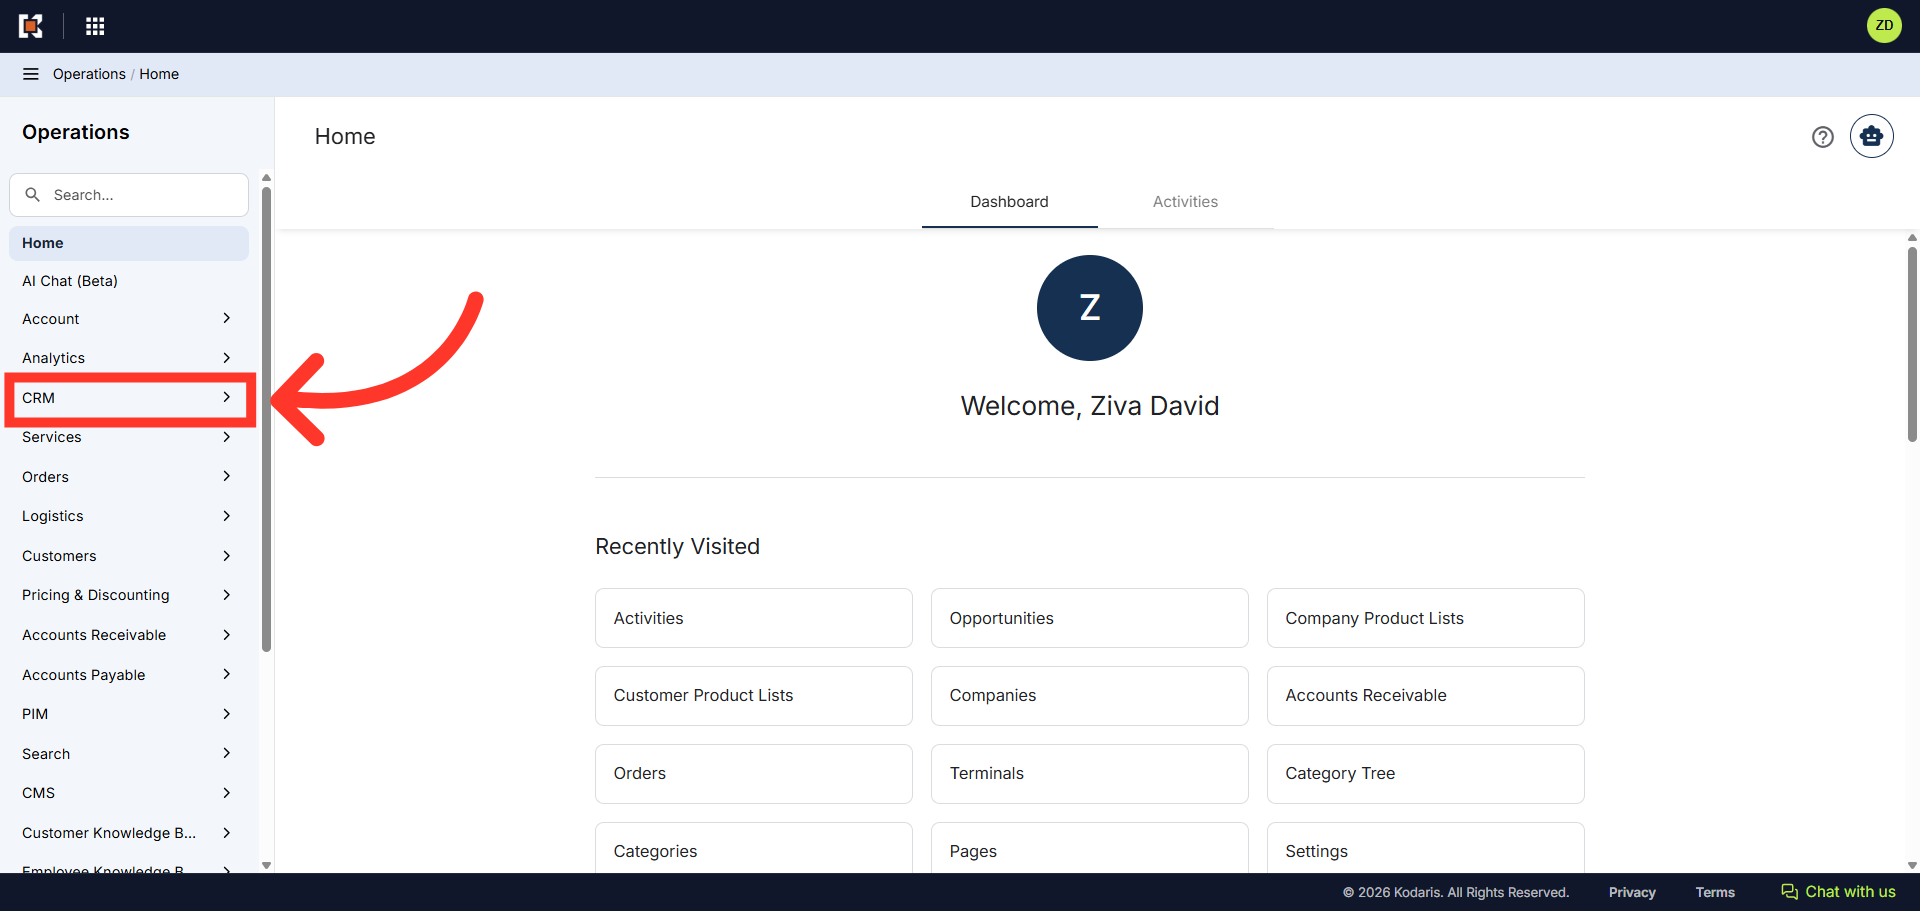
Navigate to "CRM"
To add an activity in the Operations Portal, first navigate to the "CRM" section.
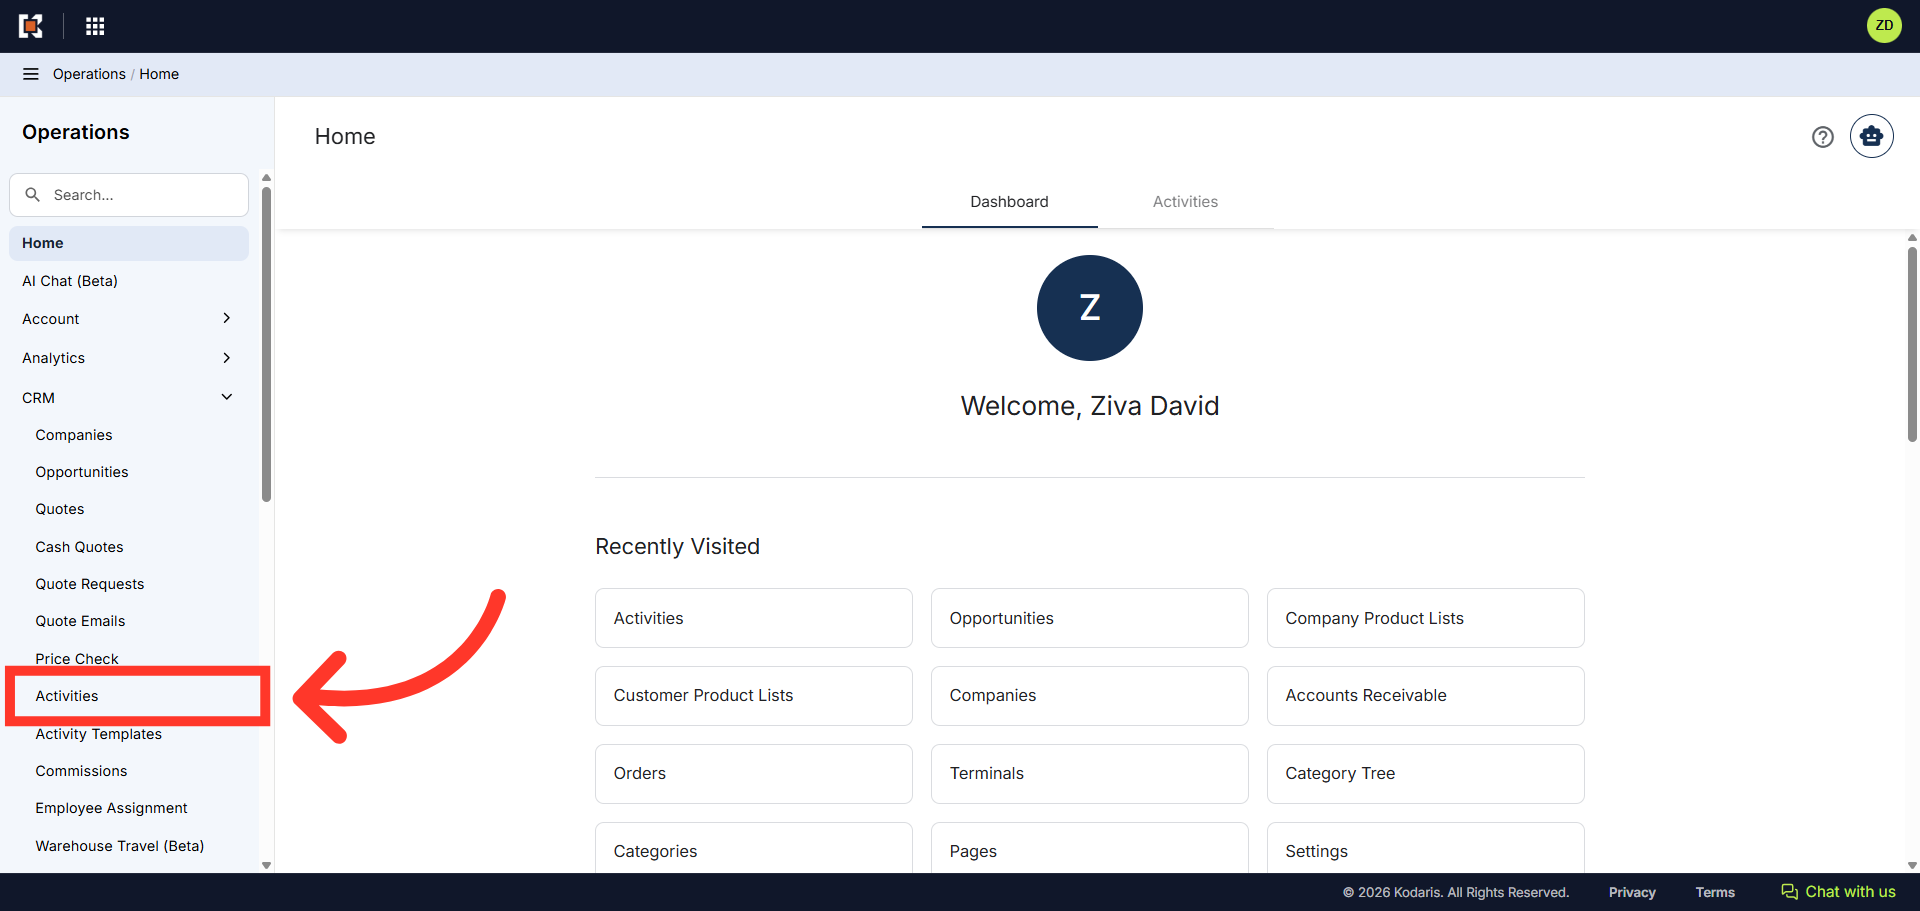
Click "Activities"
Then, click on "Activities". In order to access and update "Activities", you will need to be set up as a "superuser" or "administrator" or have the role of: "ticketEdit"
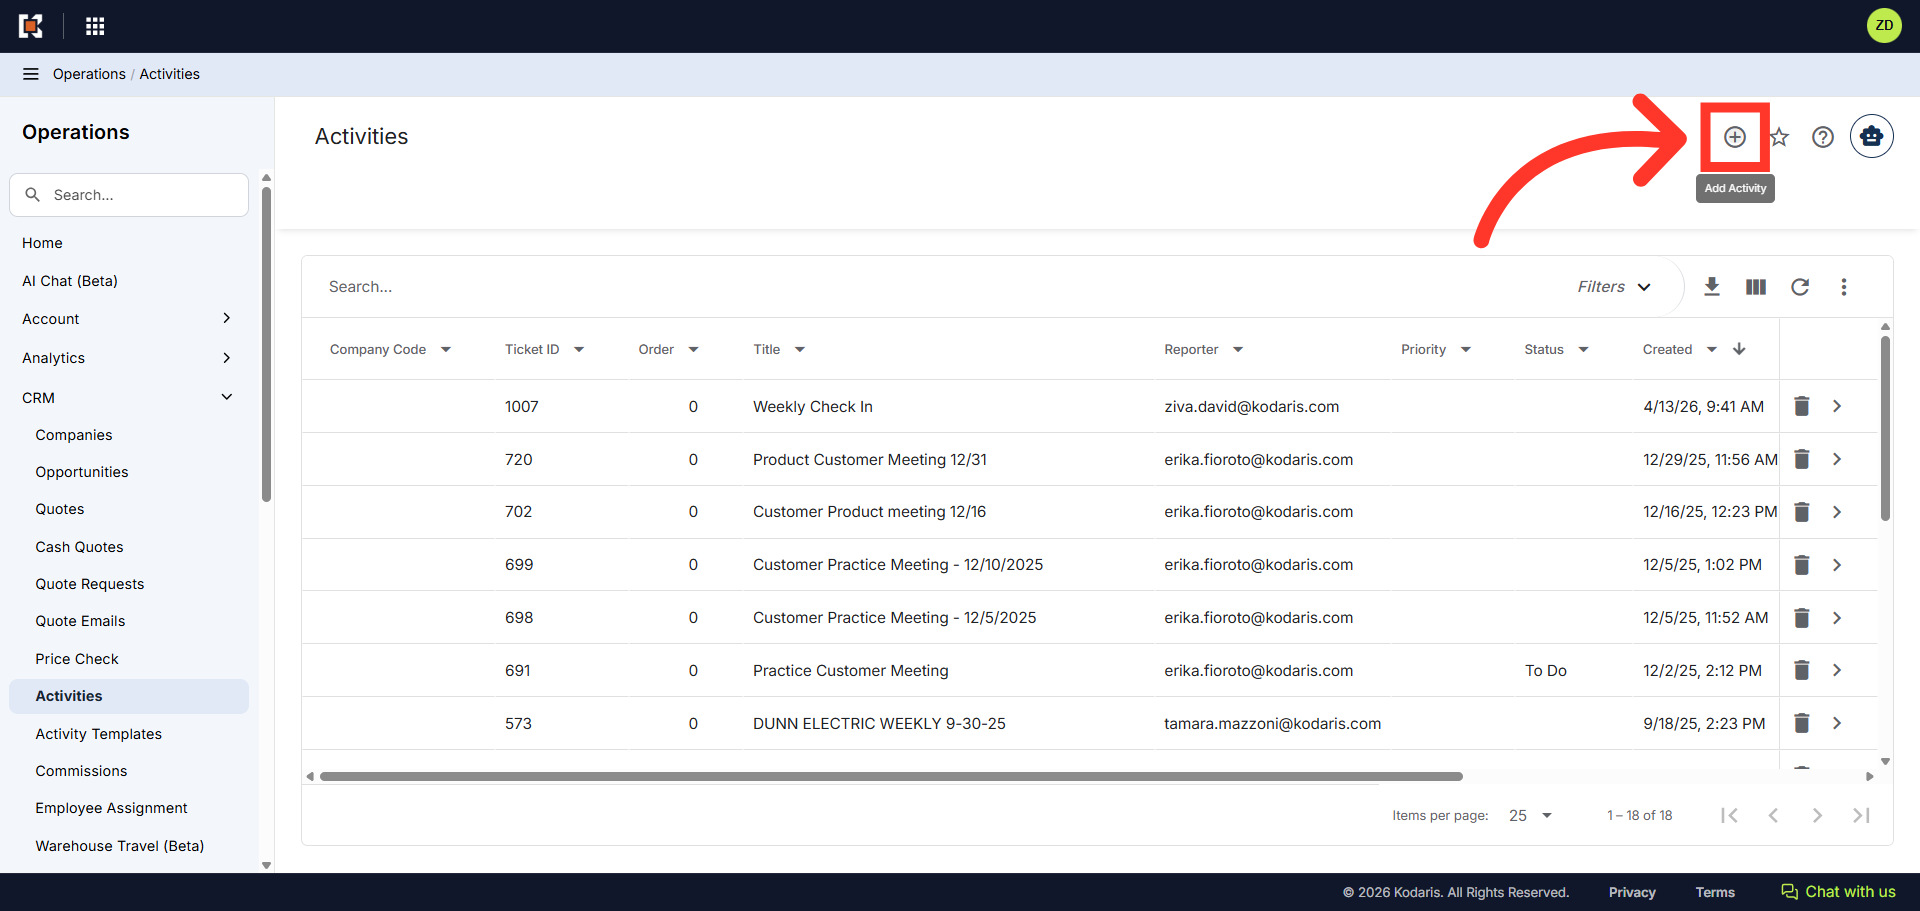
Click "Add Activity"
Next, click the "Add Activity" icon on the upper right-hand side of the window.
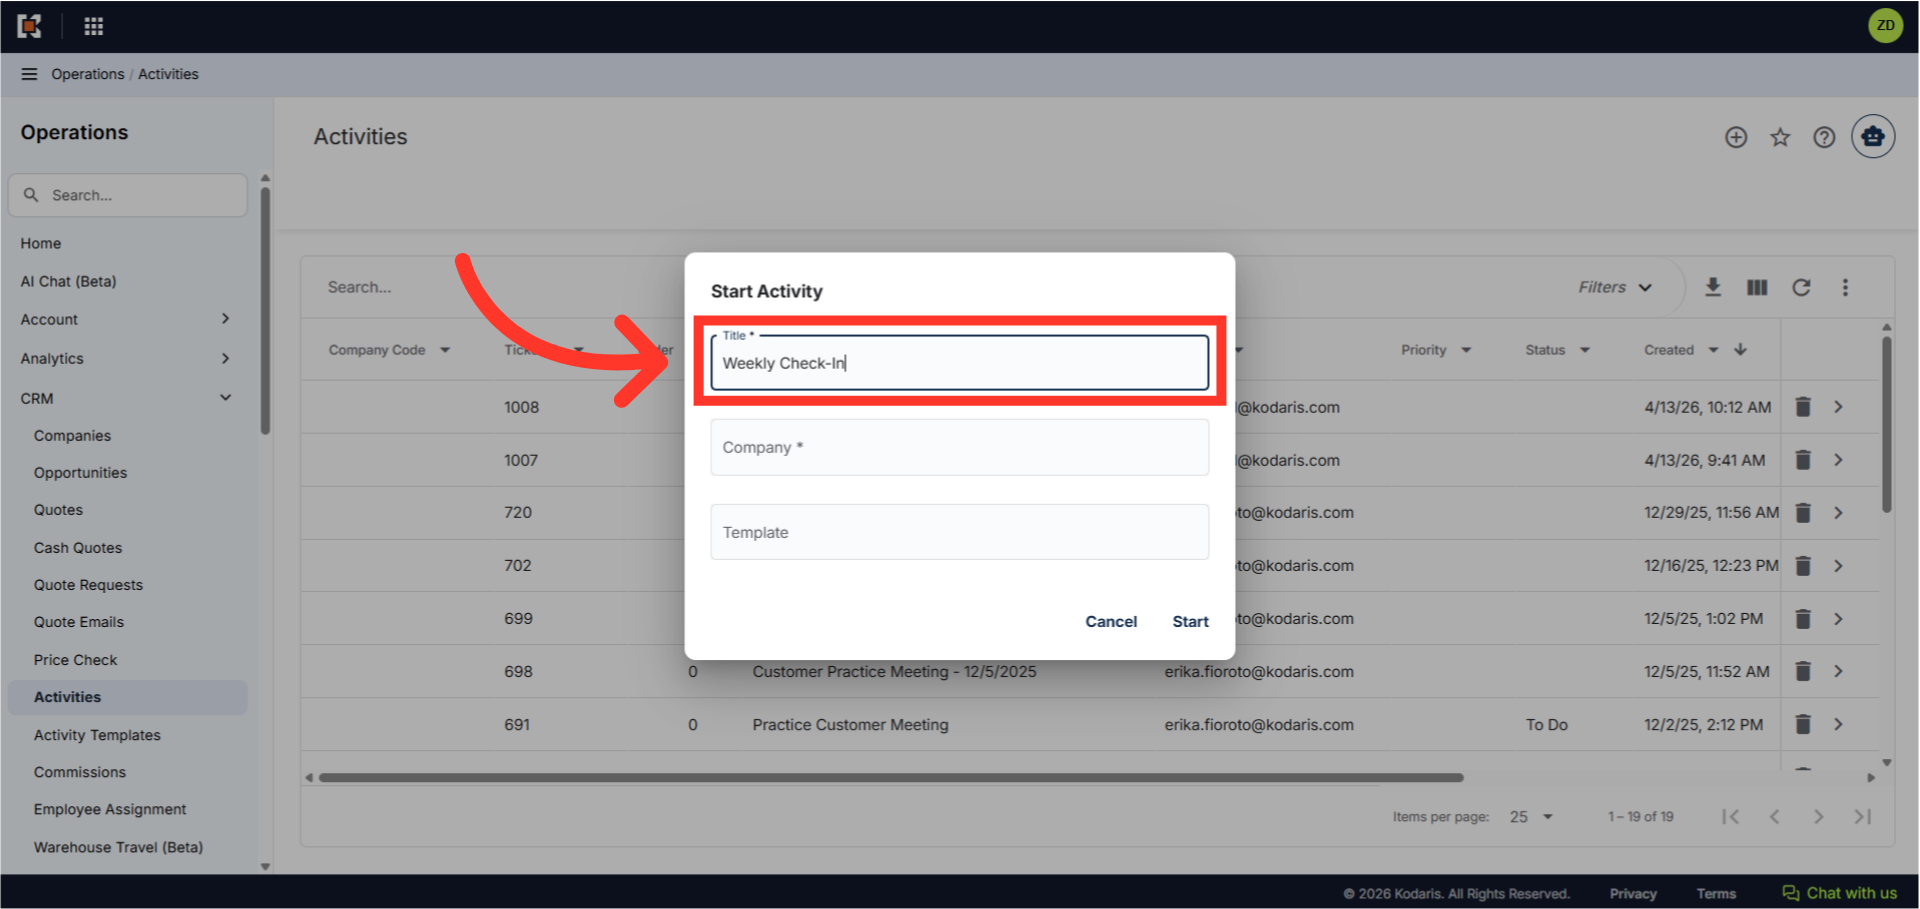
Add a title to the activity
In the "Start Activity" dialog box, click in the "Title" field and enter a title for the activity. In this example, we will use "Weekly Check-In".
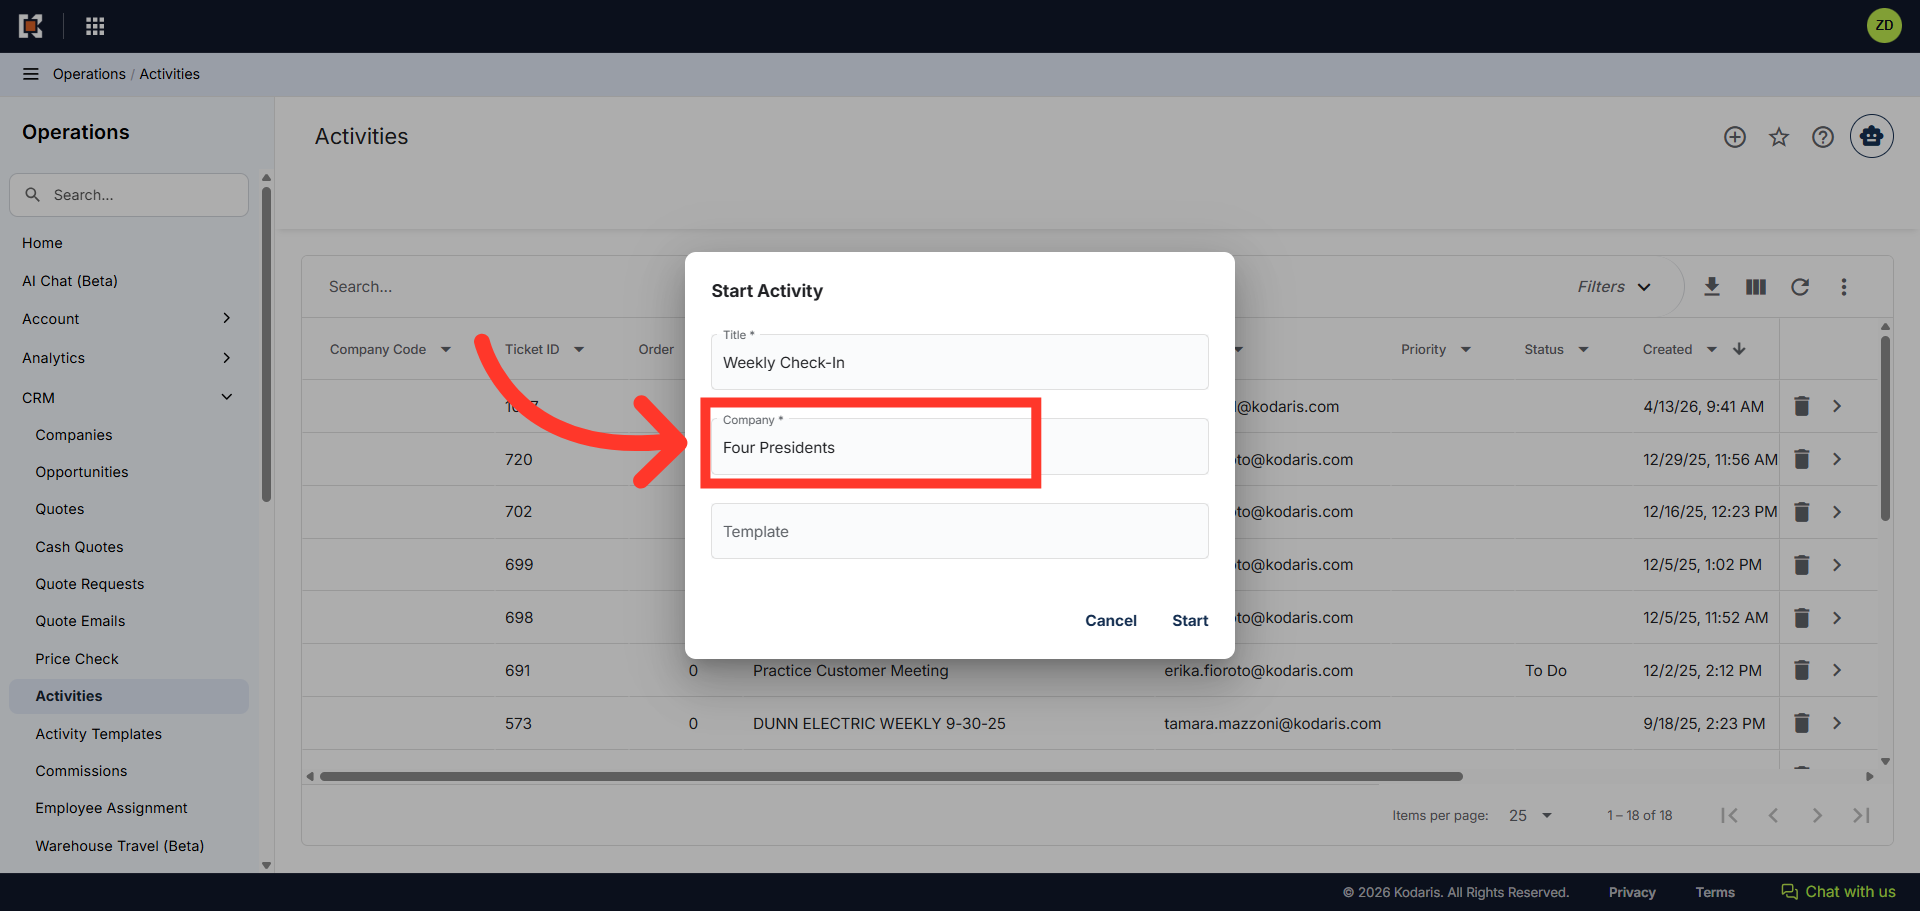
Select a company
Next, enter the company name you wish to assign this activity to. In this example we will use "Four Presidents".
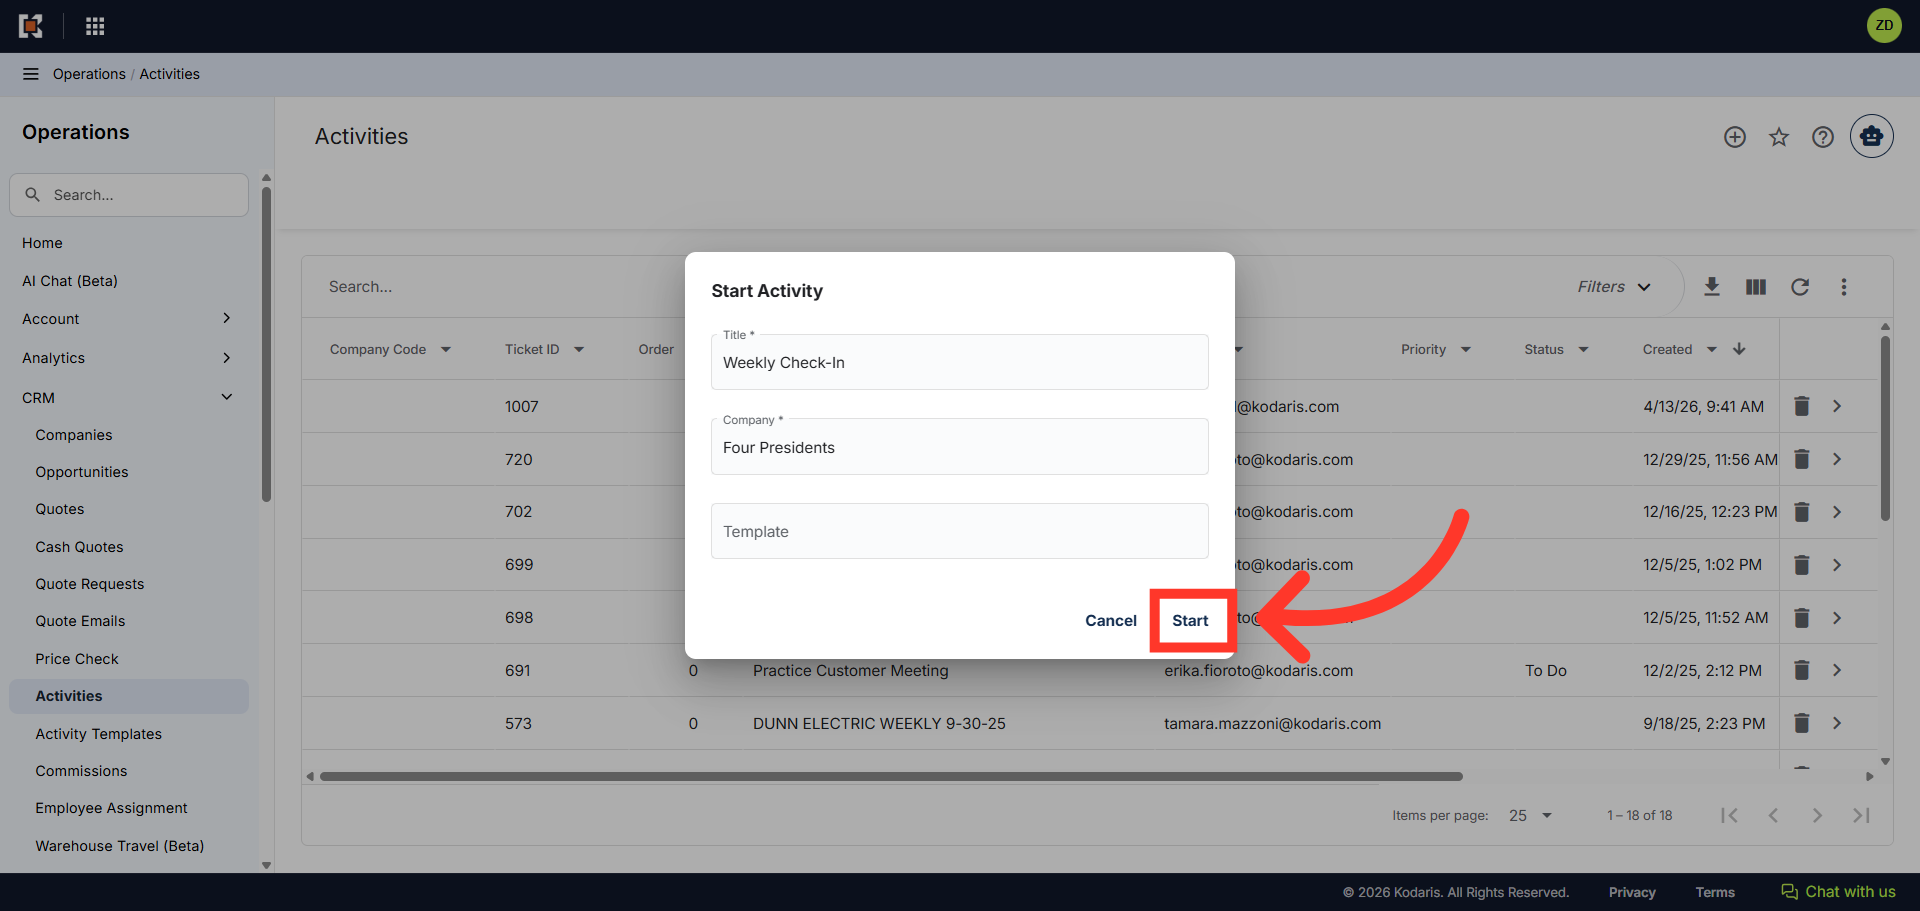
Click "Start"
Then, click "Start" to create the activity.
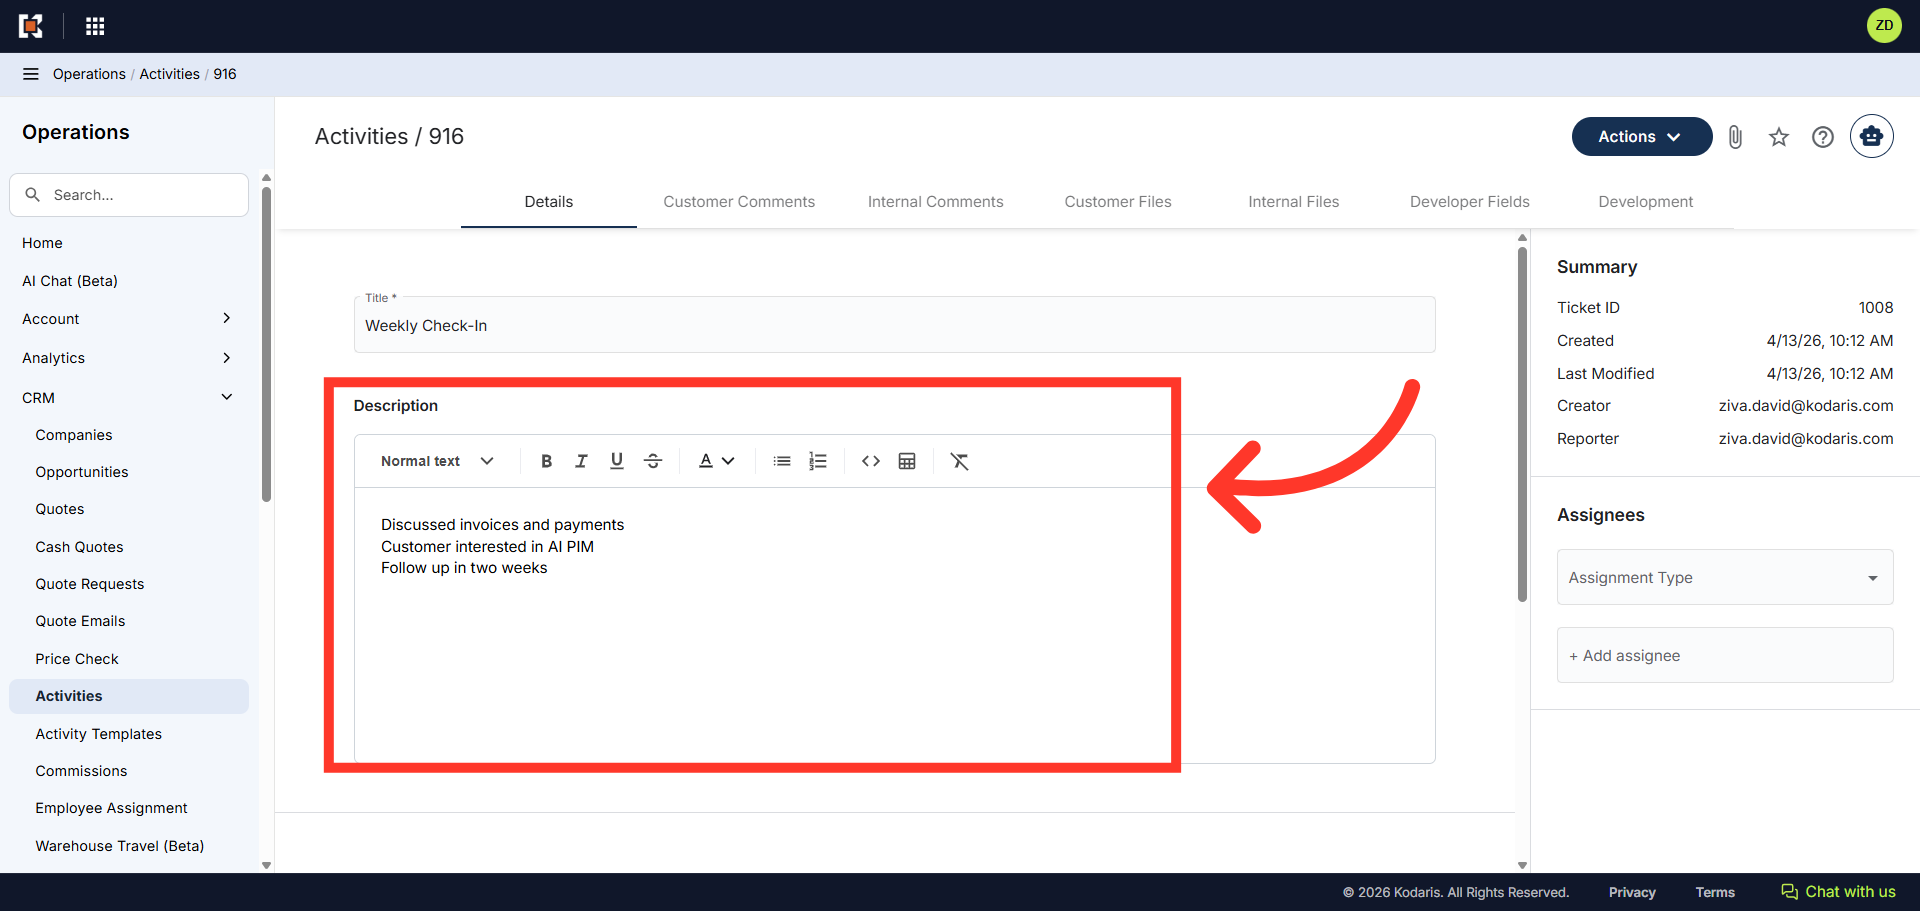
Add a description
Click in the "Description" field to add information relevant to the activity.
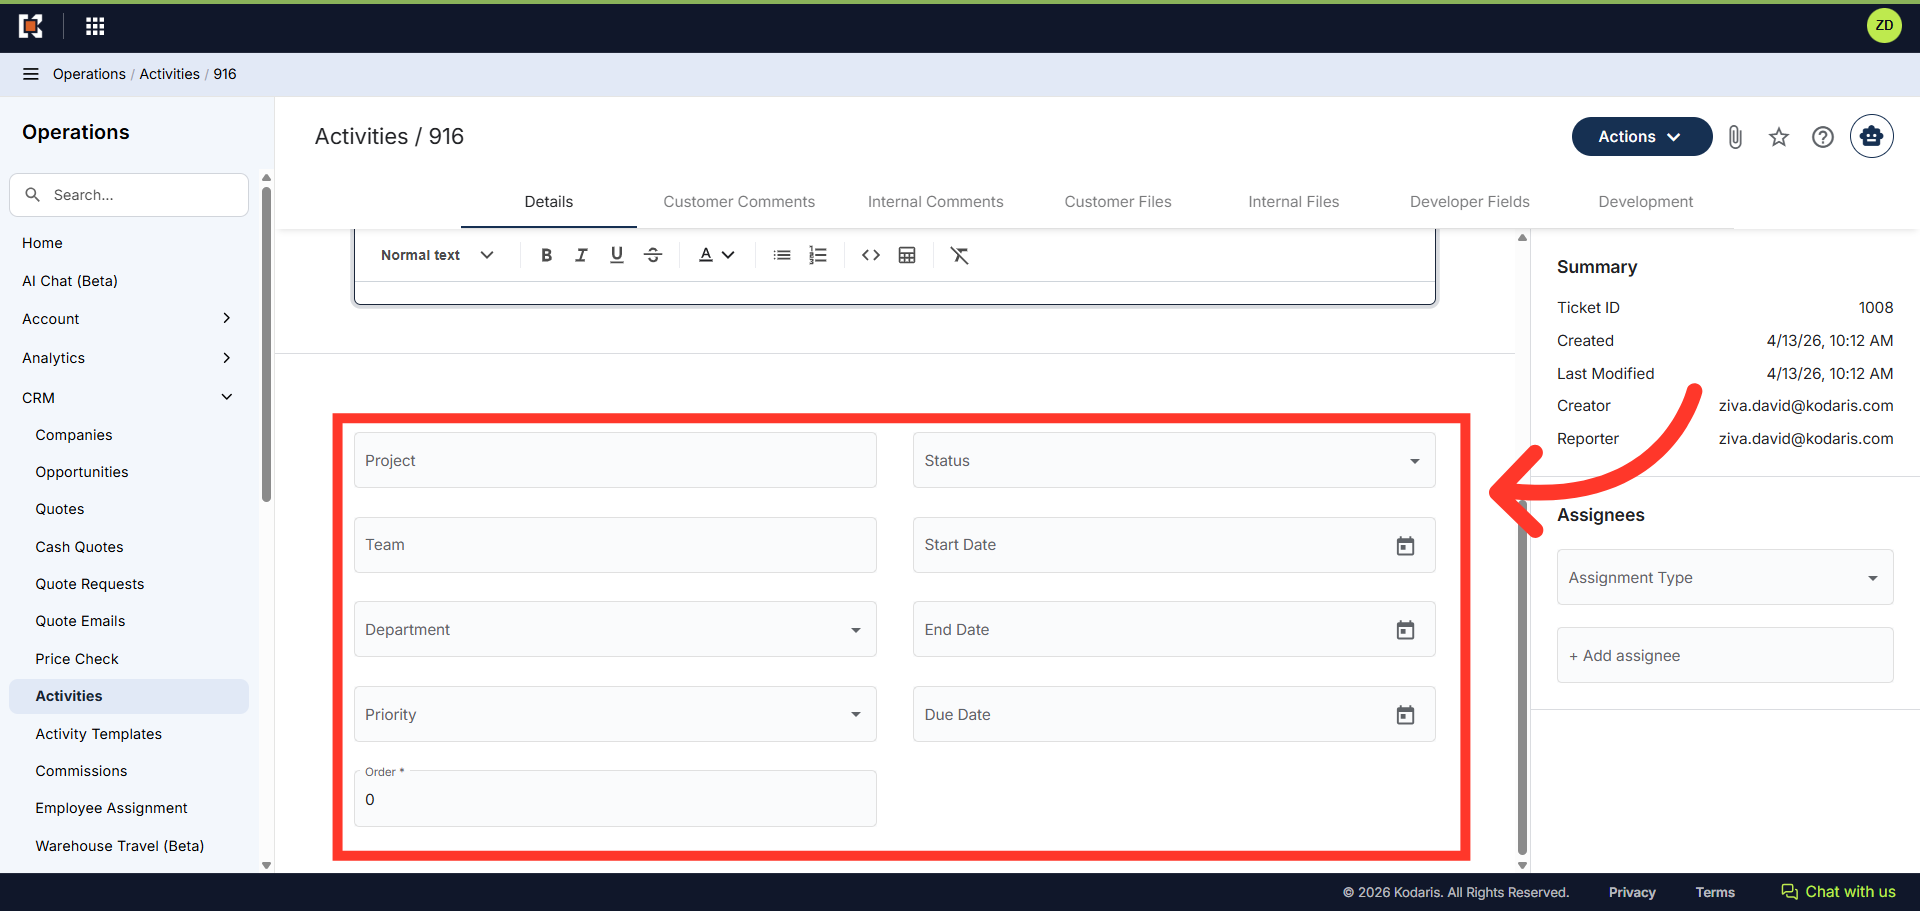
Update the Activity
You can assign the activity to a project, update the status, or add dates to the activity to track progress.
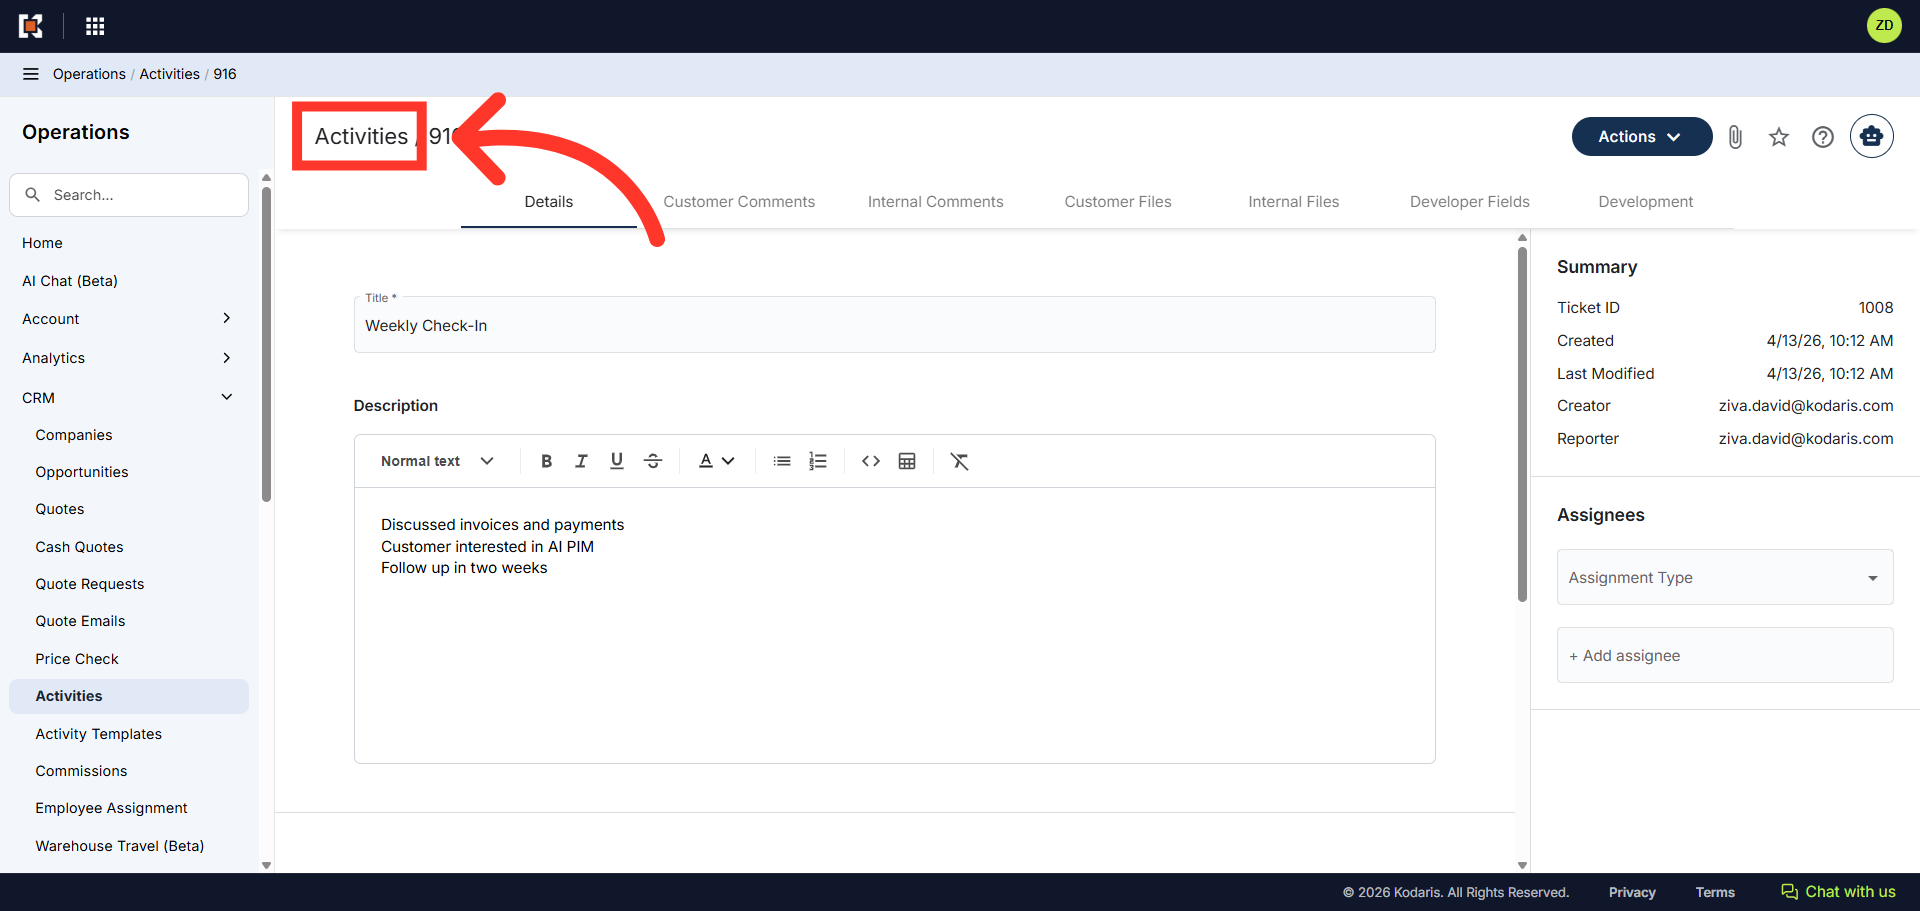
Go back to "Activities"
When you are finished updating the details, click the "Activities" breadcrumb to return to the Activities grid view.