Operations Settings - Configure the Reply-To Email Address for All Emails Sent from Your System
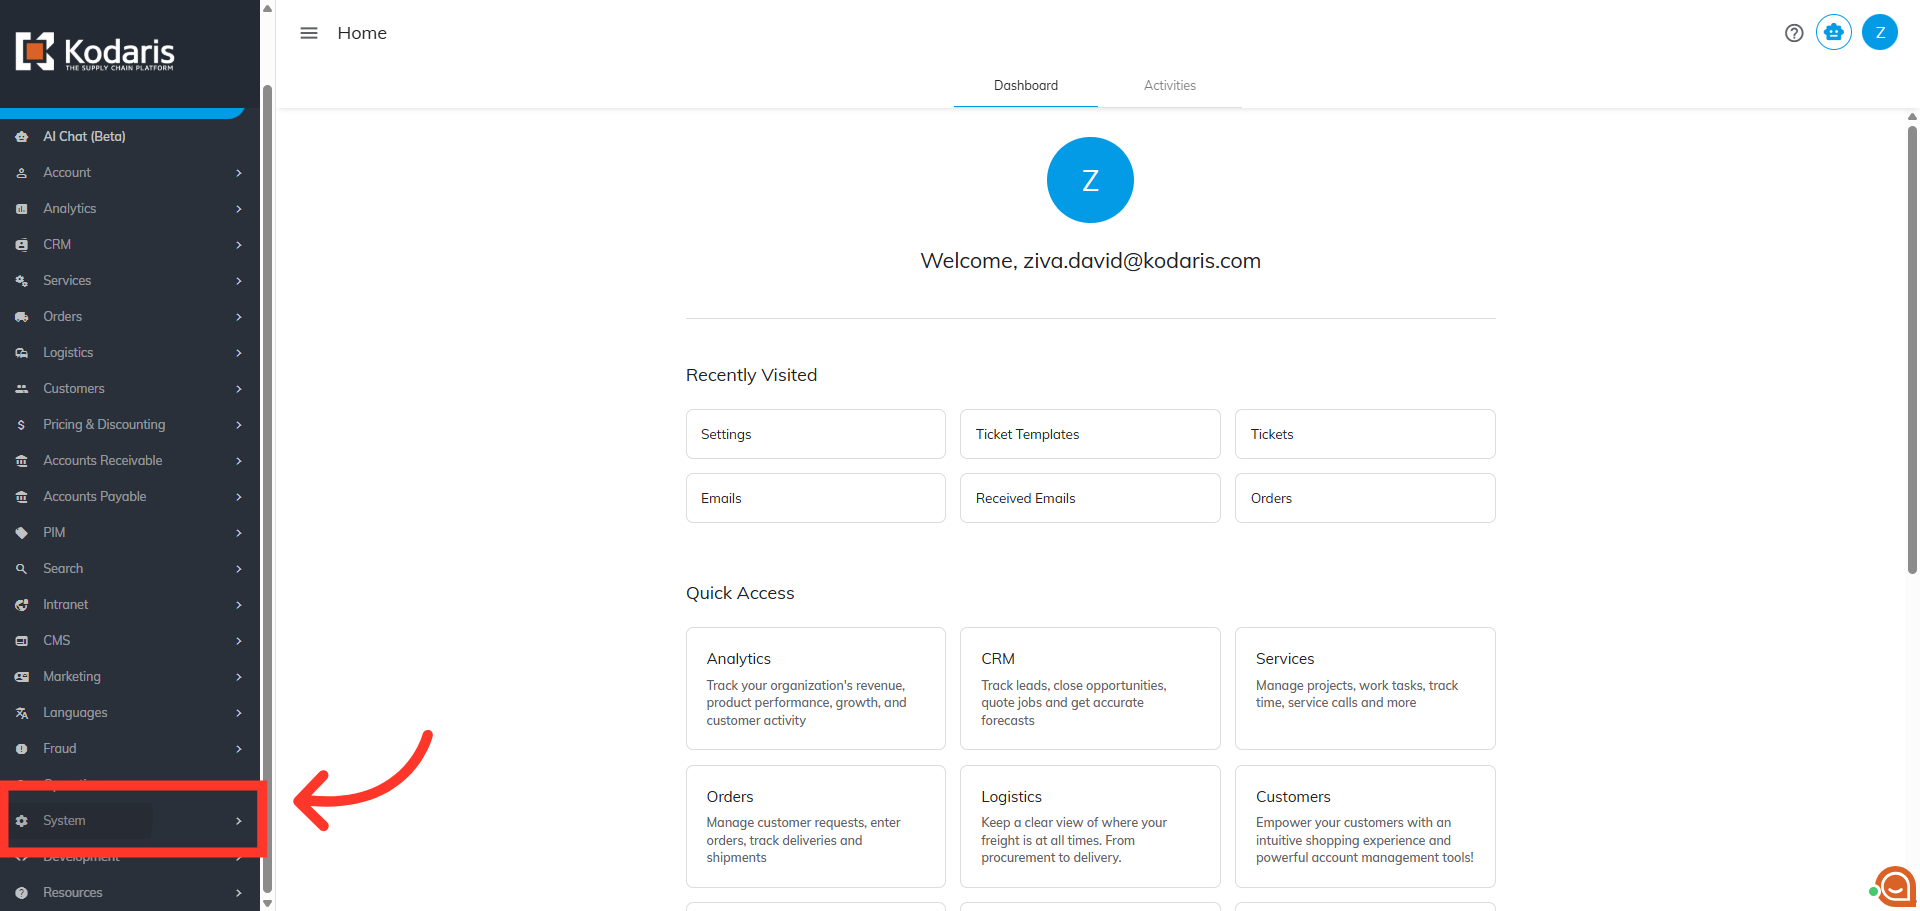
Navigate to "System" section
To configure the displayed reply-to email address on emails sent from your system, first navigate to the "System" section in the Operations Portal.
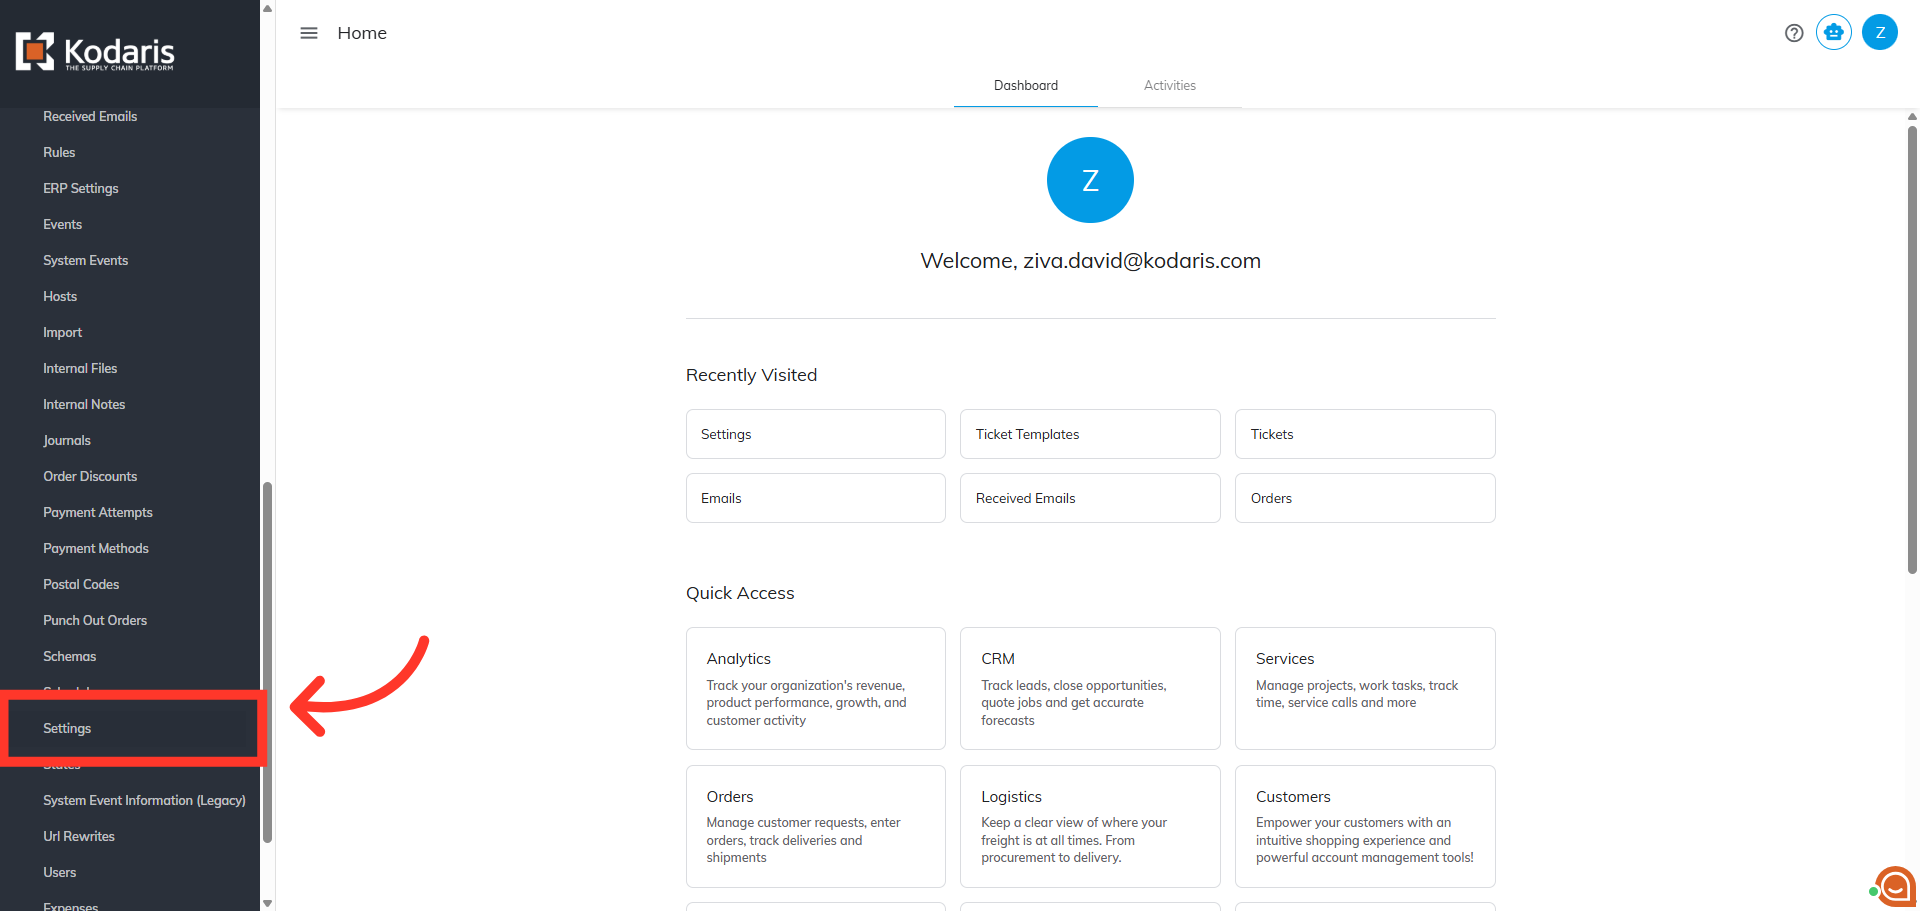
Click "Settings"
Then, click "Settings". In order to access and edit settings, you will need to be set up either as an “administrator” or a "superuser", or have the following roles: "settingEdit" and "settingView".
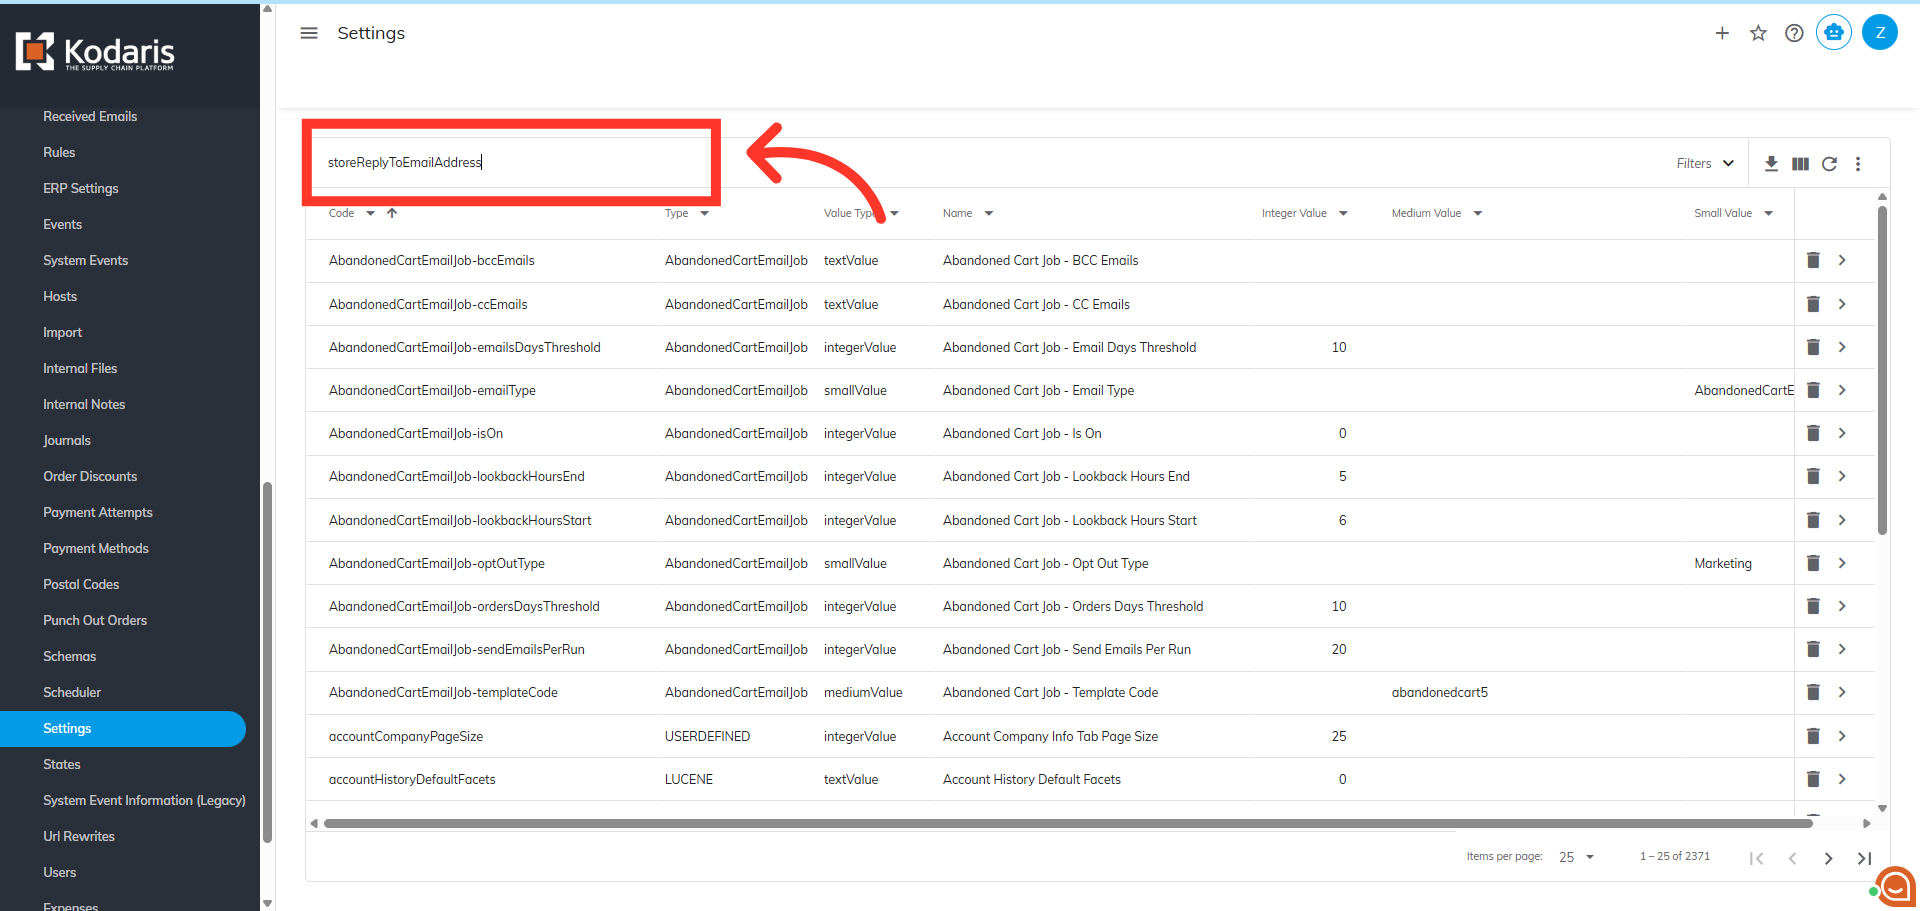
Search for the "storeReplyToEmailAddress" setting
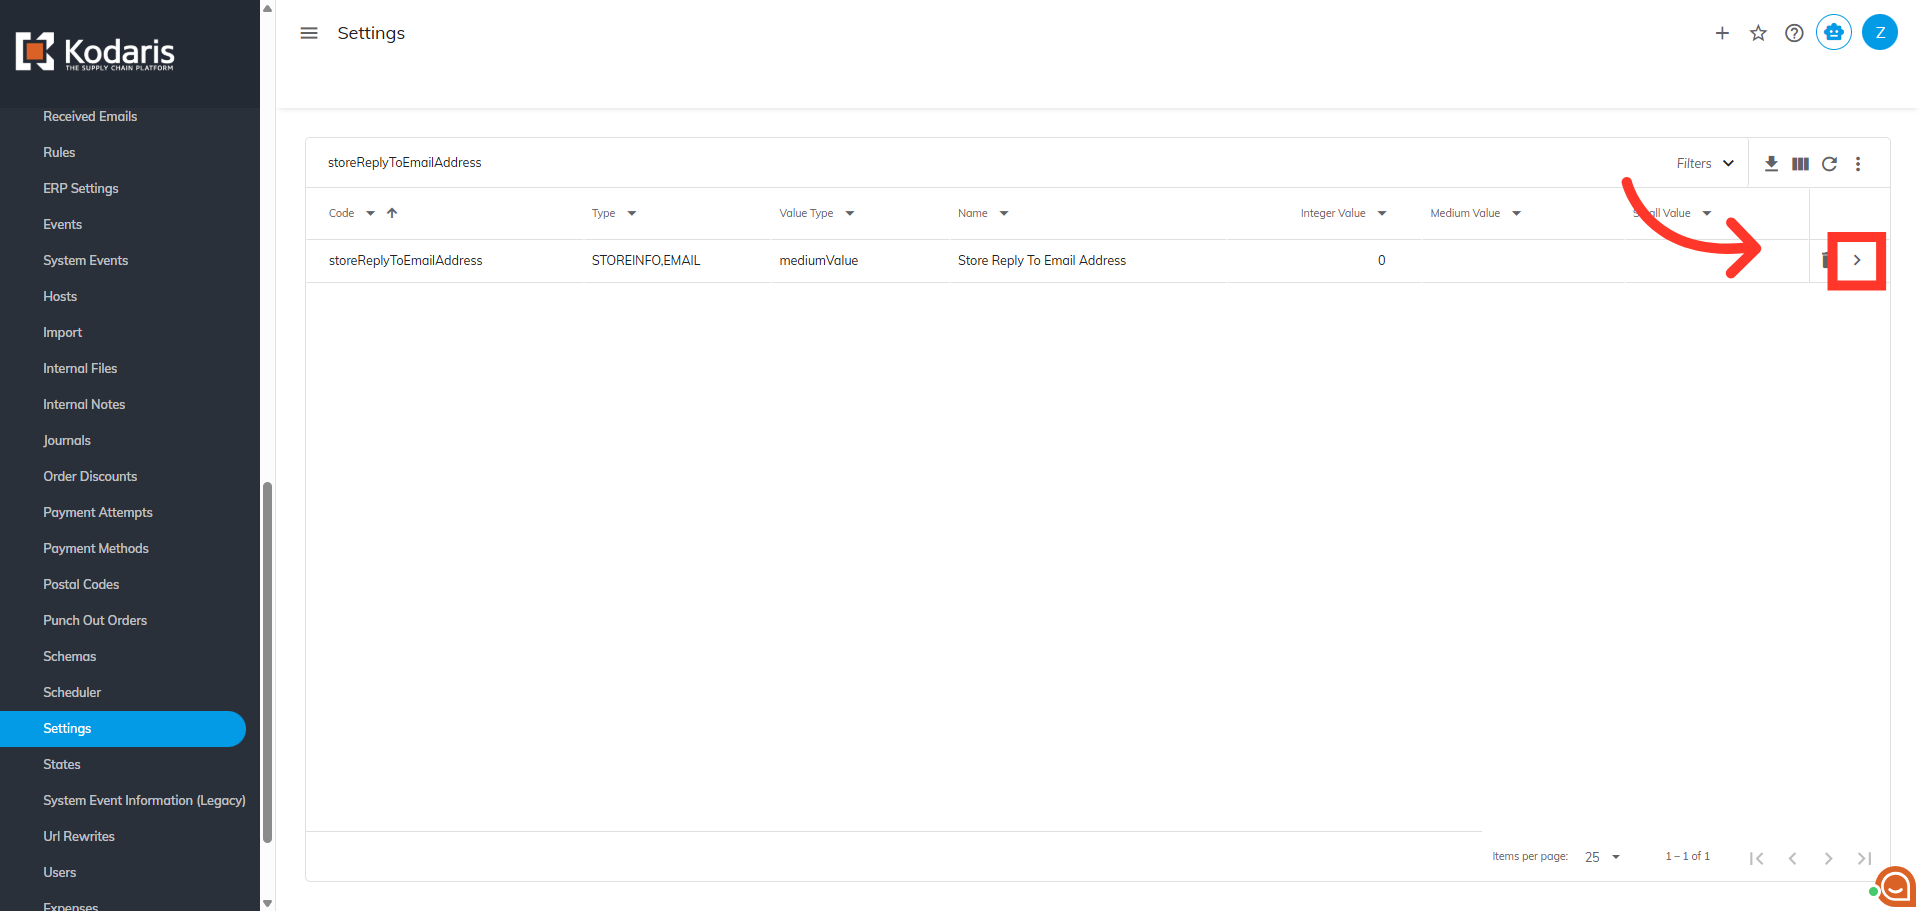
Next, click in the "Search" box and search for the "storeReplyToEmailAddress" setting.
Click the more details icon
Click the more details icon.
Enter Reply-To email in the "Value" field
Enter Reply-To email in the "Value" field.
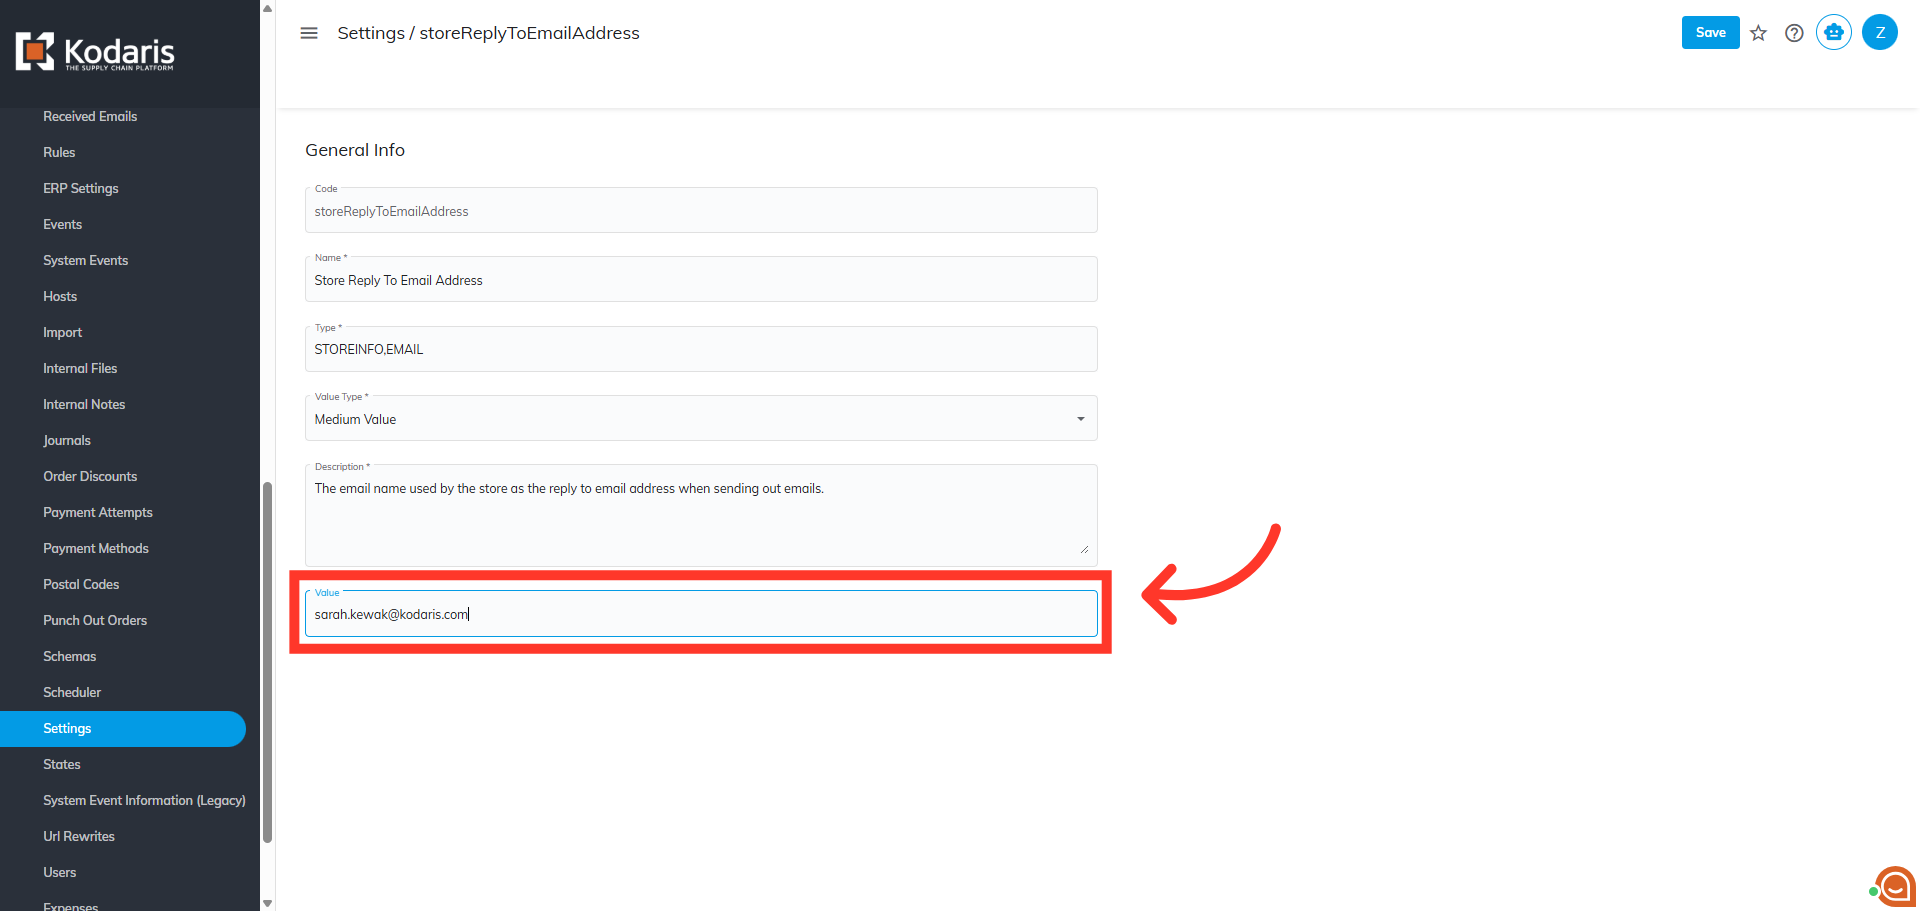
Click "Save"
Click "Save".

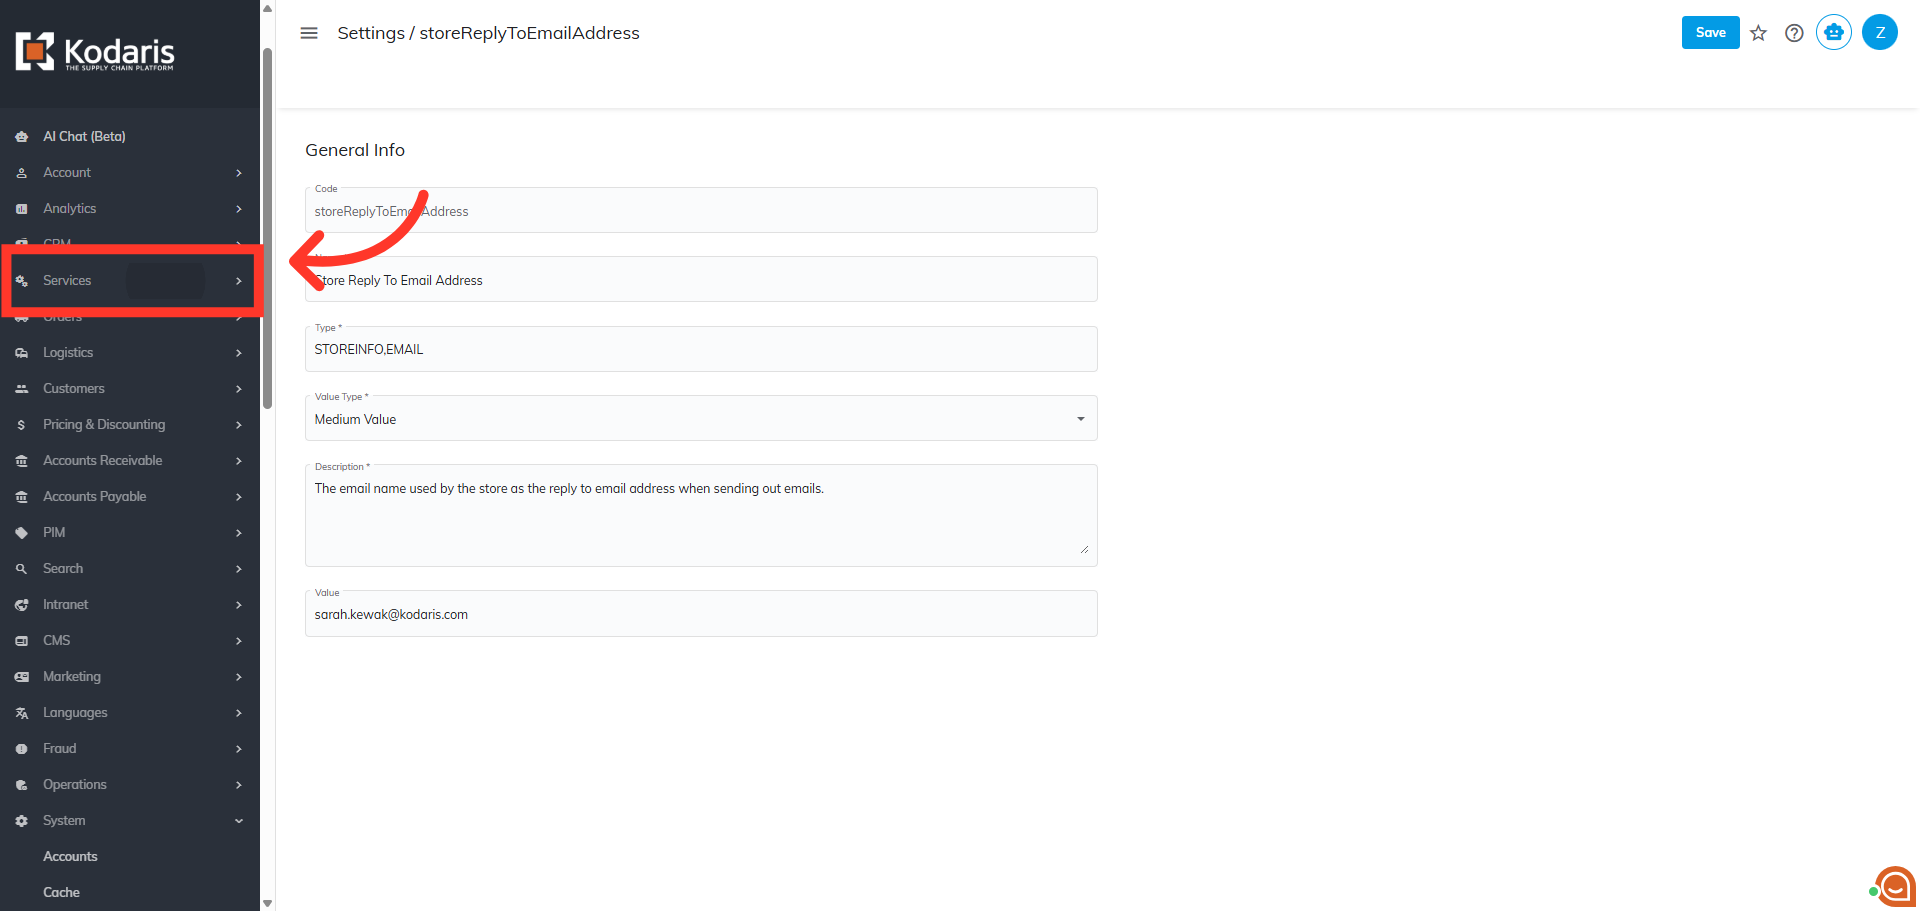
Navigate to "Services"
To verify the update, simply trigger notification so you receive an email from the system. For tutorial purposes, we will use "Tickets". Navigate to the "Services" section.
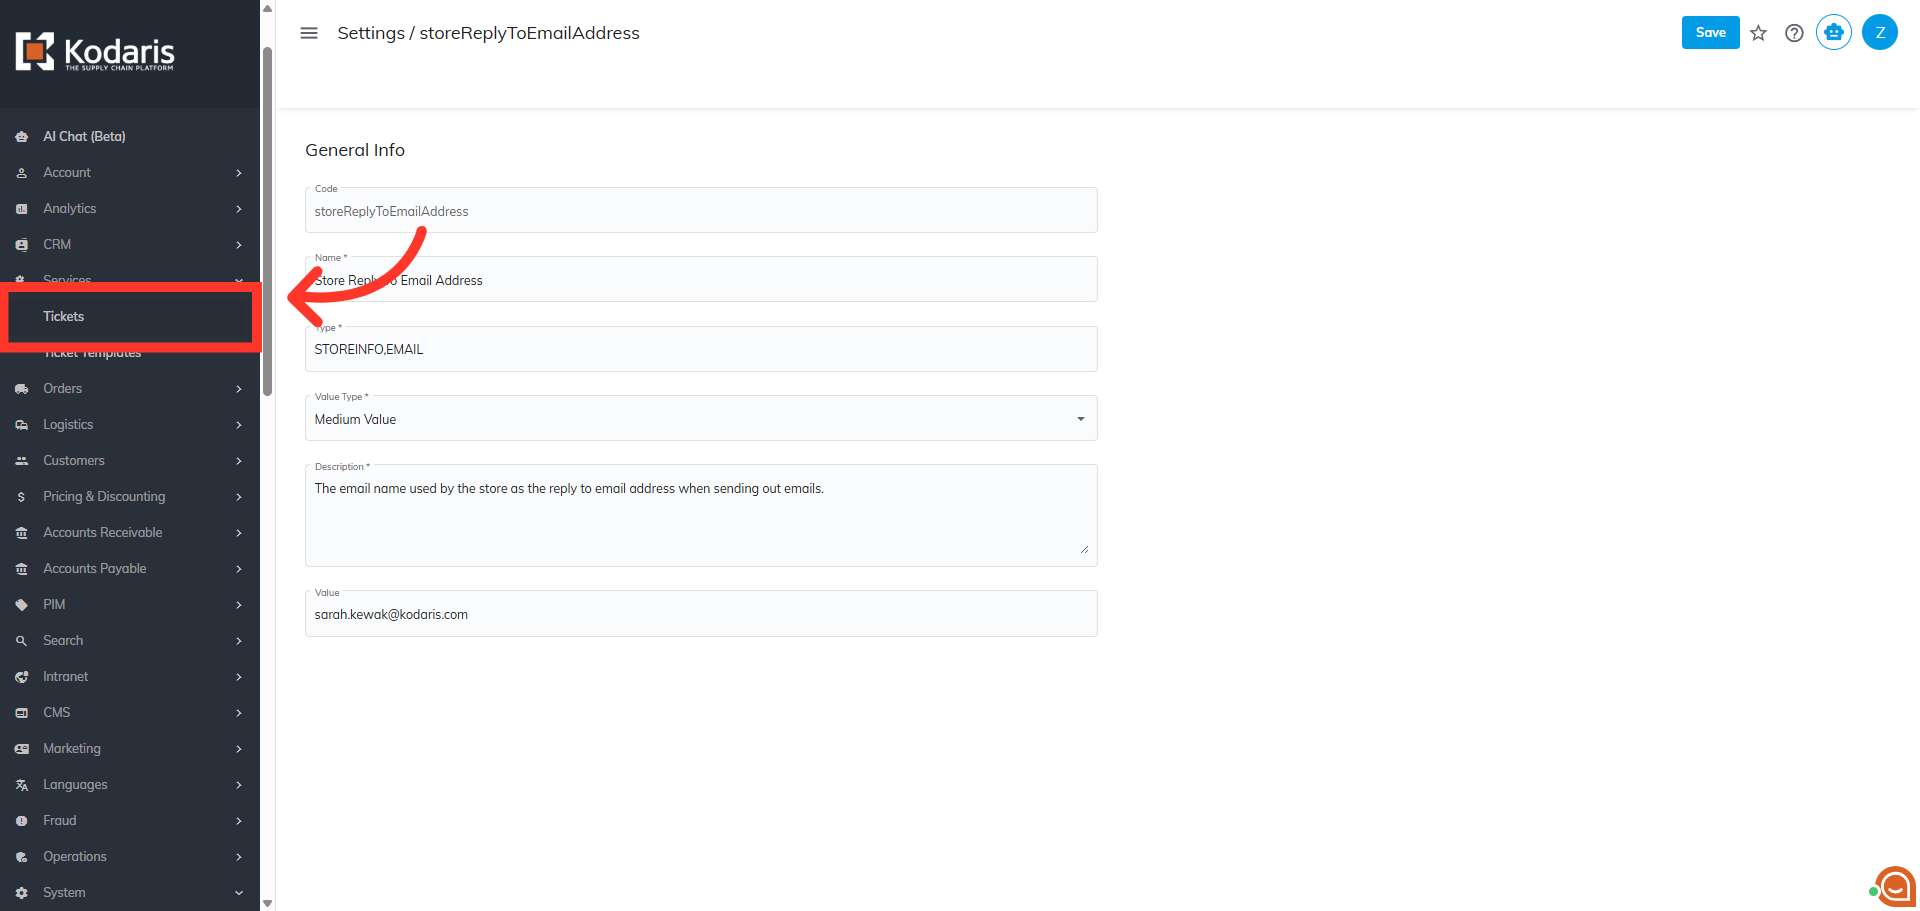
Click "Tickets"
Click "Tickets". In order to access and update "Tickets" you will need to be set up either as an "administrator" or a "superuser", or have the roles of: "ticketView" and "ticketEdit".
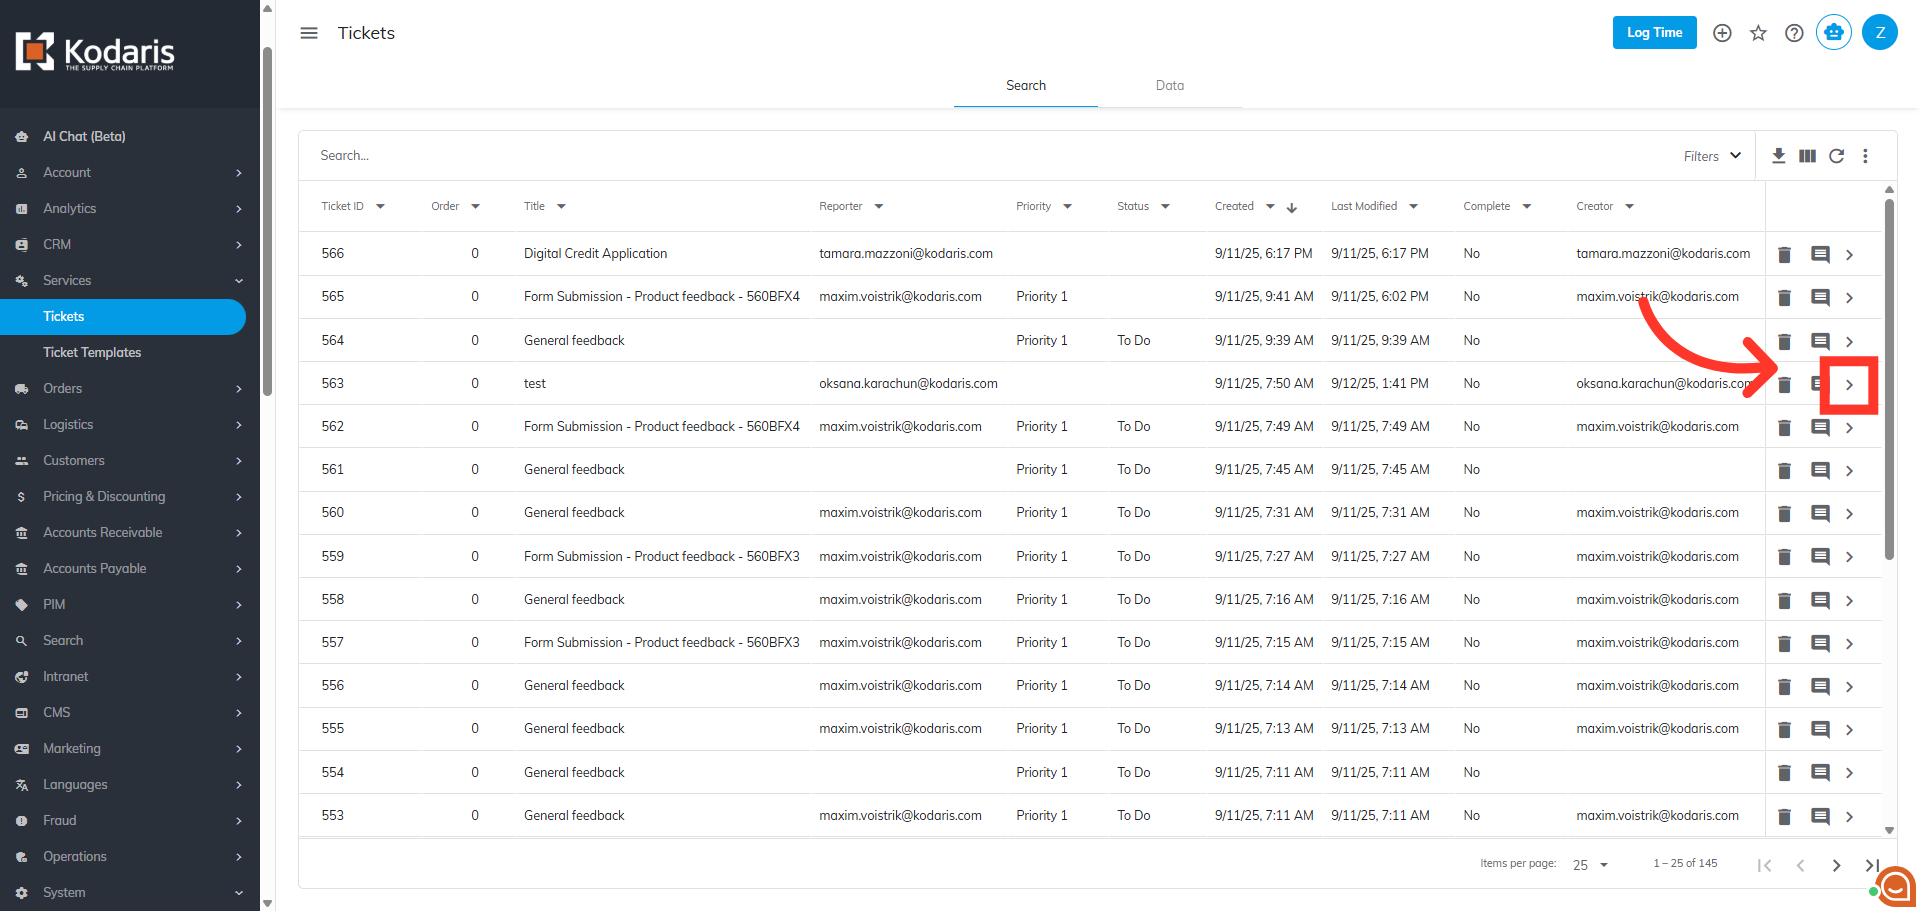
Locate the ticket
Locate the ticket and click the more details icon.
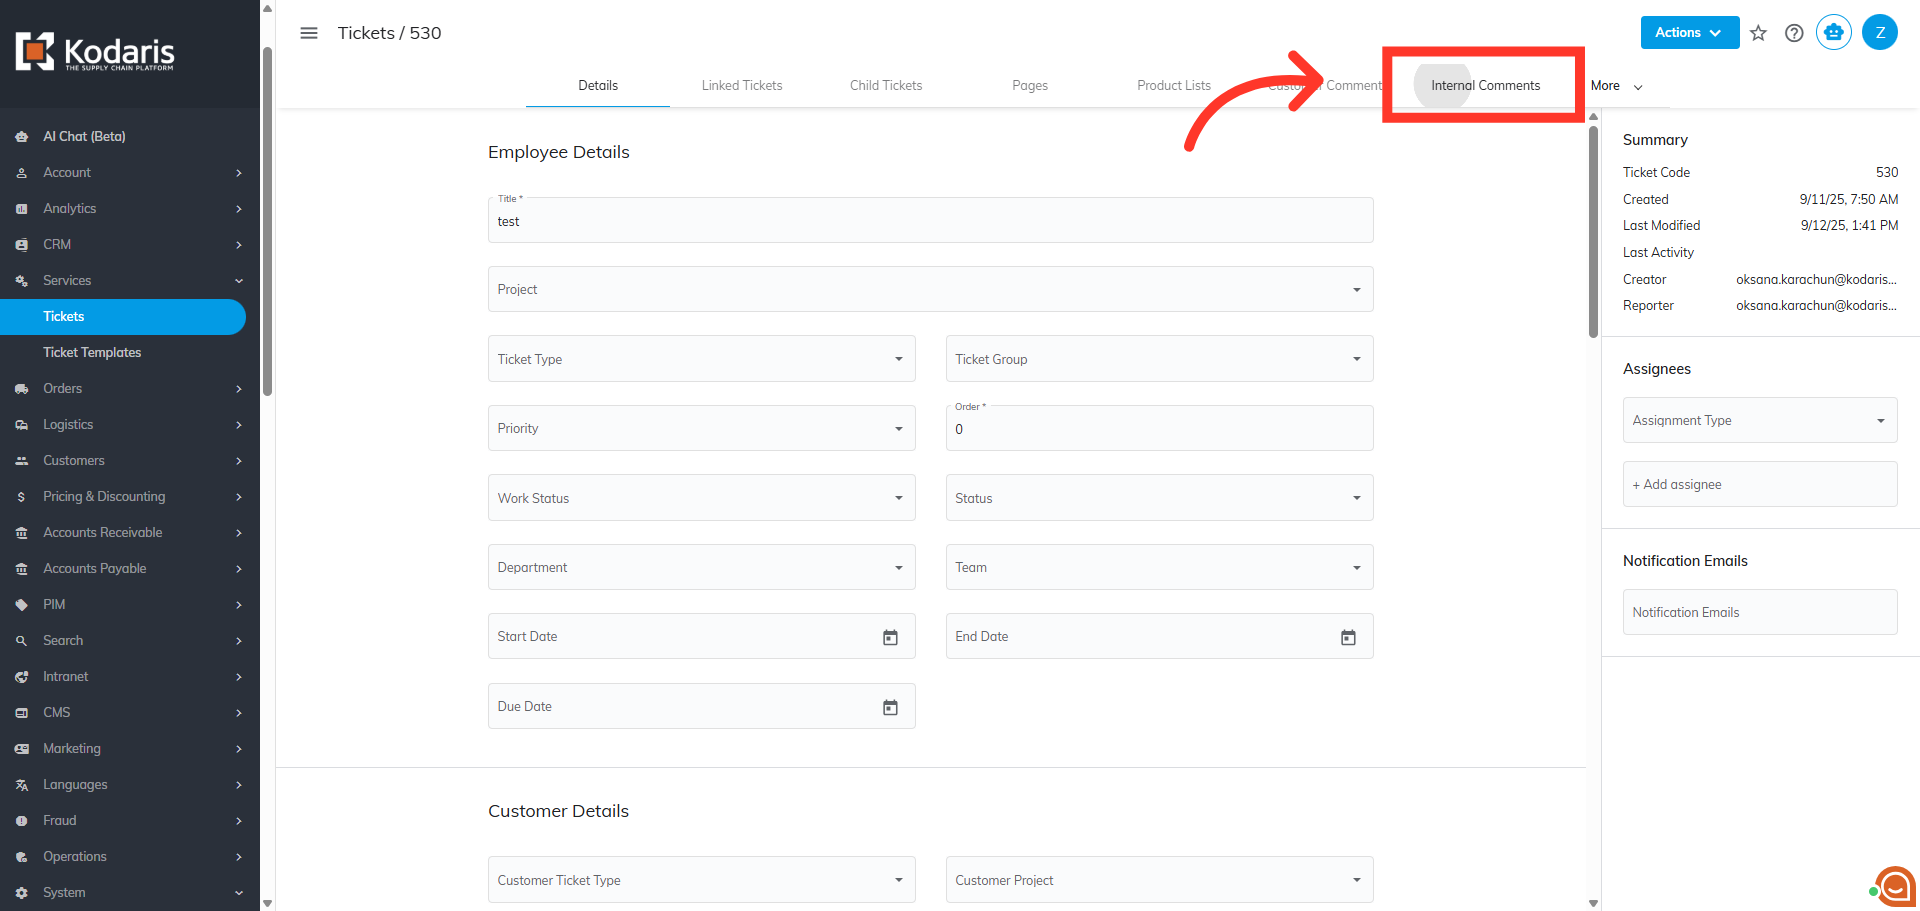
Click the "Internal Comments" tab
Nex, click the "Internal Comments" tab.
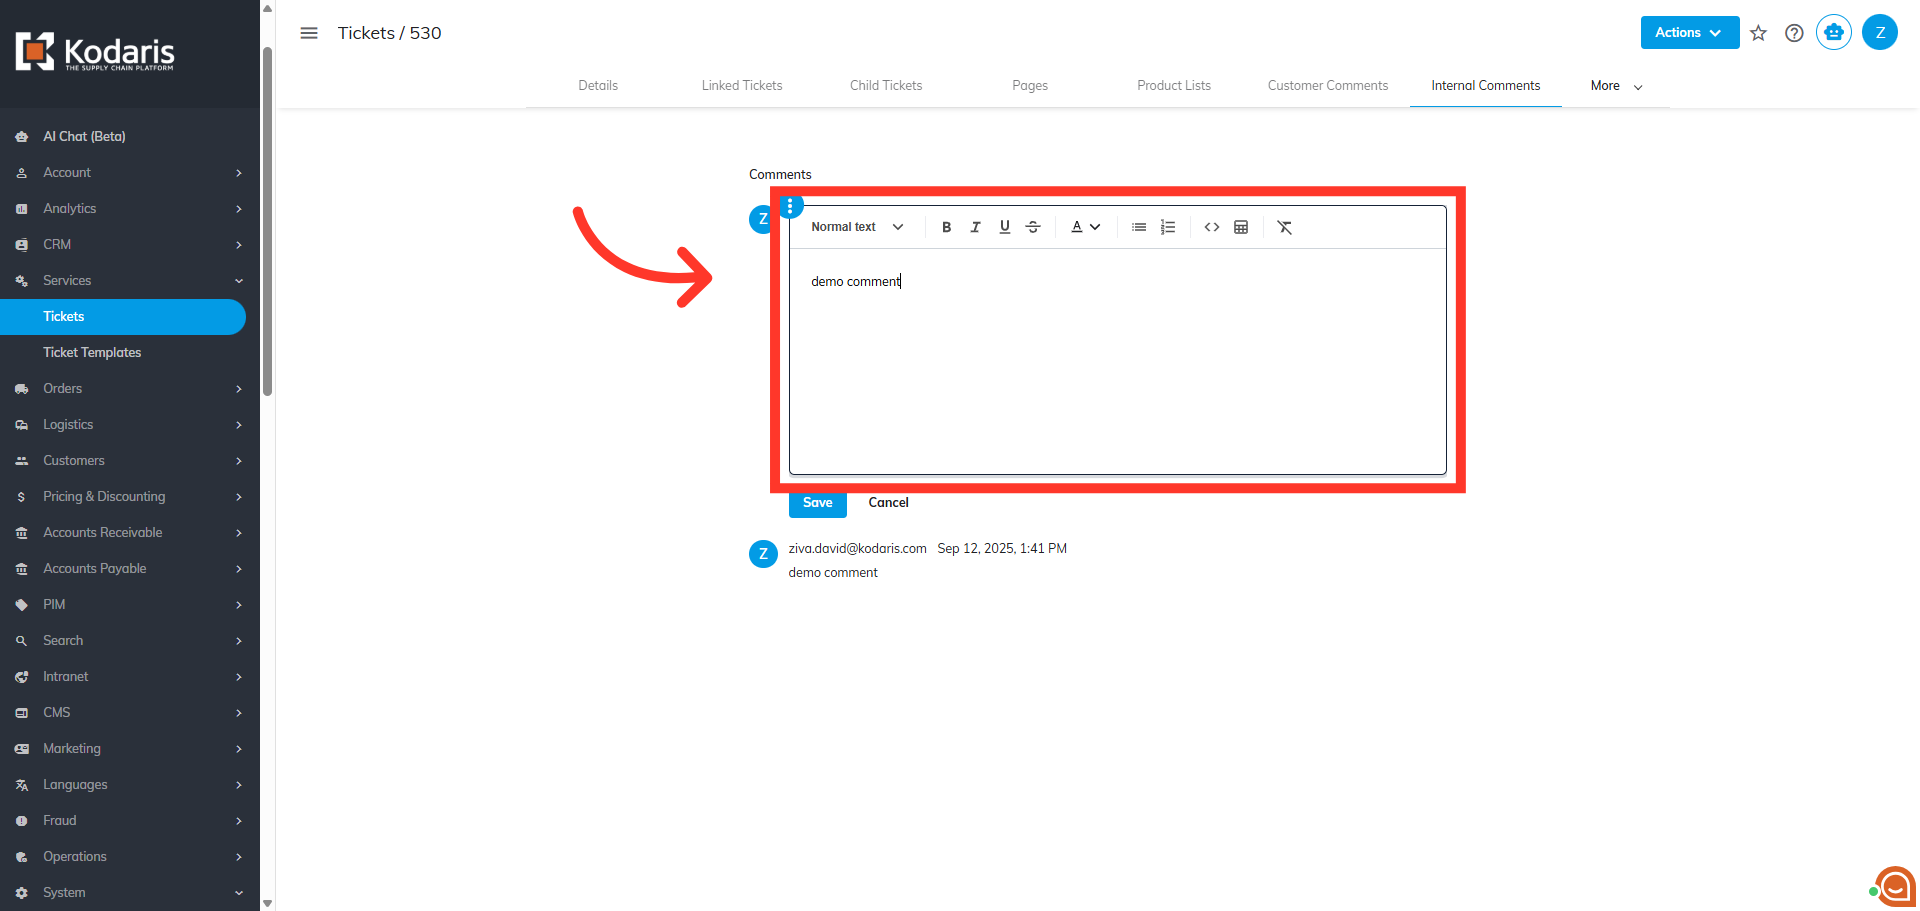
Enter comment
Click in the comment field and enter your comment.
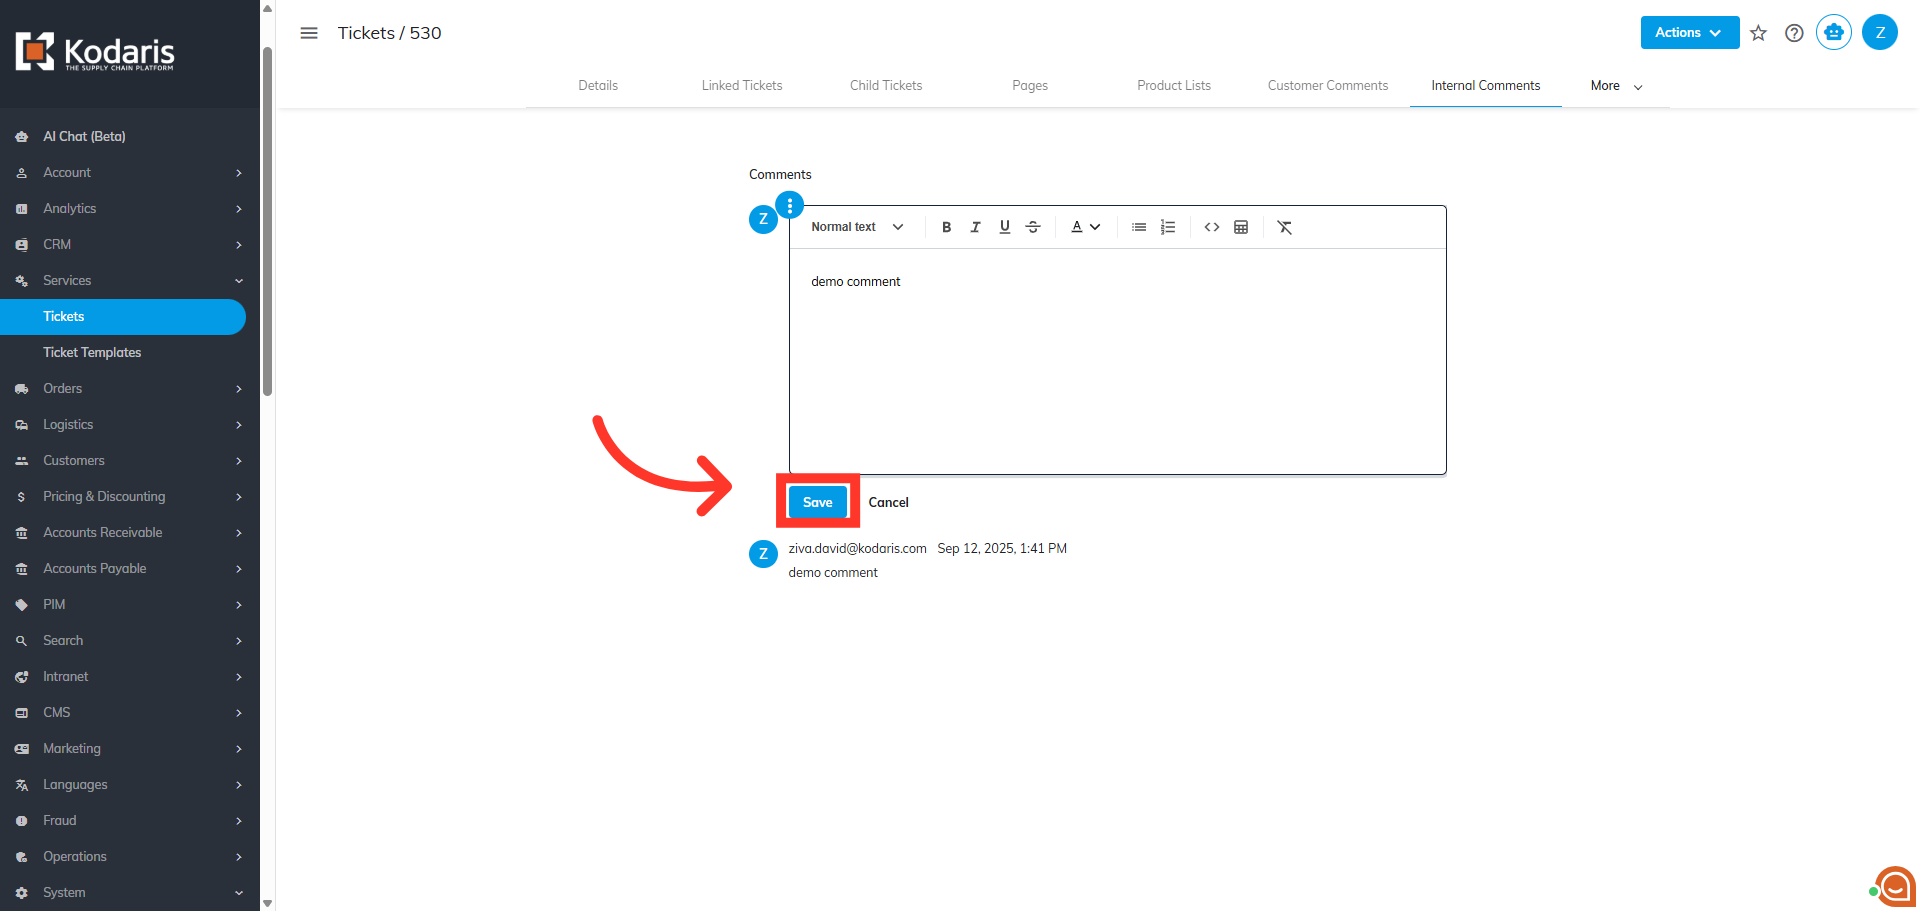
Click "Save"
Then, click "Save". Leaving a comment to this ticket will trigger ticket update notification.
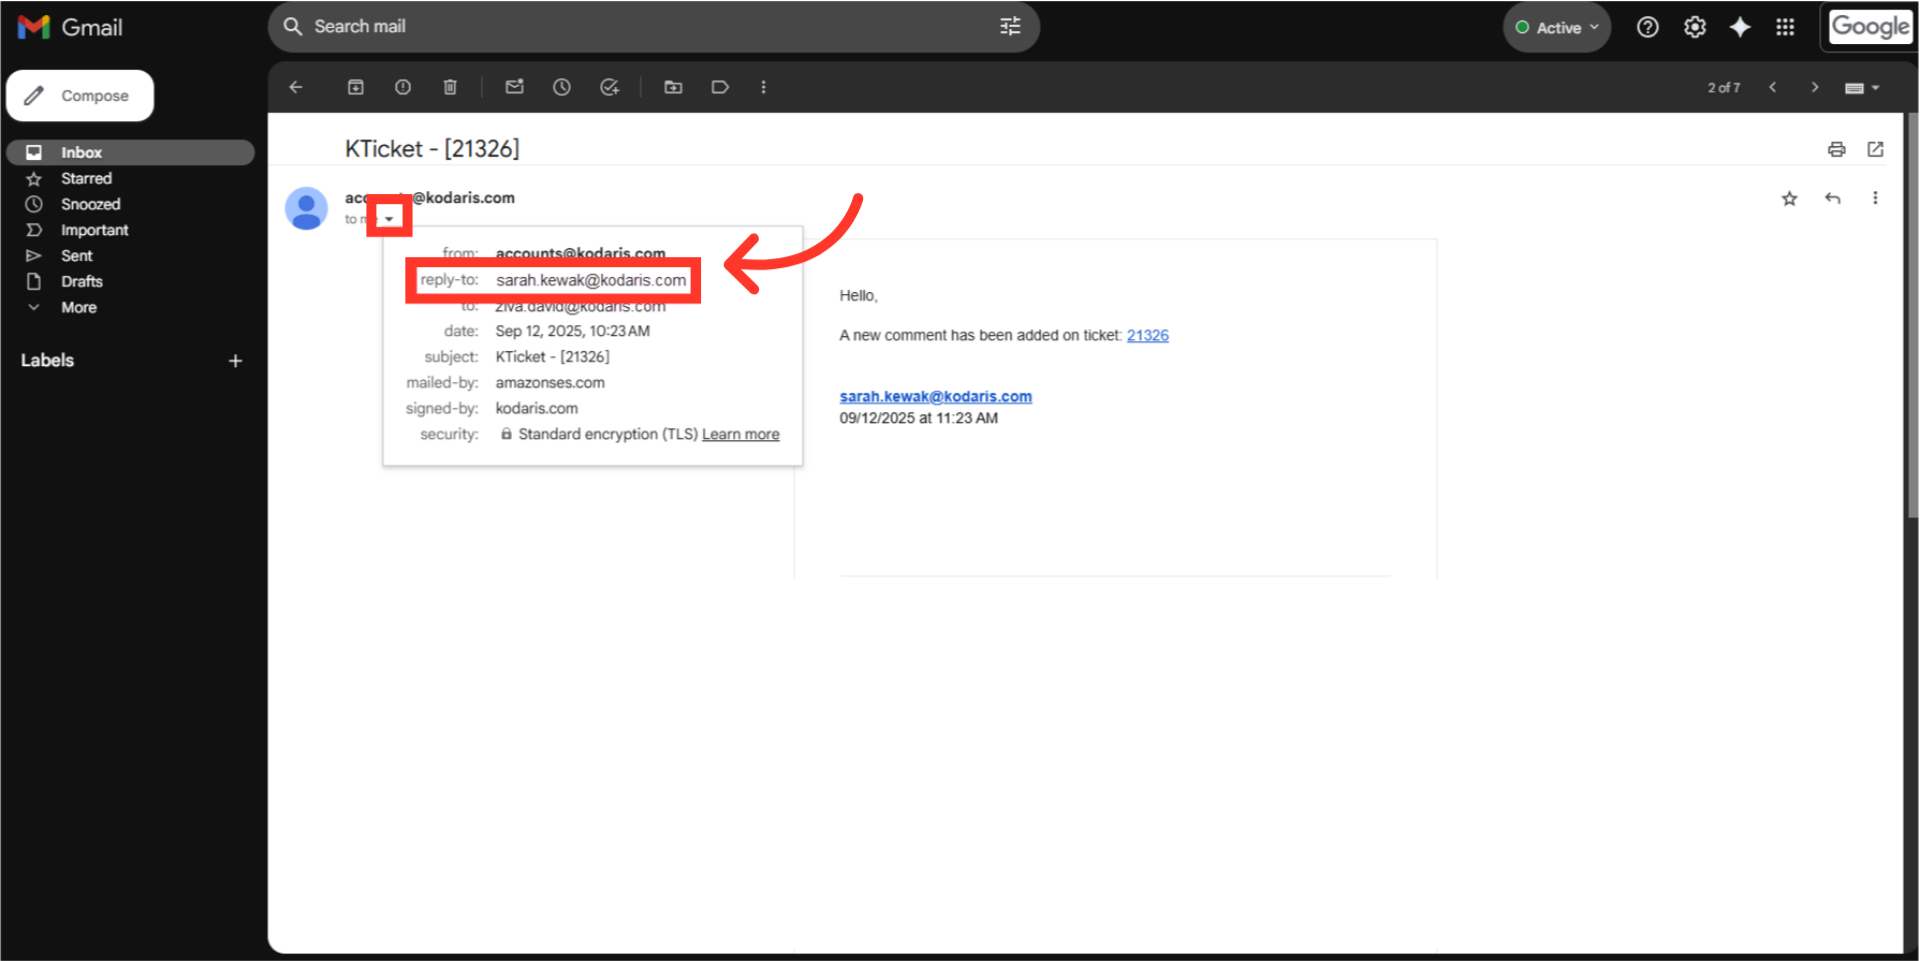
Check the Email Notification
Check the email notification. Click on the "Show details" dropdown and you can see the "Reply-To" email in the details. If you click on "Reply" the reply-to email should also populate the "To:" field as the recipient.