Operations Customers - Assigning Companies to a Company Group by Import
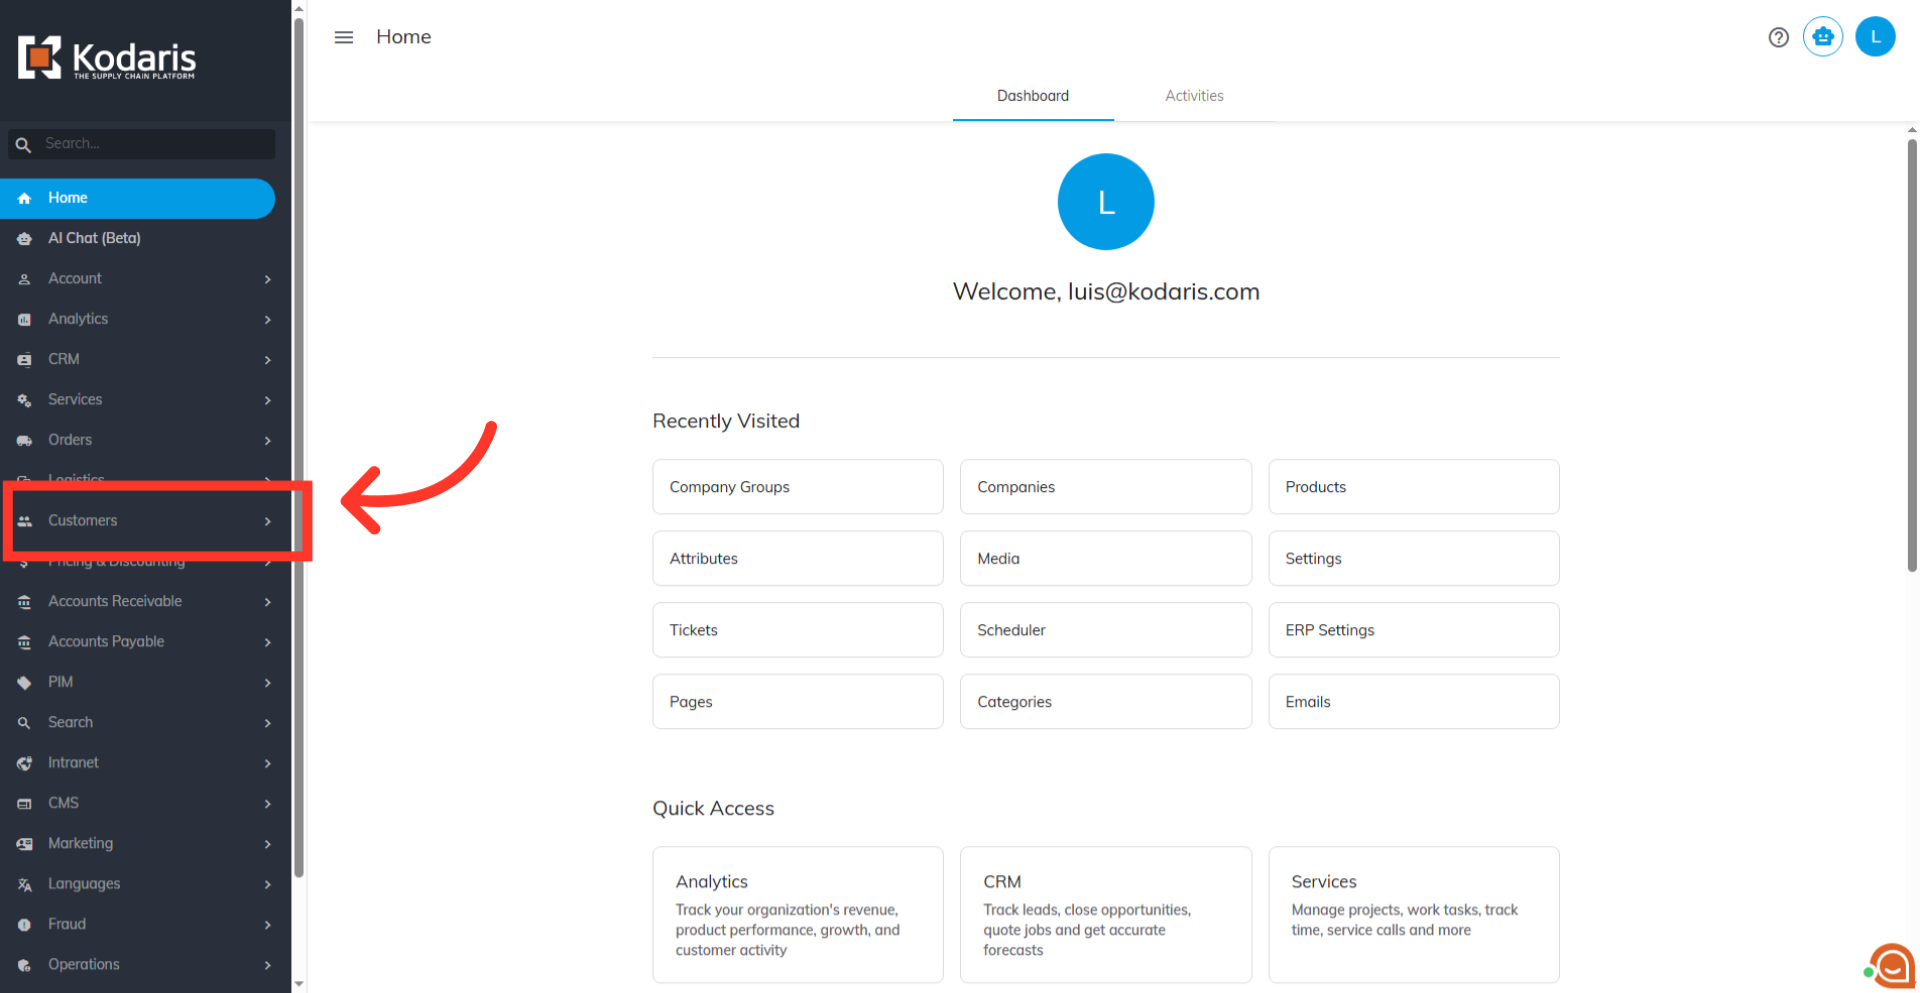
Navigate to "Customers"
To assign "Companies" to a "Company Group" by importing, you must first, prepare your .CSV import file that includes the company code and company group code columns. Navigate to "Customers" in the operations portal.
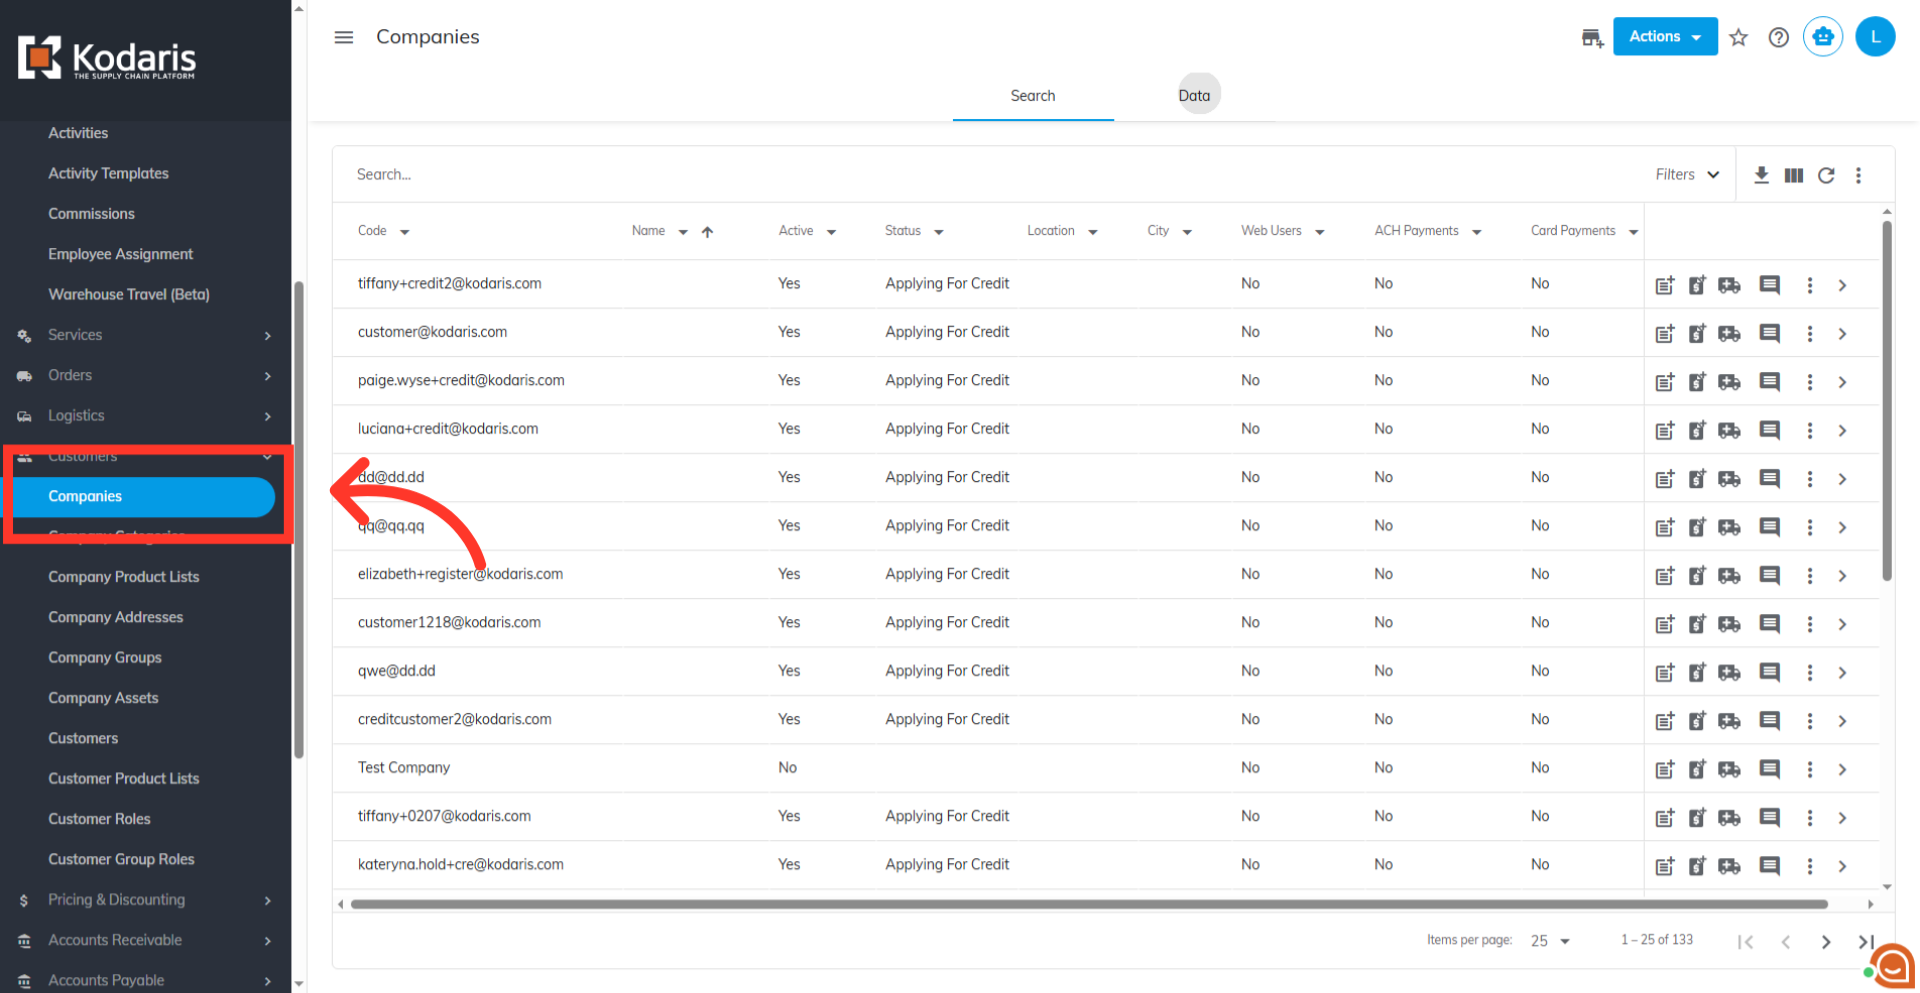
Go to "Companies"
Go to the "Companies" screen to determine the codes of the companies in the system. In order to access "Companies" you will need to be set up either as an "administrator" or a "superuser", or have the appropriate roles: "companyView," "crmCompanyView," "crmCompanyEdit," "companyEdit" and "dispatch".
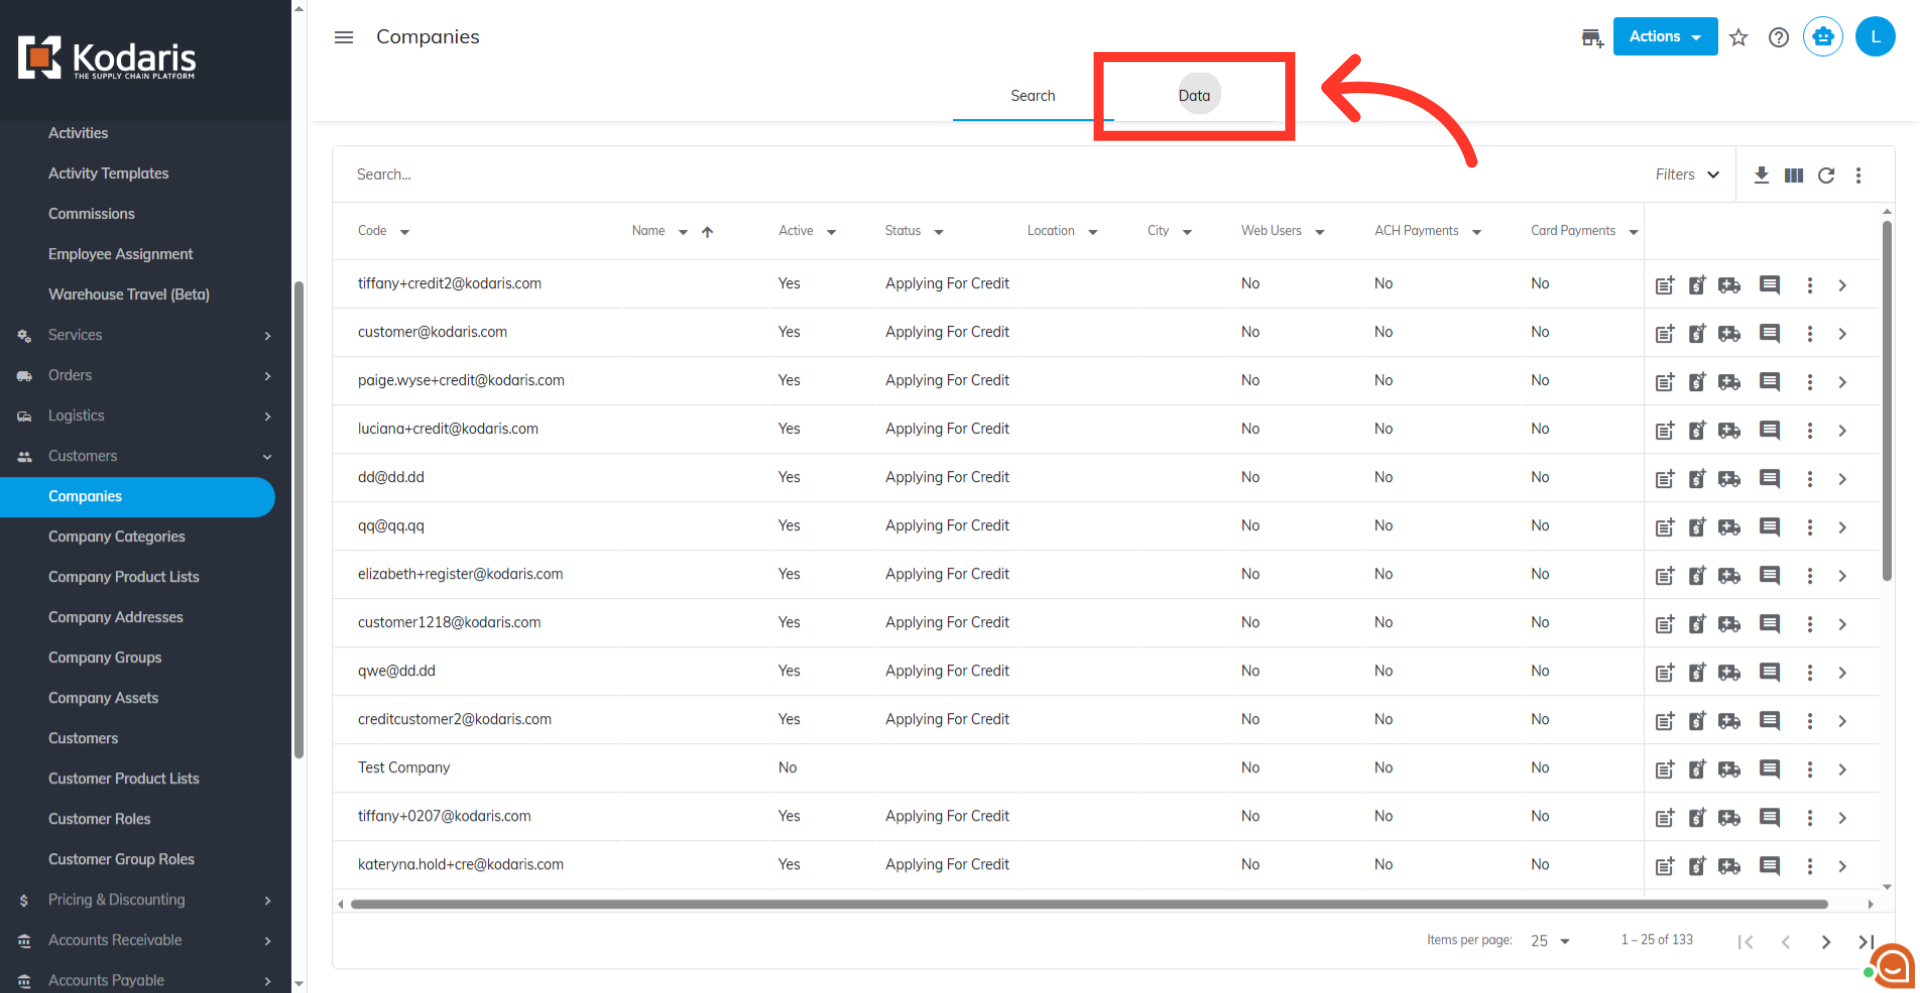
Go to the "Data" tab
Then, go to the "Data" tab.
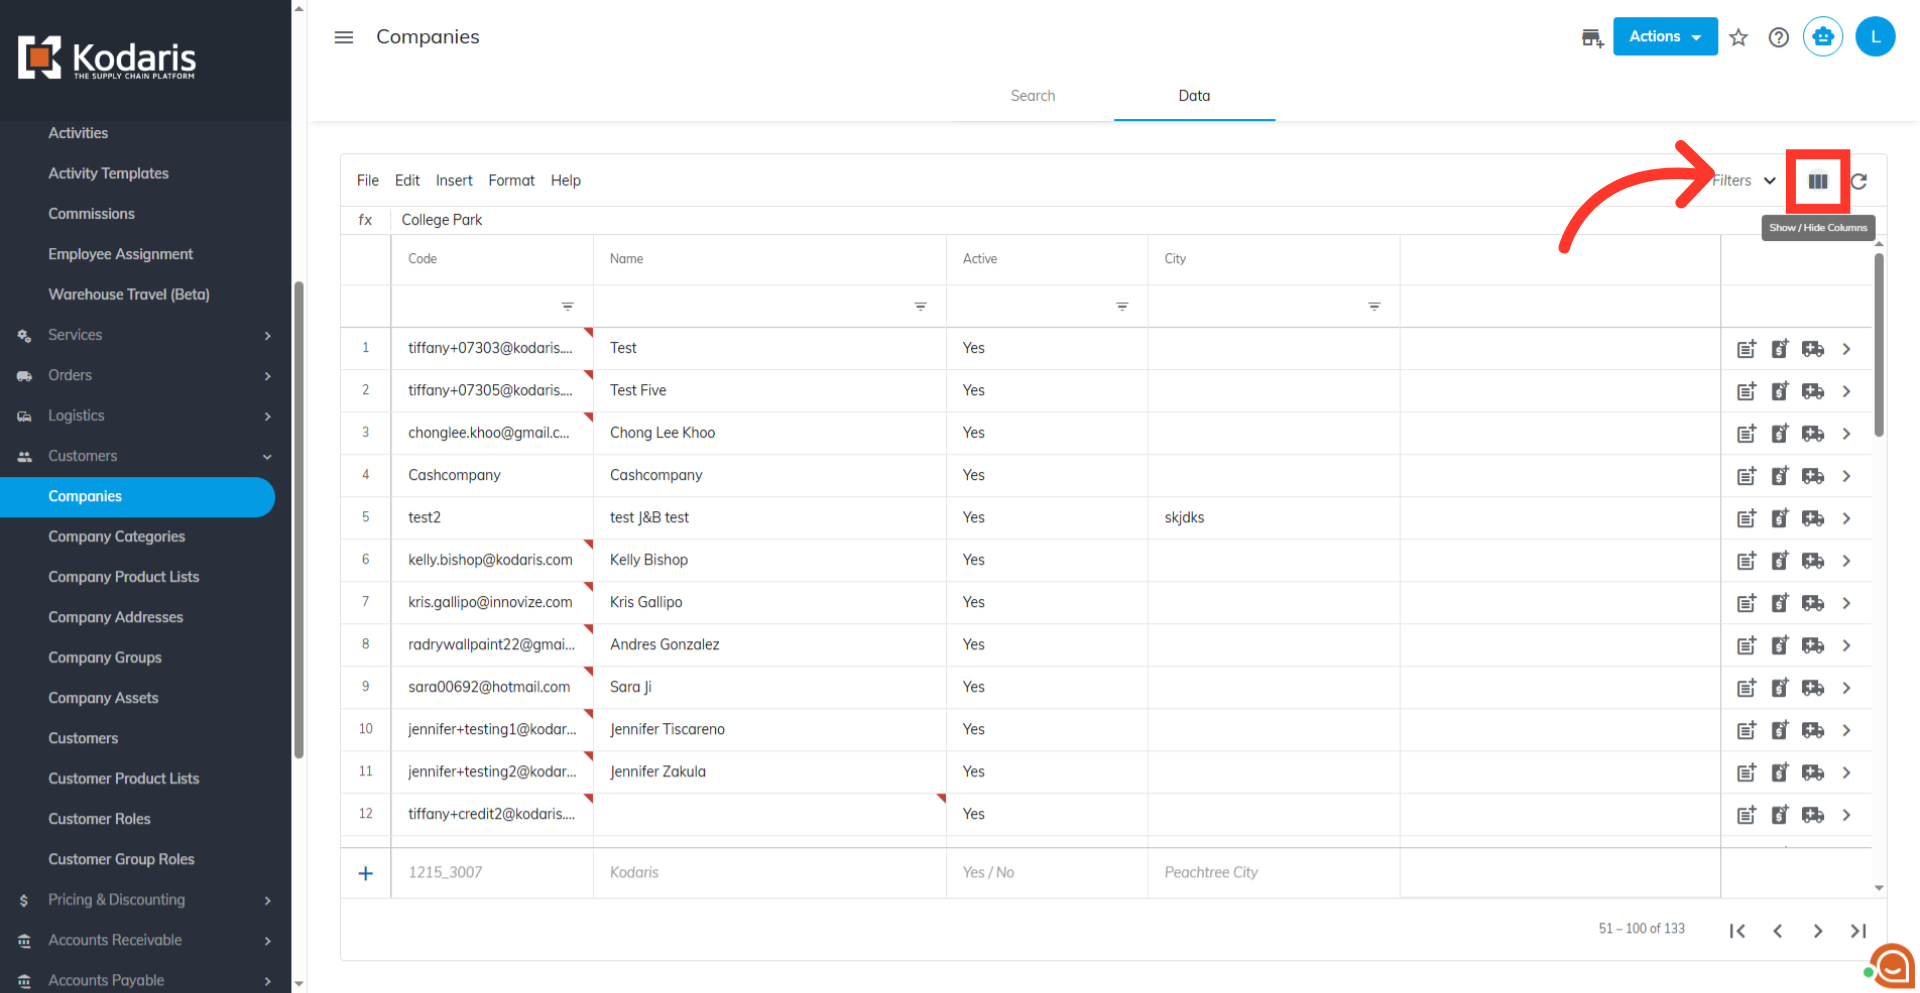
Click on the "Show/Hide Columns" icon
Next, click on the "Show/Hide Columns" icon.
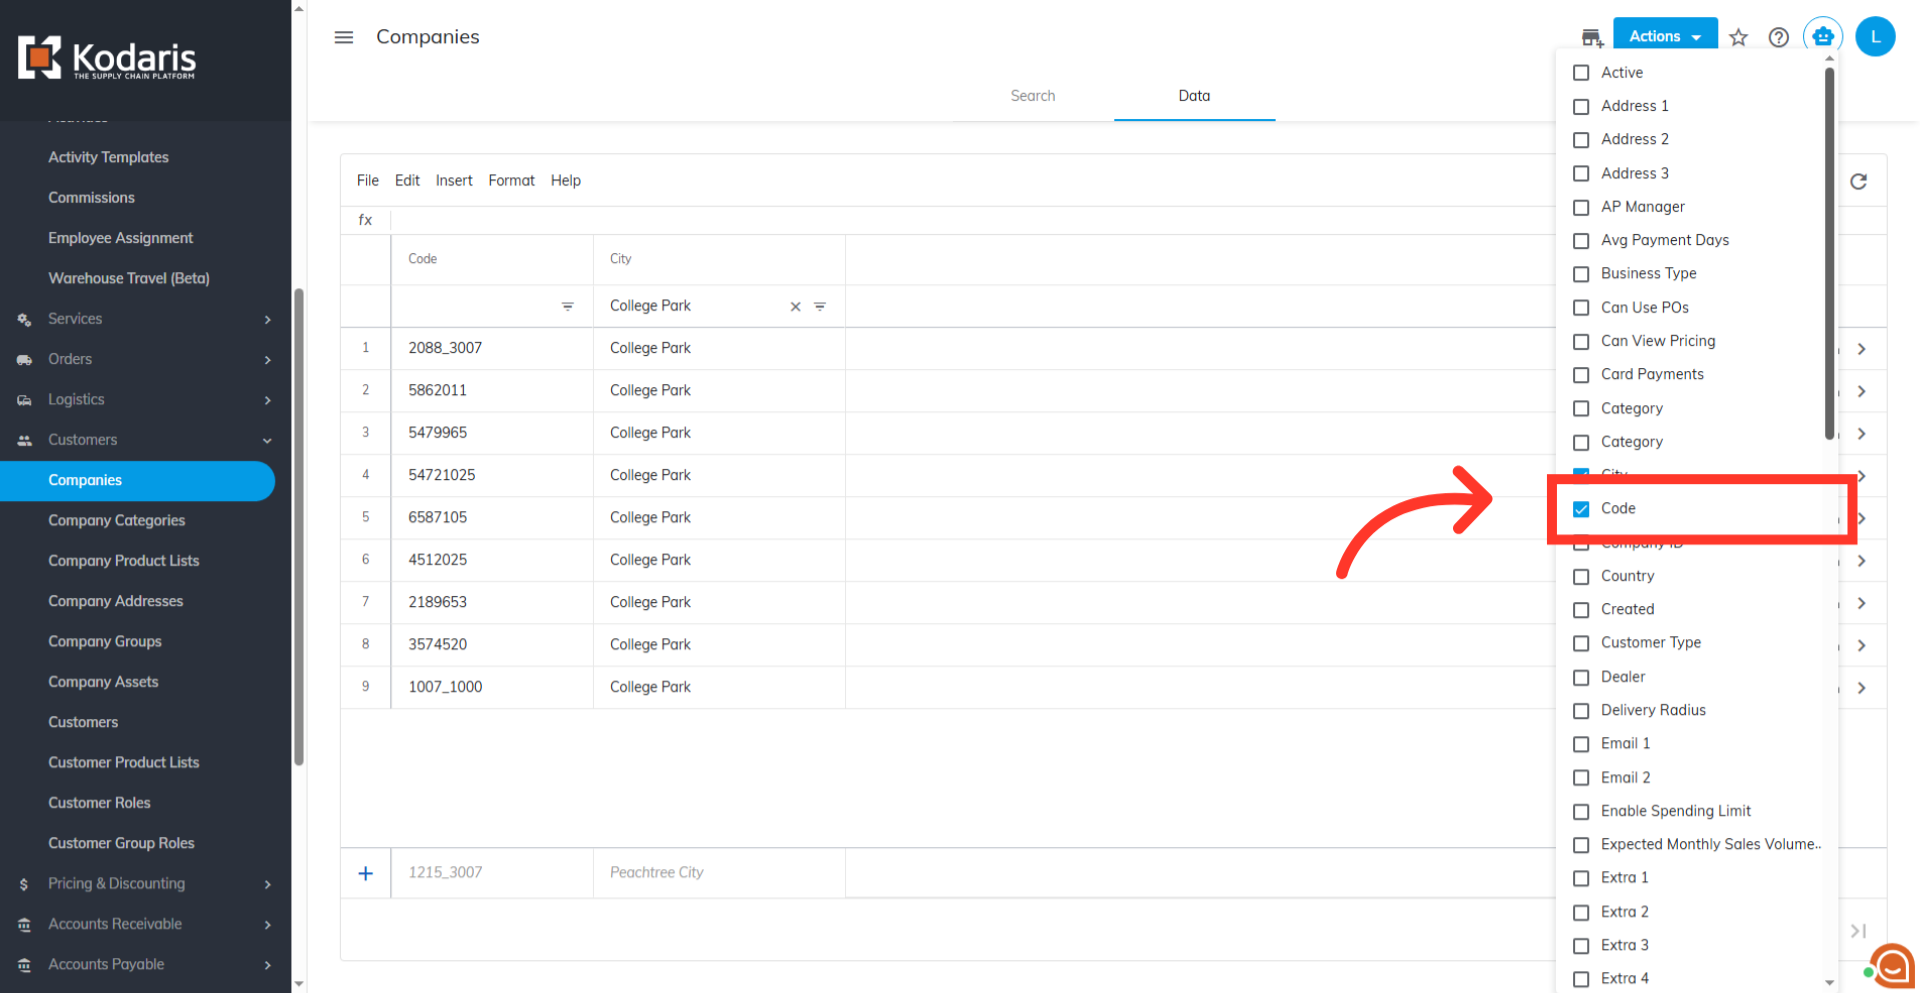
Enable the "code" column
Make sure the company "code" column is visible on your screen. You can also select other columns that you would like to use for data and uncheck other columns that are not needed.
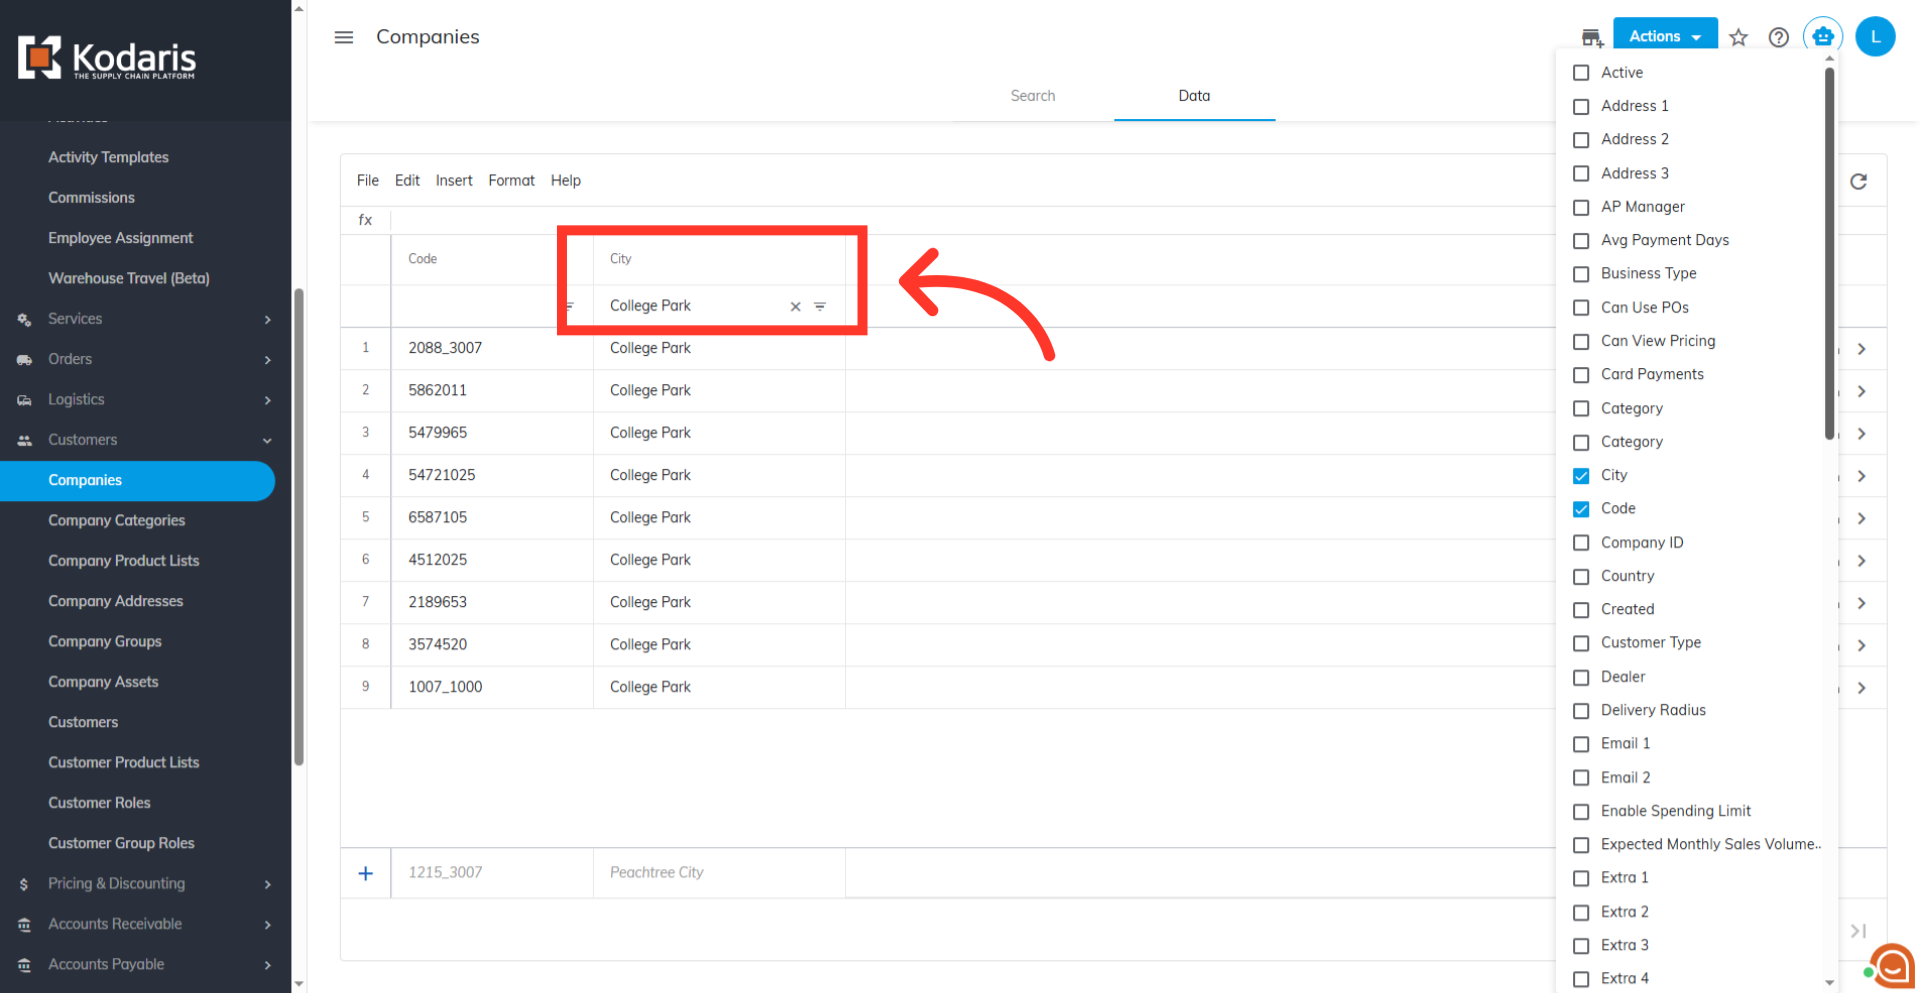
Narrow down the list
If you would like to narrow down your list before exporting, use column filters to find specific companies.
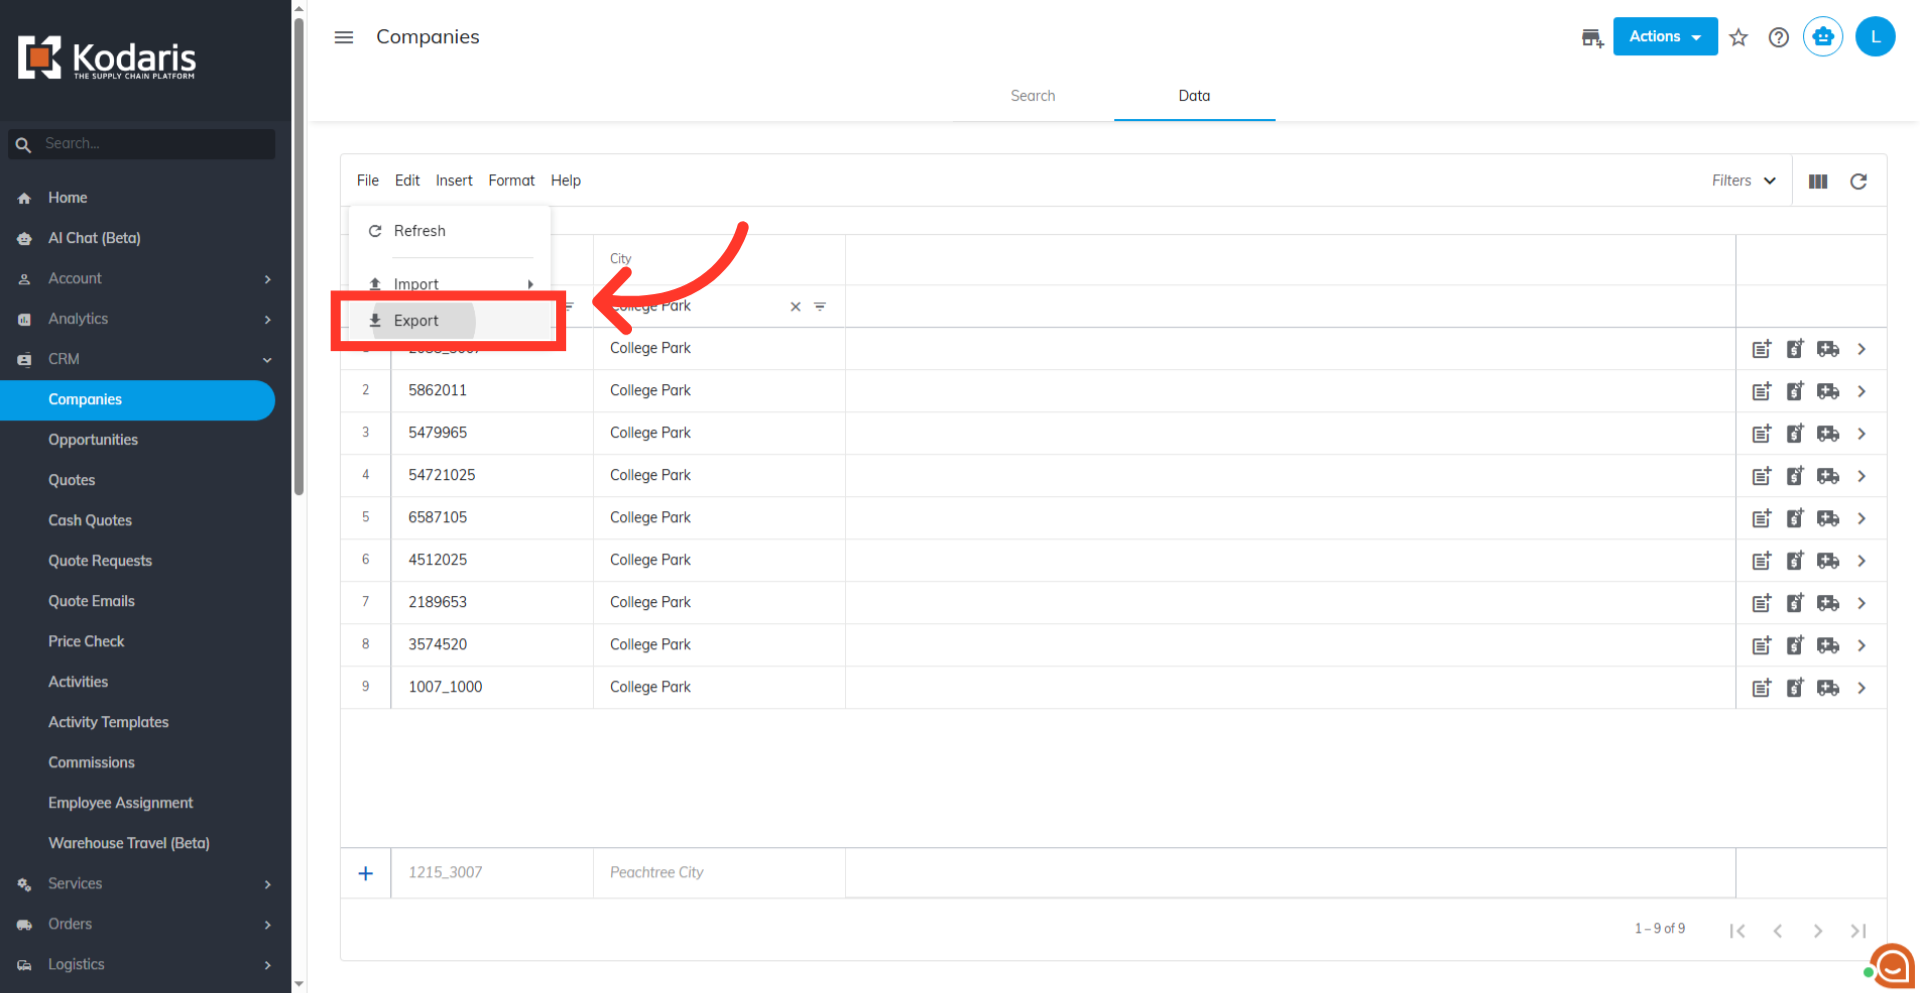
Export your file
When you are ready to export, go to "File" menu and then click "Export". This will give you a file in .CSV format that will include the data from the grid and also the header row.
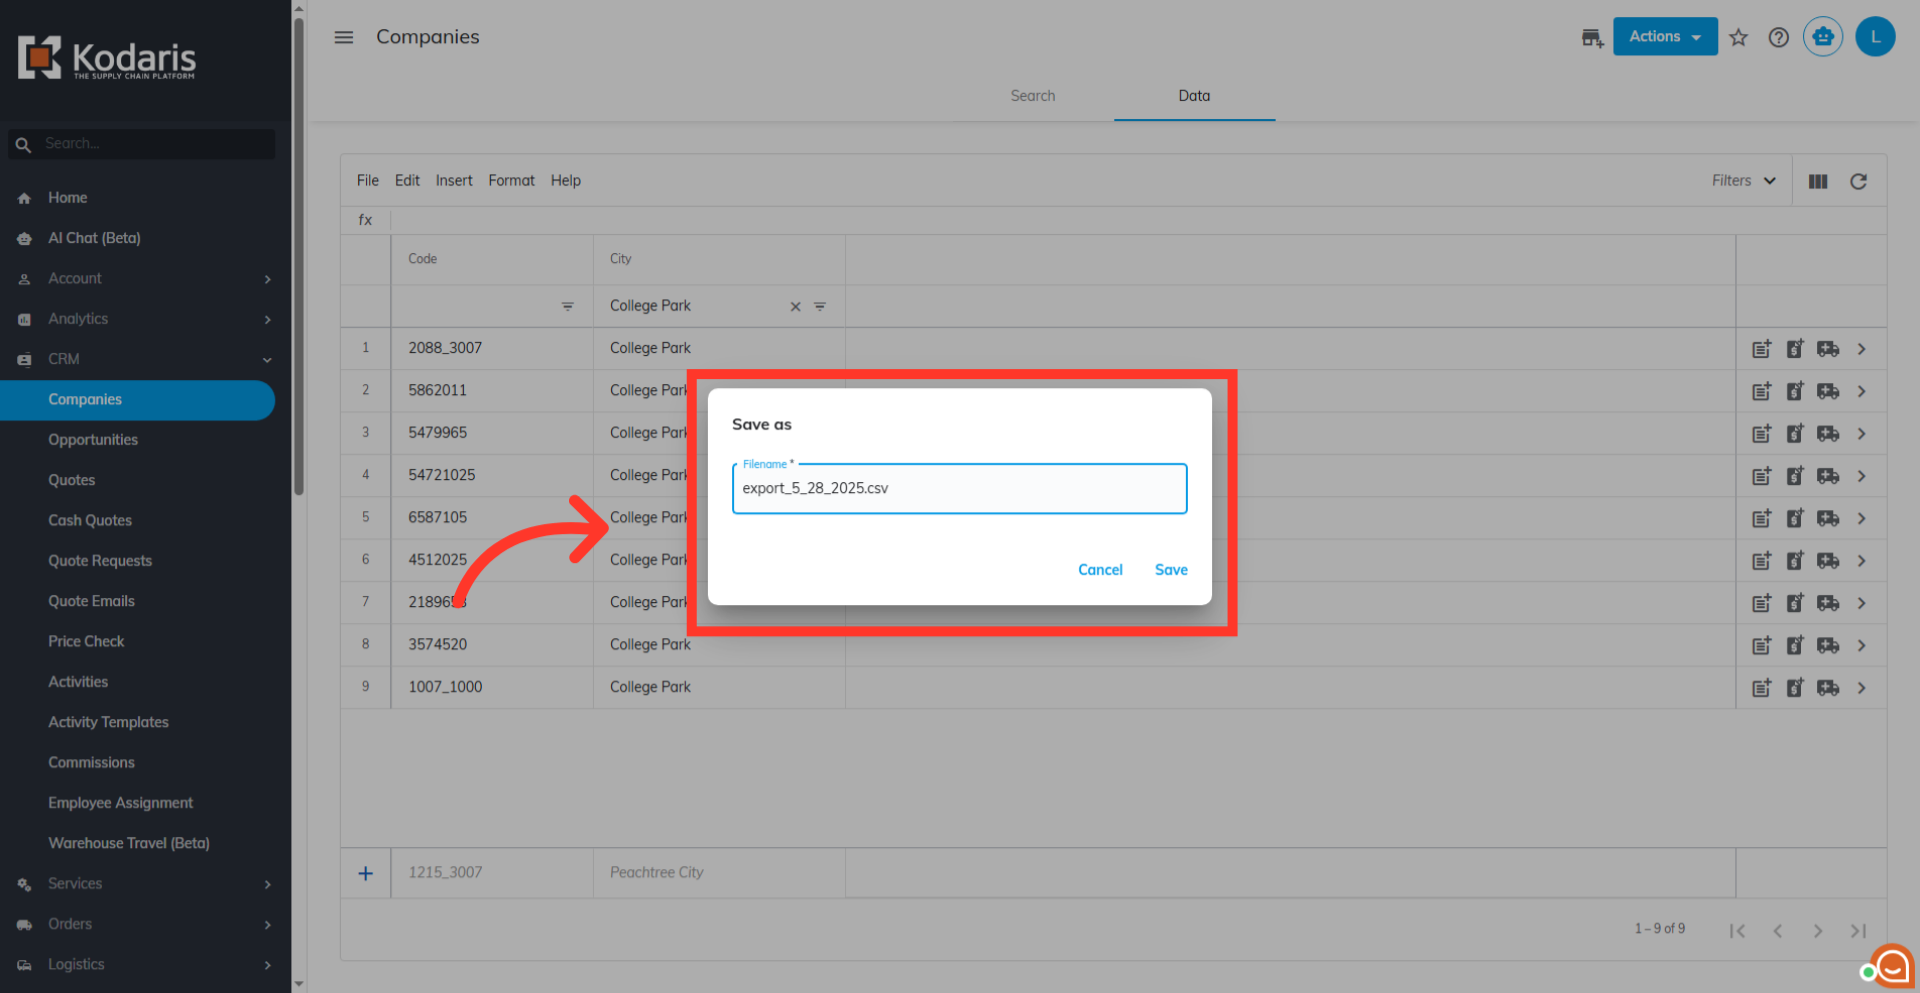
Type in your desired filename
Type in your desired filename for your .CSV file.
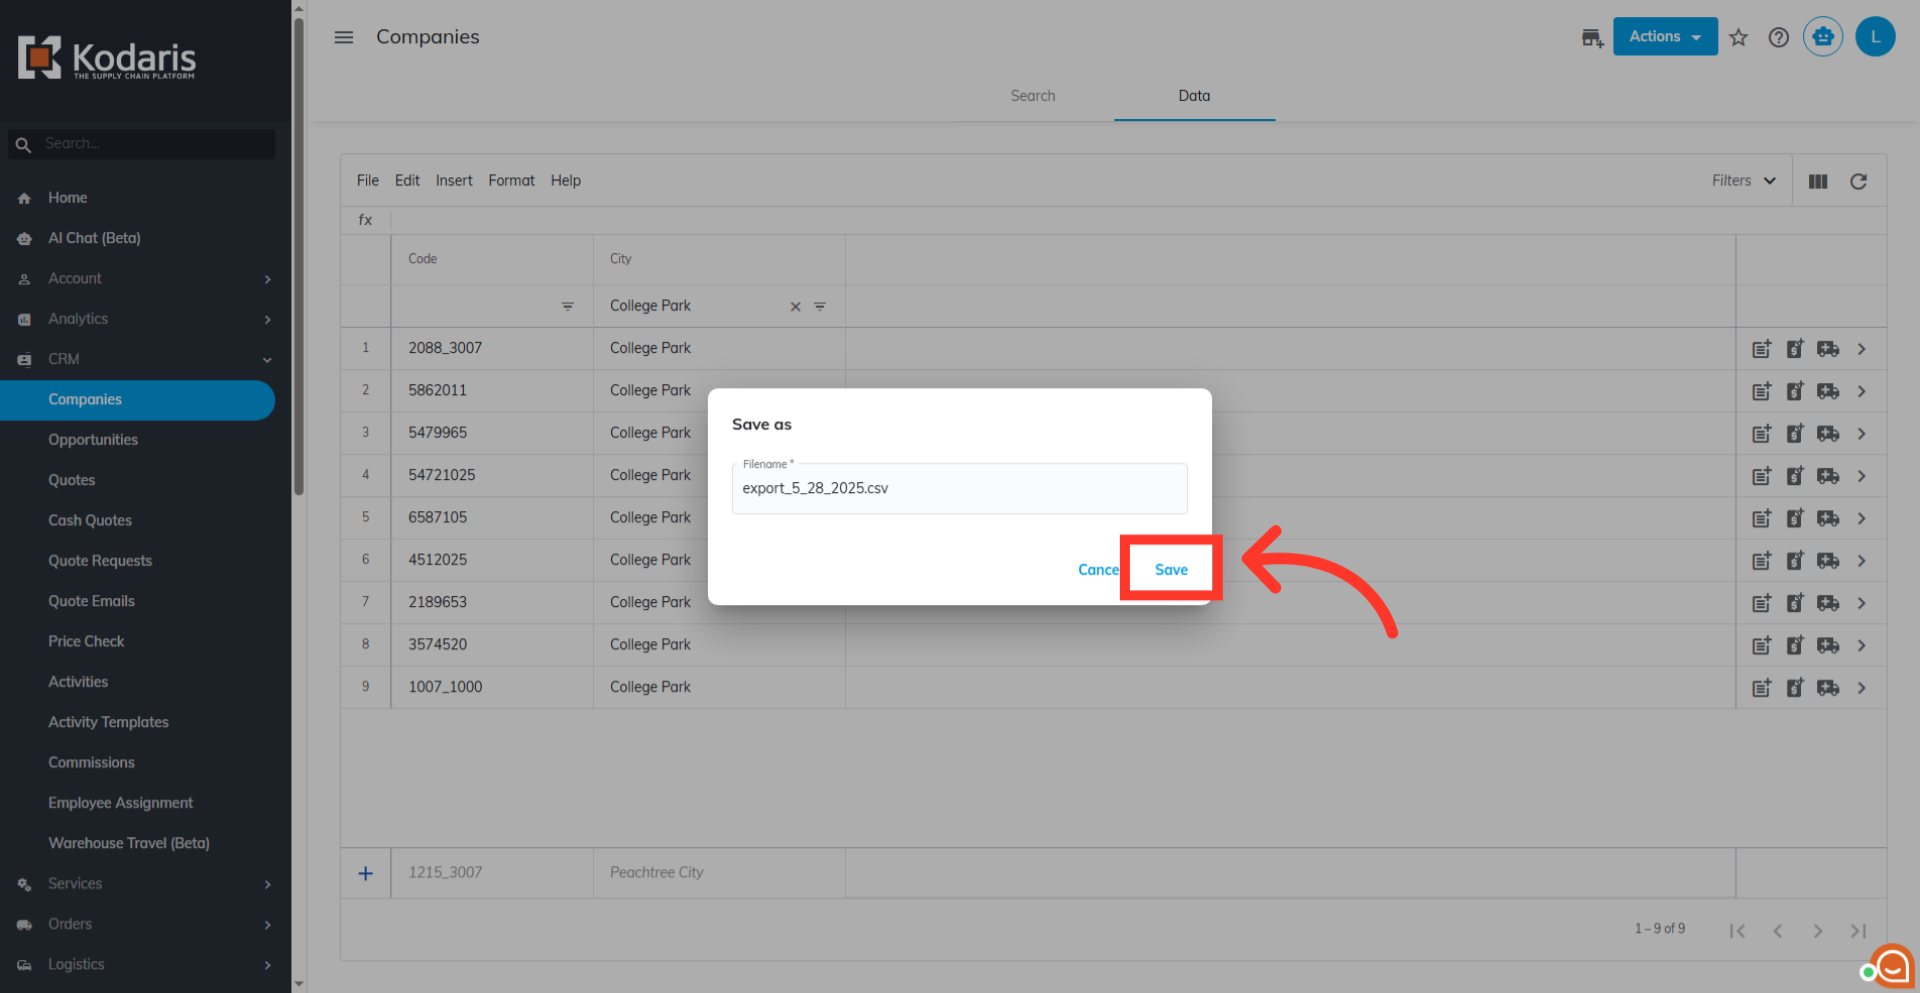
Click on the "Save" button
Then, click on the "Save" button.
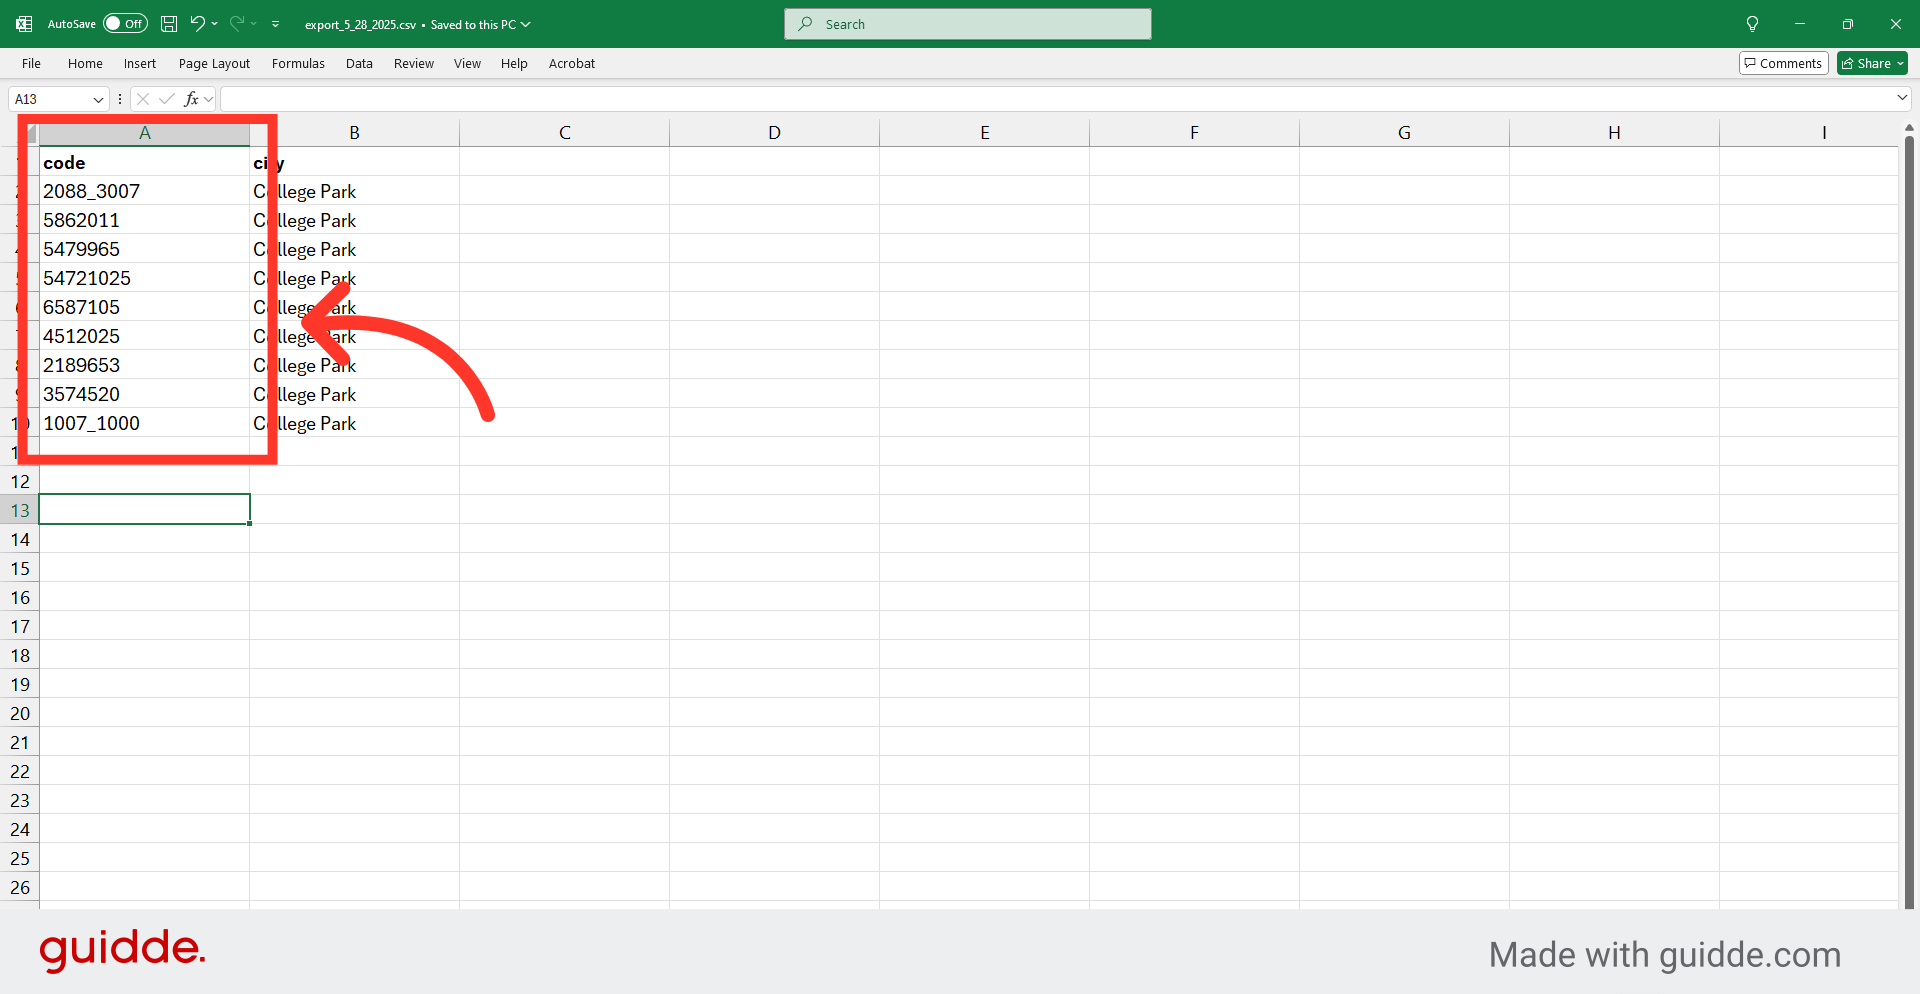
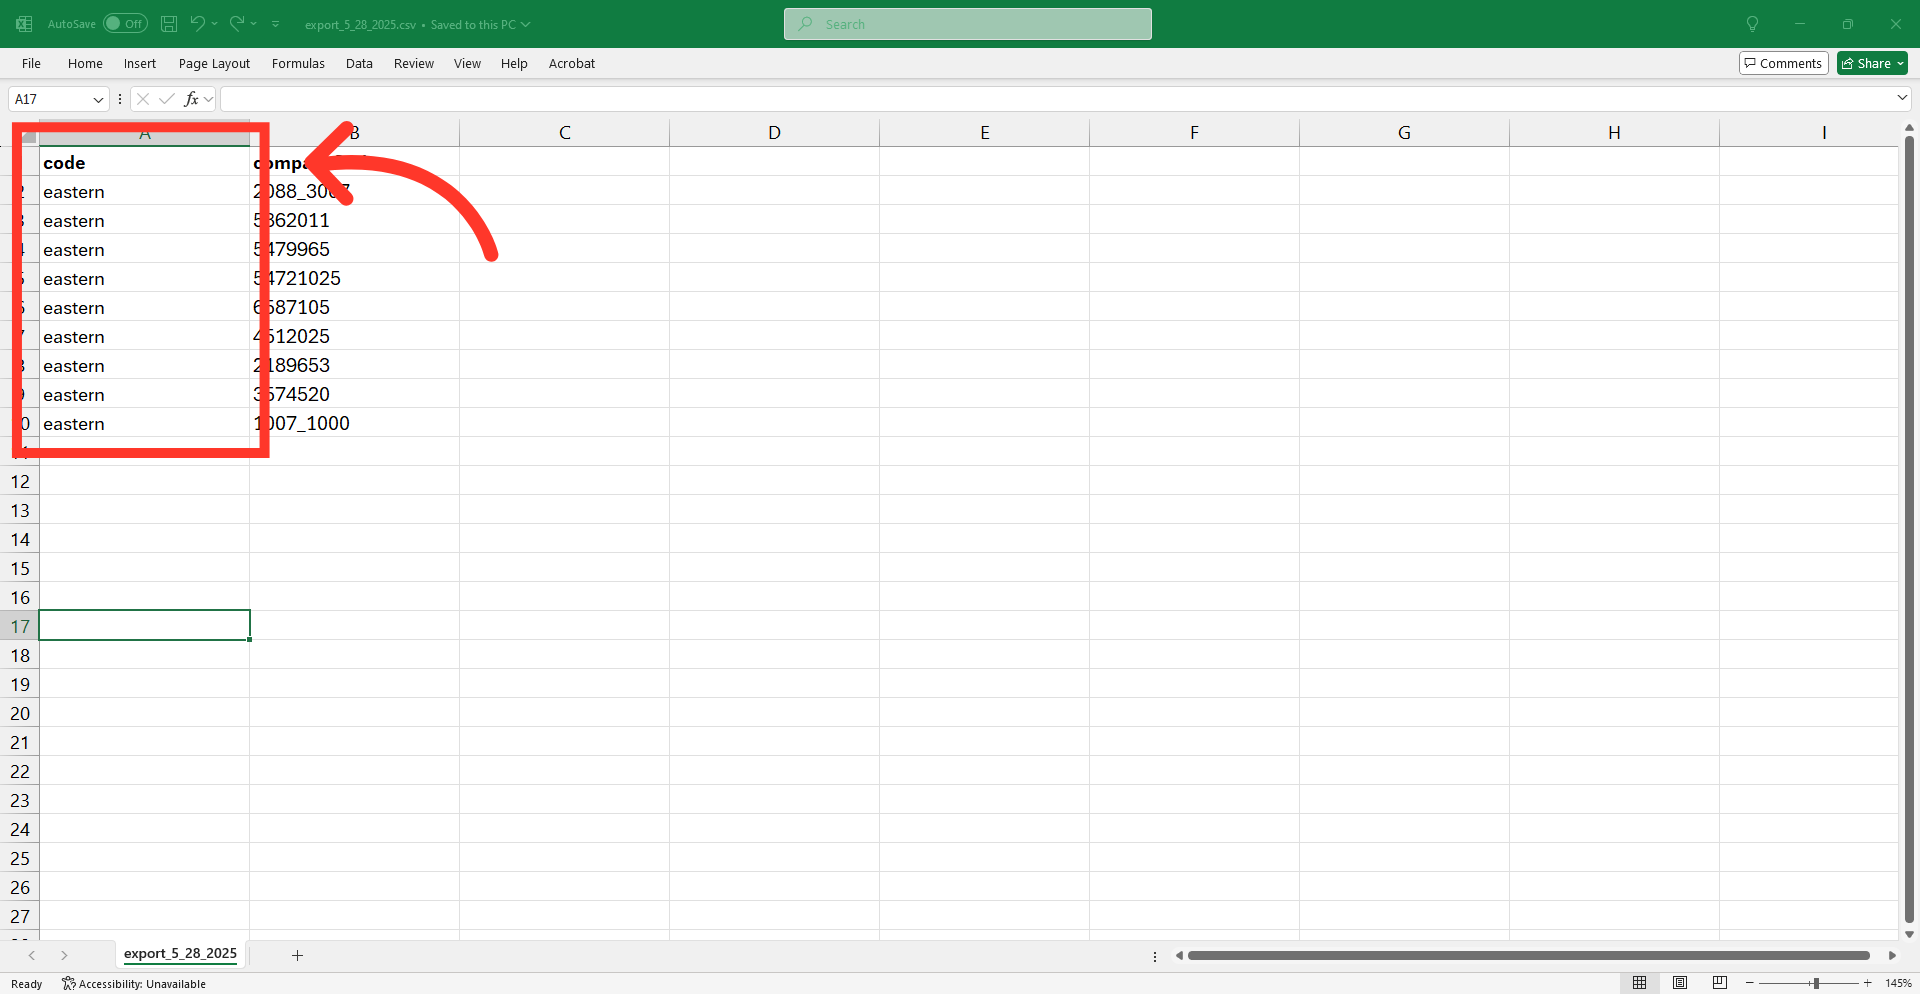
Example spreadsheet with company codes
This export consists of all the company codes of the companies you want to assign to a specific company group.
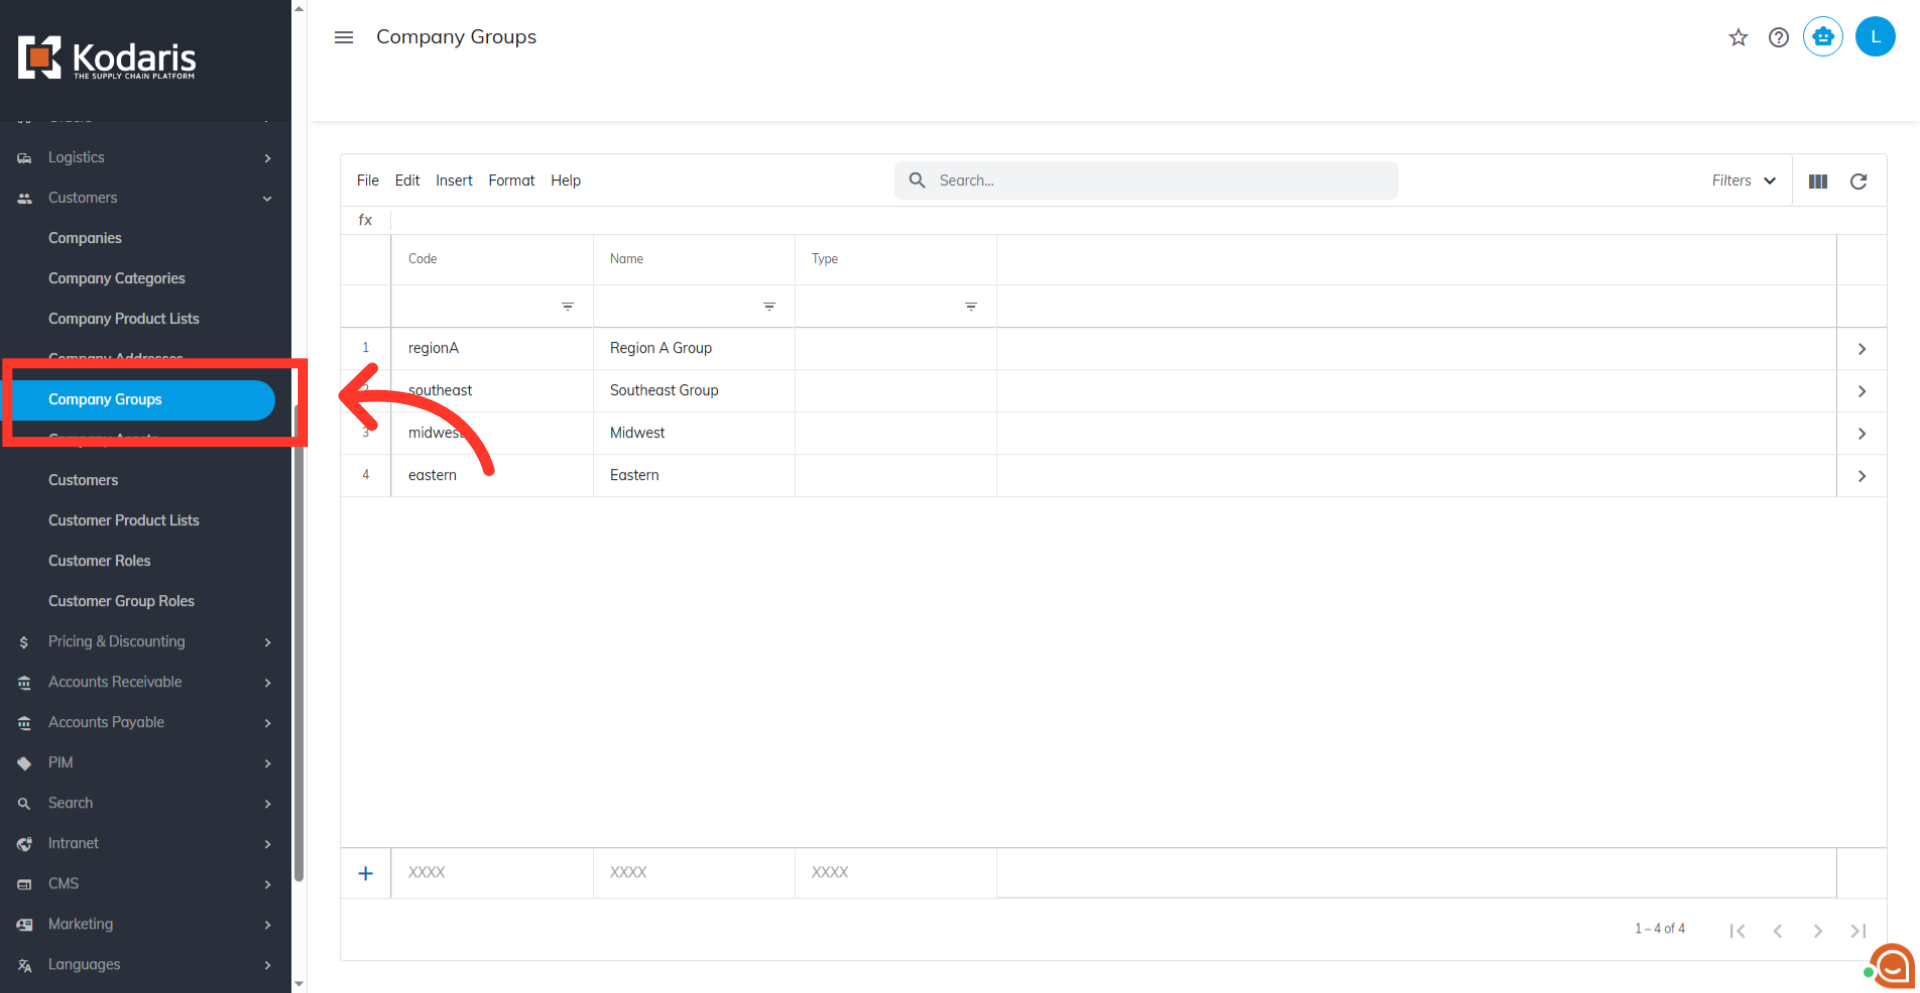
Click on "Company Groups"
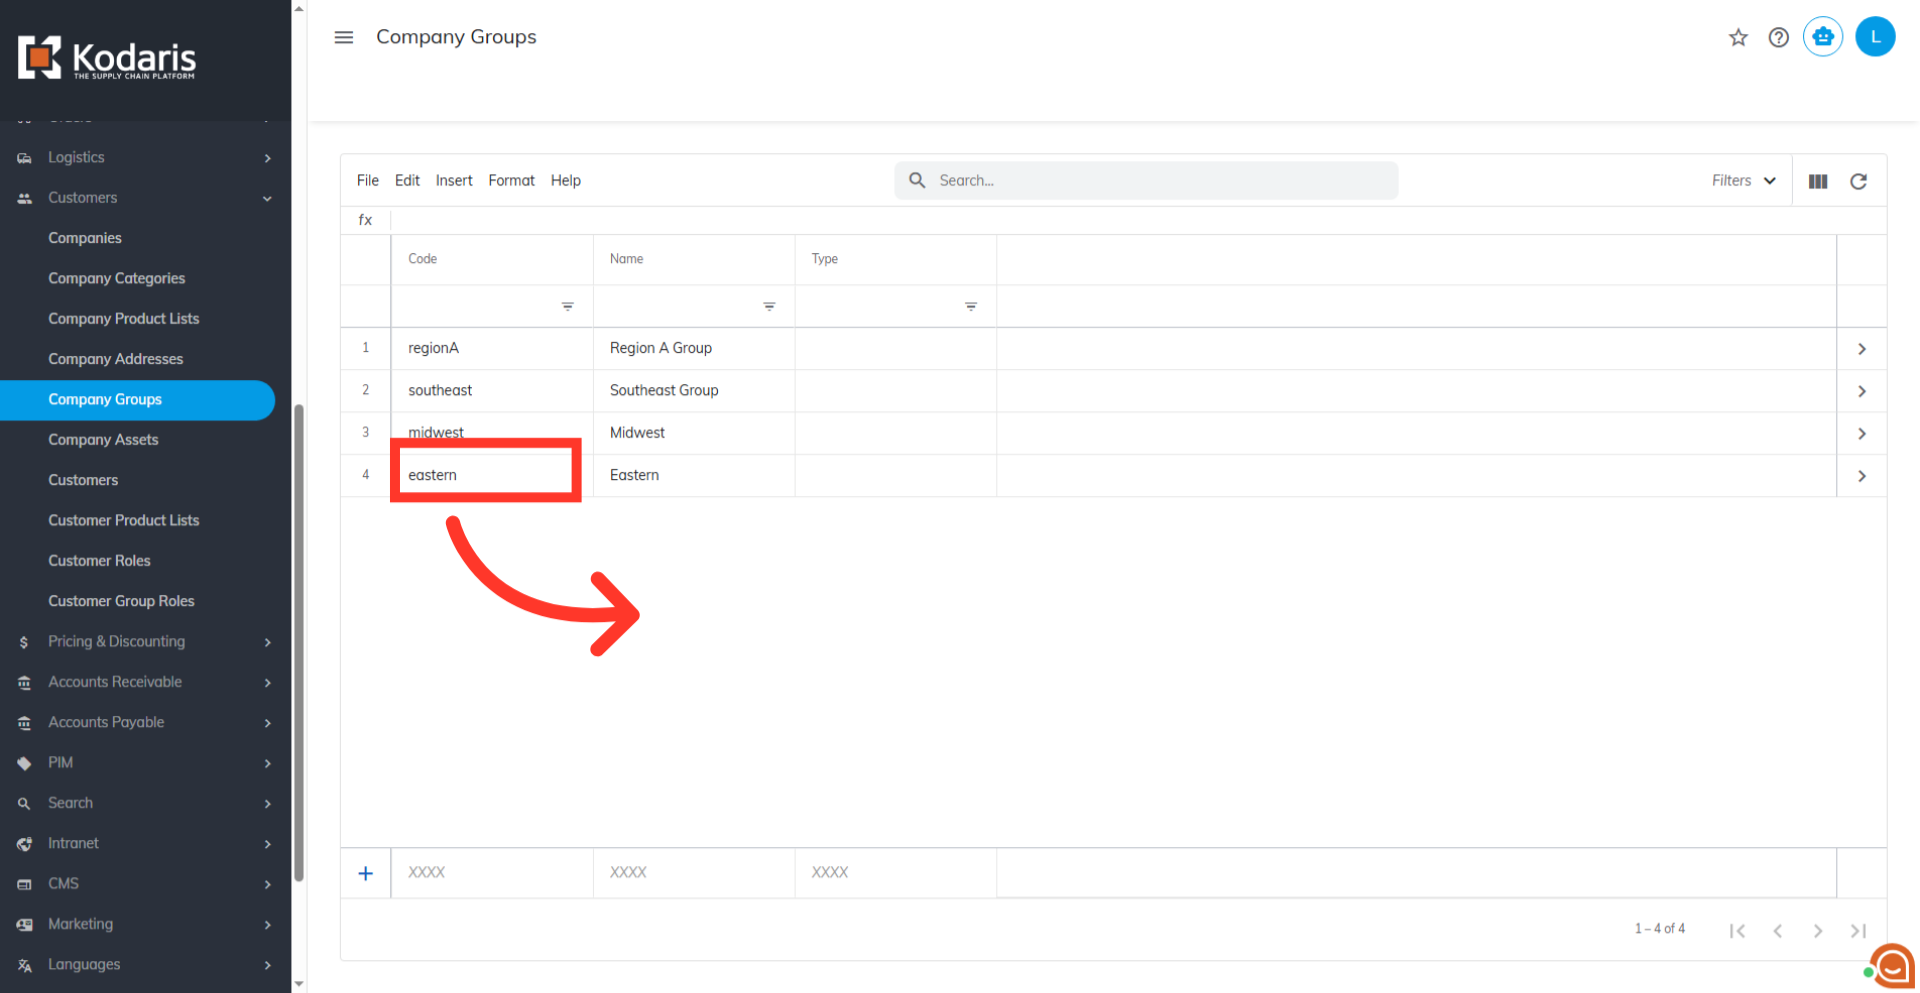
Next, you'll also need the "Company Group" code, which you can also find under "Customers" section. Click "Company Groups". In order to access "Company Groups" you will need to be set up either as an "administrator" or a "superuser", or have the appropriate roles: "customerGroupView and customerGroupEdit" along with "importEdit" and "importView". These last two roles are needed for importing later on.
Find "Company Group" and Copy Code
Find the "Company Group" you want to add companies to by using the search bar or column filters. Copy the needed company group code from the code column.
Prepare your spreadsheet for import
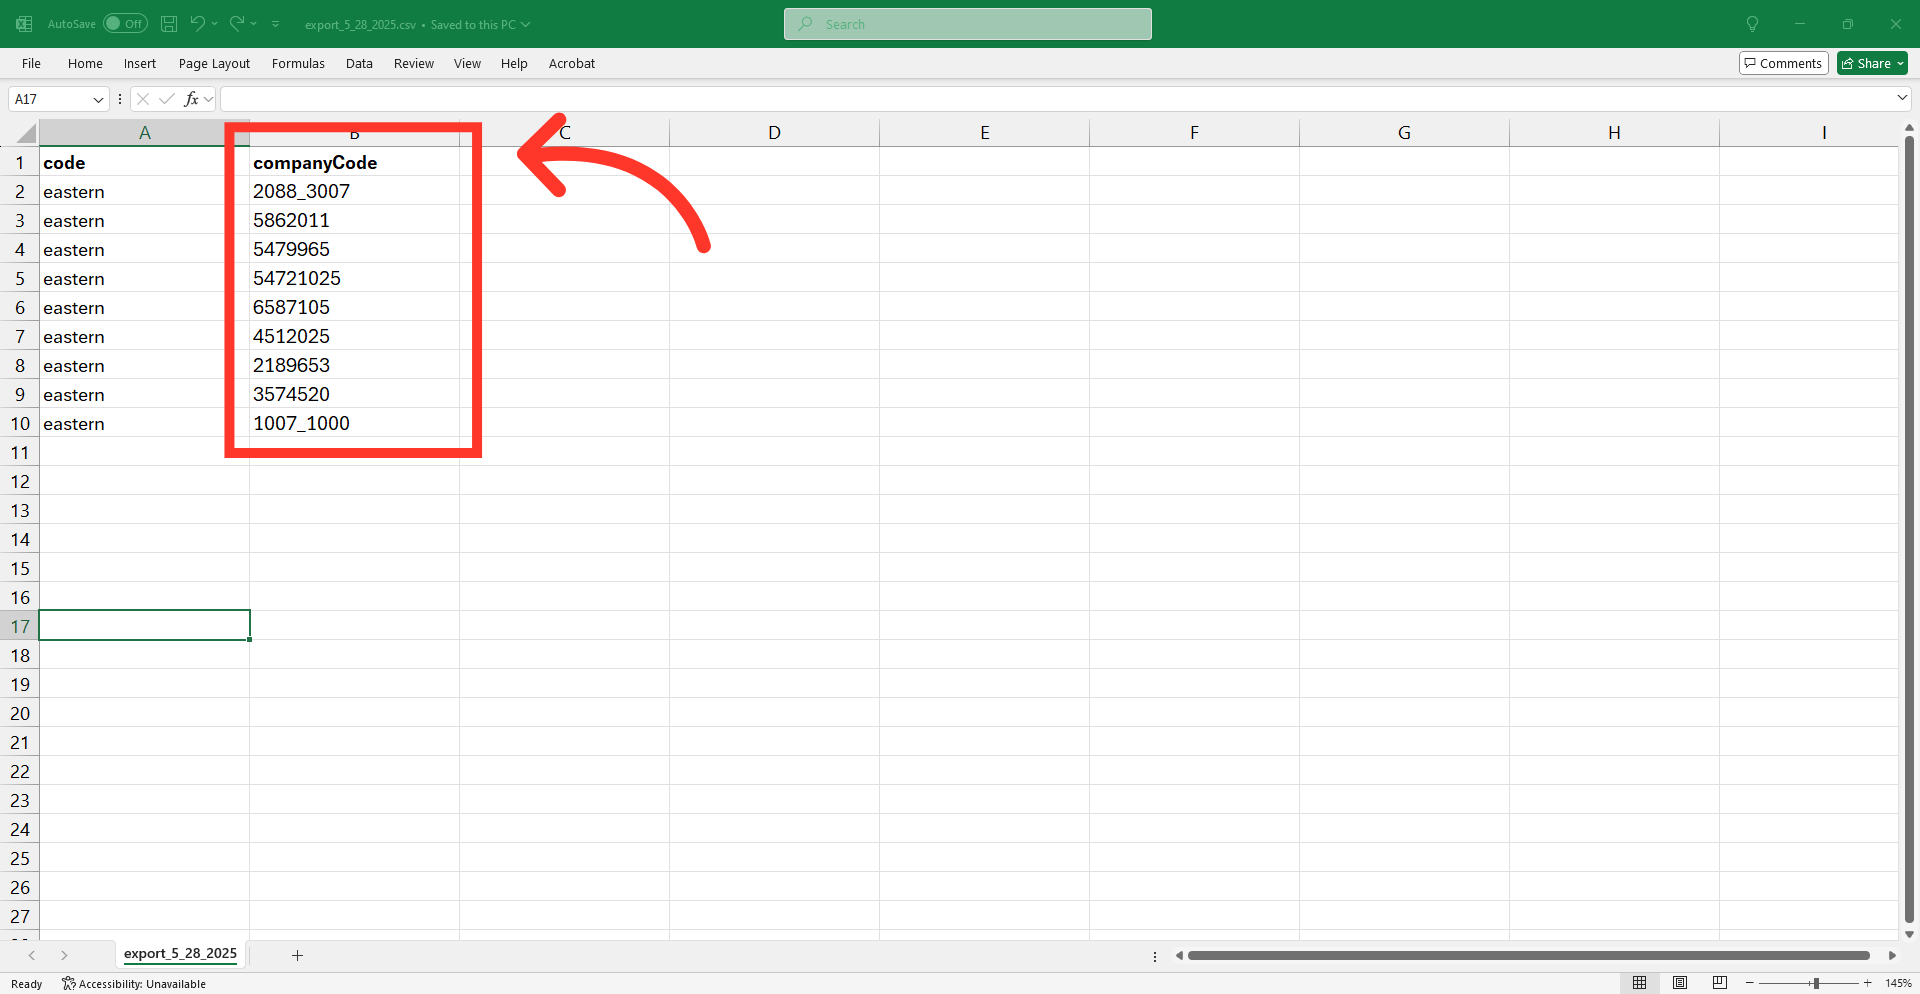
Return to your spreadsheet and update the column headers. It should have the code and companyCode columns.

"code" = Company Group code
Make sure that you populate the "code" column with the company group code you copied.
"companyCode" = Company Code
The "companyCode" column should contain the company codes that you exported earlier.
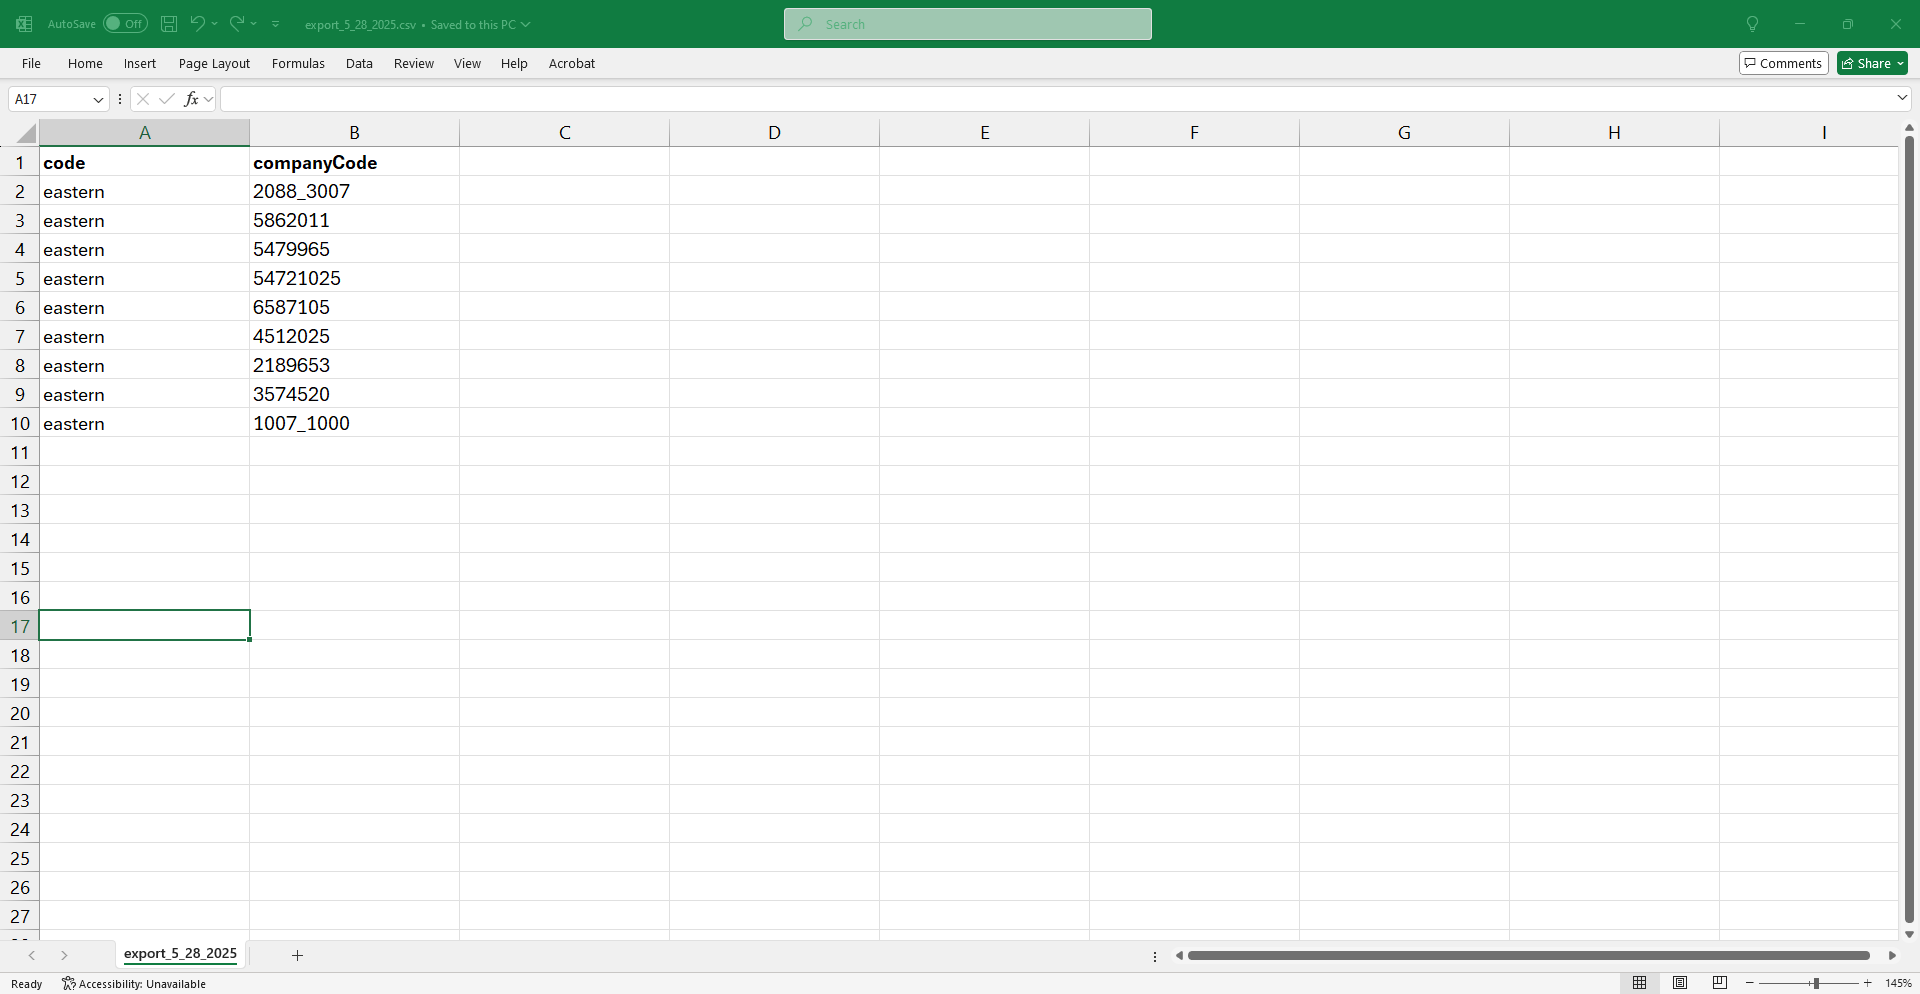
Save your CSV for import
After completing the necessary changes, save the spreadsheet as a .CSV file for import. Ensure the spreadsheet contains only the data you intend to update. This updated sheet will now have all the necessary headers and data for your upcoming import.
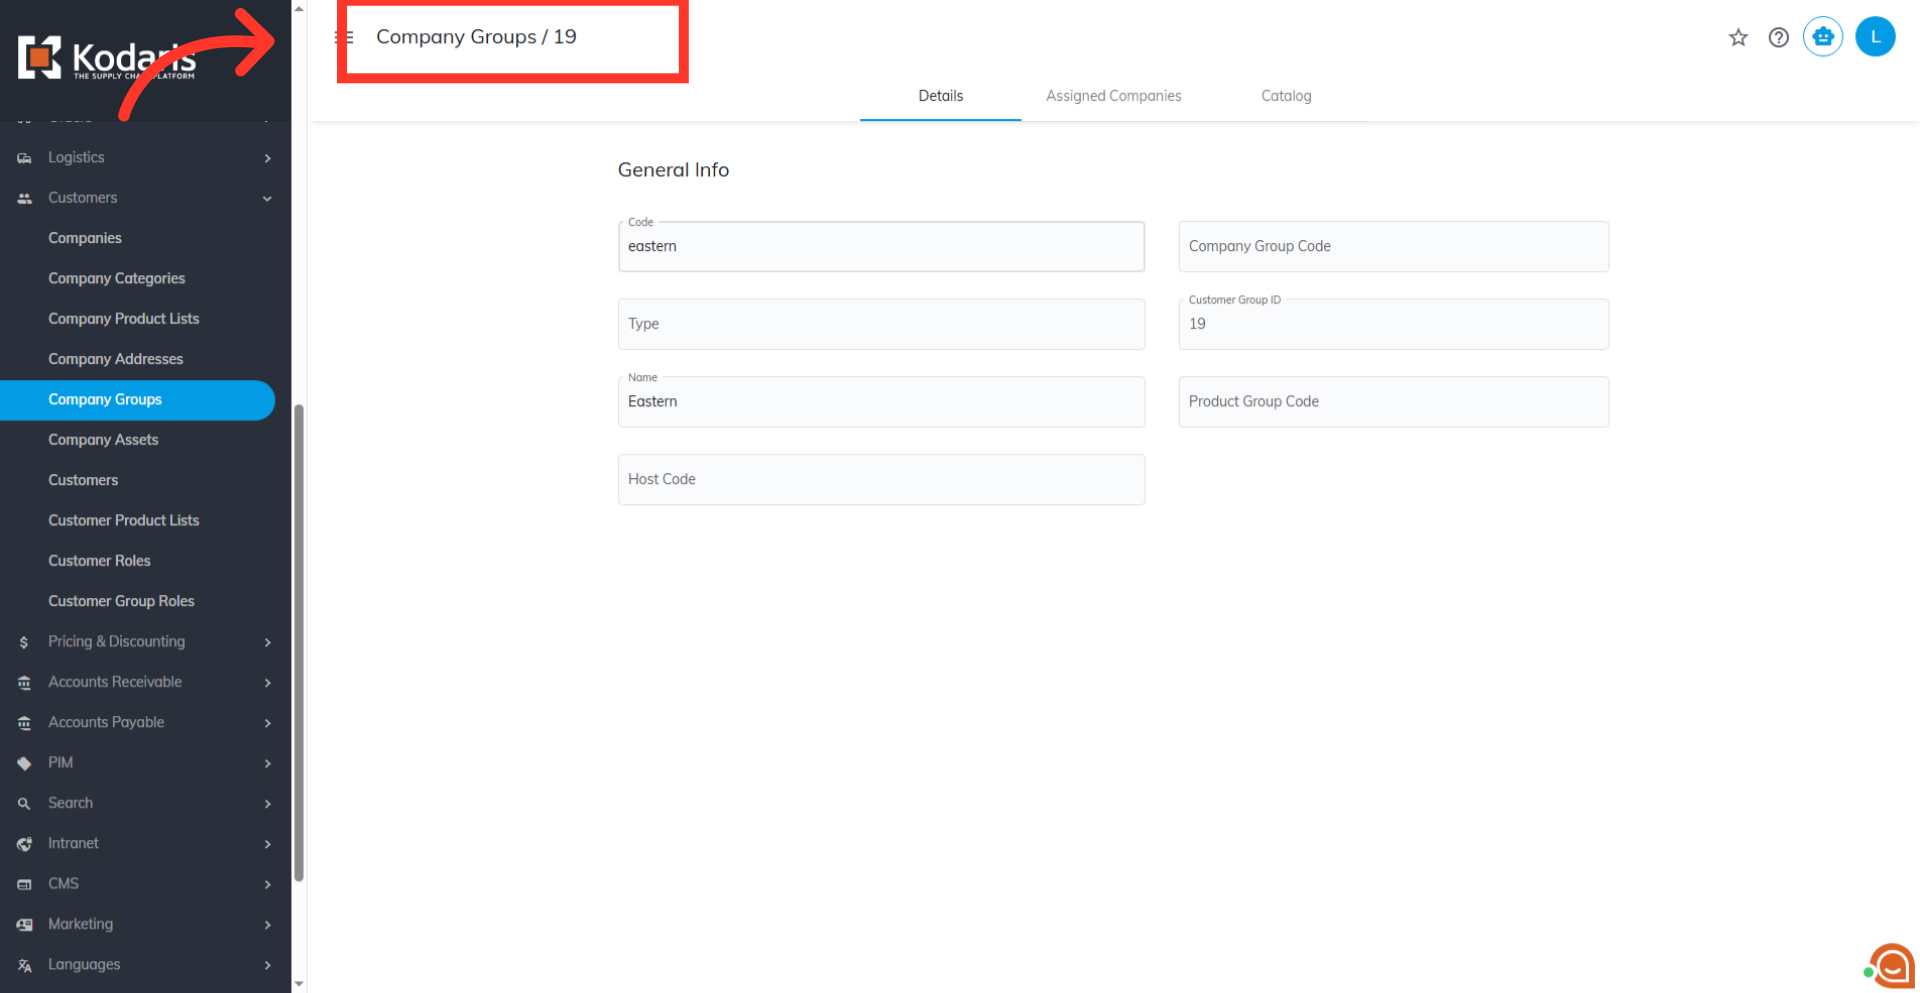
Go to the Company Group details screen
Go to the Company Group details screen.
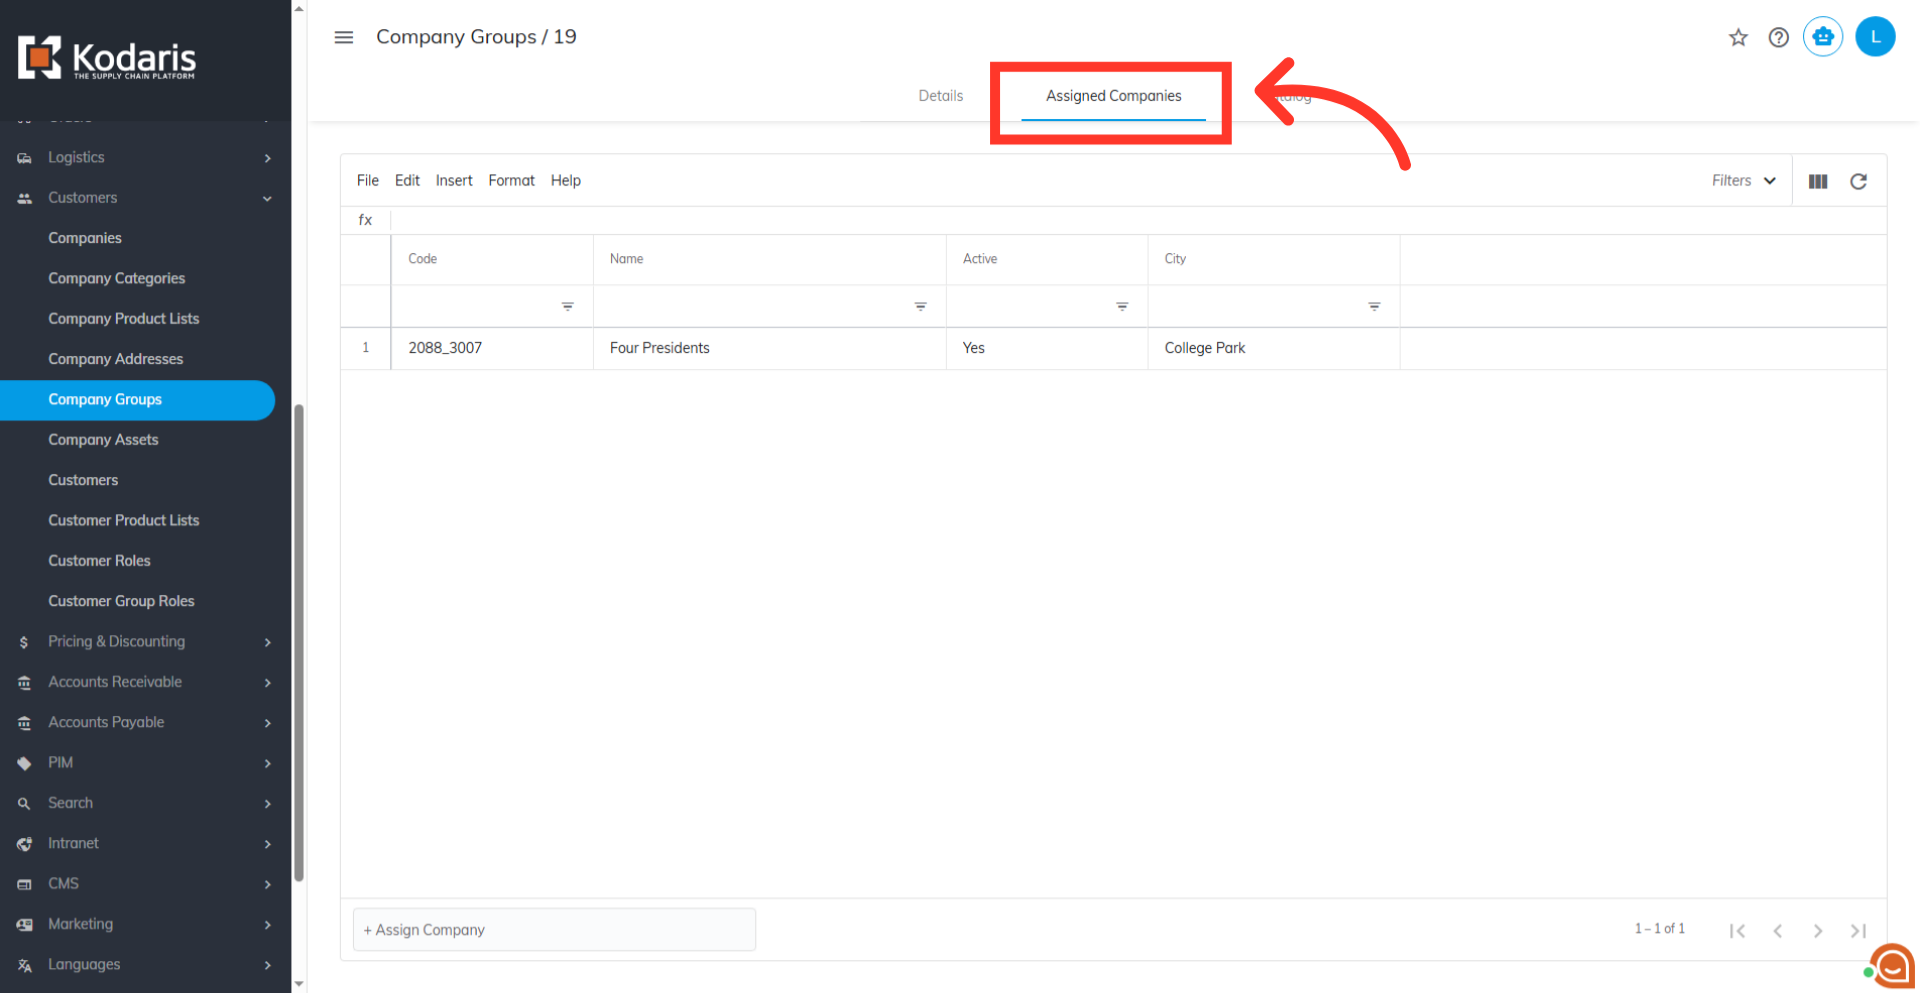
Go to the "Assigned Companies" tab
Then, click on the "Assigned Companies" tab.
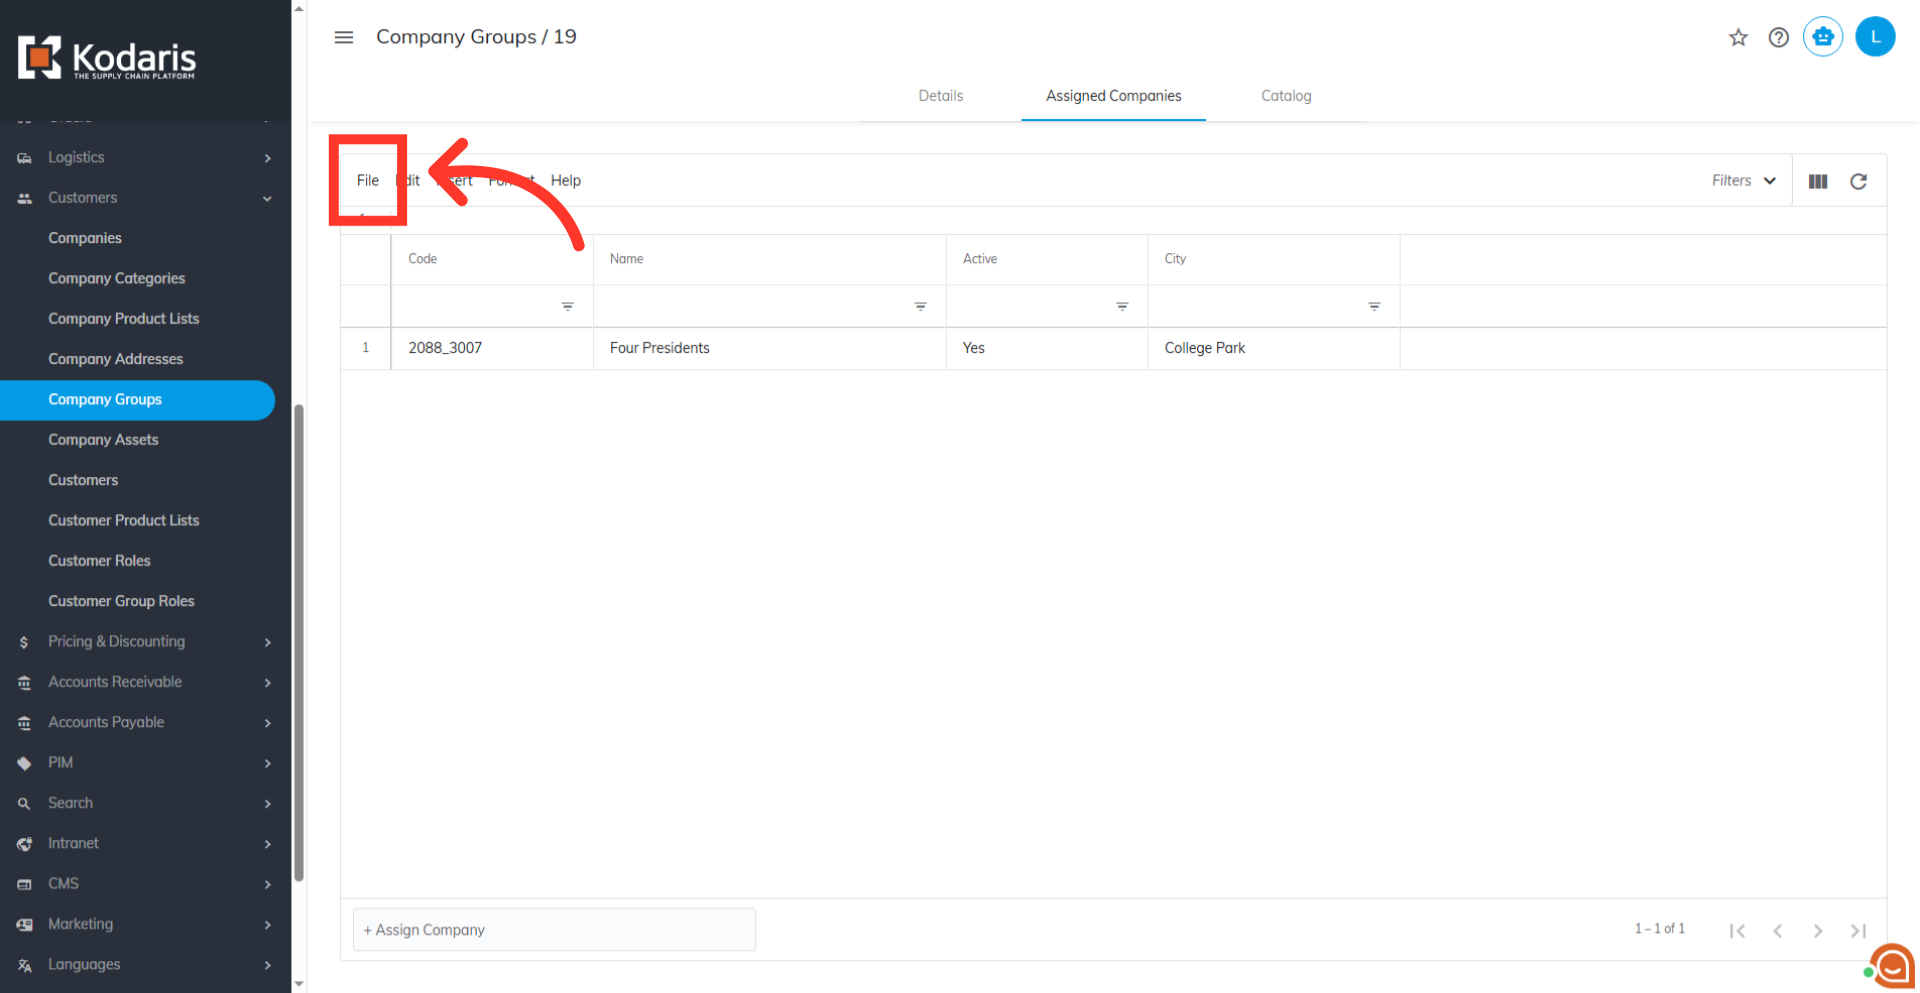
Click on the "File" menu
Now you're ready to import. Go to "File".
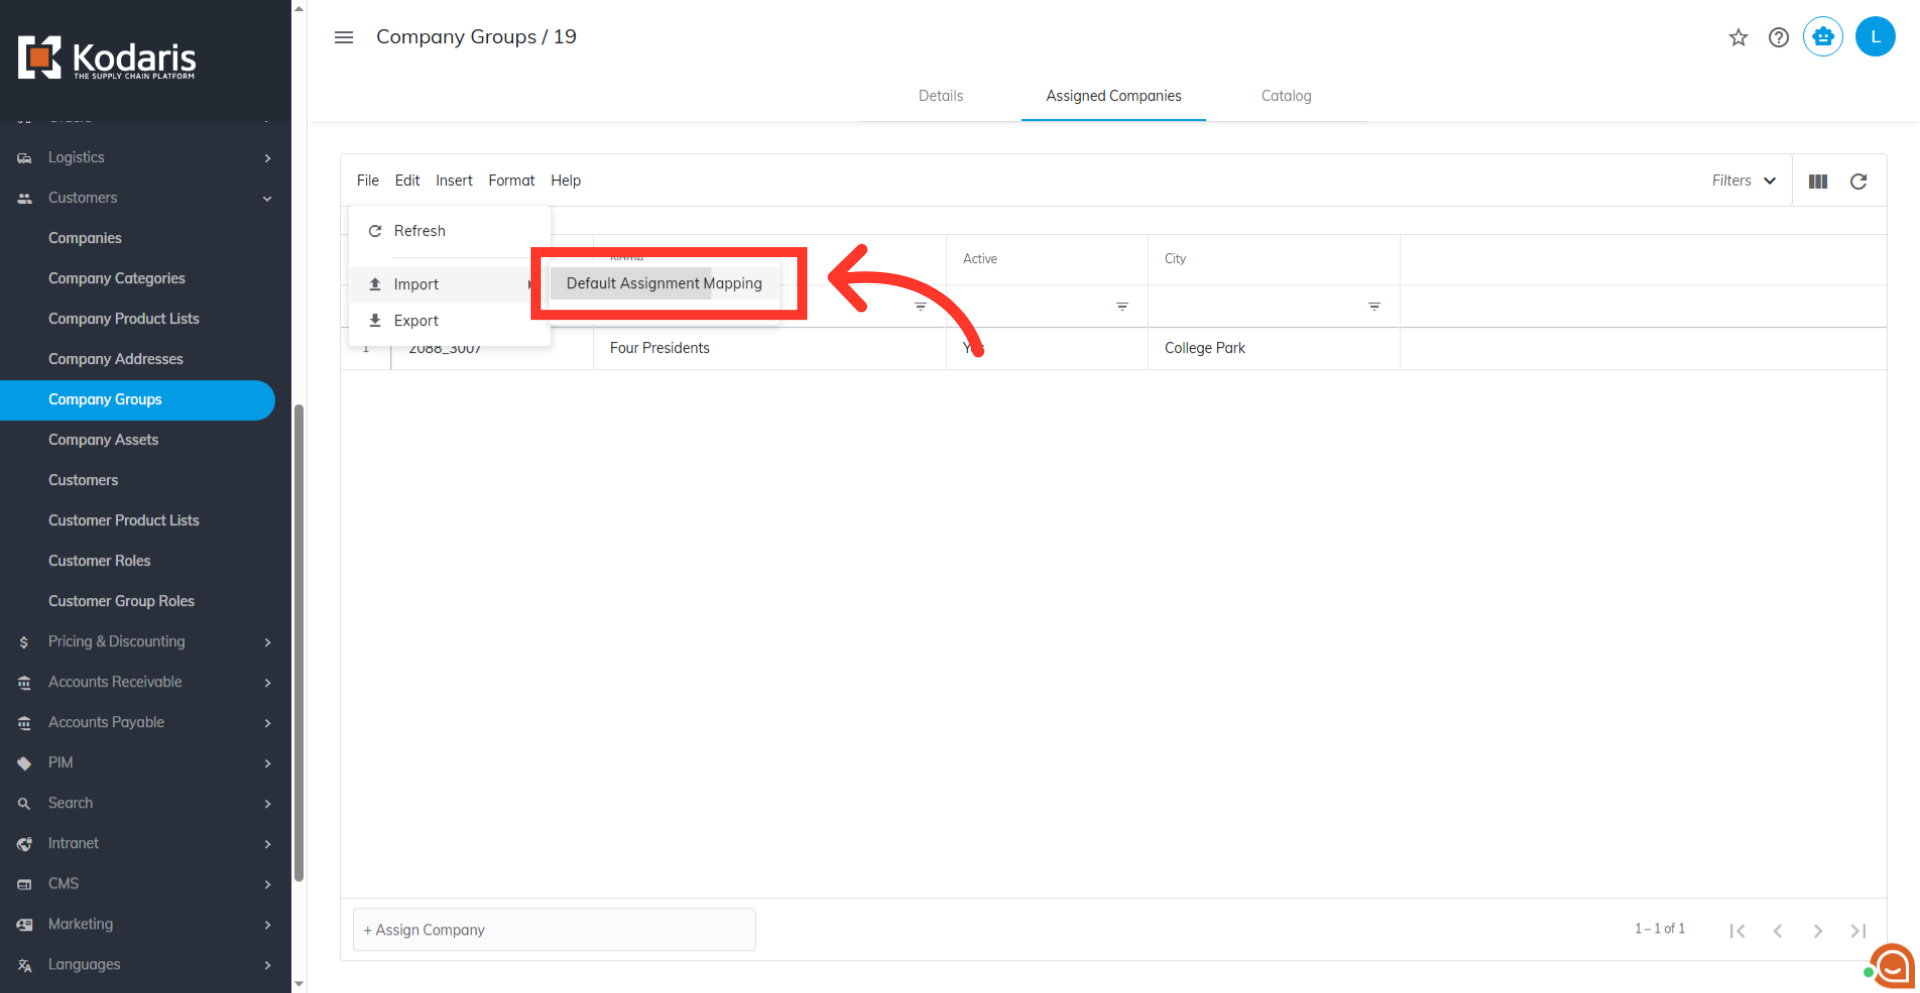
Select "Default Assignment Mapping"
After that, go to "Import", then choose "Default Assignment Mapping".
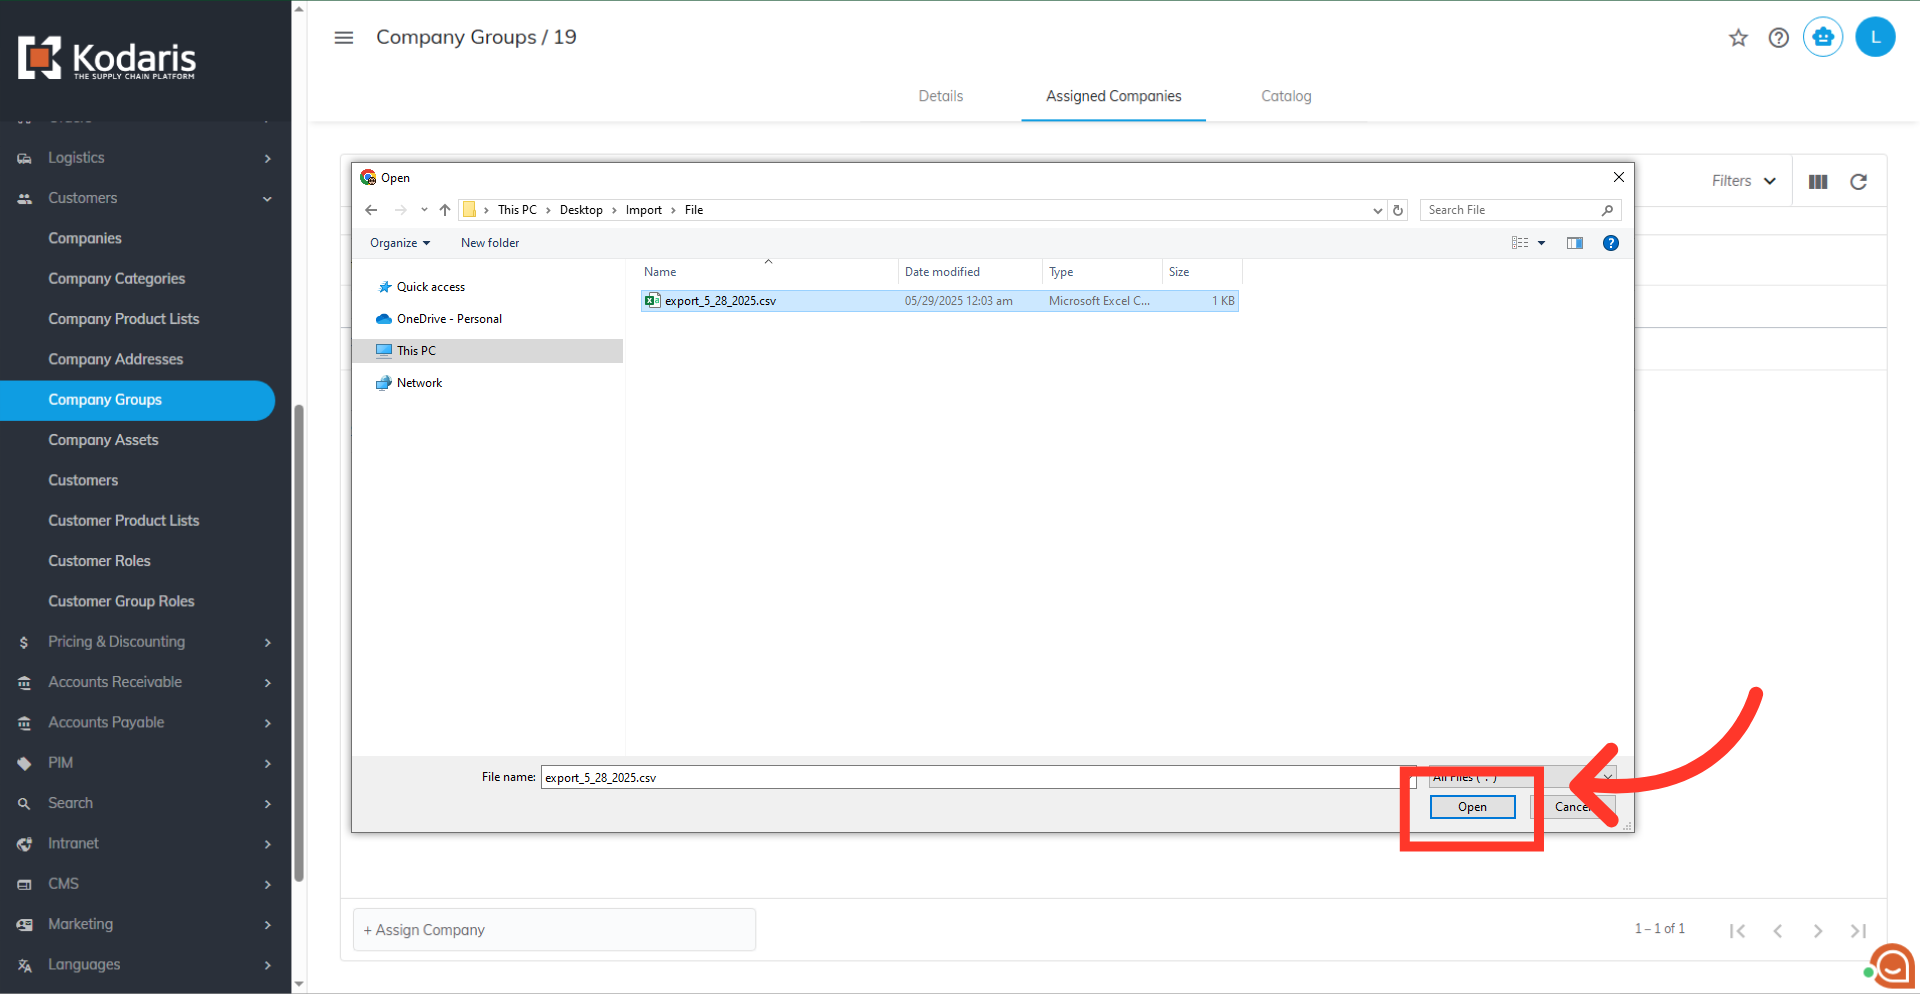
Select your file and click the "Open" button
You will be asked to upload a .CSV file from your computer. Please select the correct file, as imports are irreversible. The import will run in the background. Allow a few minutes for the data to be imported, and note that larger imports may take longer.
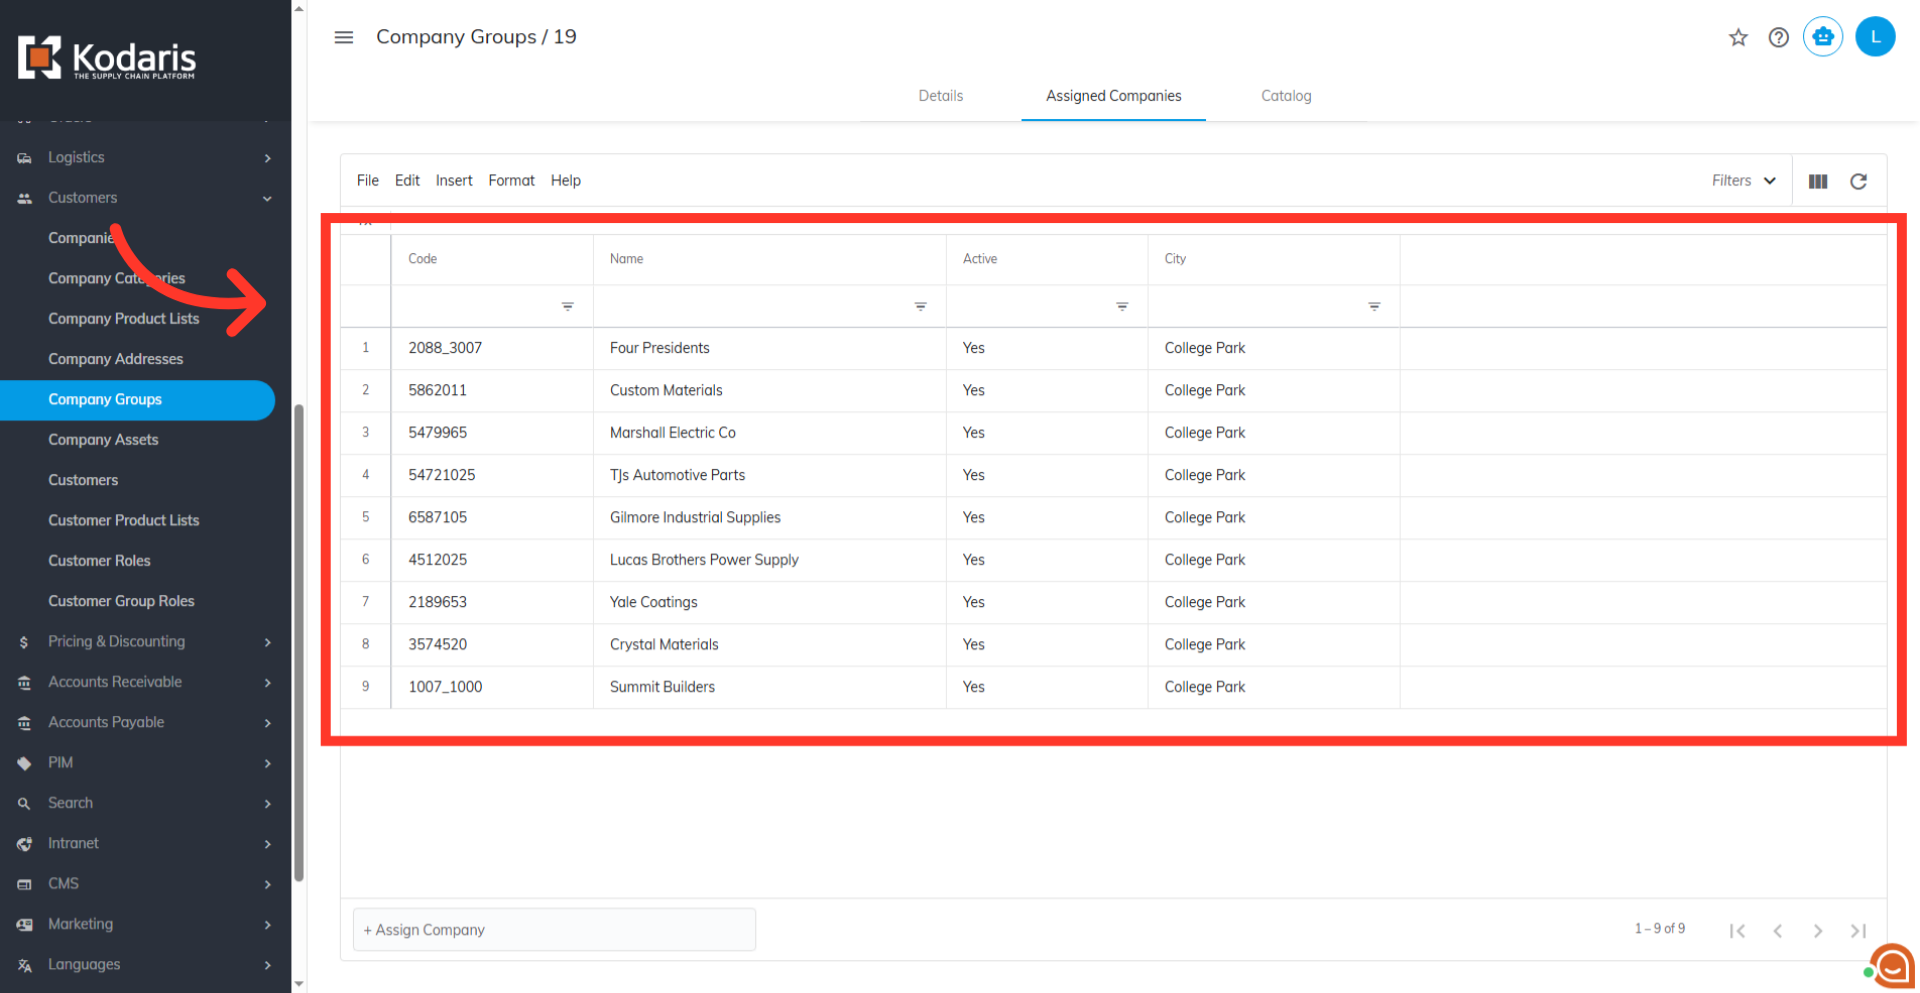
Data has been imported
Once the import finishes, the new companies should appear automatically. If not, simply refresh the "Company Groups" screen to see your updated assignments.
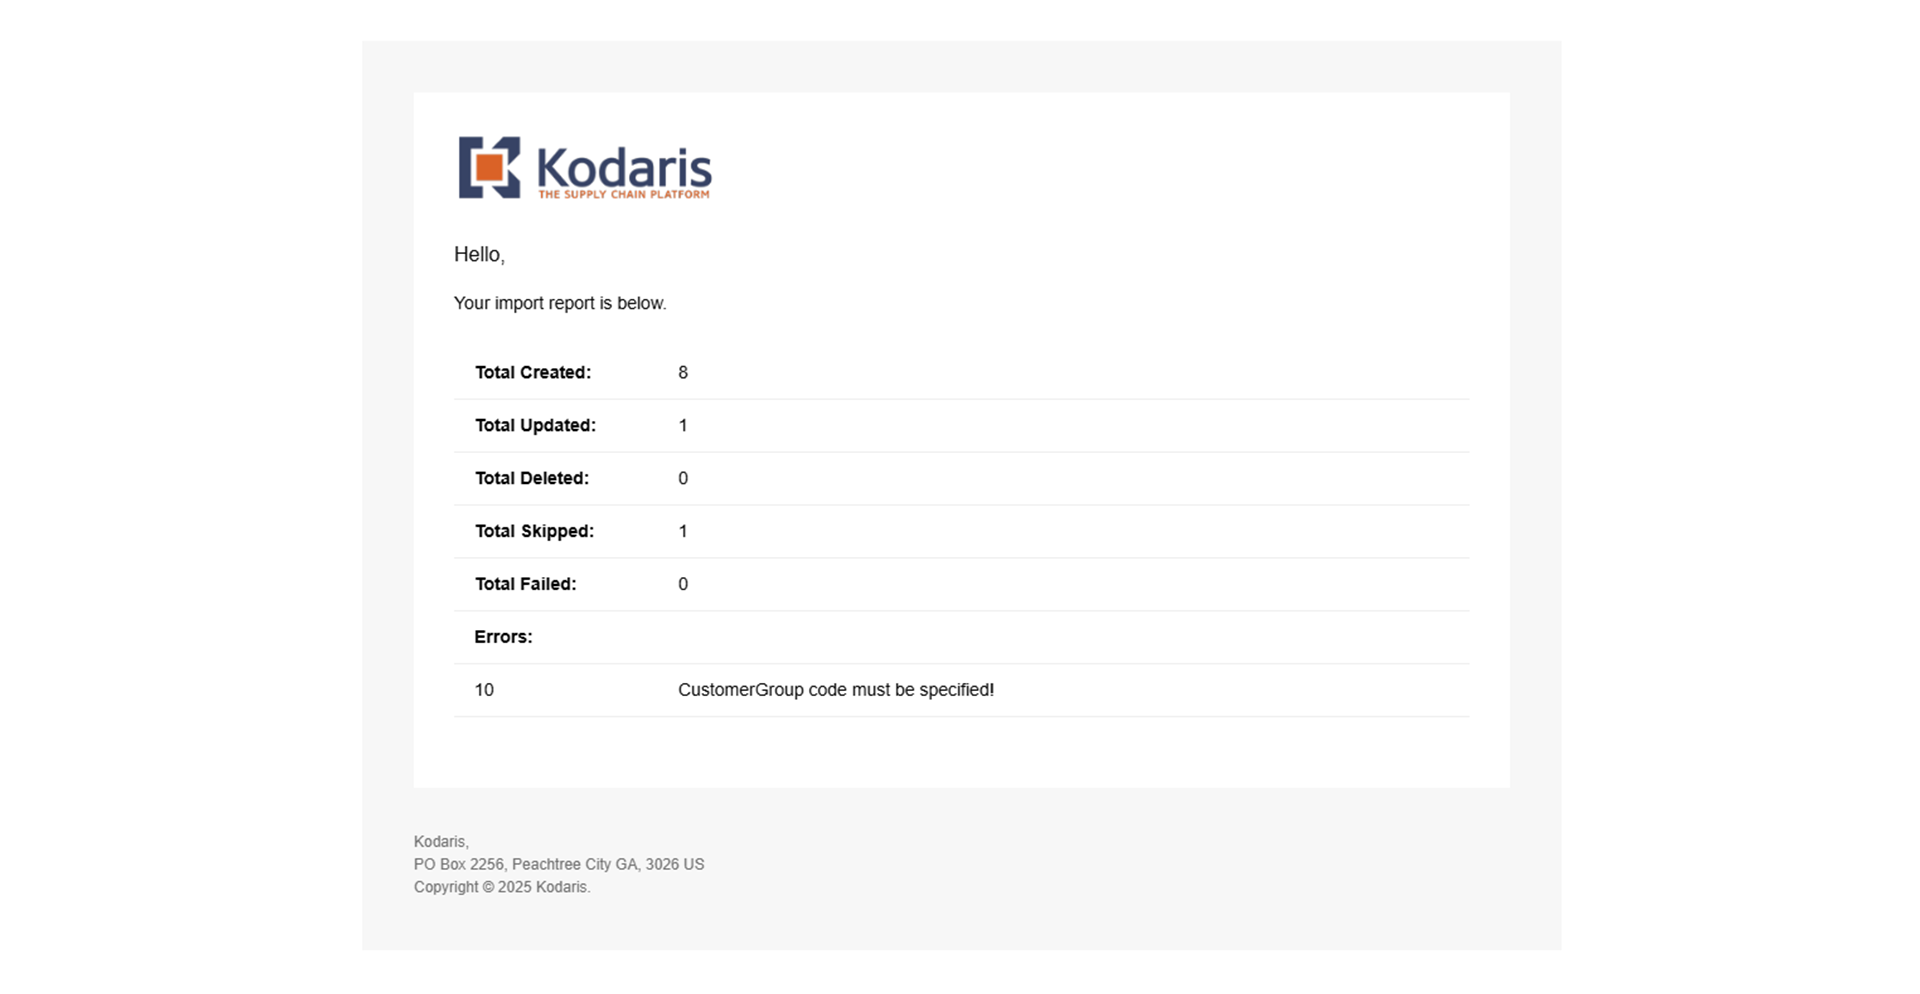
Email Report
An email report will also be generated once your import is successful.