Operations CRM - Send Email to Customer Account
Navigate to "CRM"
To send emails to a customer account, navigate to the "CRM" section in the Operations Portal.

Click "Companies"
Click "Companies". In order to access "Companies", you will need to be set up either as an "administrator" or a "superuser", or have the appropriate roles: "companyEdit", or "crmCompanyEdit". Just a reminder, "crmCompanyEdit" access only allows employees to access companies that are assigned to them.

Search for the company
Type a keyword in the "Search..." field. Companies matching your keywords will appear as you type.

Click on the more details icon
Click on the more details icon.

Click "Send Email"
To initiate sending an email to your customer, click on the "Send Email" icon. To be able to send an email, you will need the role: "dispatch"

Enter the customer's email address
Enter the customer's email address in the "To" field.

Fill out "Cc" and "Bcc" fields
You also have the option to add email addresses to the "Cc" and "Bcc" fields. In this example, we will leave them blank.

Fill out the "Subject" field
Next, enter the subject of your email in the "Subject" field. If this is not filled out, the email will have an empty subject line.

Add the body of the email
Lastly, add text to the body of your email.

Click "Send"
Then, click "Send". The system will automatically send the email to the customer.
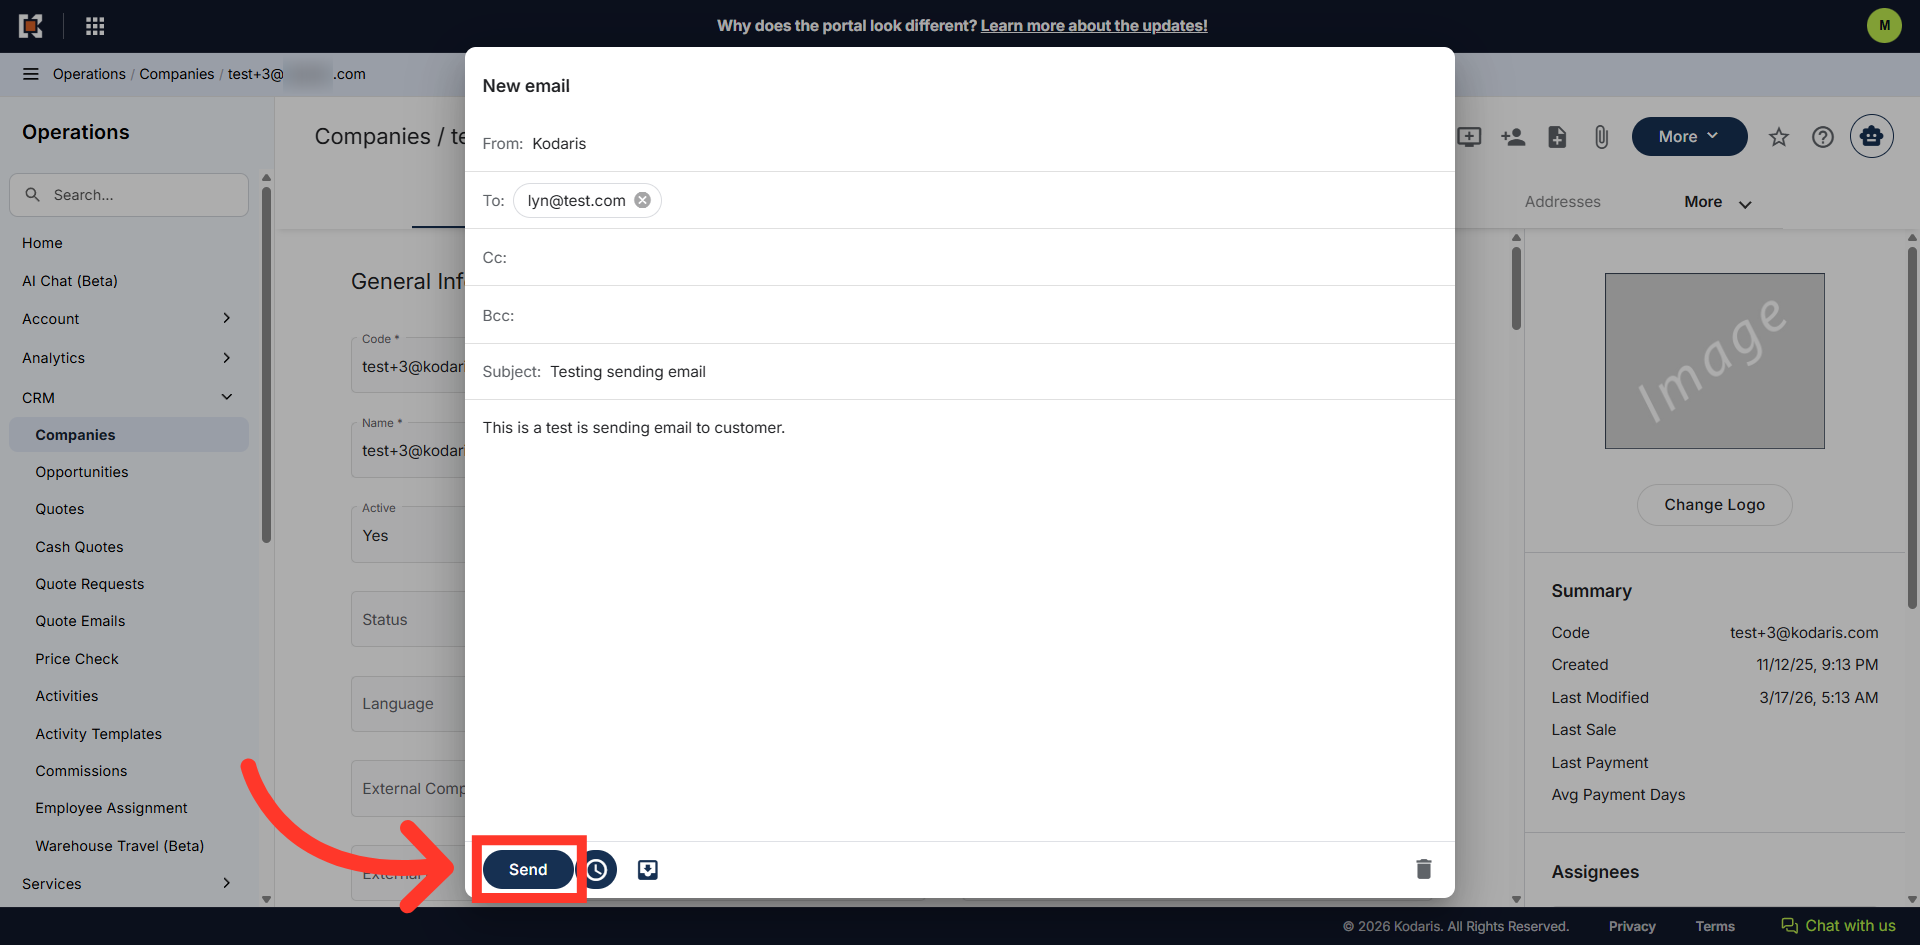
Click "Schedule Send"
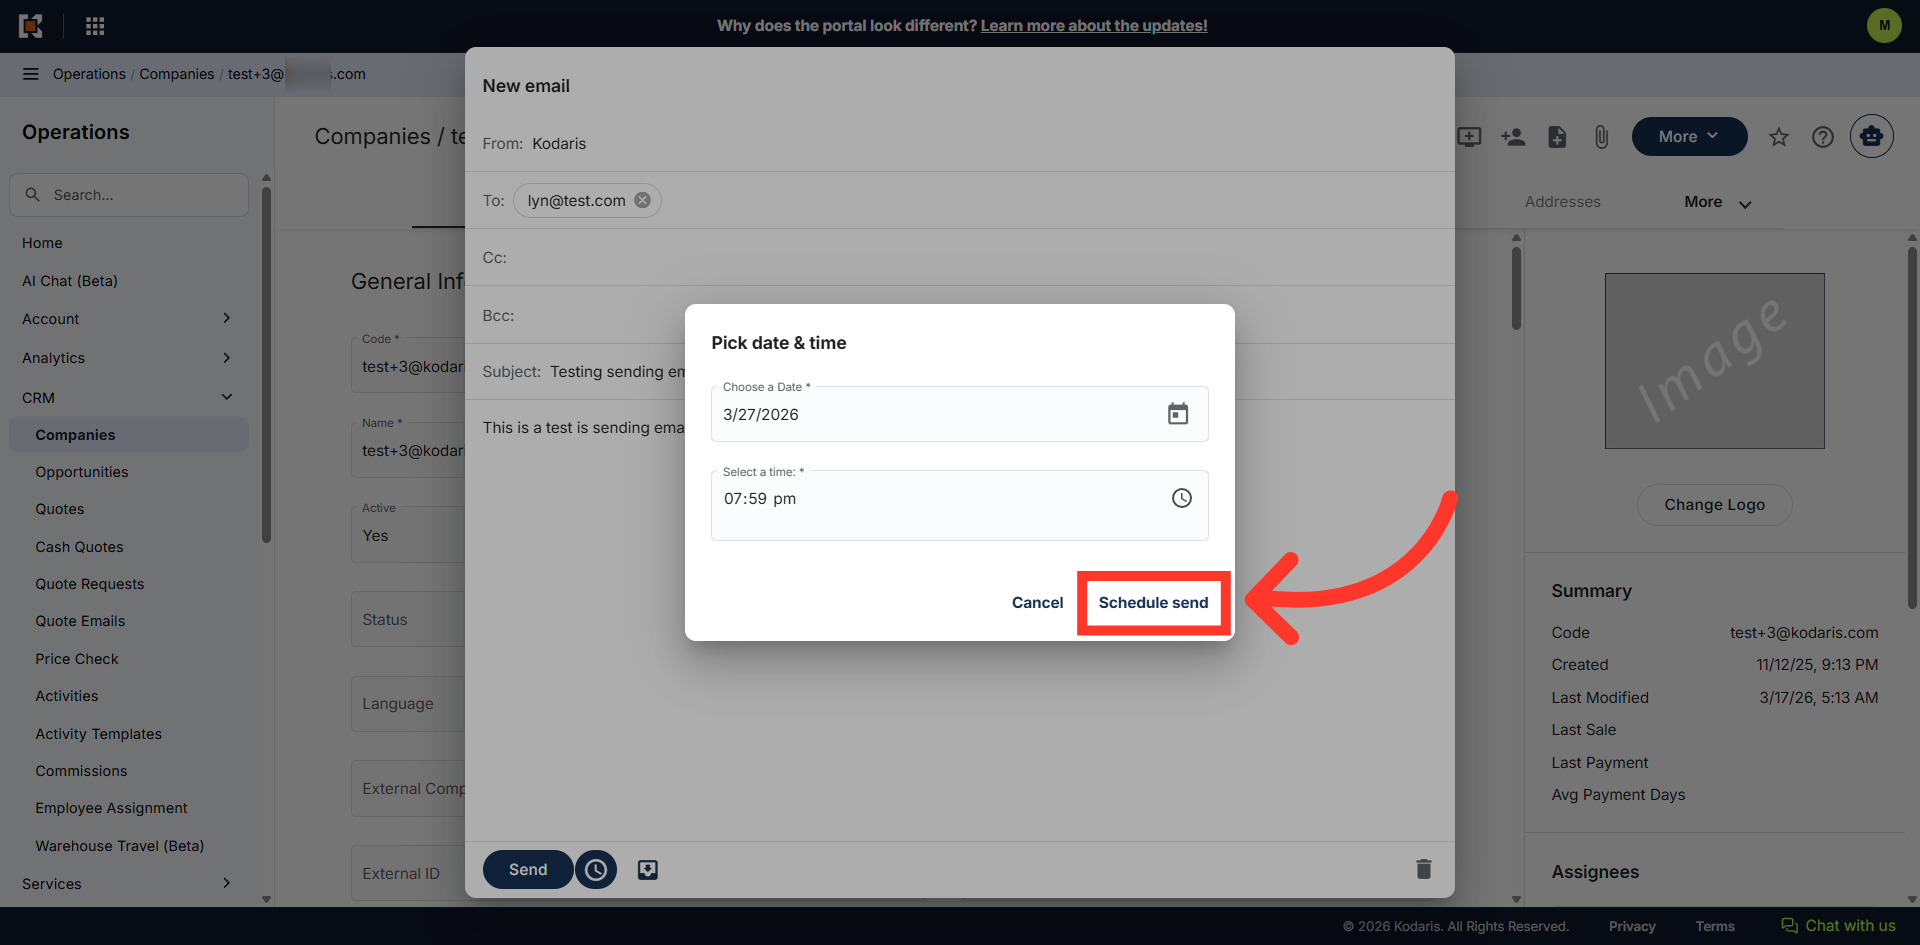
You also have the option to schedule the email to be sent on a different date and/or time, select the "Schedule send" icon to schedule your email.

Click the "Calendar" icon
Click the "Calendar" icon.
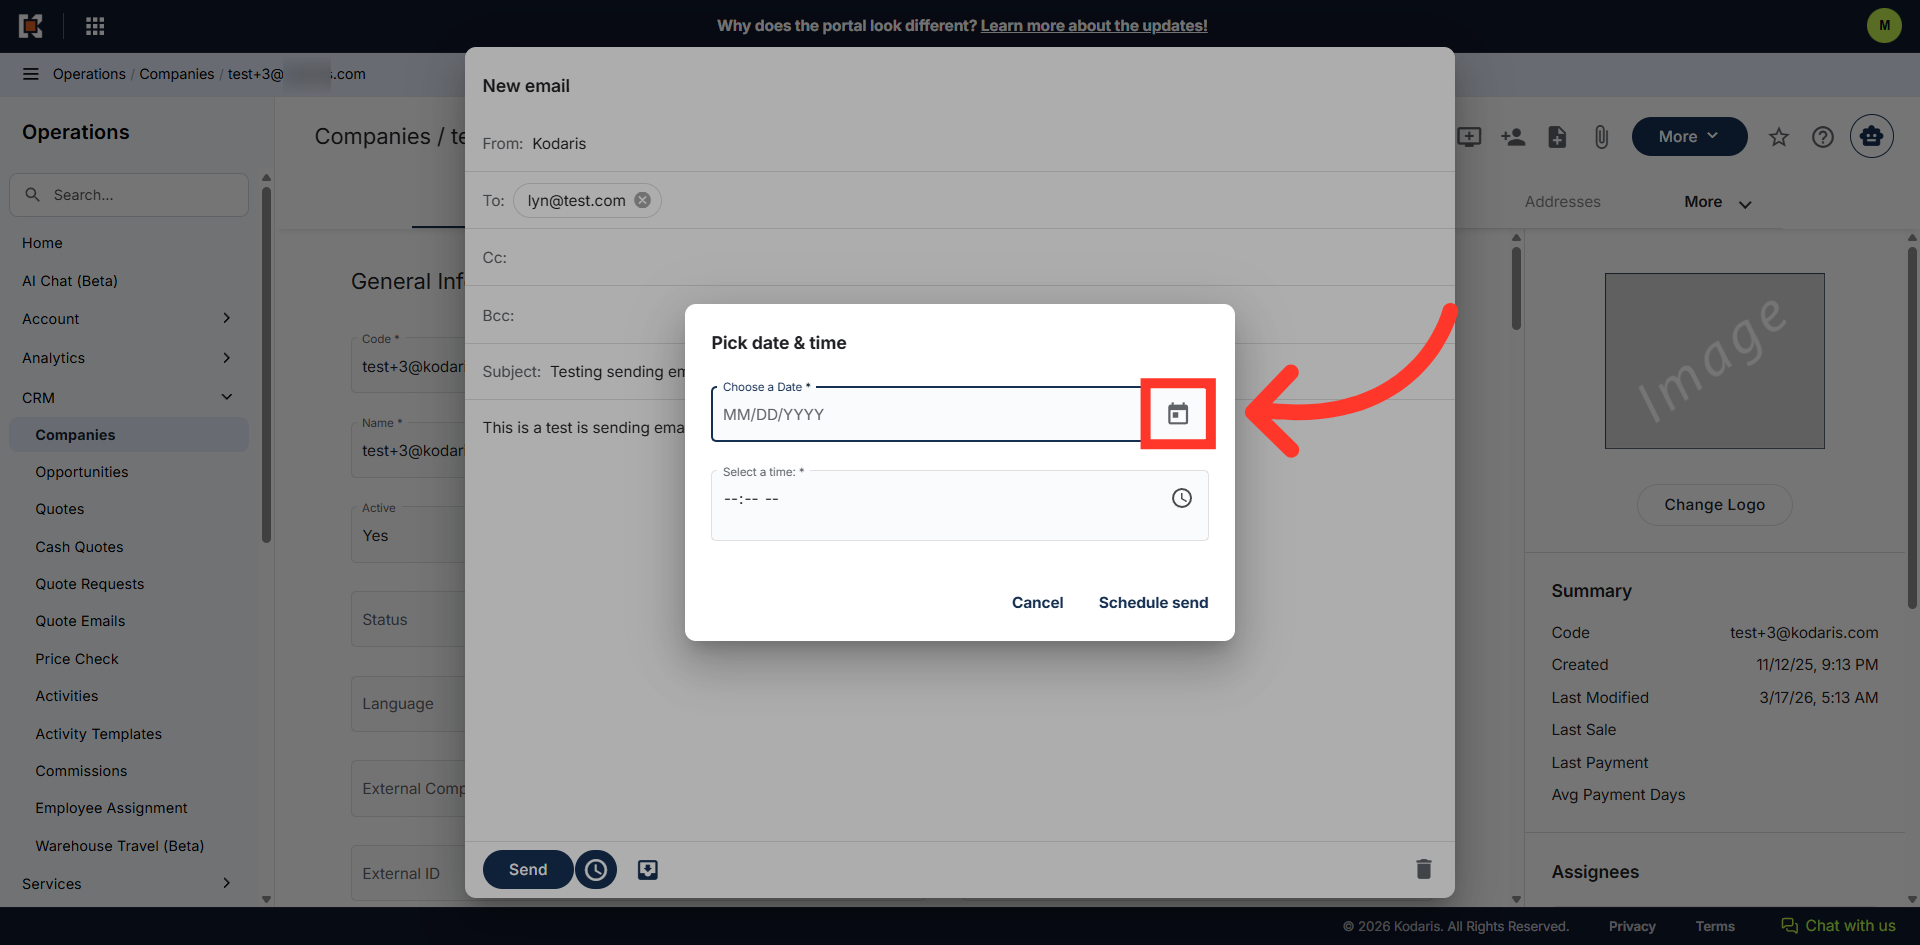
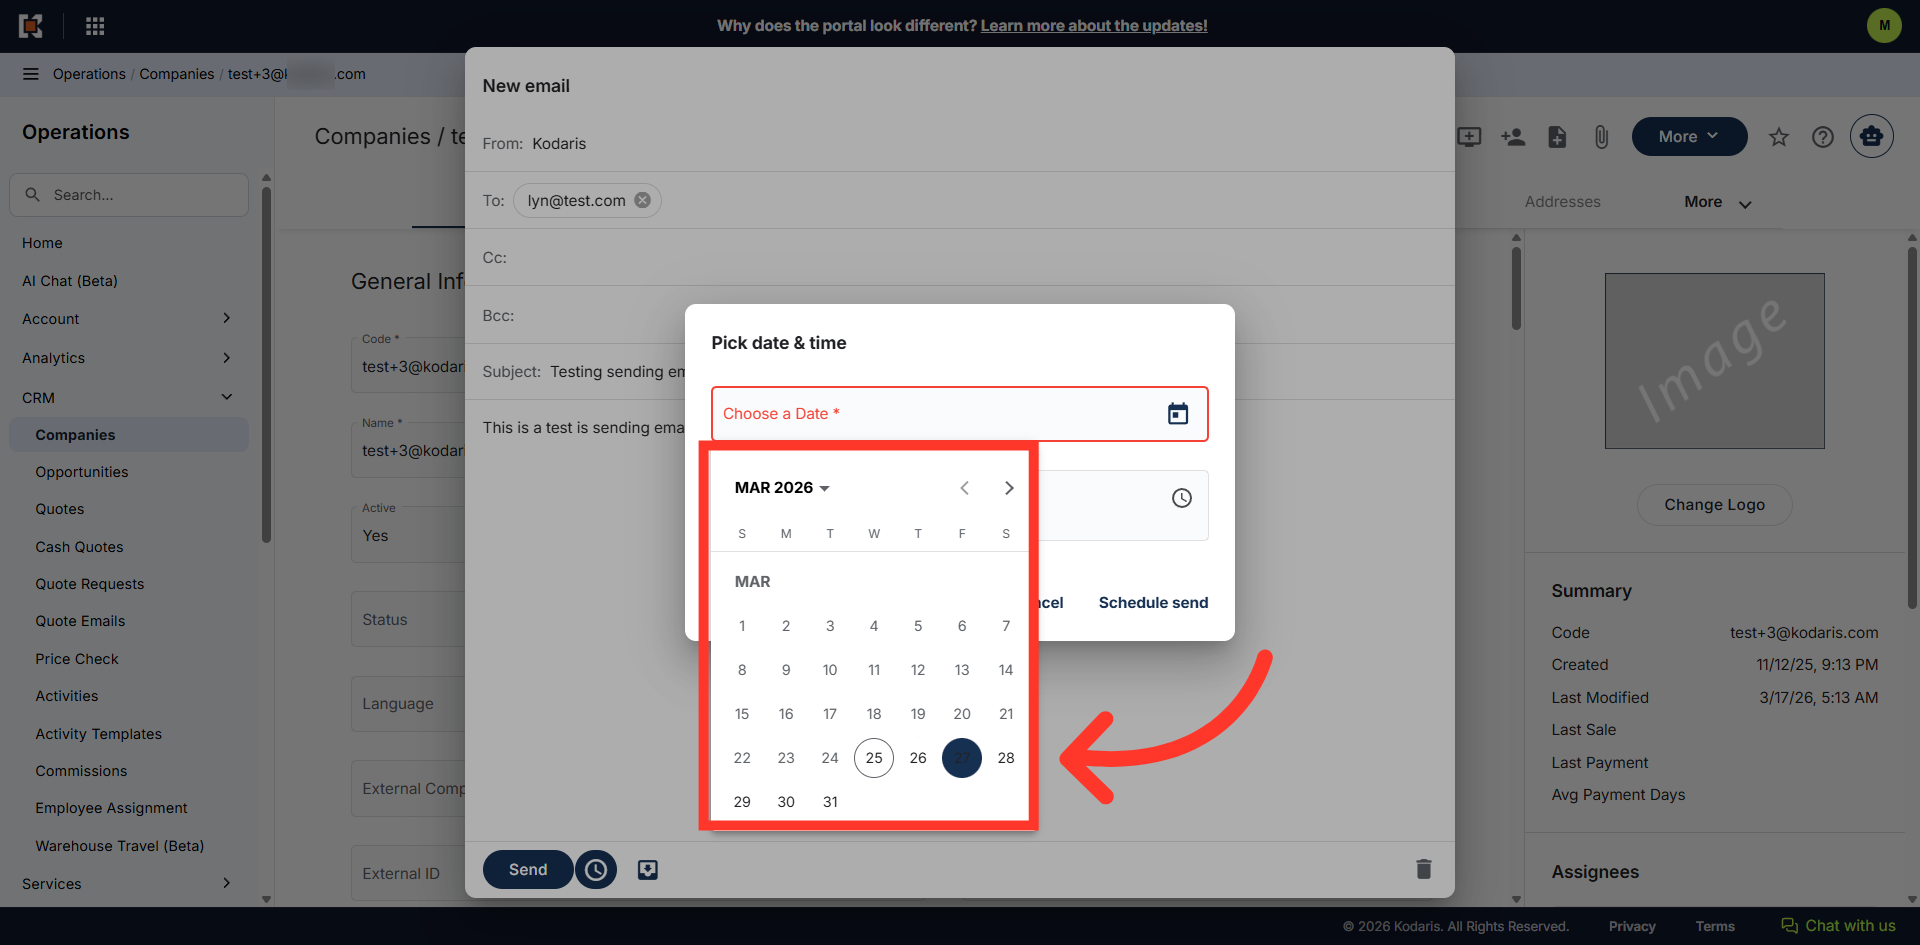
Select date
Use the calendar to select the date you want to send the email.
Click "Show time picker"
Click the "Show time picker" icon to set the time.

Select a time
Select the time you want to send the email.
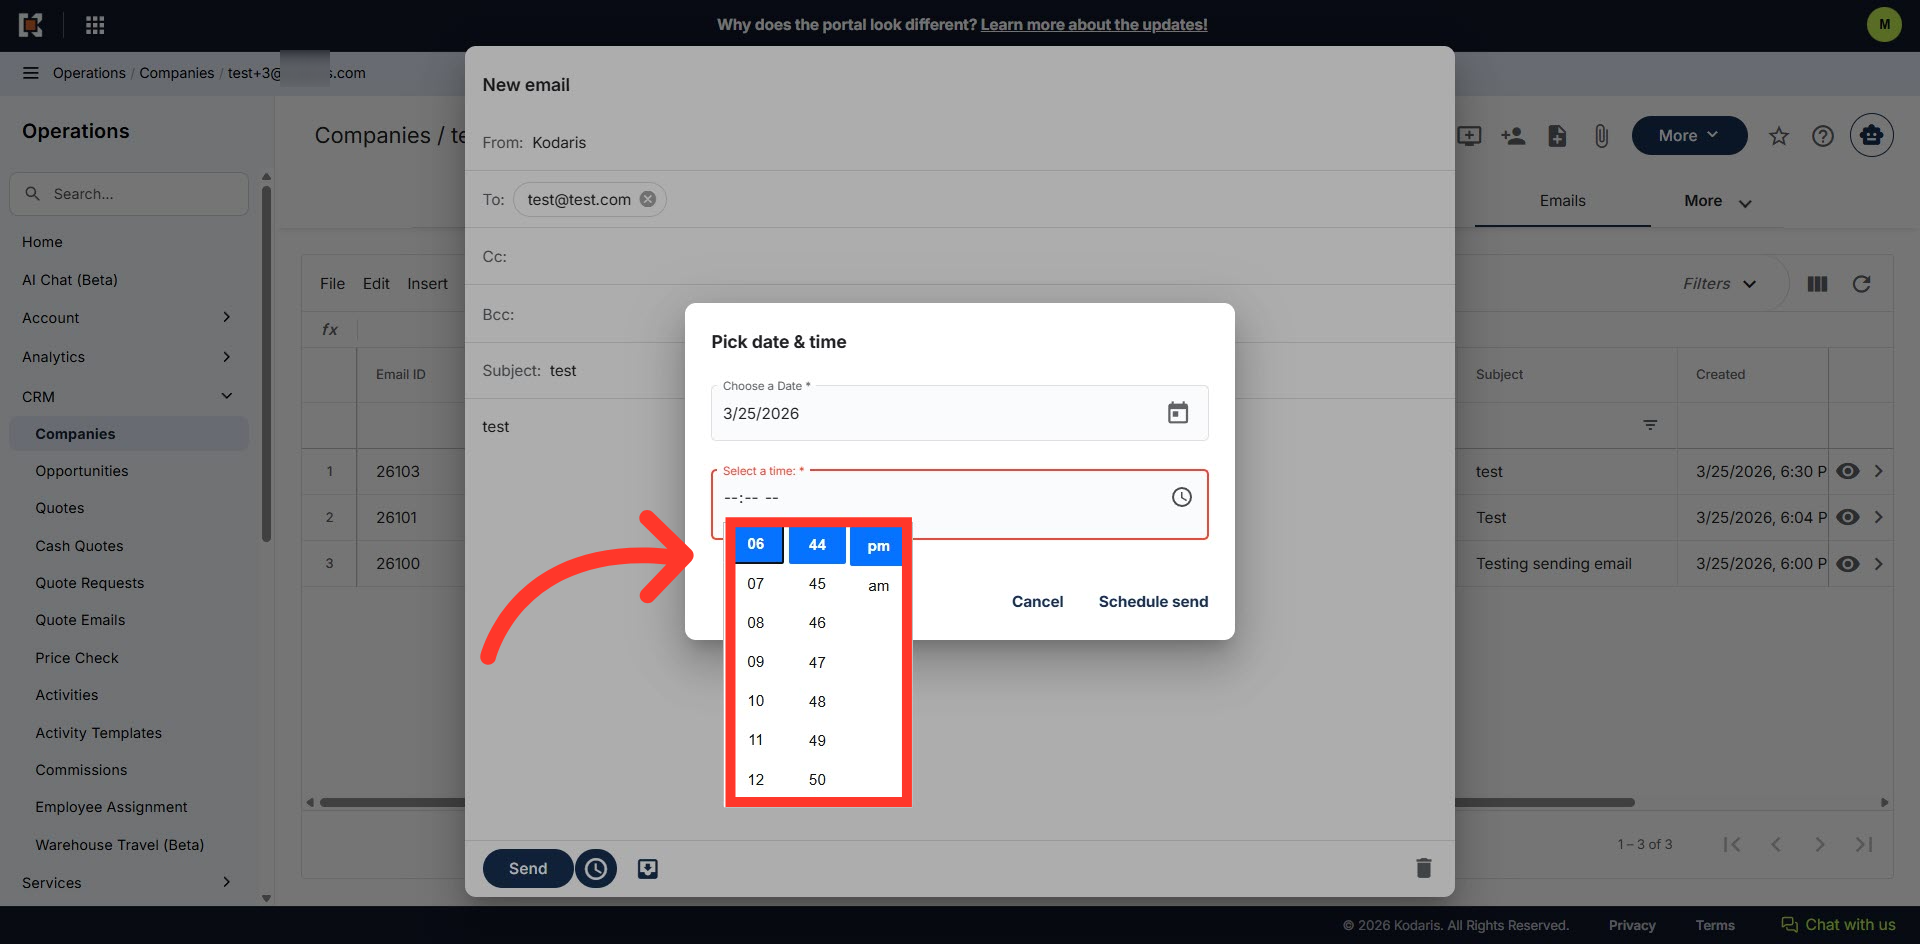
Click "Schedule Send"
Then, click "Schedule Send".
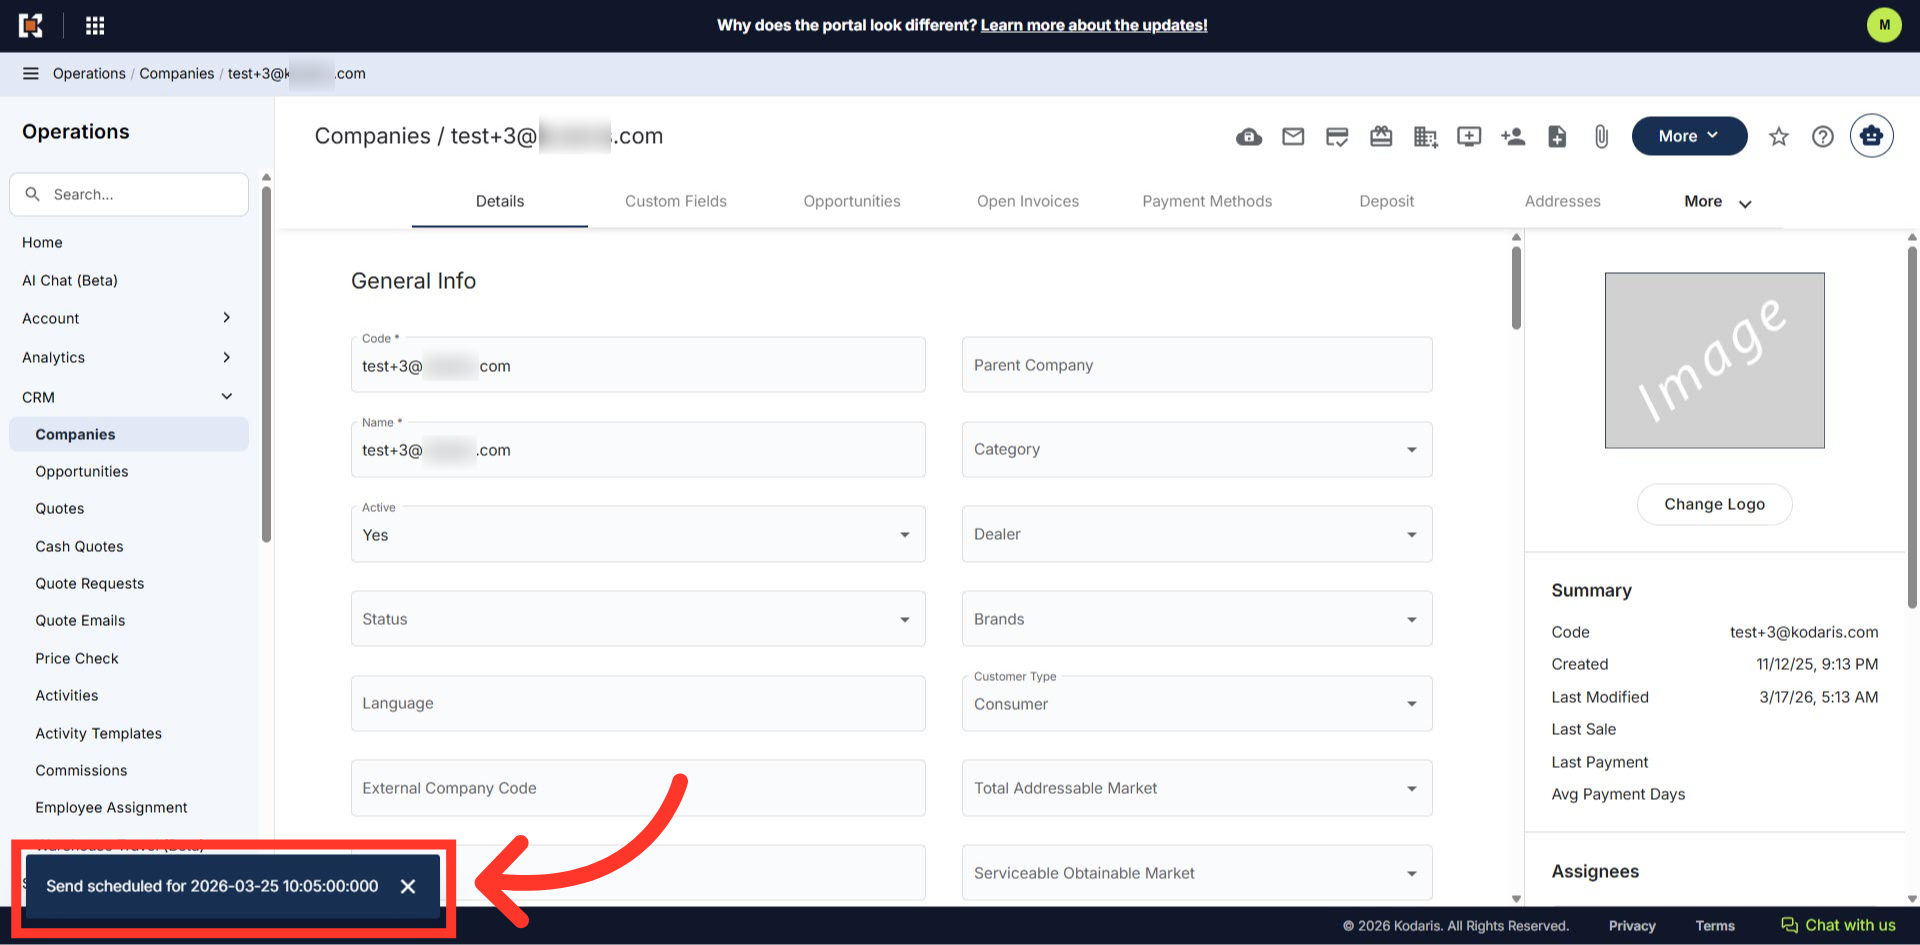
Schedule email notification
Once the scheduled email is successfully set, a "Send scheduled" notification will appear.
Go to "More"
To view all the scheduled and sent emails to your customer, click on the "More" tab.

Select "Emails"
Select "Emails".

"Emails" screen
You can view a log of all scheduled and sent emails to the specific customer on the "Emails" screen.
