Operations CRM - Assign a Customer to Multiple Ship-to Locations and Add Roles
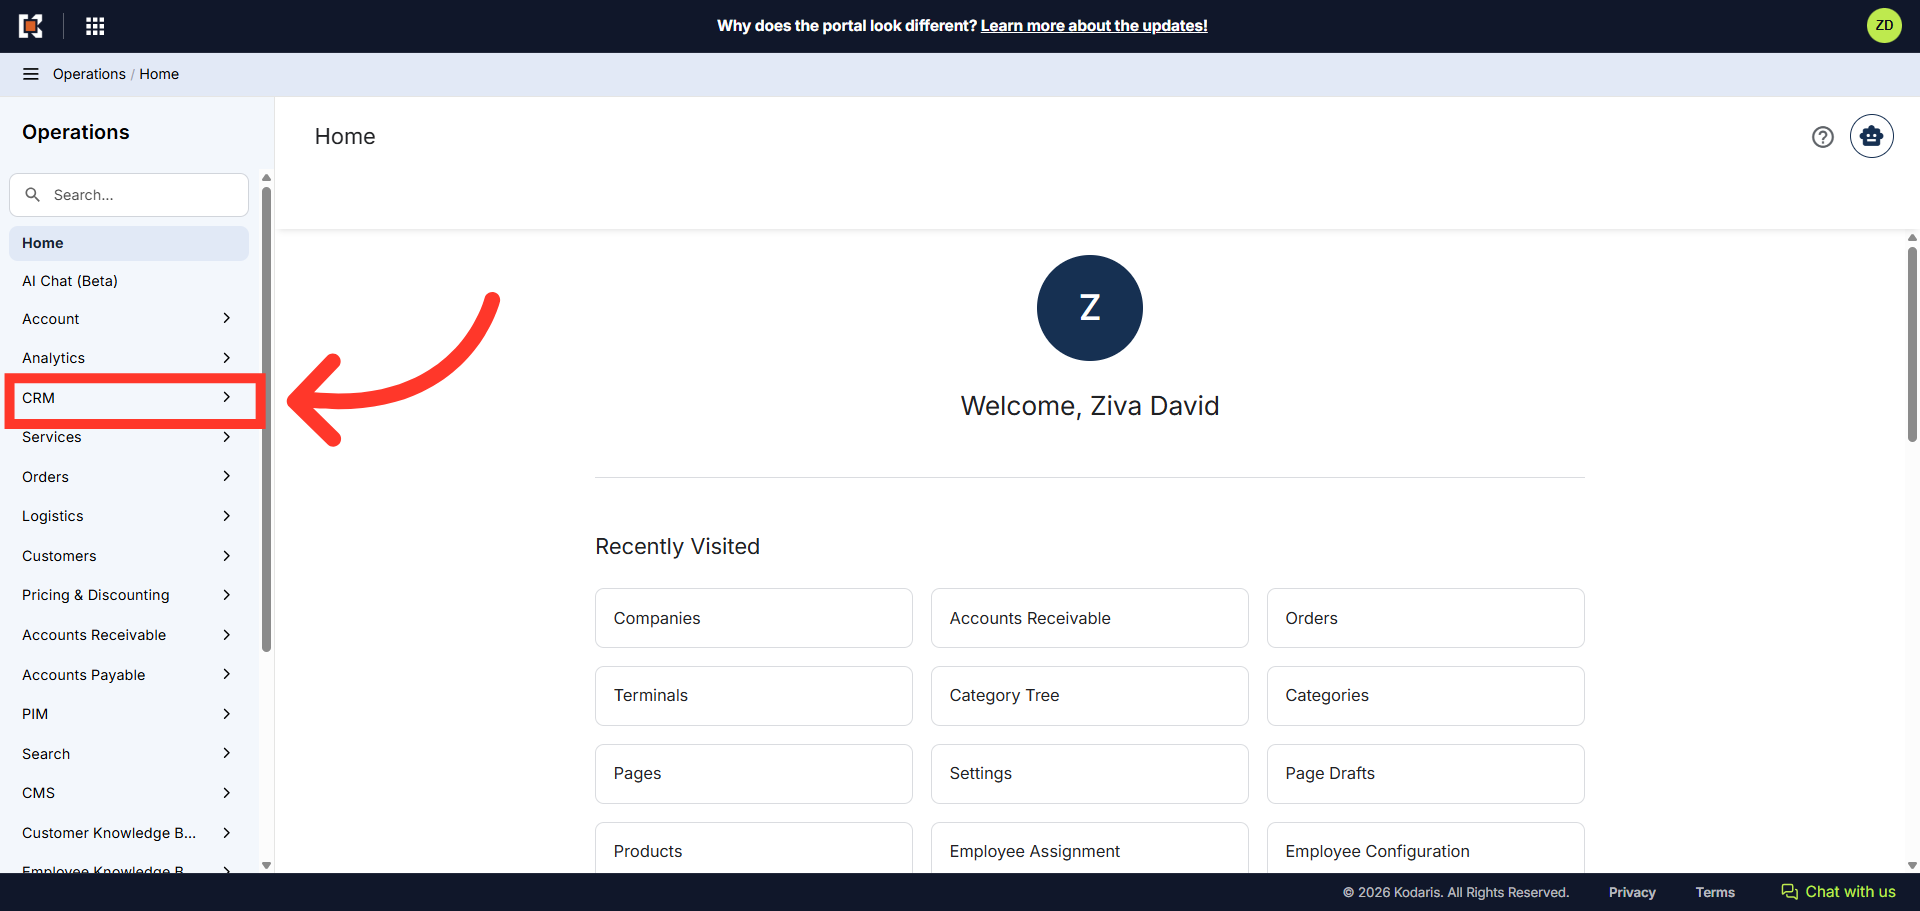
Navigate to "CRM"
To assign customers to multiple shipto's, navigate to the "CRM" section in the Operations Portal.
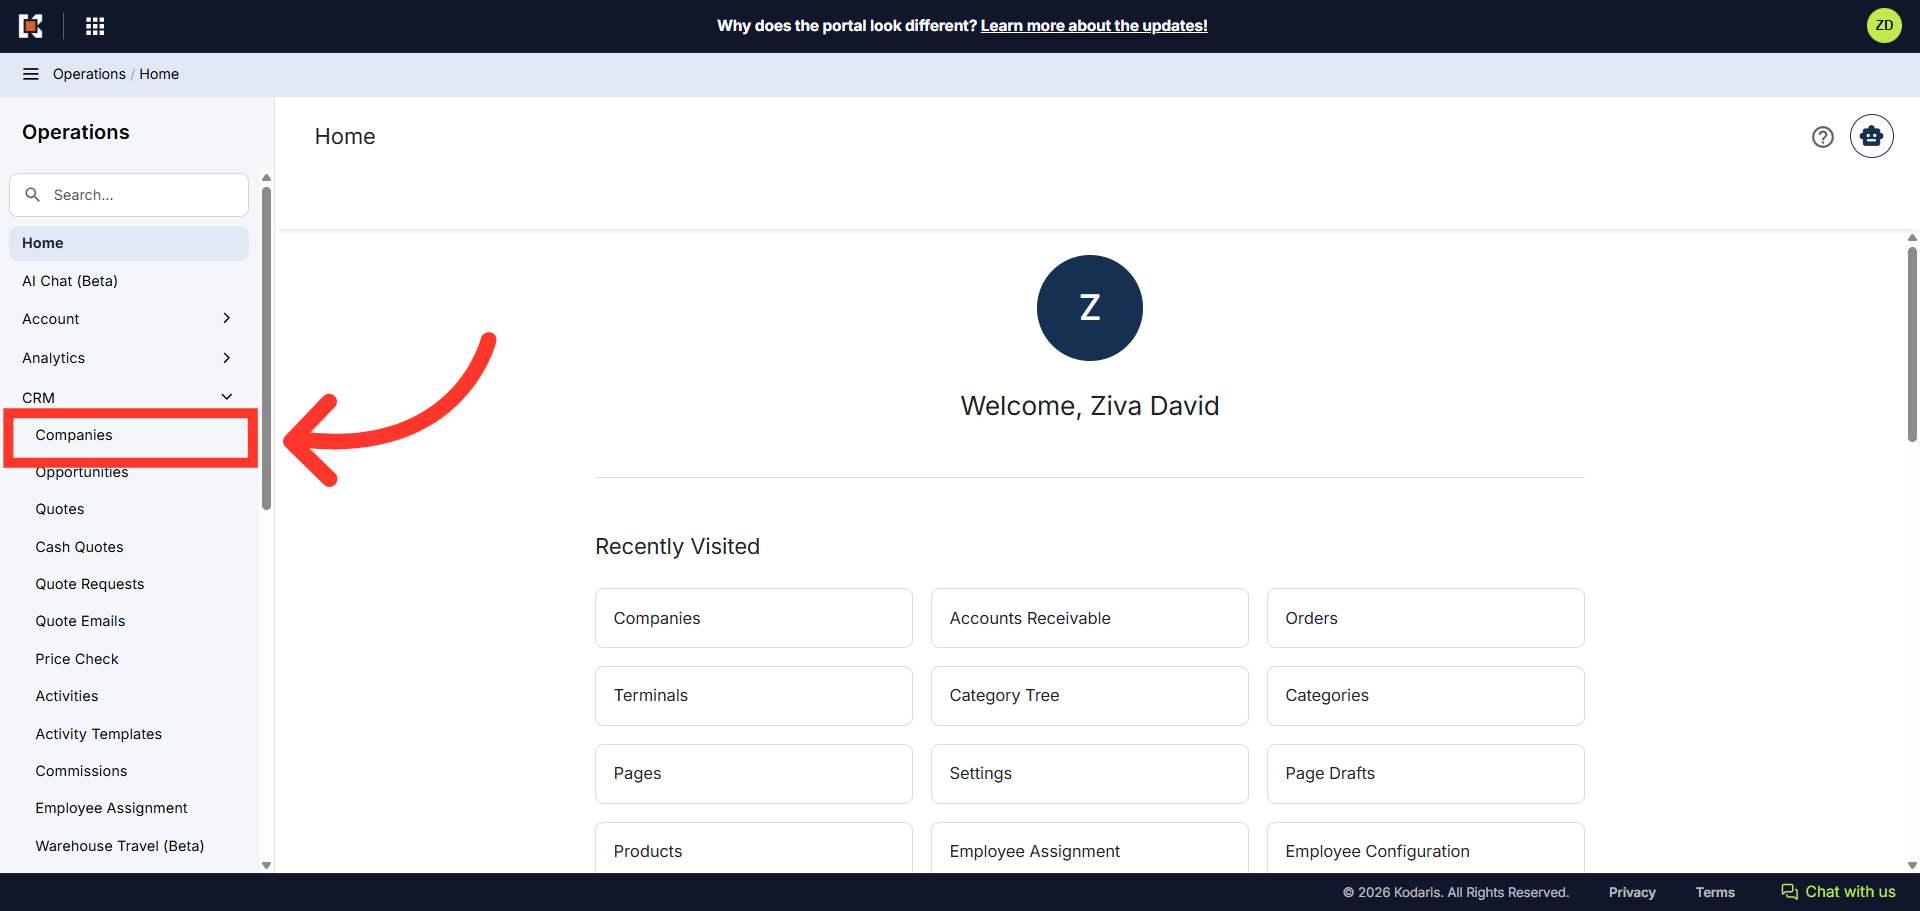
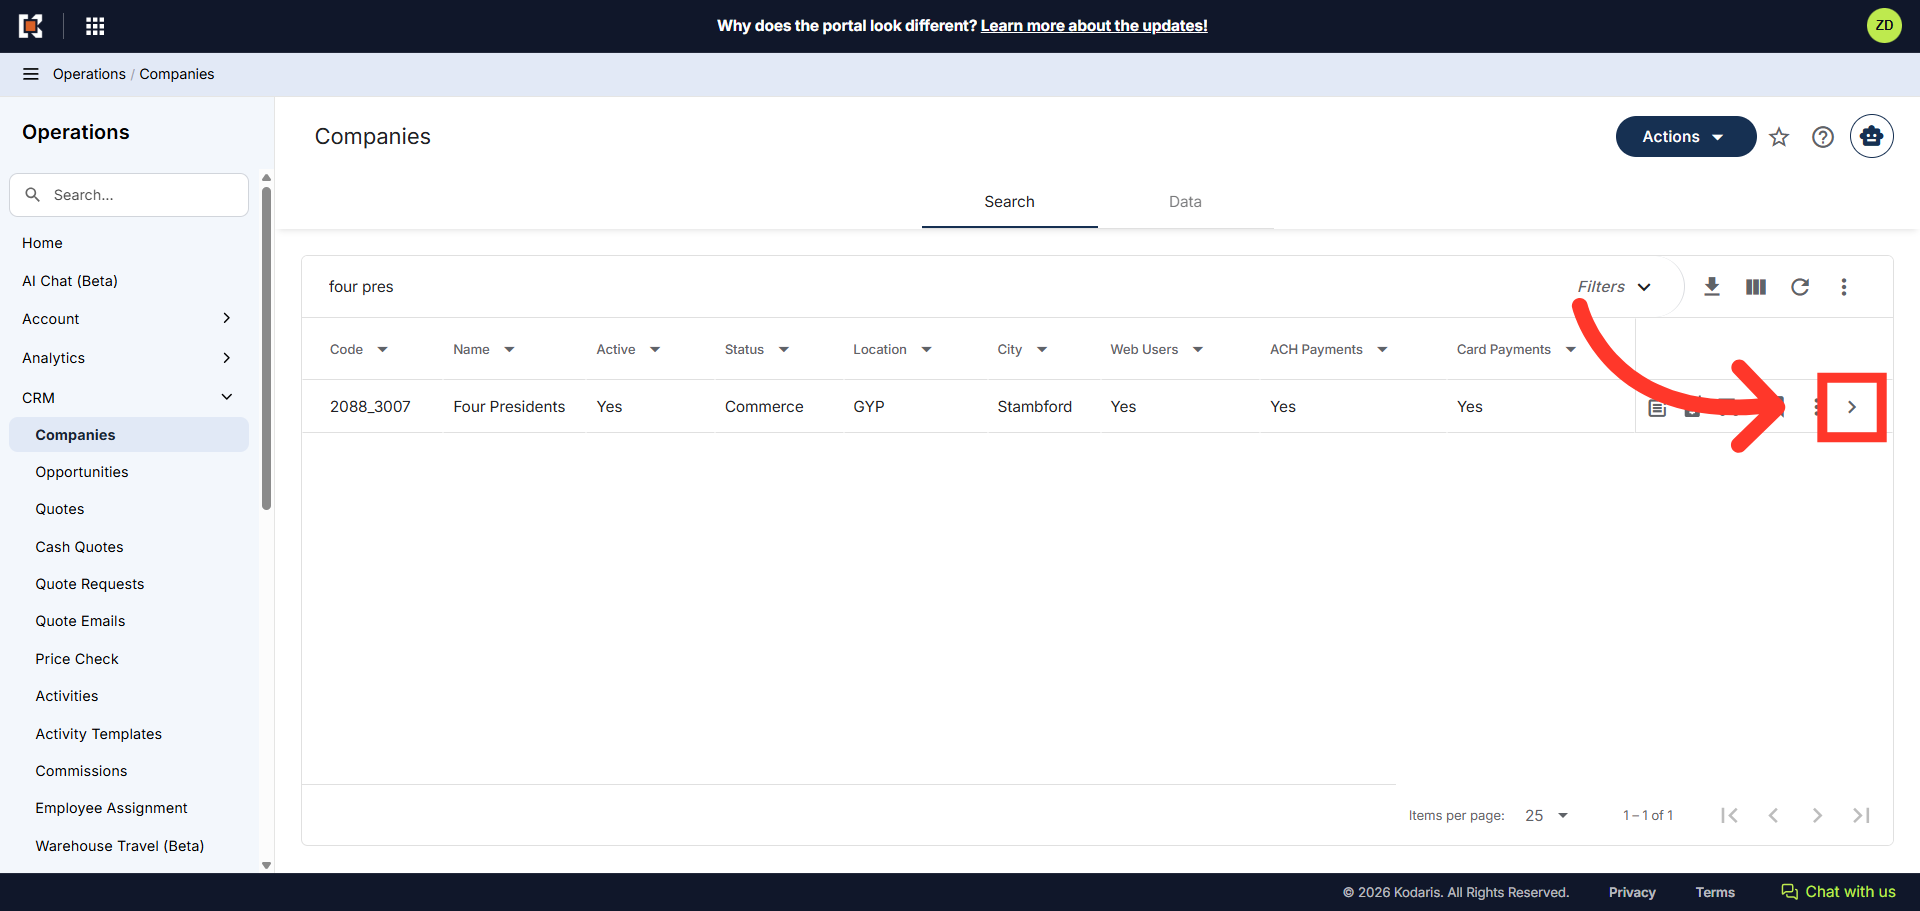
Click "Companies"
Then, select the "Companies". In order to access "Companies" you will need to be set up either as an "administrator" or a "superuser", or have the appropriate roles: "companyView and companyEdit", or "crmCompanyView and crmCompanyEdit". Just a reminder, "crmCompanyView and crmCompanyEdit" access only allows employees to view companies that are assigned to them.
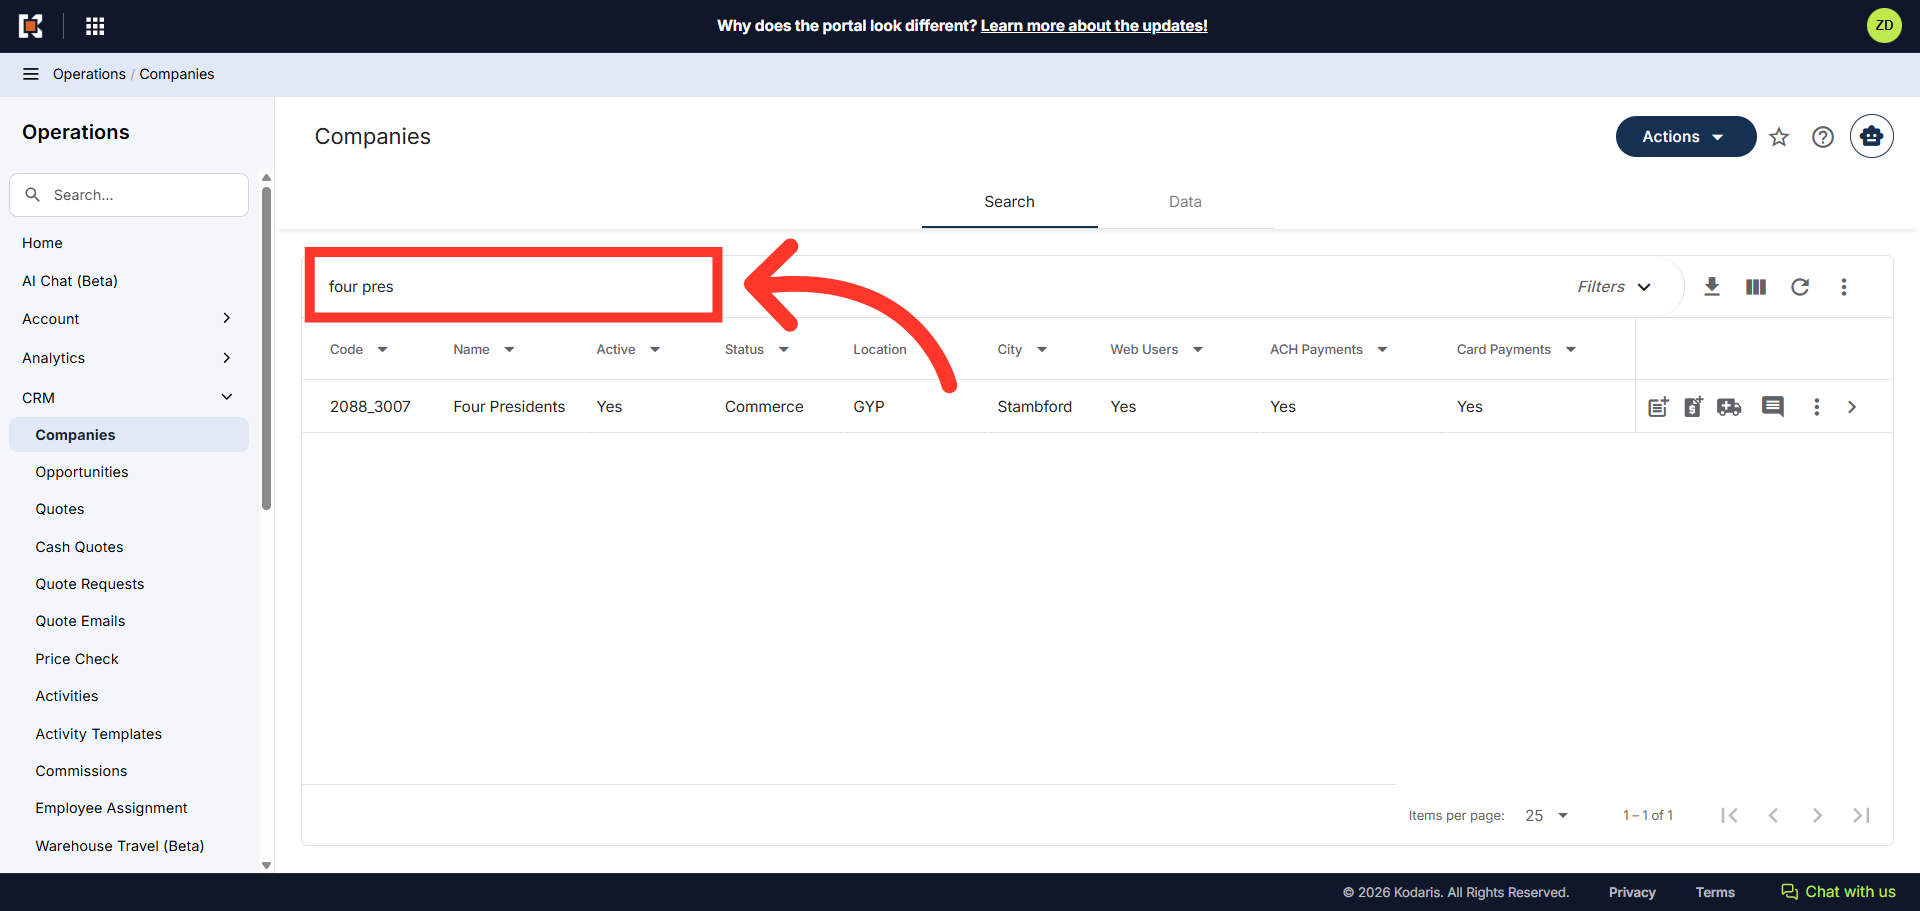
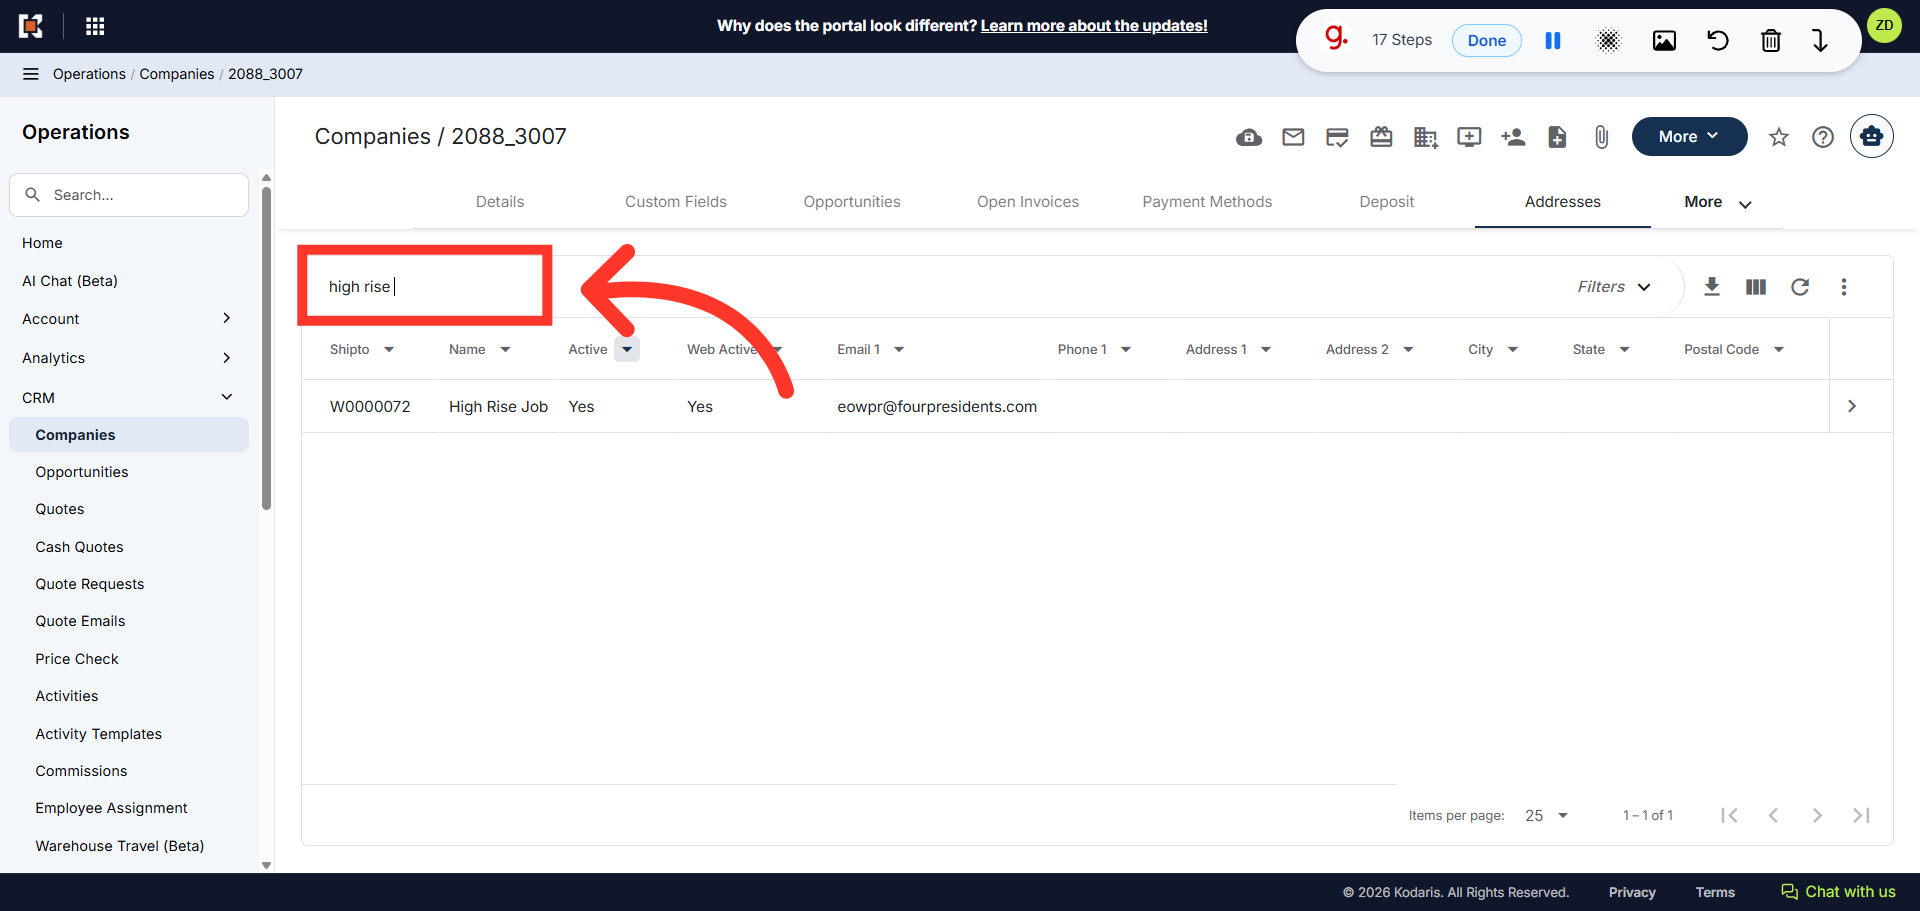
Enter company name or code to search
Enter the company name or code in the "Search..." field to search.
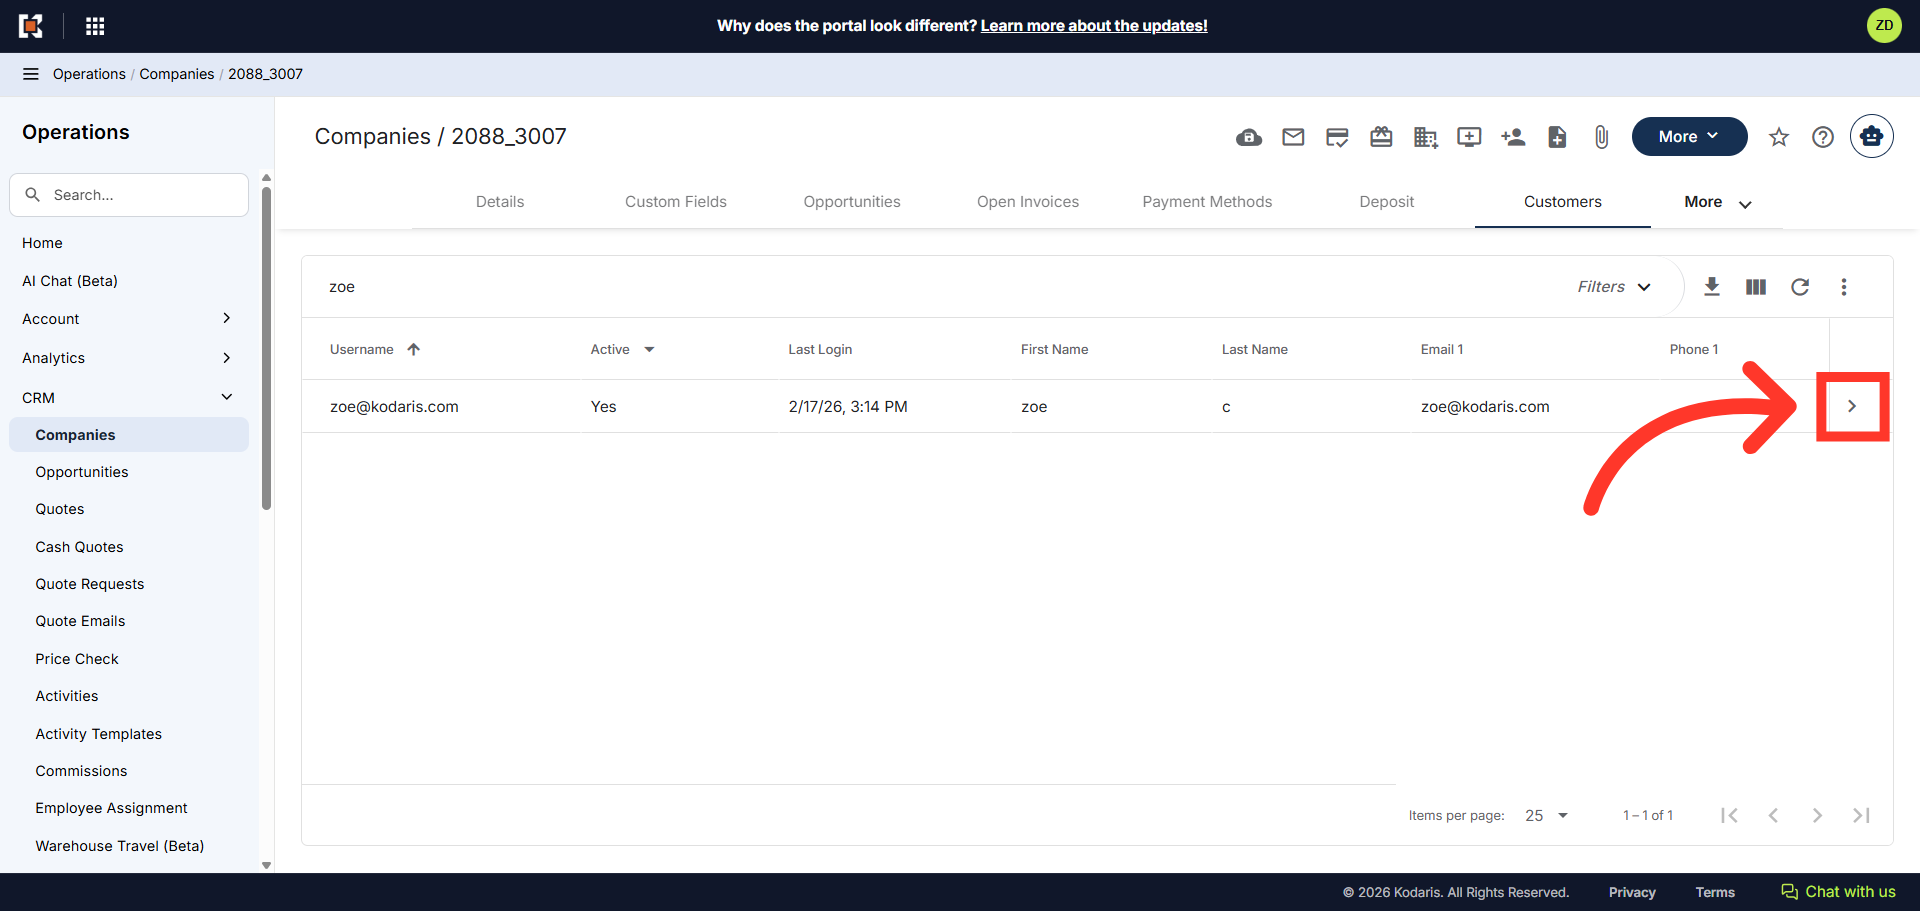
Click on the more details icon
Click on the more details icon to view the company details.
Click the "Customers" tab
Click the "Customers" tab.
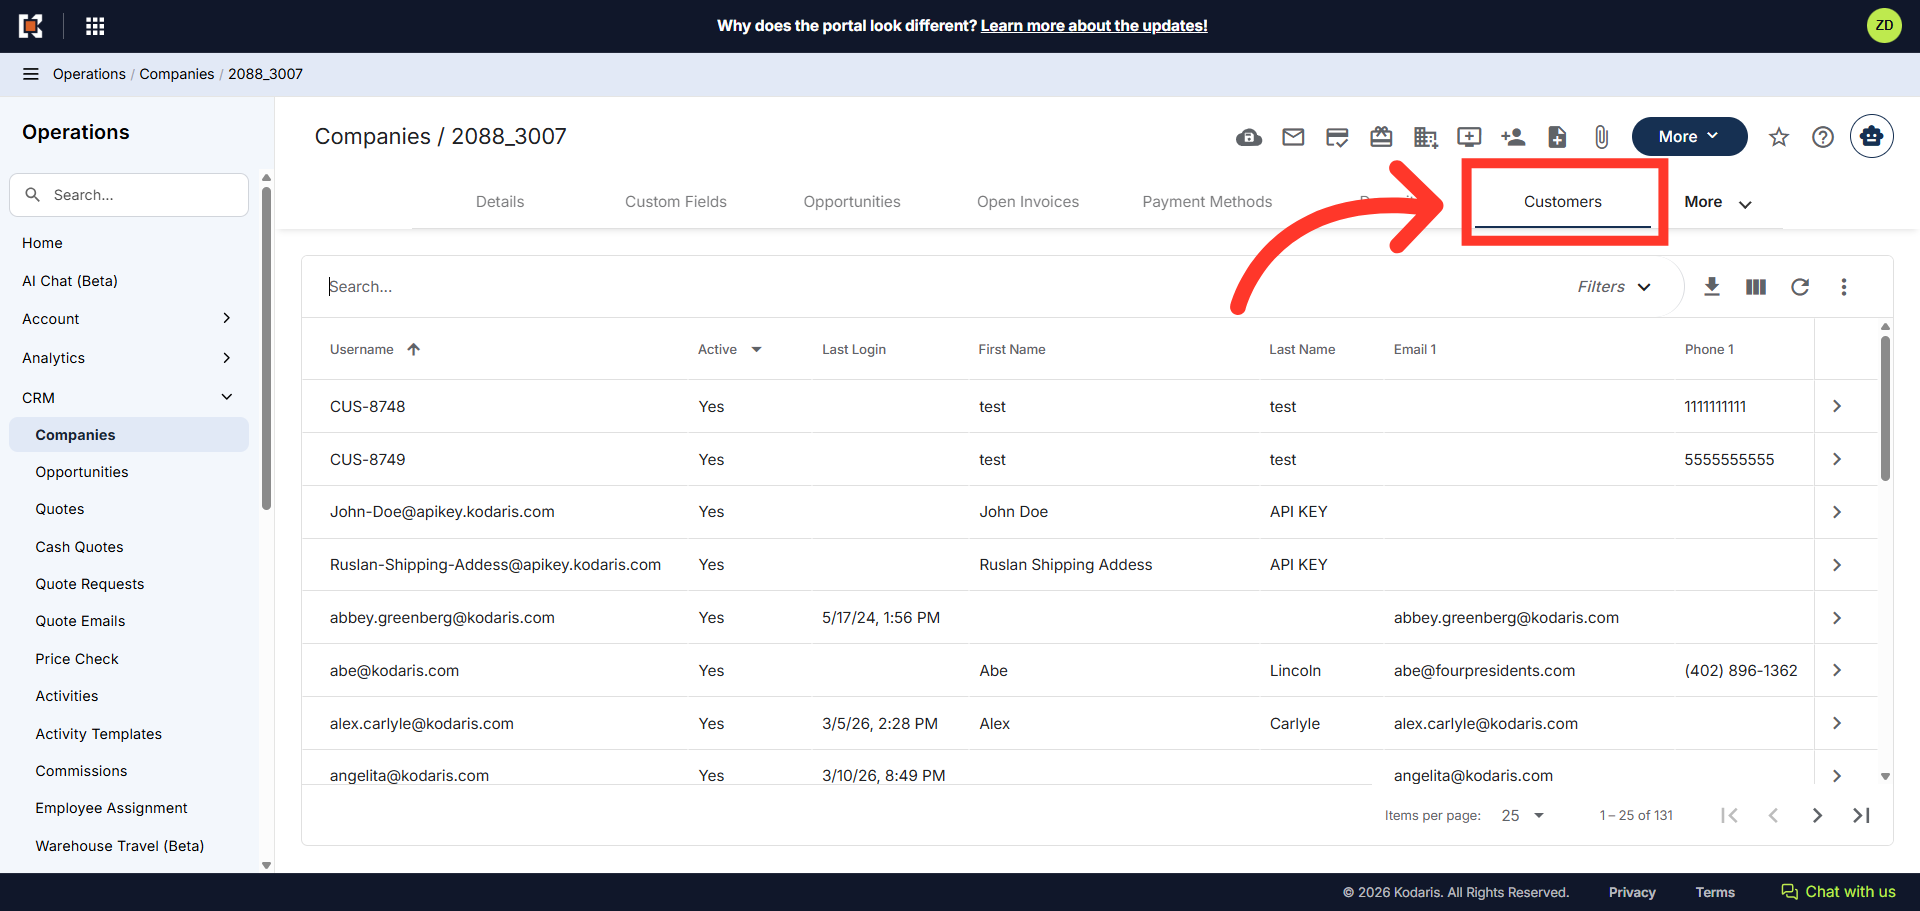
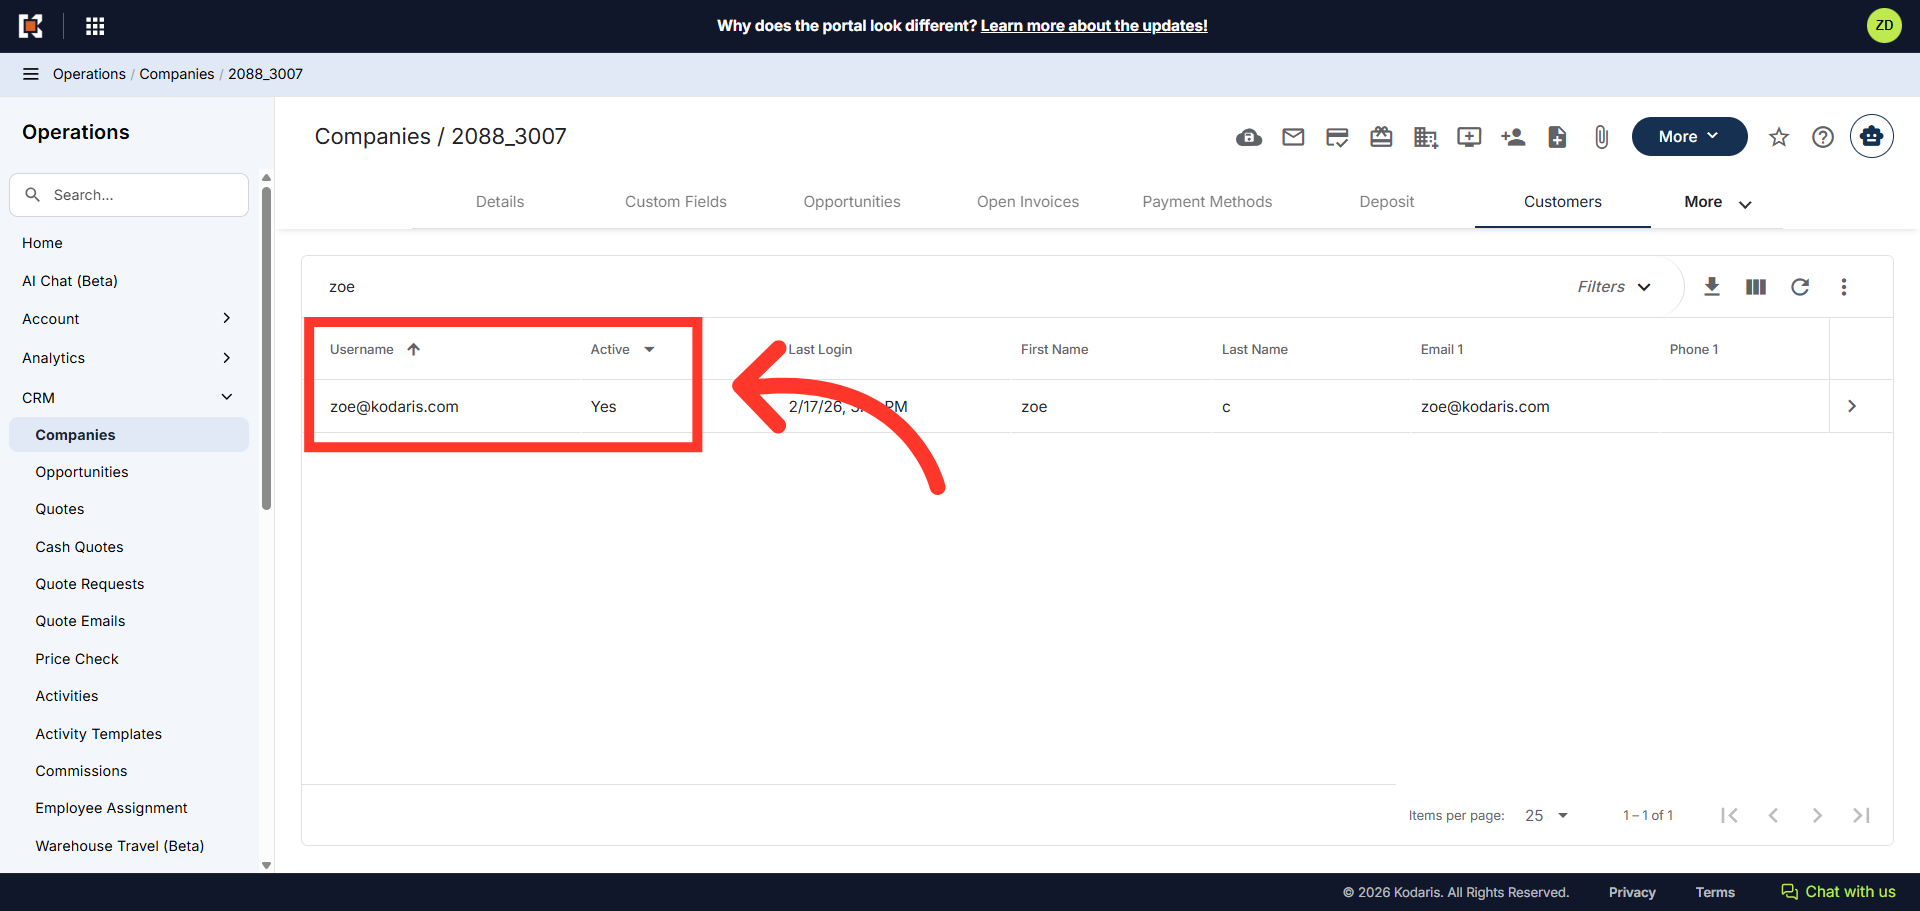
Make sure the customer has been added in the system and is active
Verify that the customer is in the operations portal and is active. If the customer is not in the system, please add them first as a "New Customer" and then follow the below steps.
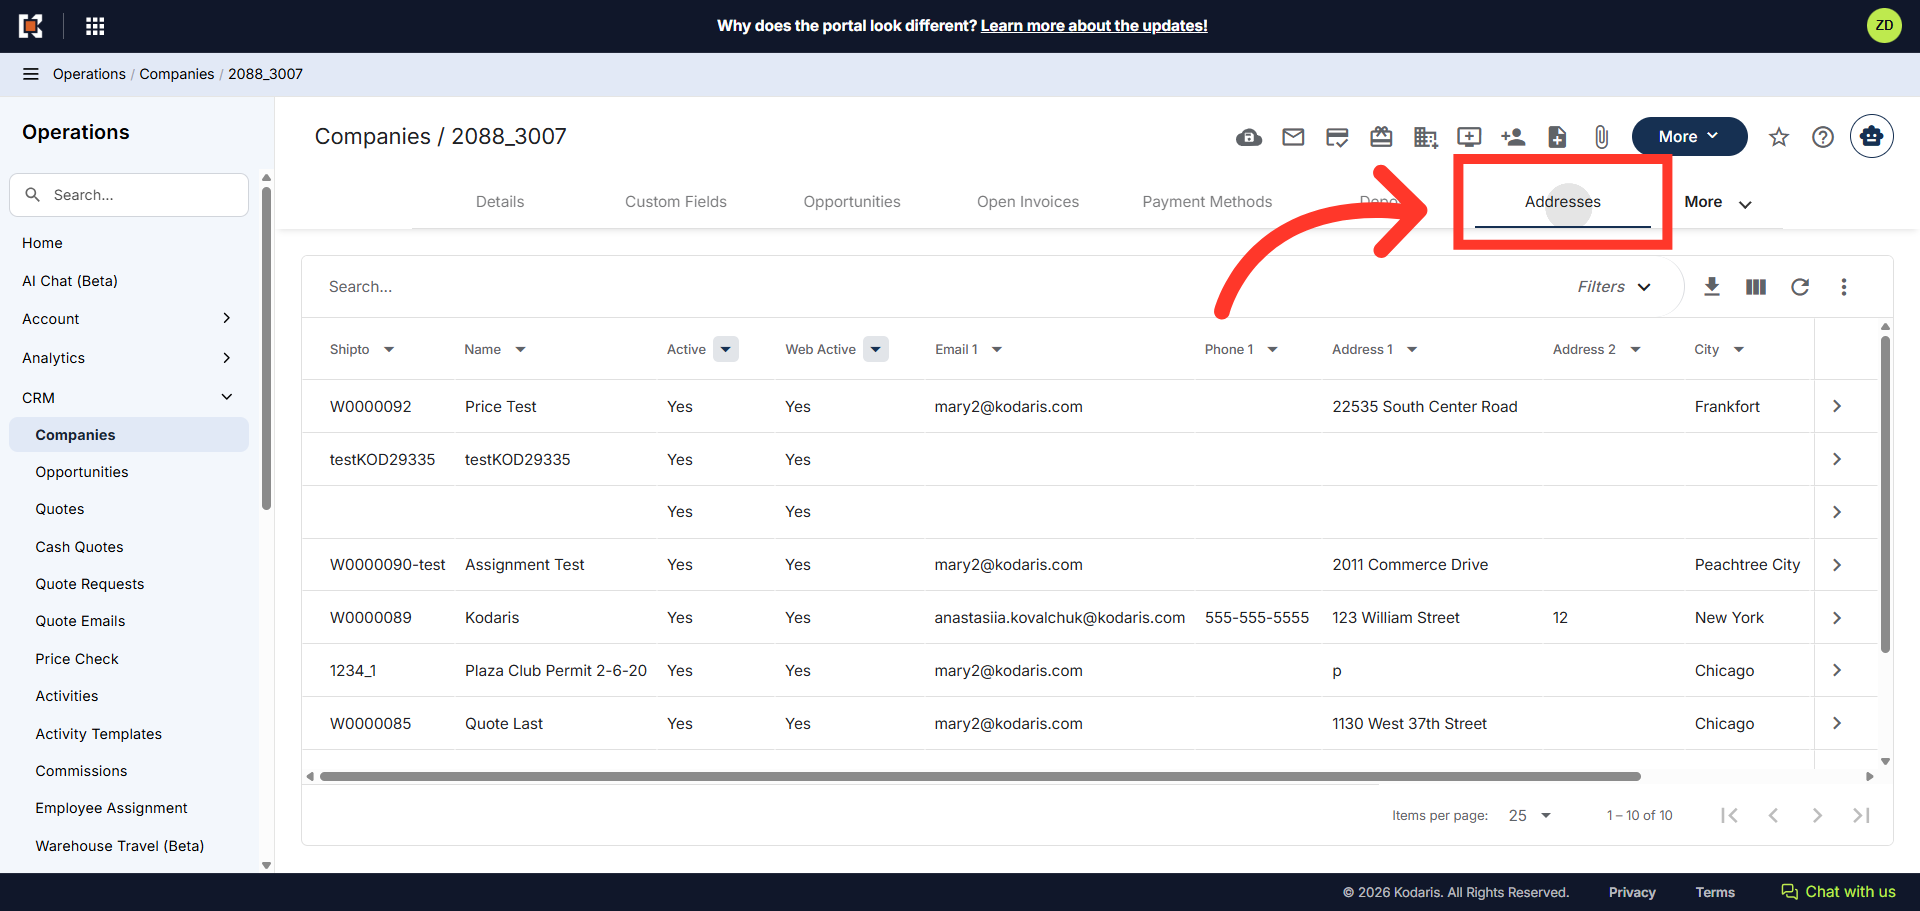
Click "Addresses"
If the customer is in the system, click the "Addresses" tab. In order to access and update to company addresses, you will need the additional role of: “companyAddressEdit”.
Enter the Shipto address
Search for the ship-to address you would like to assign to the customer by entering either the name, code, or keyword in the "Search..." field.
Click on the more details icon
Then, click on the more details icon to view the ship-to details.

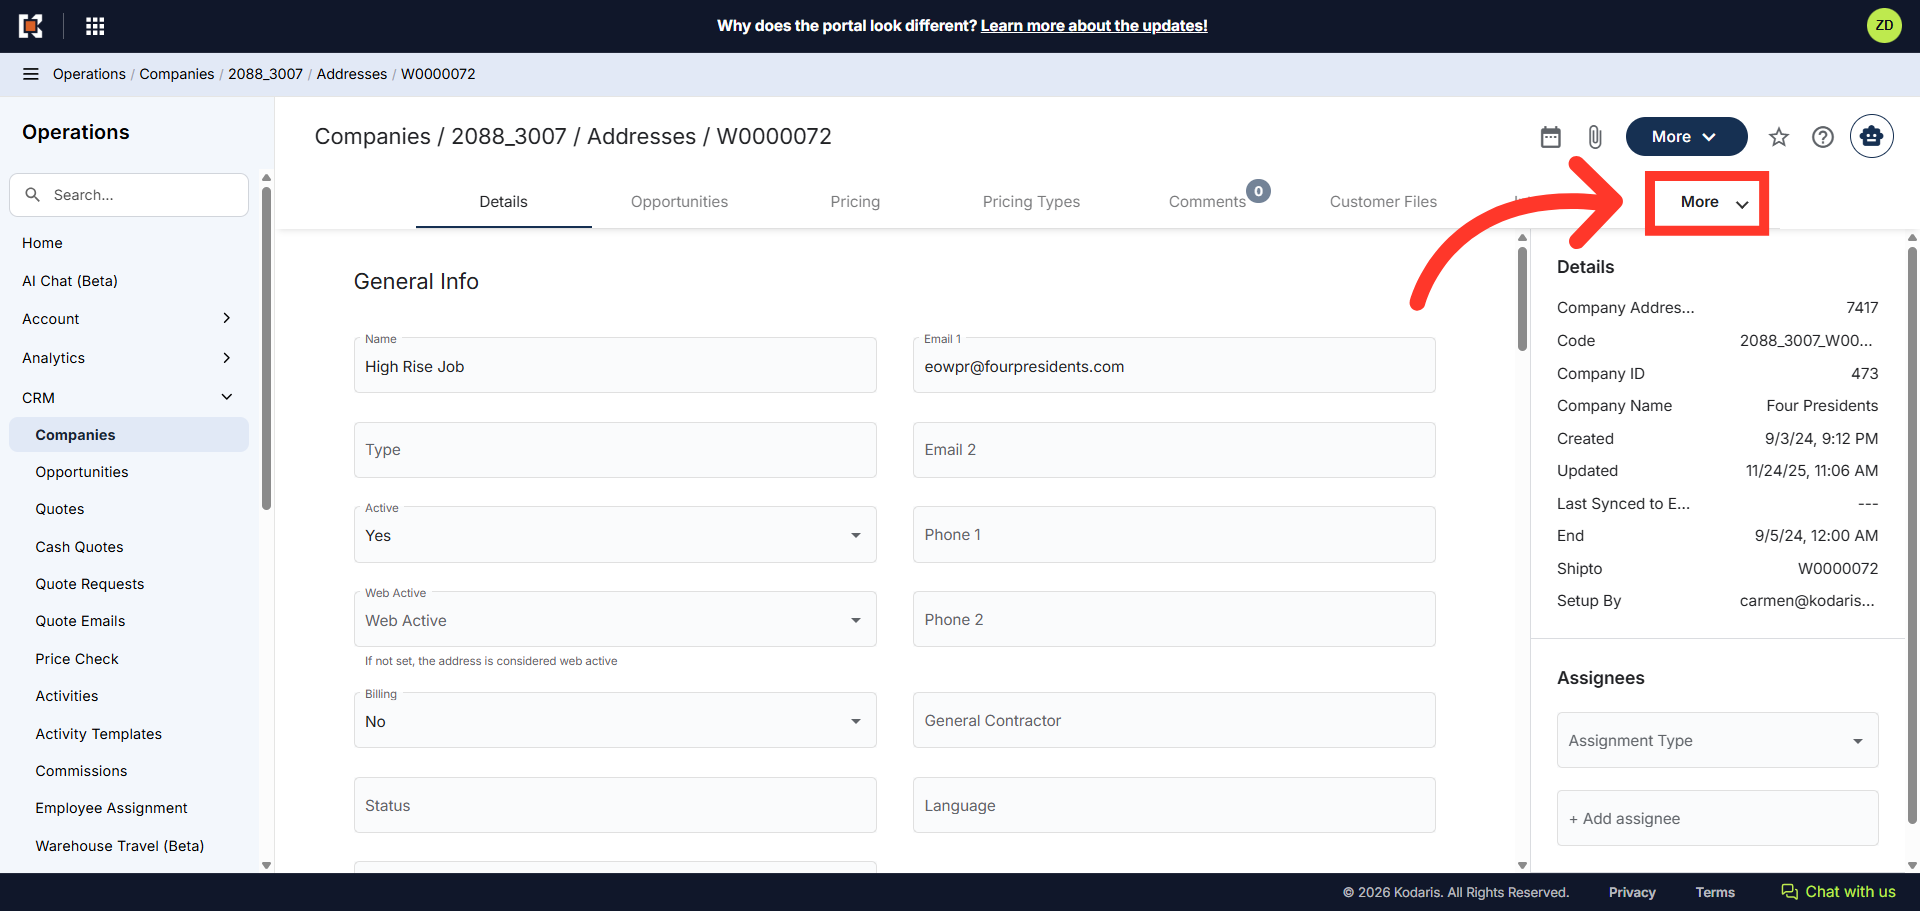
Click "More"
To view other columns, click on the "More" tab.
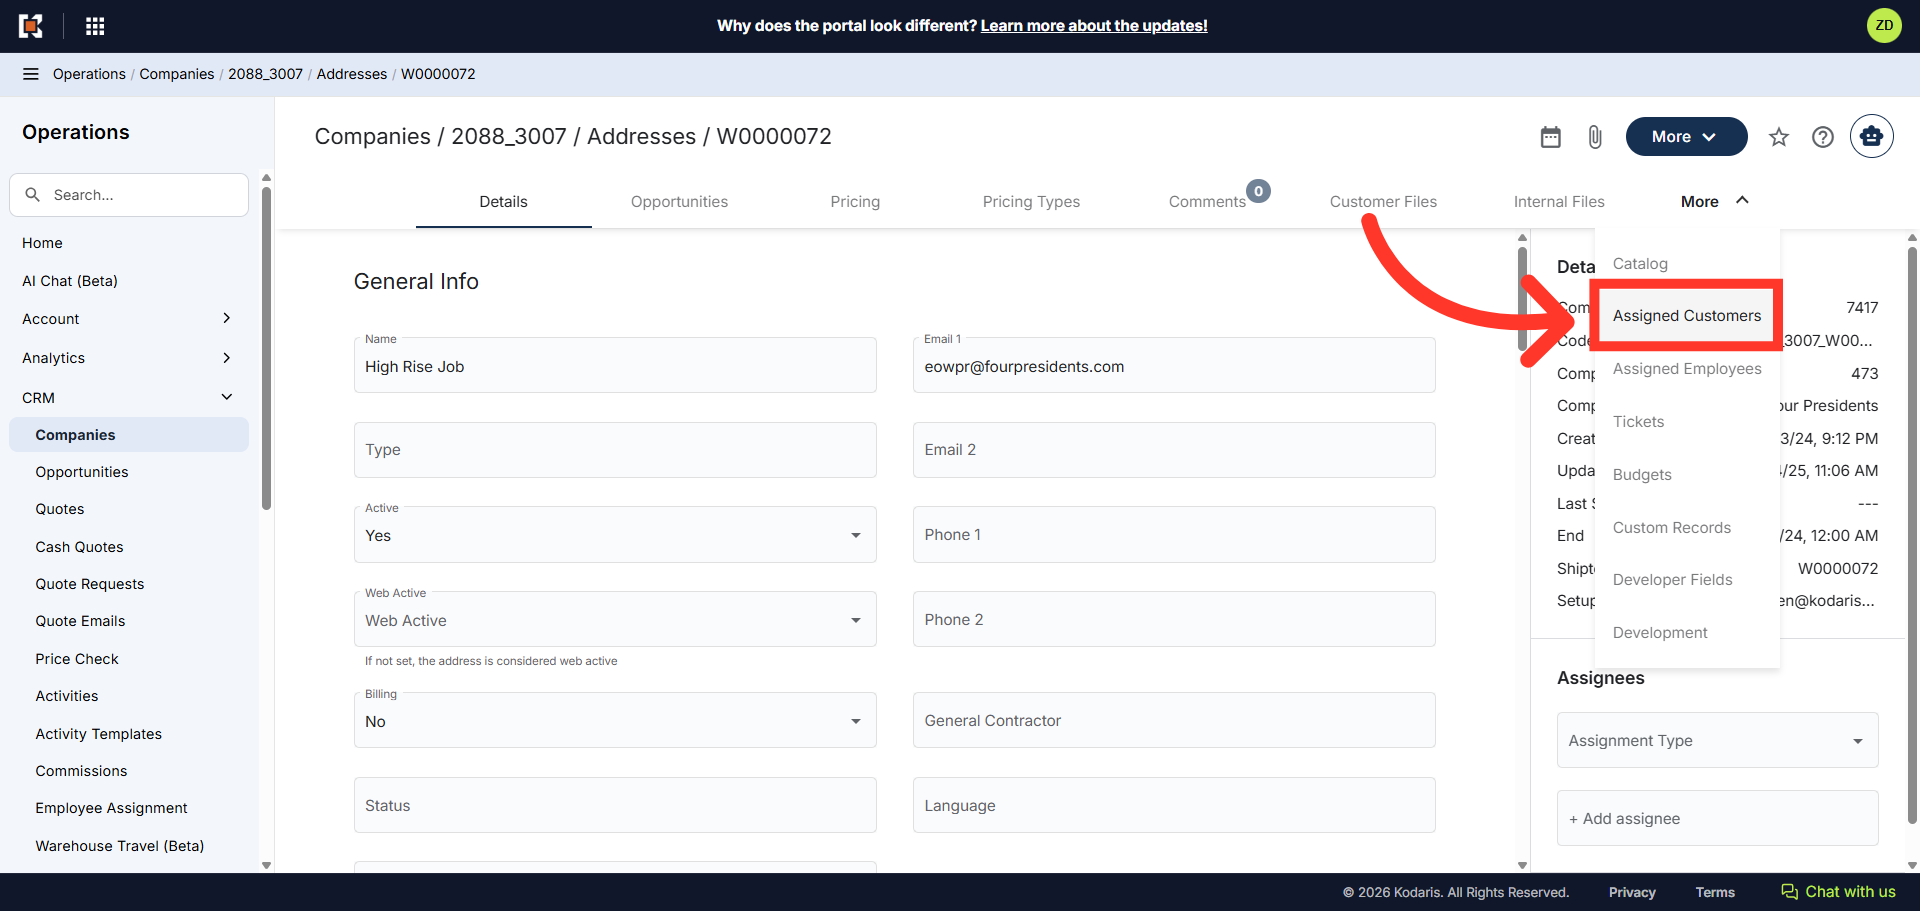
Select "Assigned Customers"
Select the "Assigned Customers" tab.
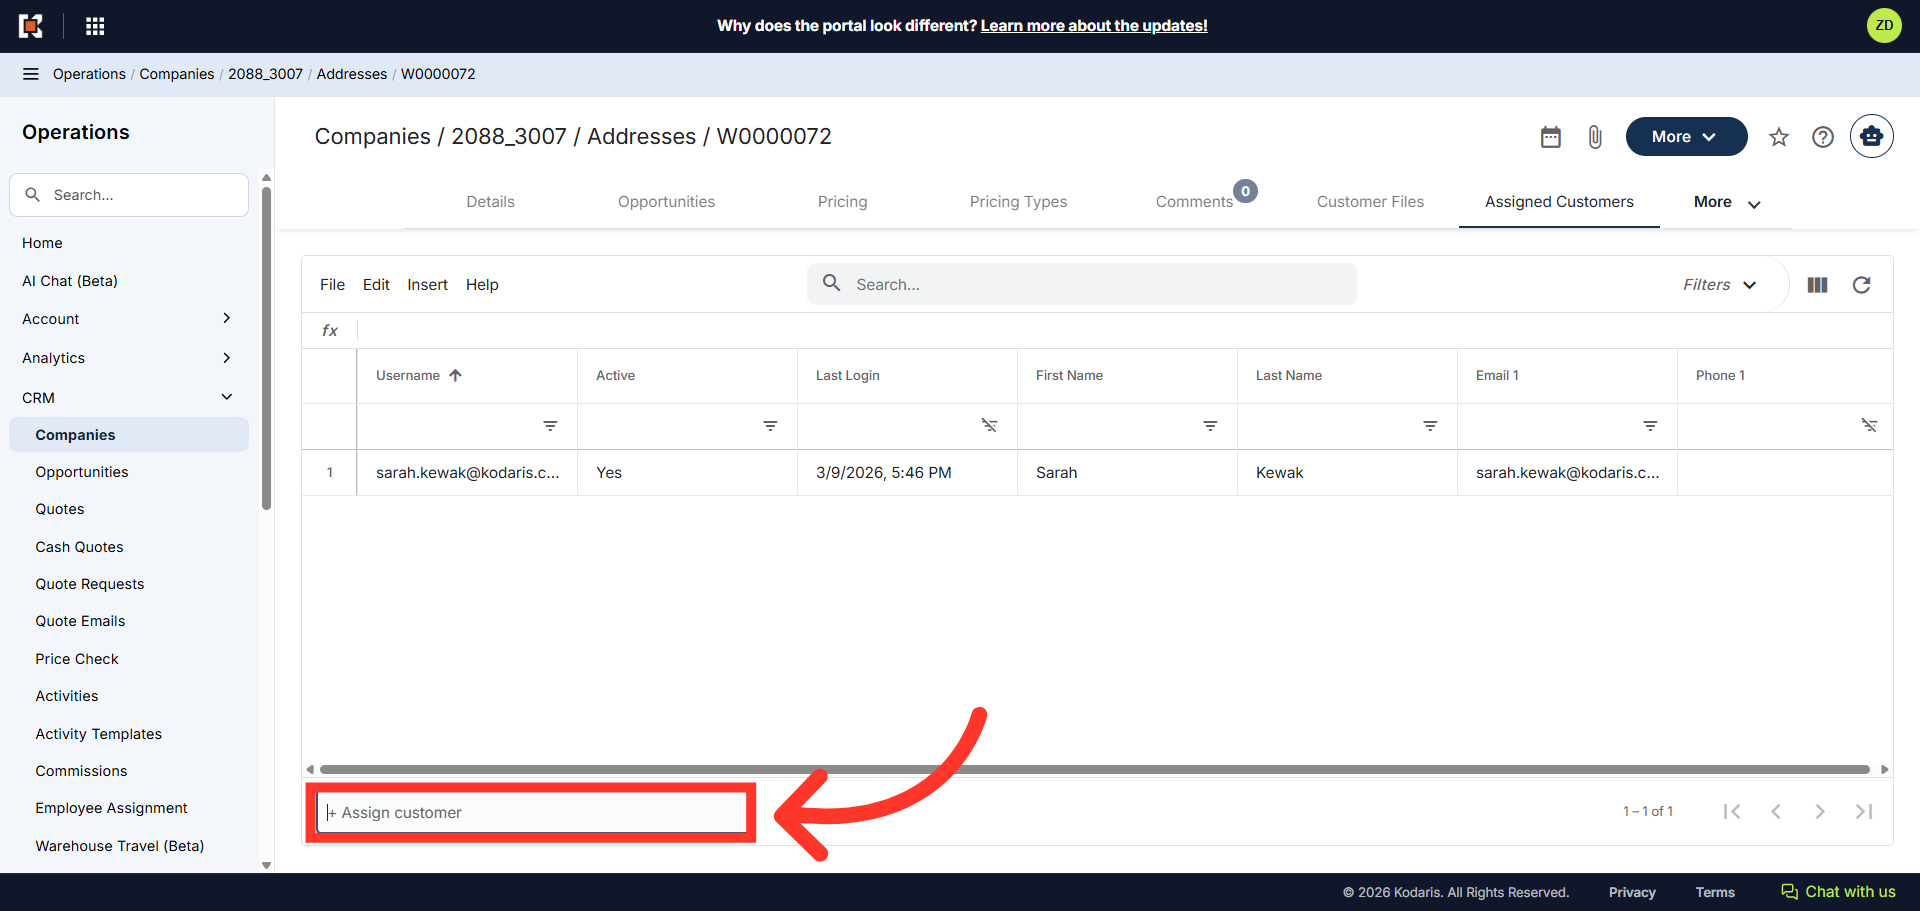
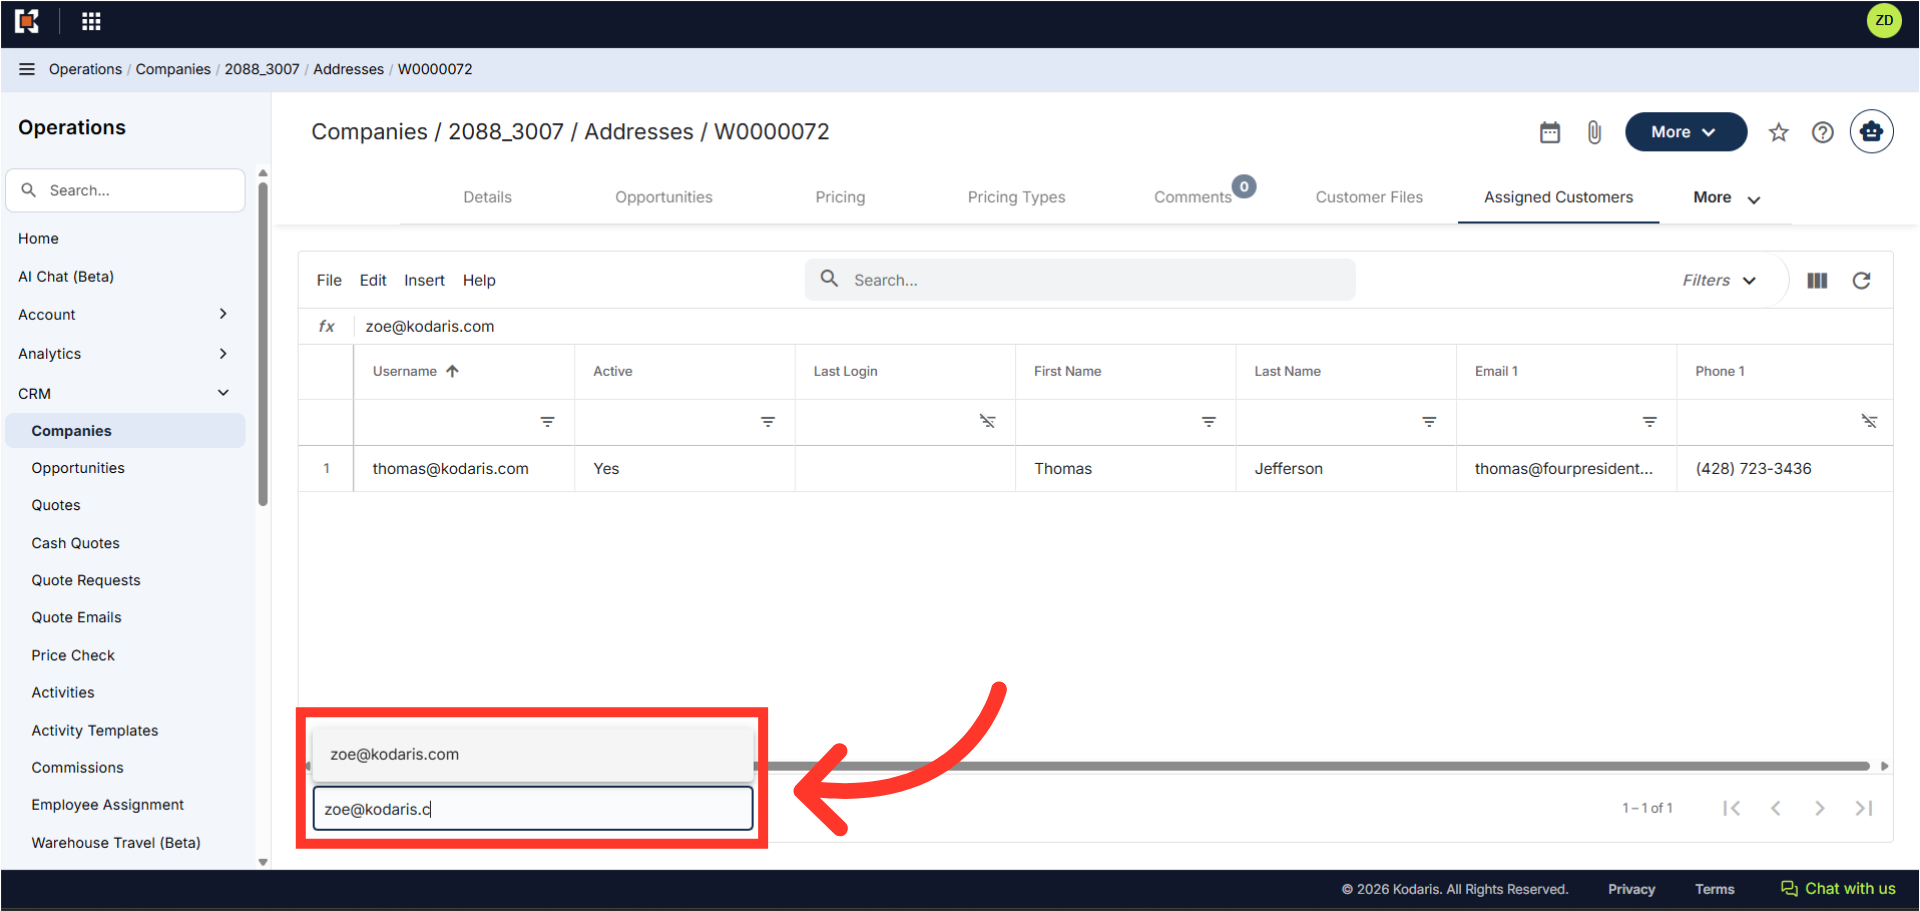
Click the "+Assign Customer" field
Click the "+Assign Customer" field to assign a customer to the ship-to.
Find the customer's email address
Type to search for the customer's email address and select it from the options.
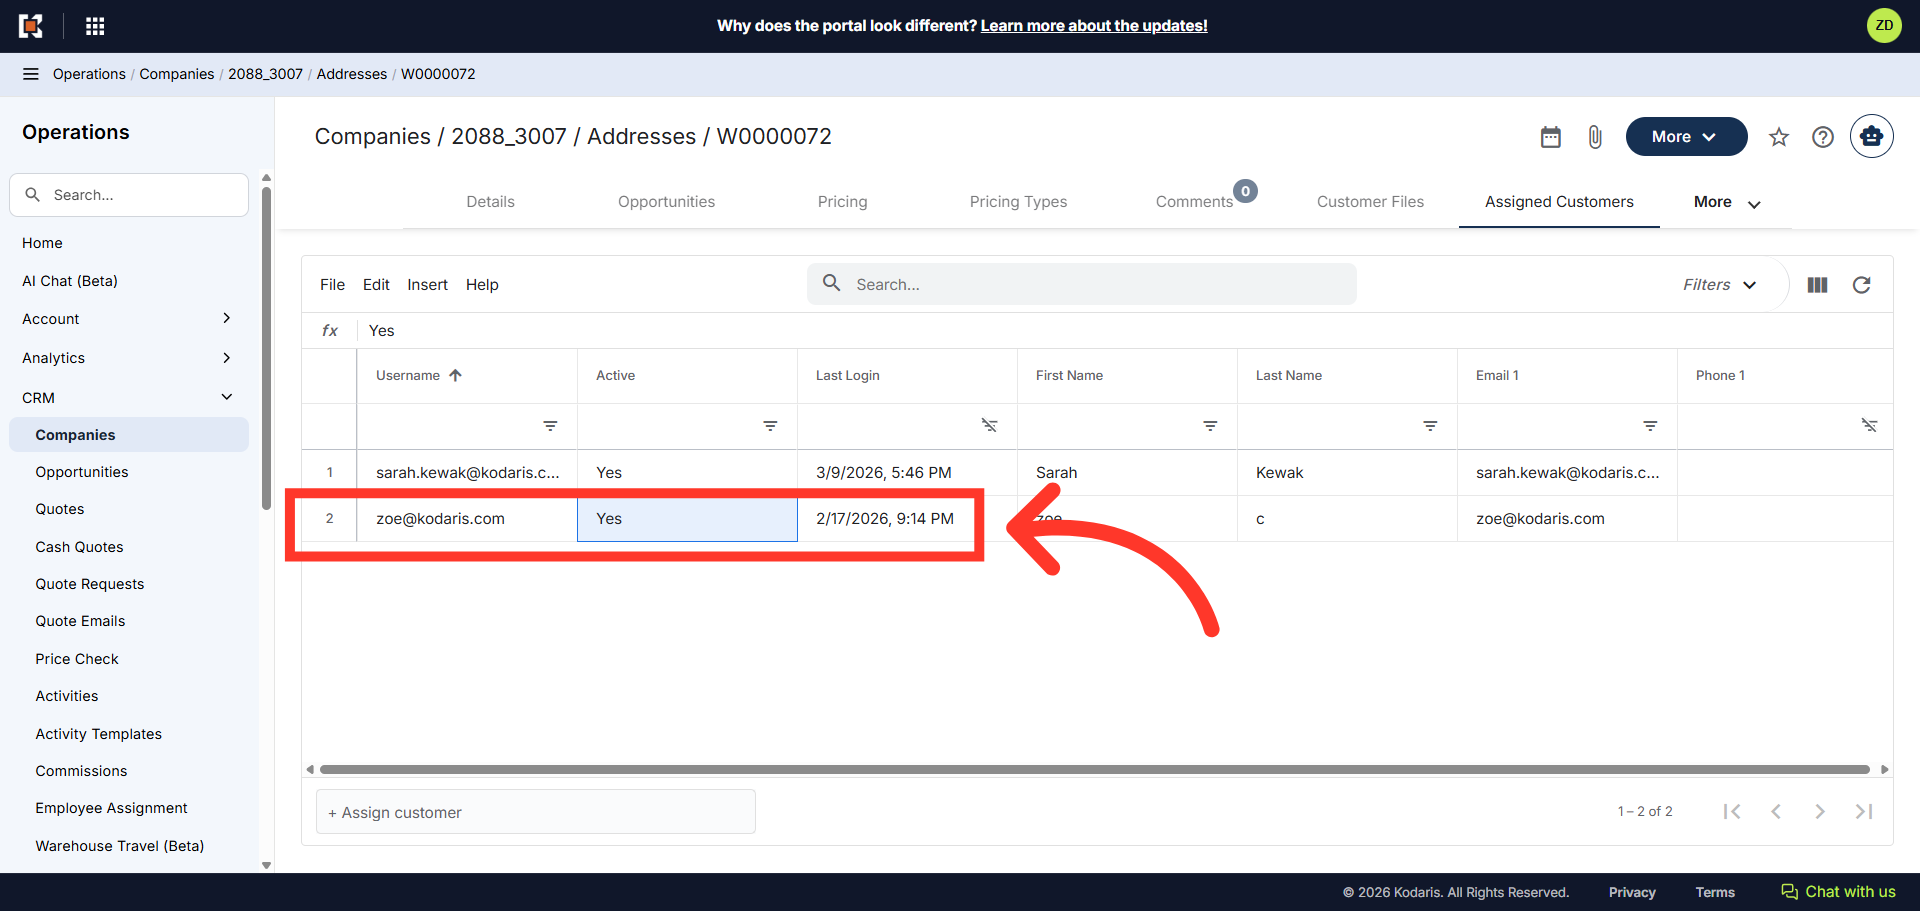
Customer has been assigned to the Shipto
Verify that the customer has been assigned to the ship-to location. If added, their username appears in the list.
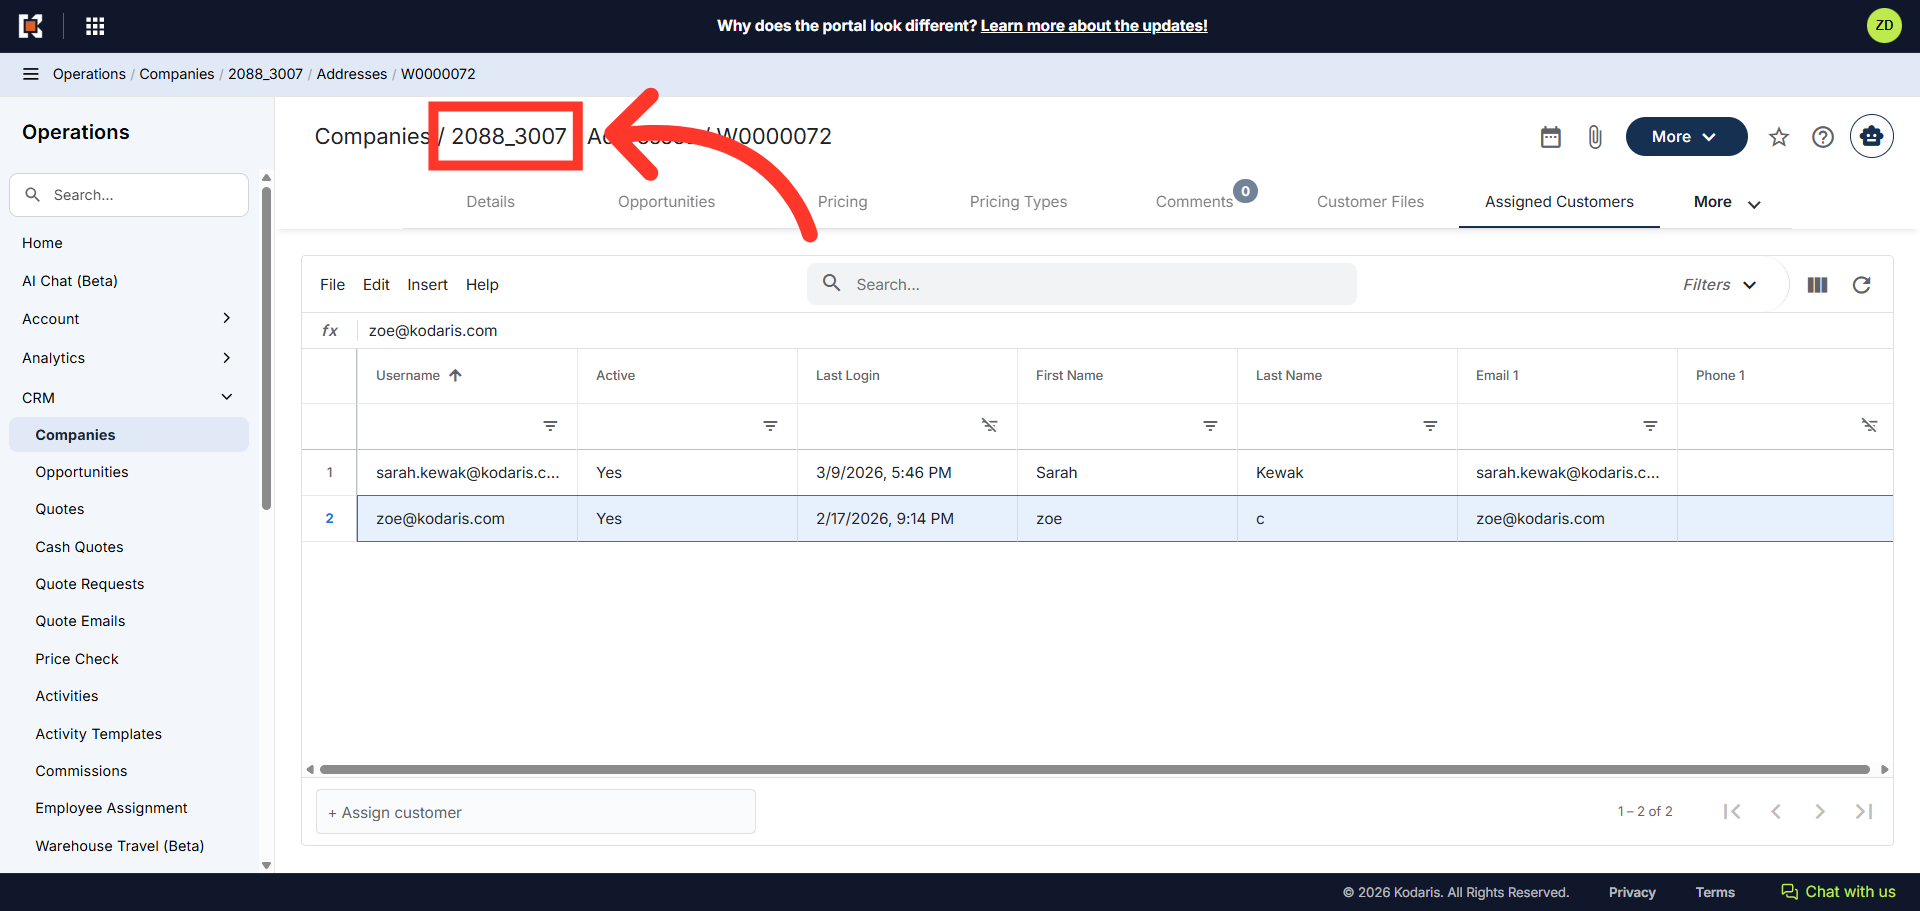
Navigate back to company details
To assign roles to the customer so they are able to view assigned ship-to orders, quotes, and place orders, navigate back to the company details page.
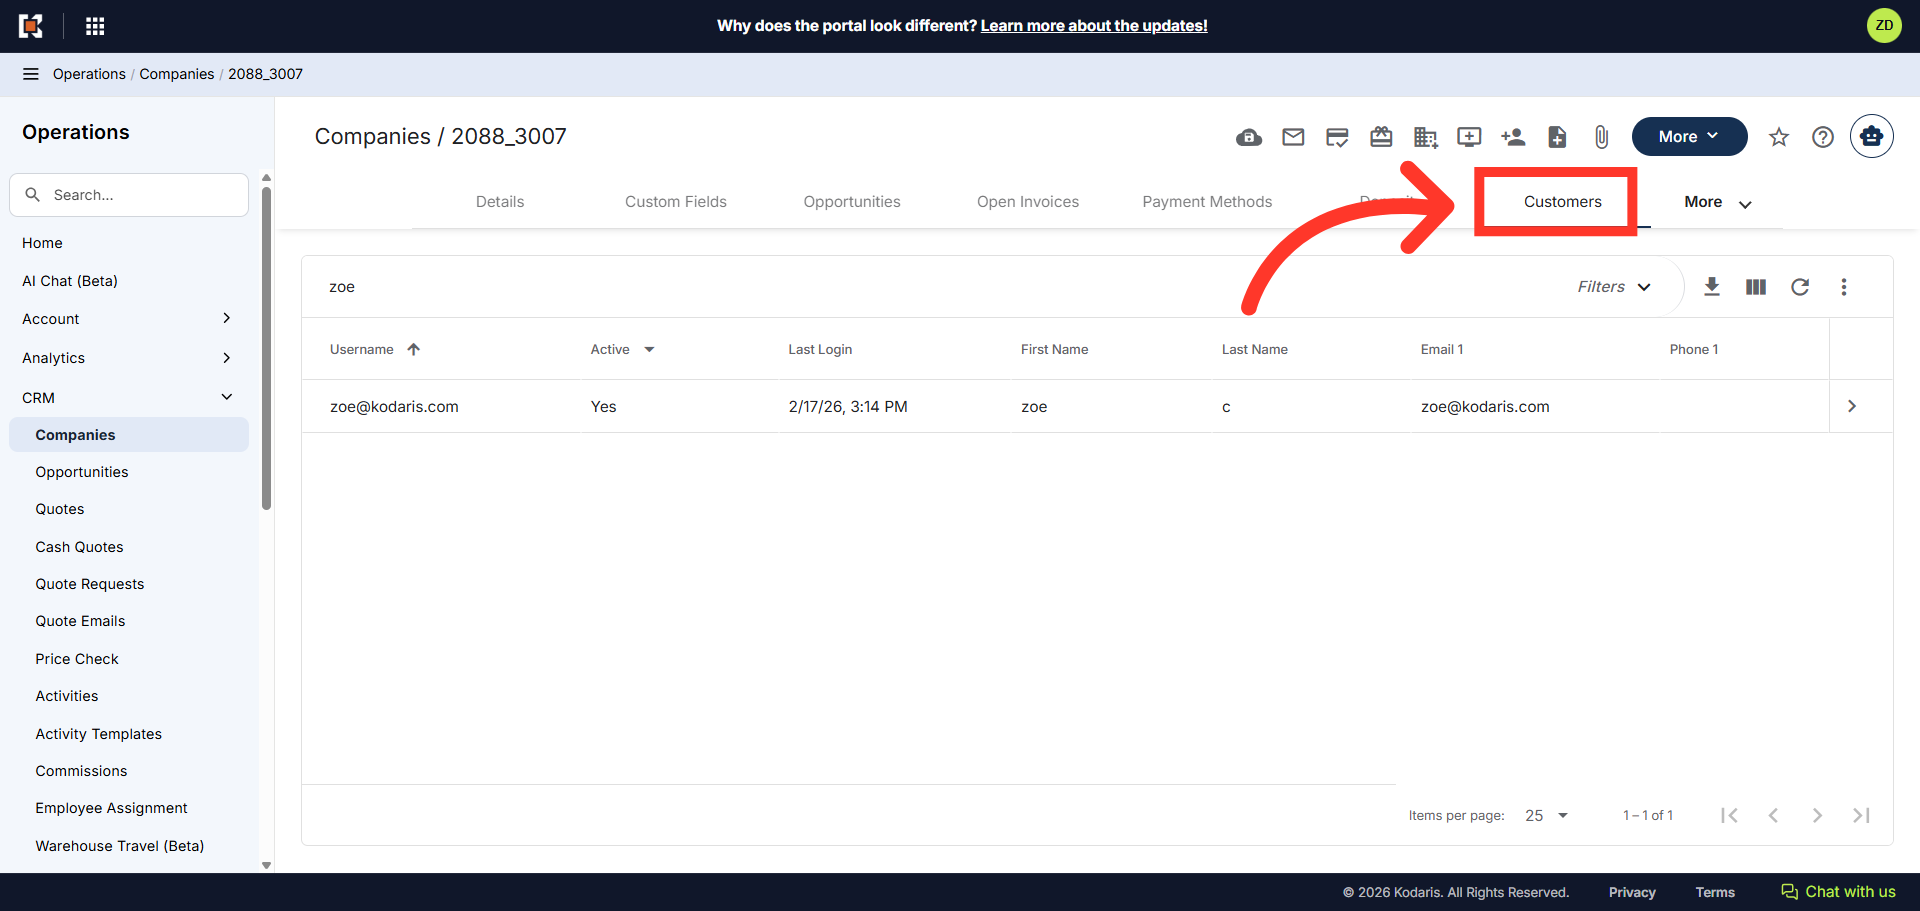
Click "Customers"
Go to the "Customers" tab. In order to access Customers as well as update roles, you need to have these additional roles: "customerEdit" and "roleEdit".
Go to the details page of the customer assigned to the shipto
Click the more details icon to go to the details page of the customer that was assigned to the ship-to.
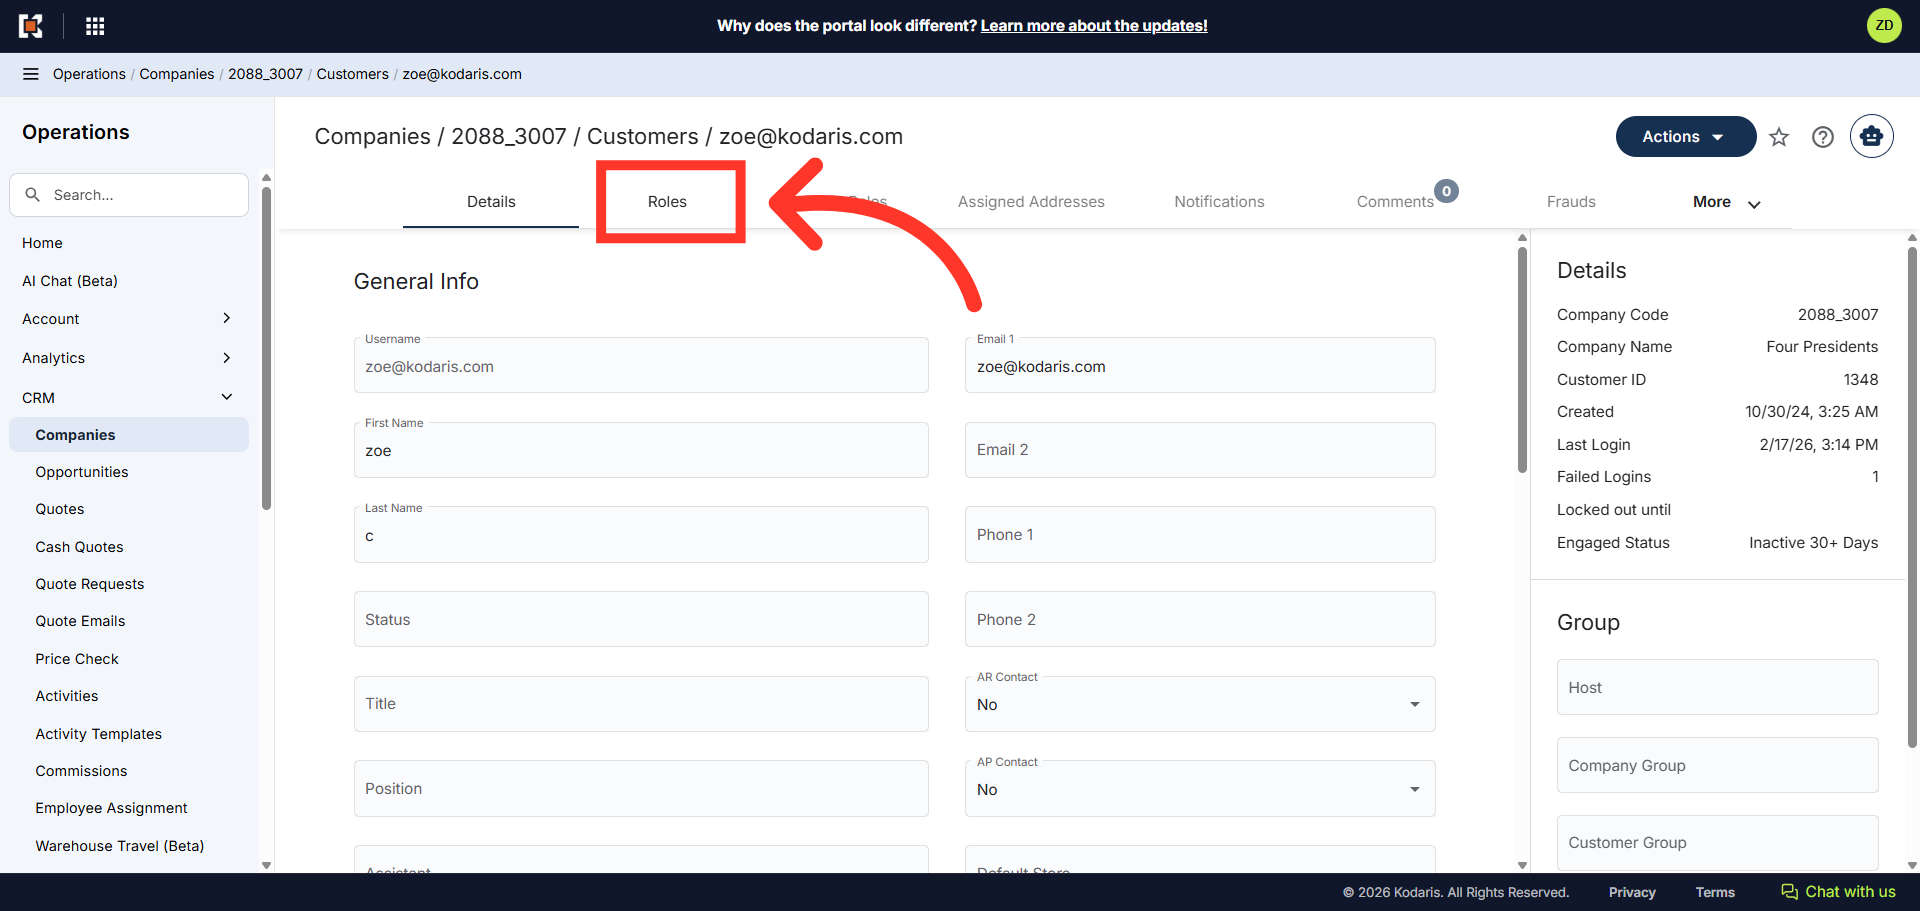
Click the "Roles" tab
Click the "Roles" tab.
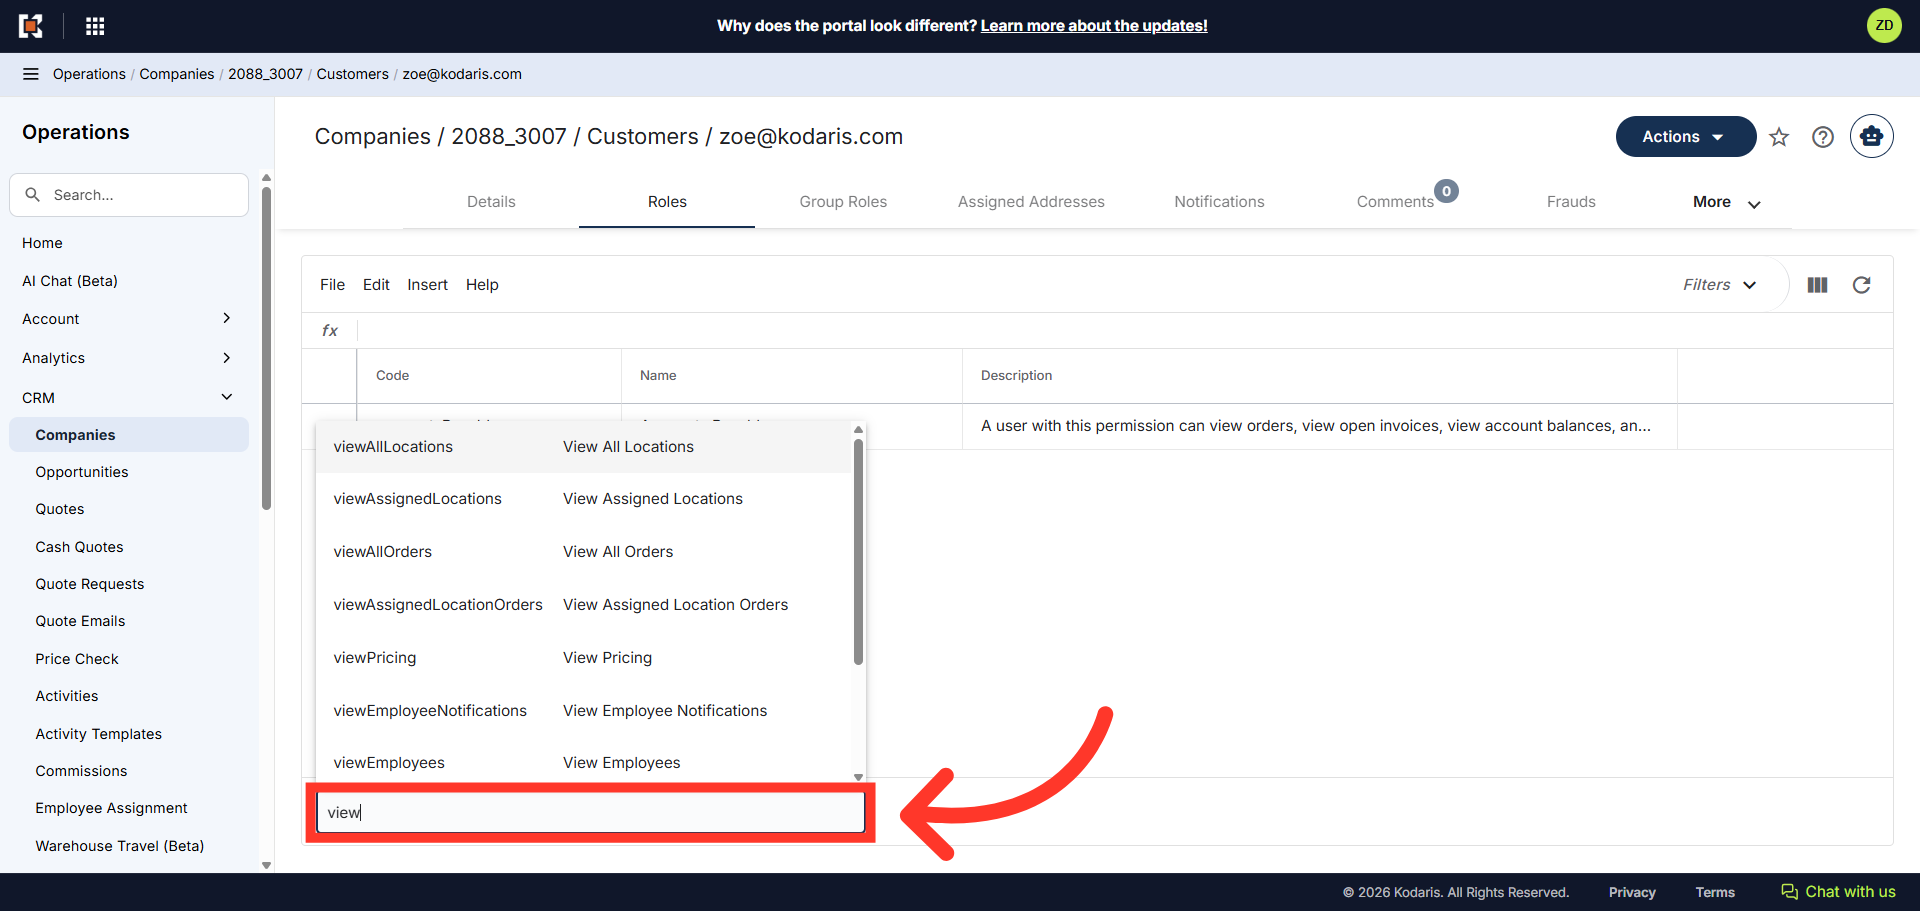
Click on the "+Assign role" field
Click on the "+Assign role" field to add the needed permissions.
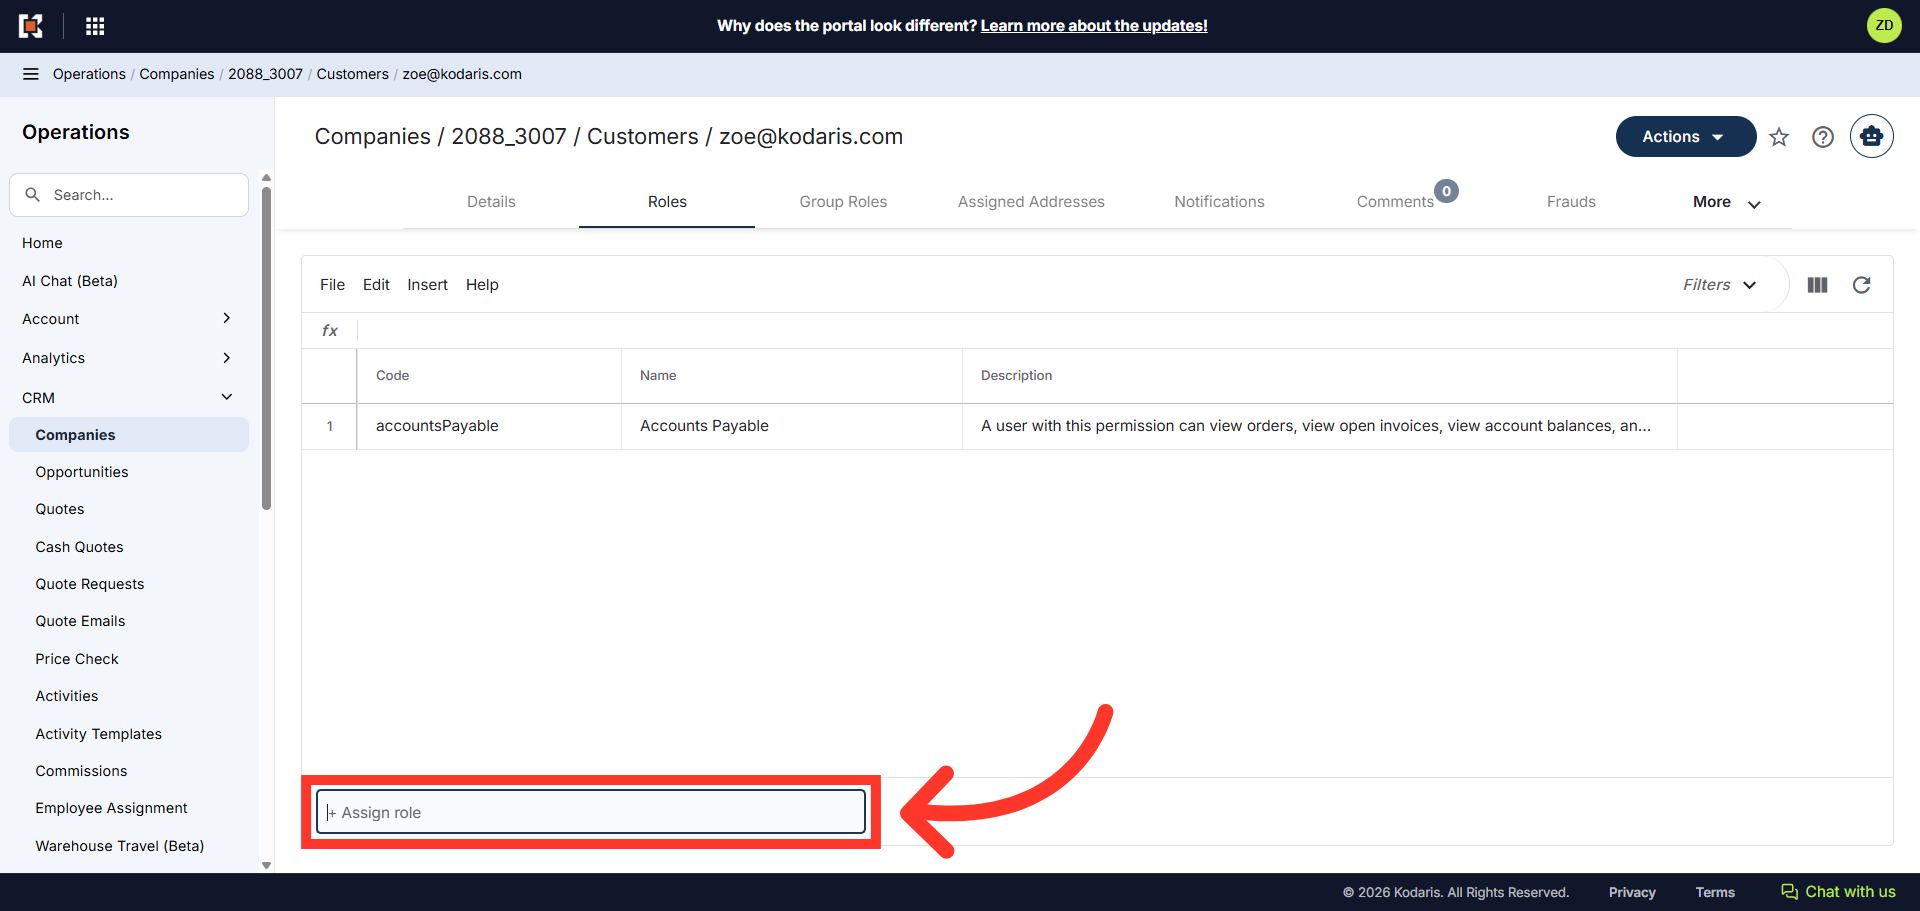
Add the needed roles
Enter in the needed role by typing in the field, and selecting from the dropdown. The needed roles are: "viewAssignedLocationOrders", "viewAssignedLocationQuotes", "viewAssignedLocations", and "viewPricing".