Operations Customers - Create Customer Group Roles & Assign Roles
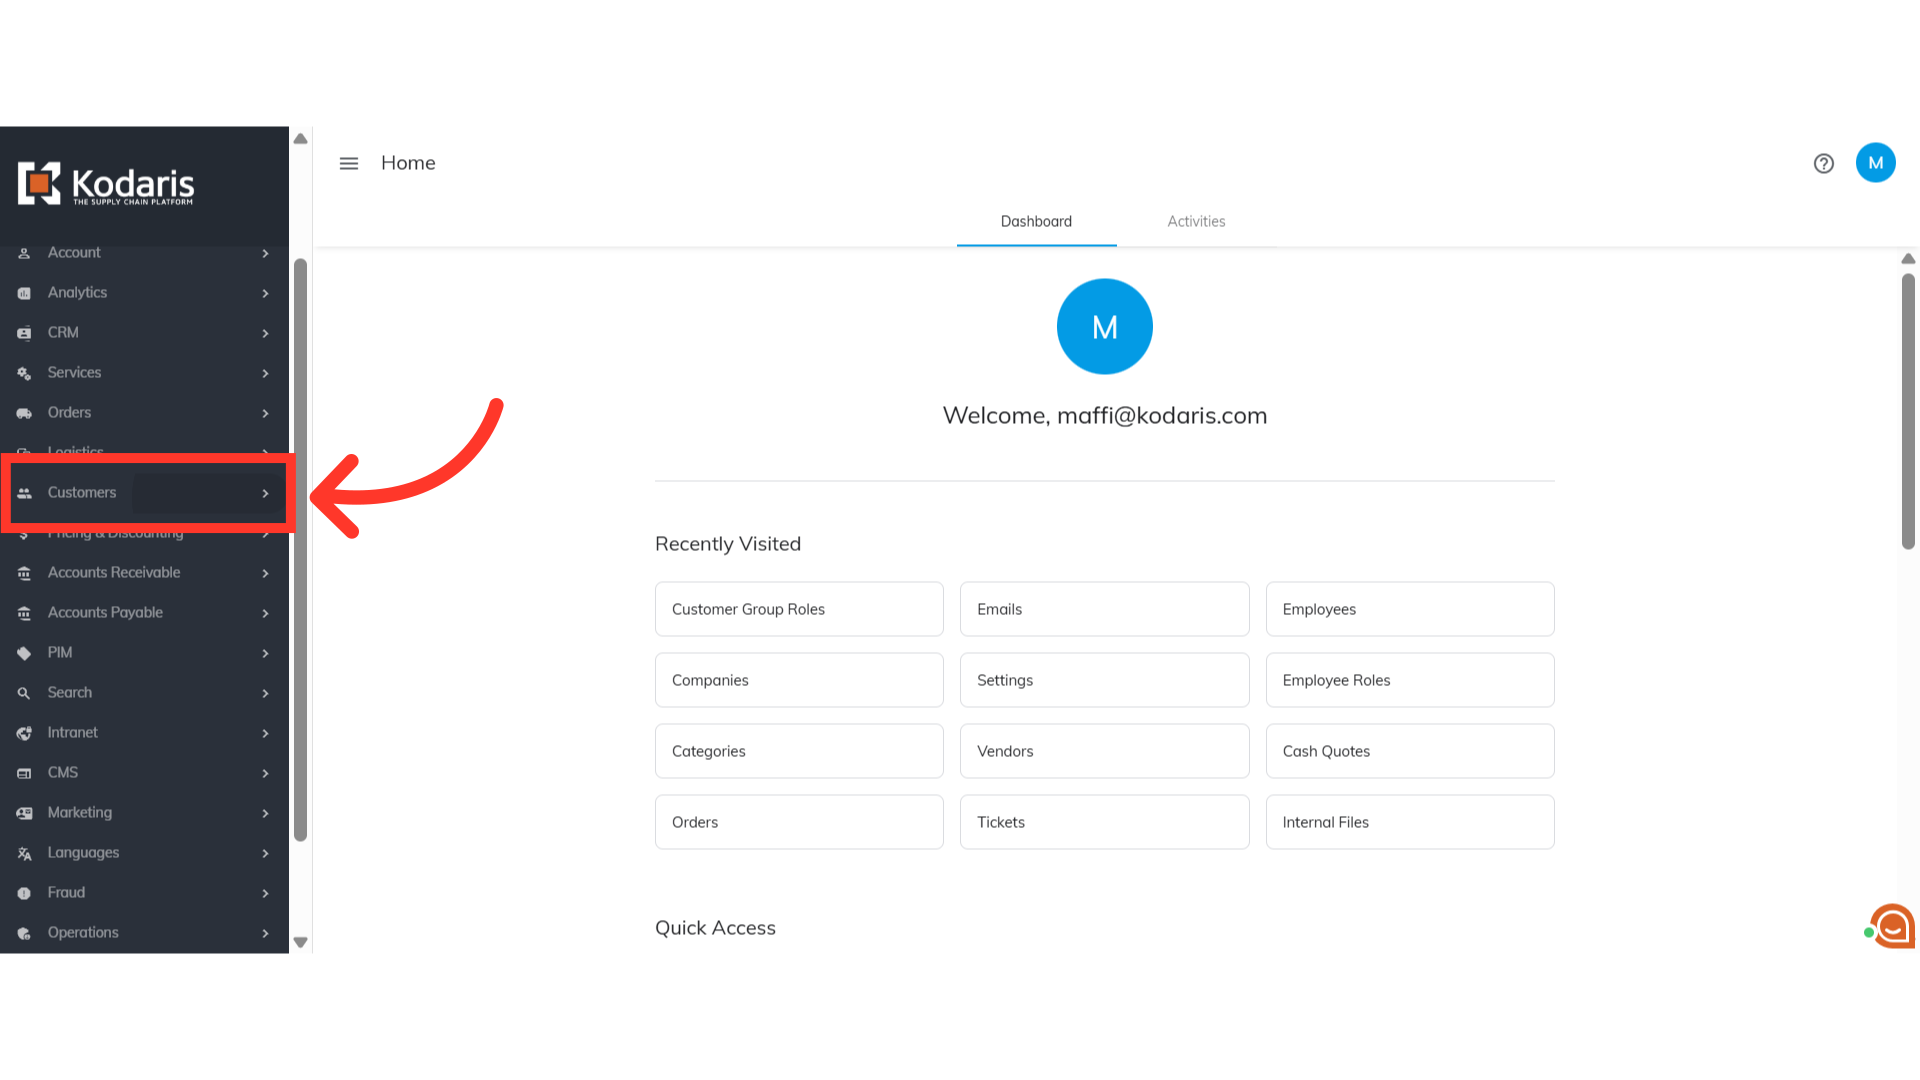
Navigate to "Customers"
Customer Group Roles can be helpful with managing user permissions effectively and securely. To start creating Customer Group Roles, navigate to the "Customers" section in the Operations Portal.
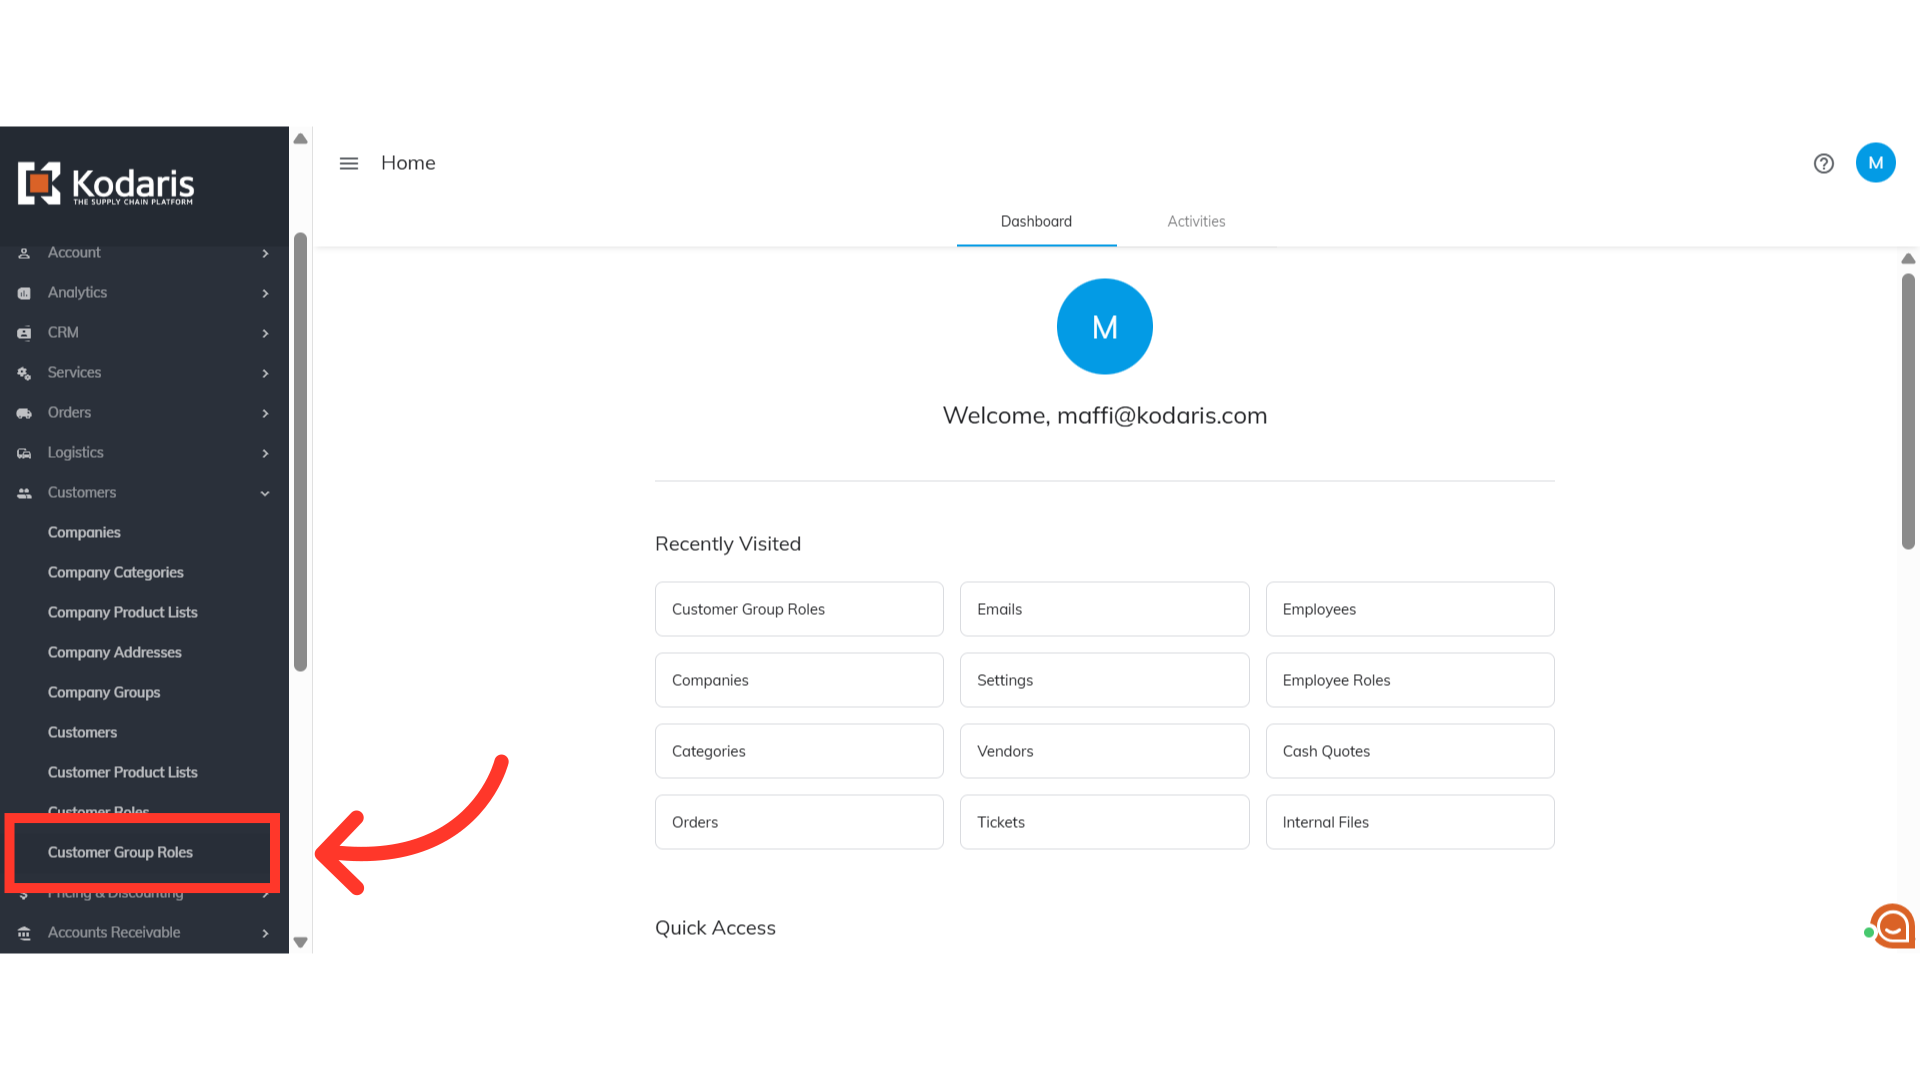
Click "Customer Group Roles"
Then, click "Customer Group Roles". In order to access and update "Customer Group Roles" you will need to be set up either as an "administrator" or a "superuser", or have the roles of: "customerPermissionGroupView", "customerPermissionGroupEdit", "roleView" and "RoleEdit".
Enter a unique code in the "Code" field
Add a new customer group role by using the "Add a row" fields. Enter a unique code for the customer group role in the "Code" field.
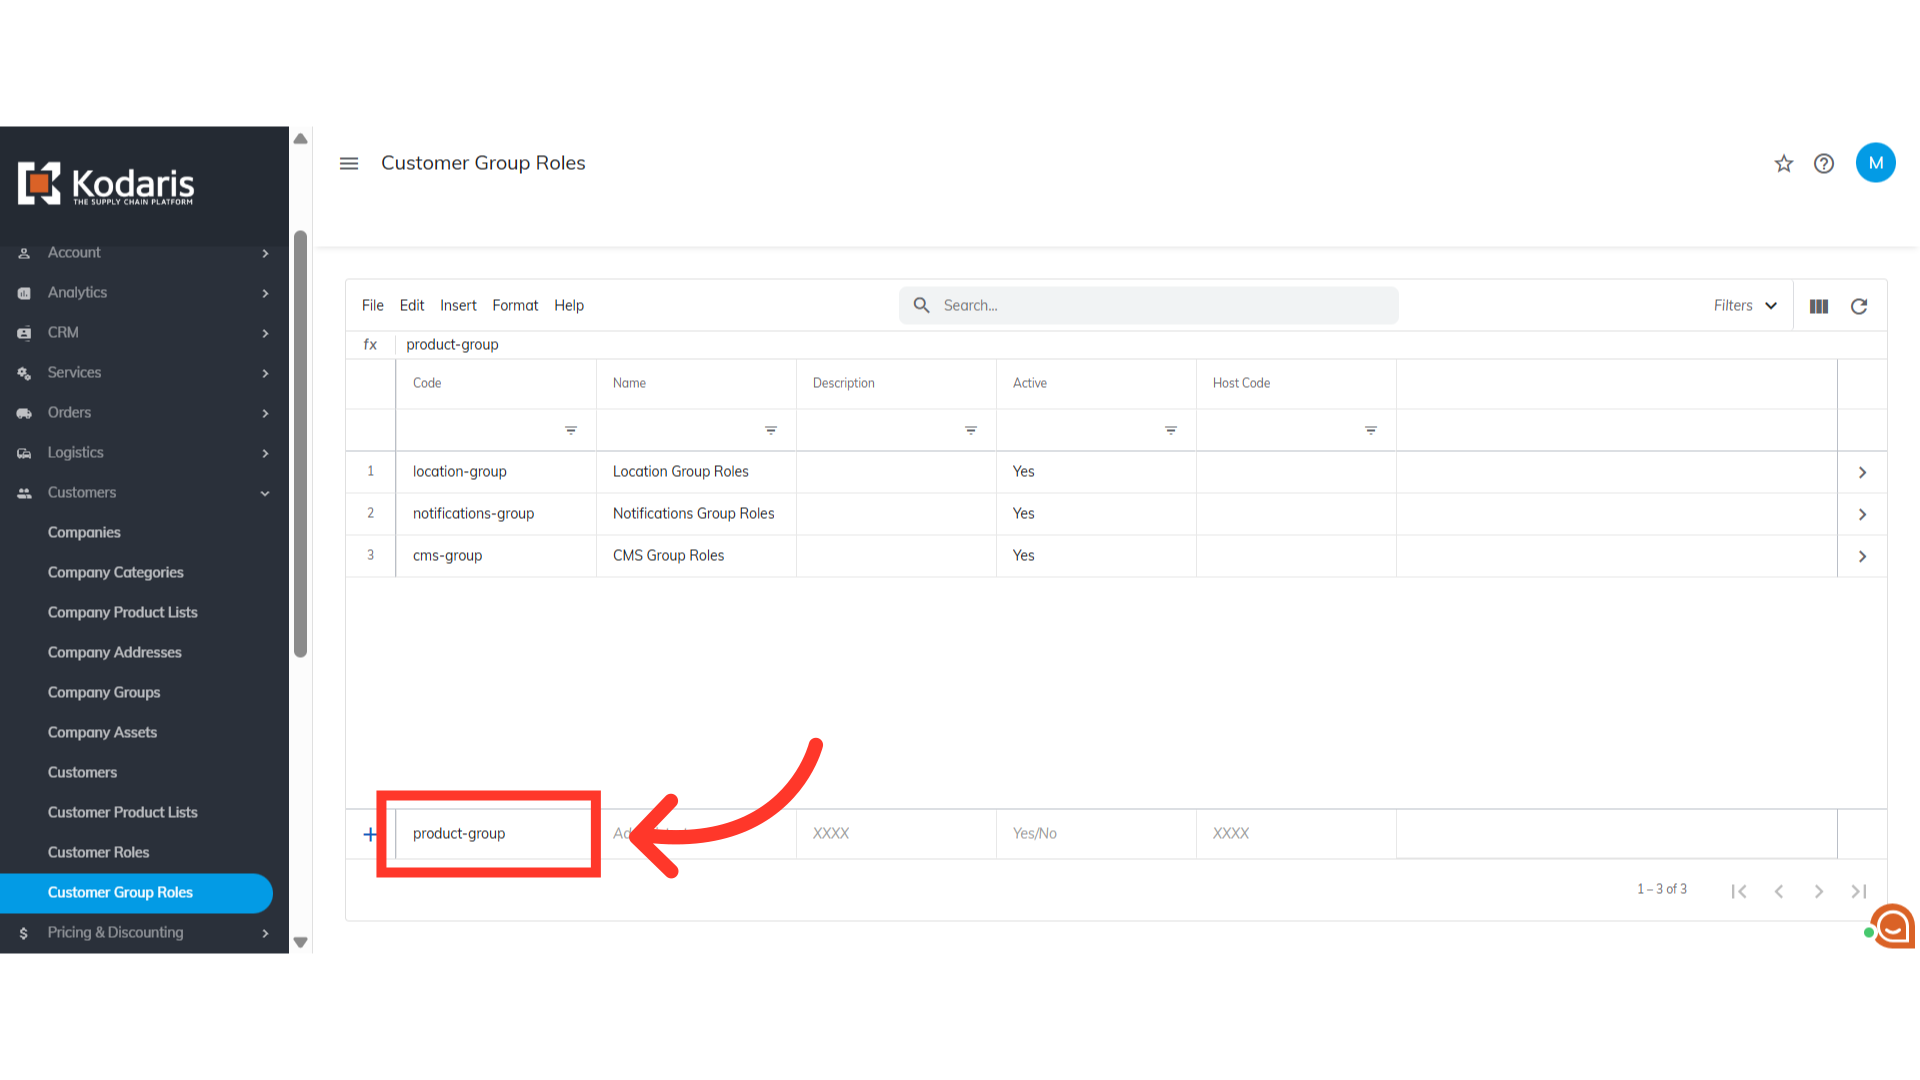
Enter the name in the "Name" field
Next, enter the name of the new customer group role in the "Name" field.
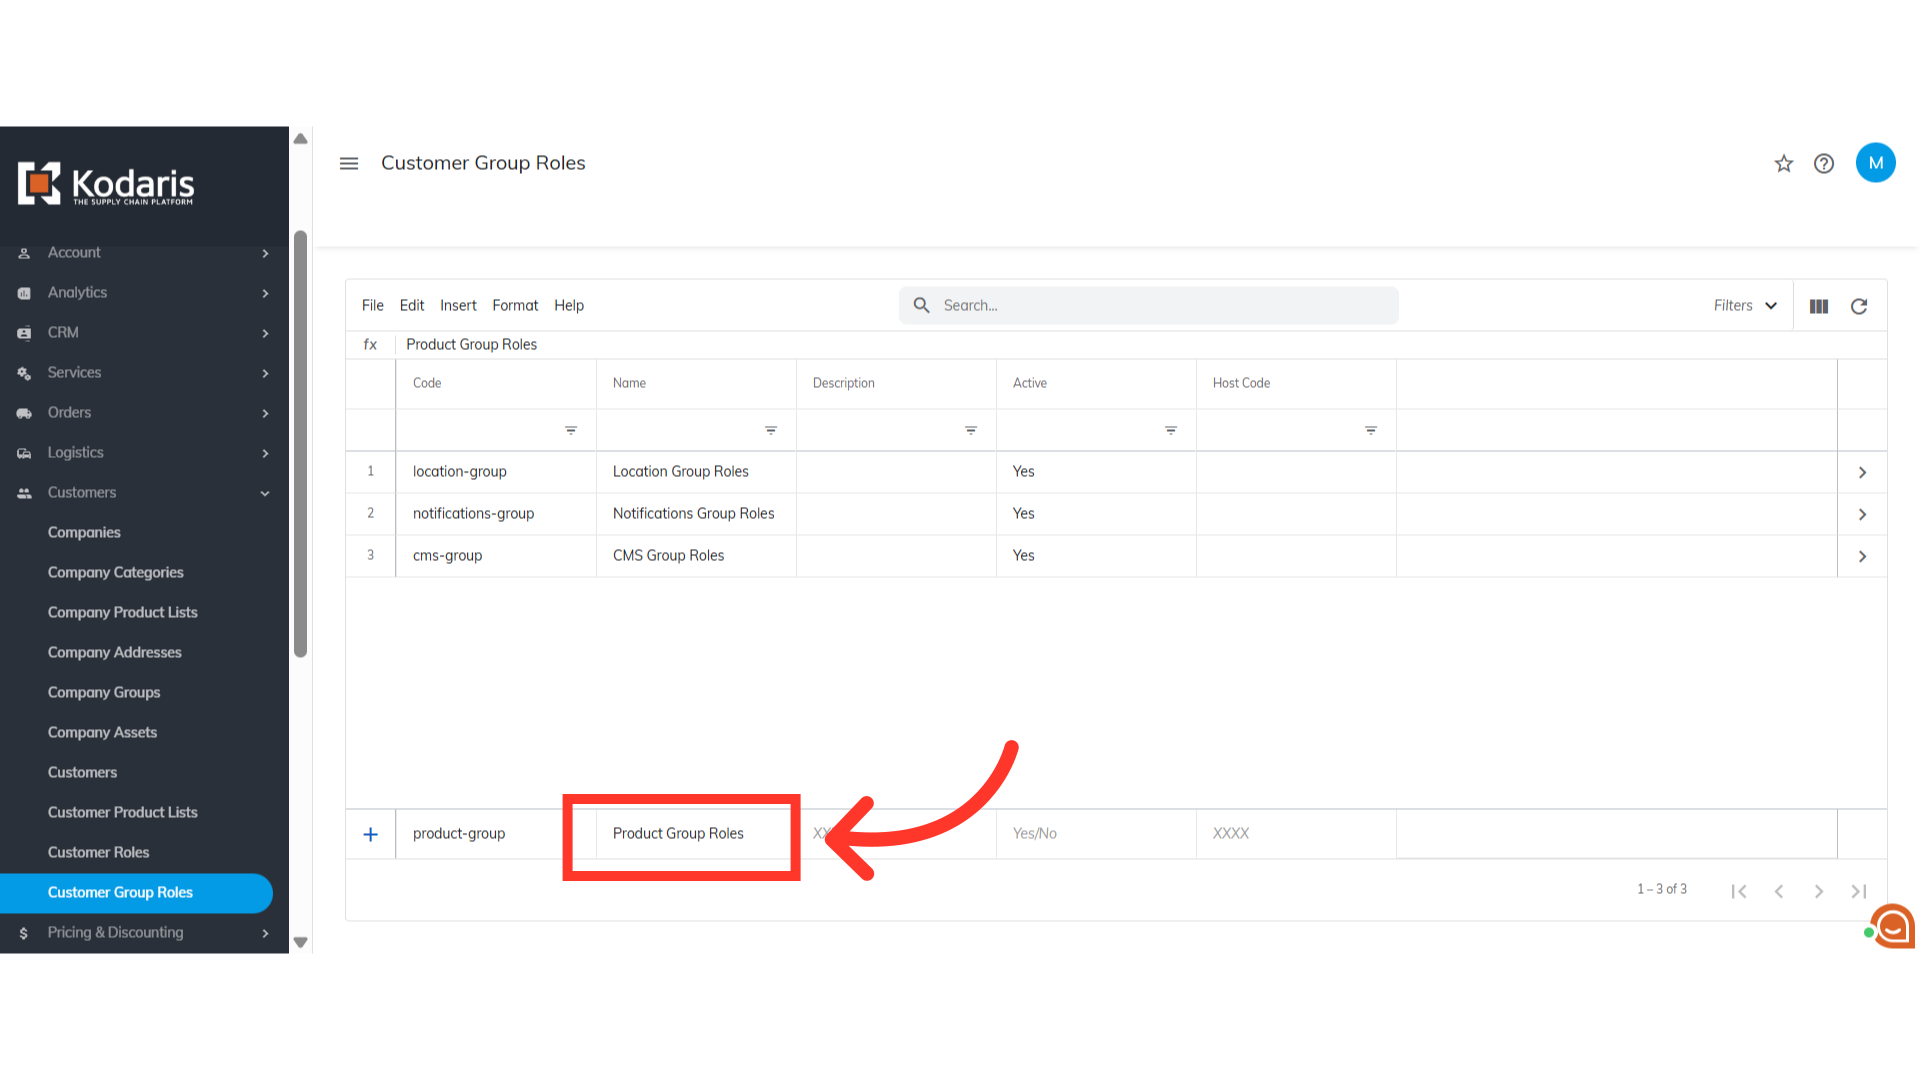
Add a "Description"
You may also add a description if needed.

Set "Active" to "Yes" and press "Enter" key
Now, make sure to set the "Active" status to "Yes" to enable it. Then, press the "Enter" key to add the customer role group to the grid.

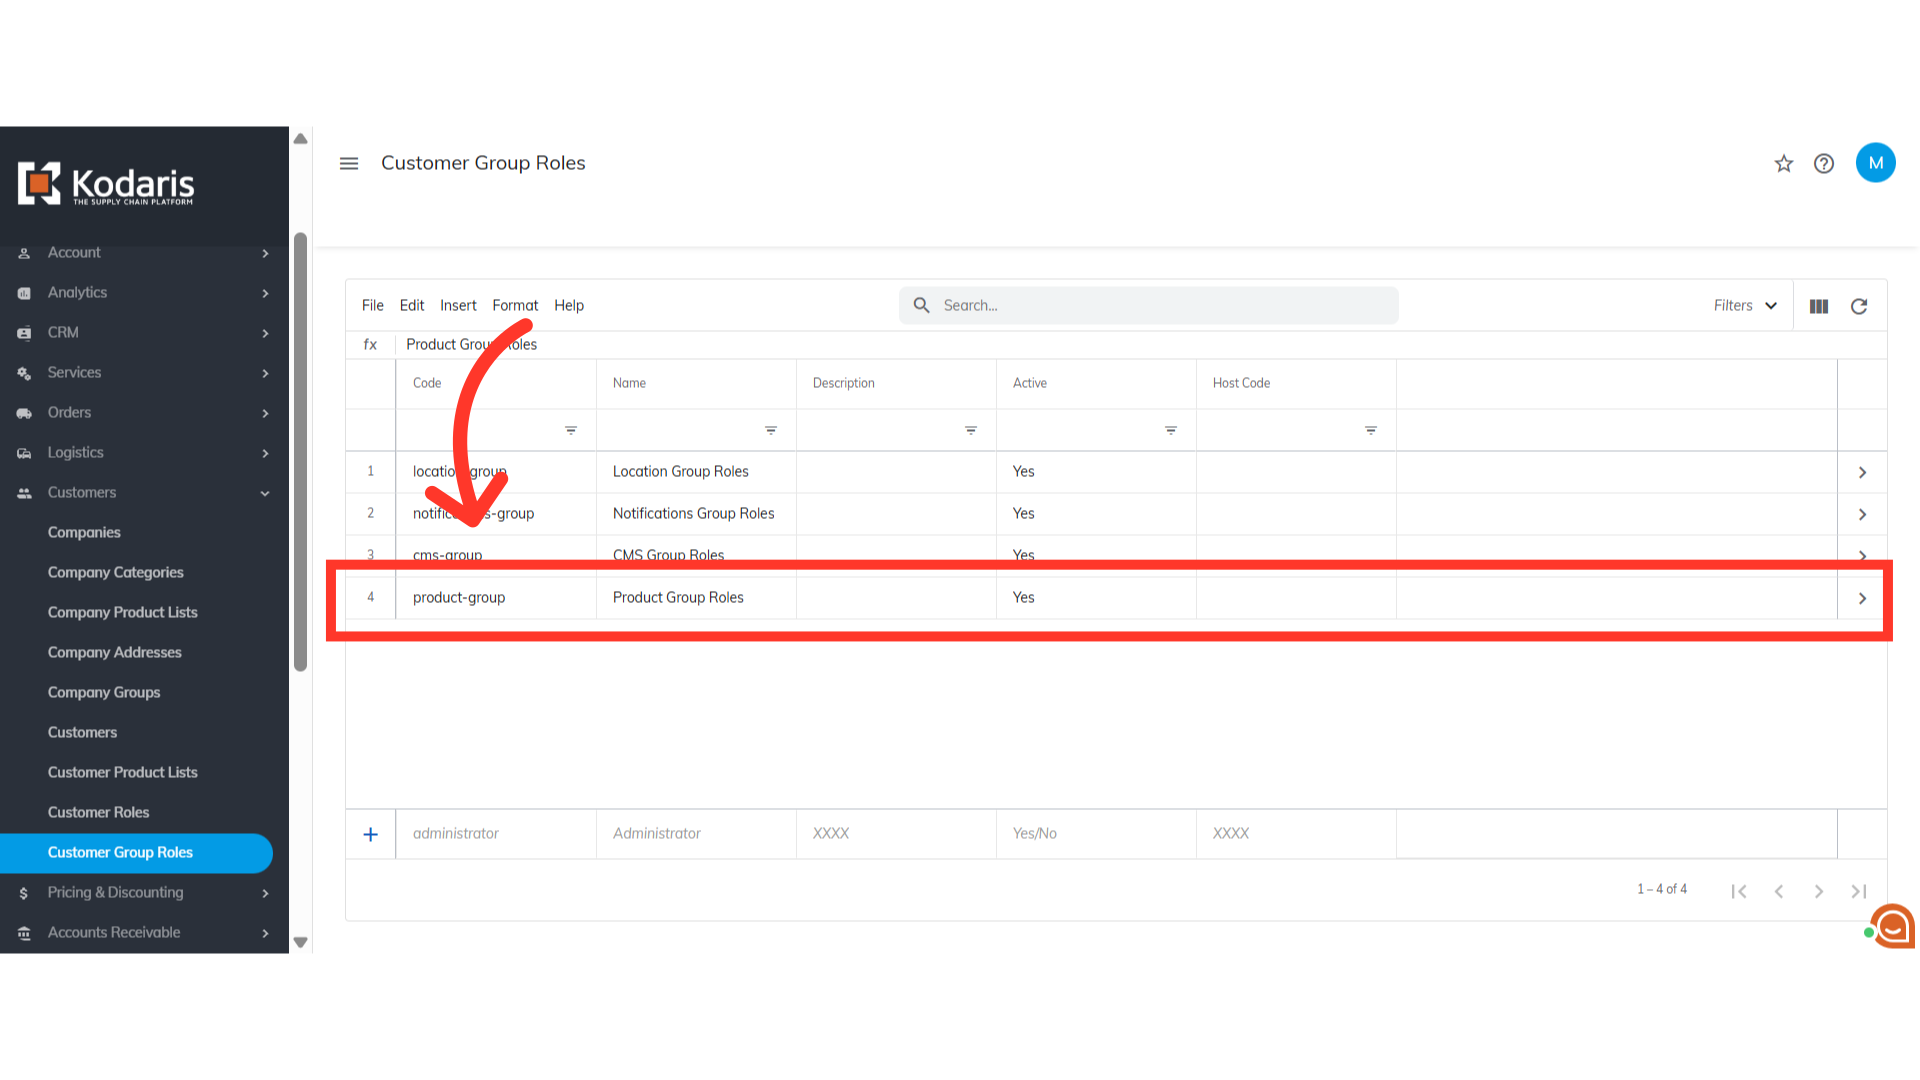
Customer group role now added on the grid
The customer group role has been successfully created.
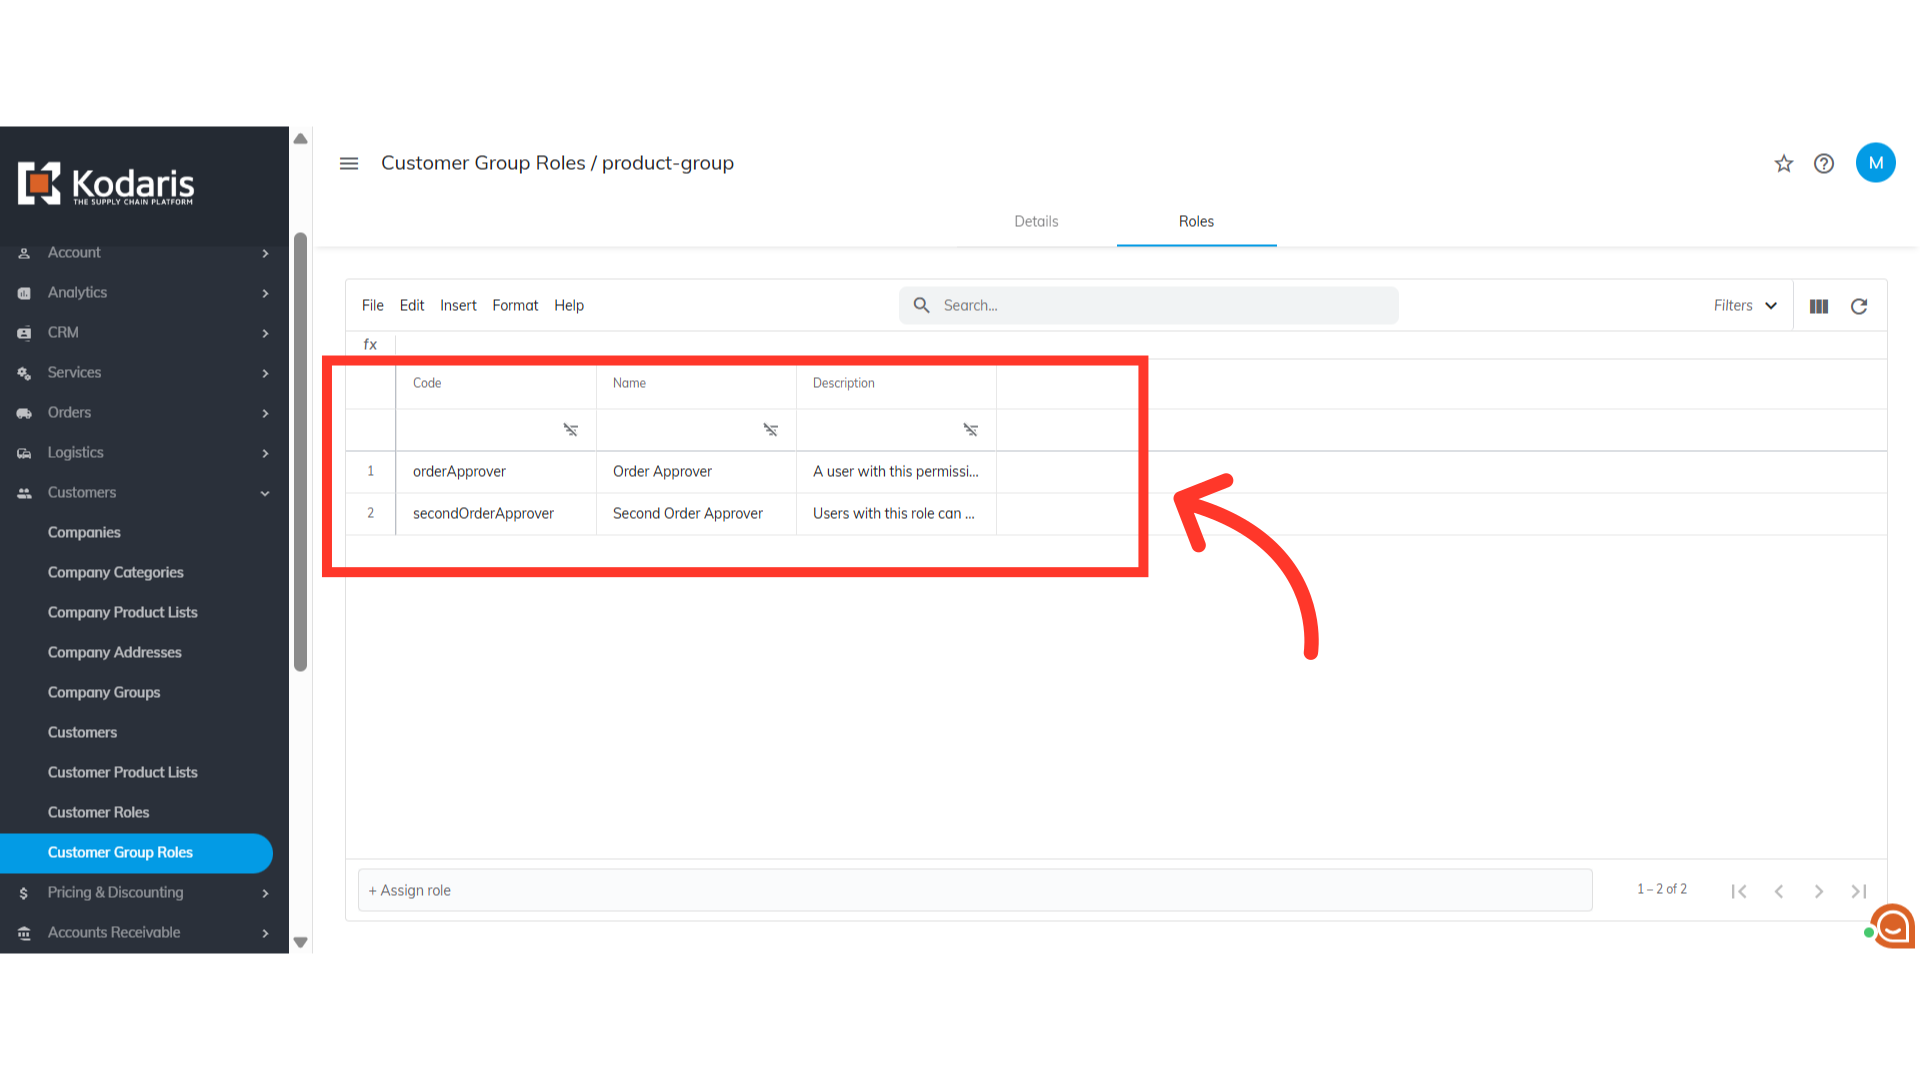
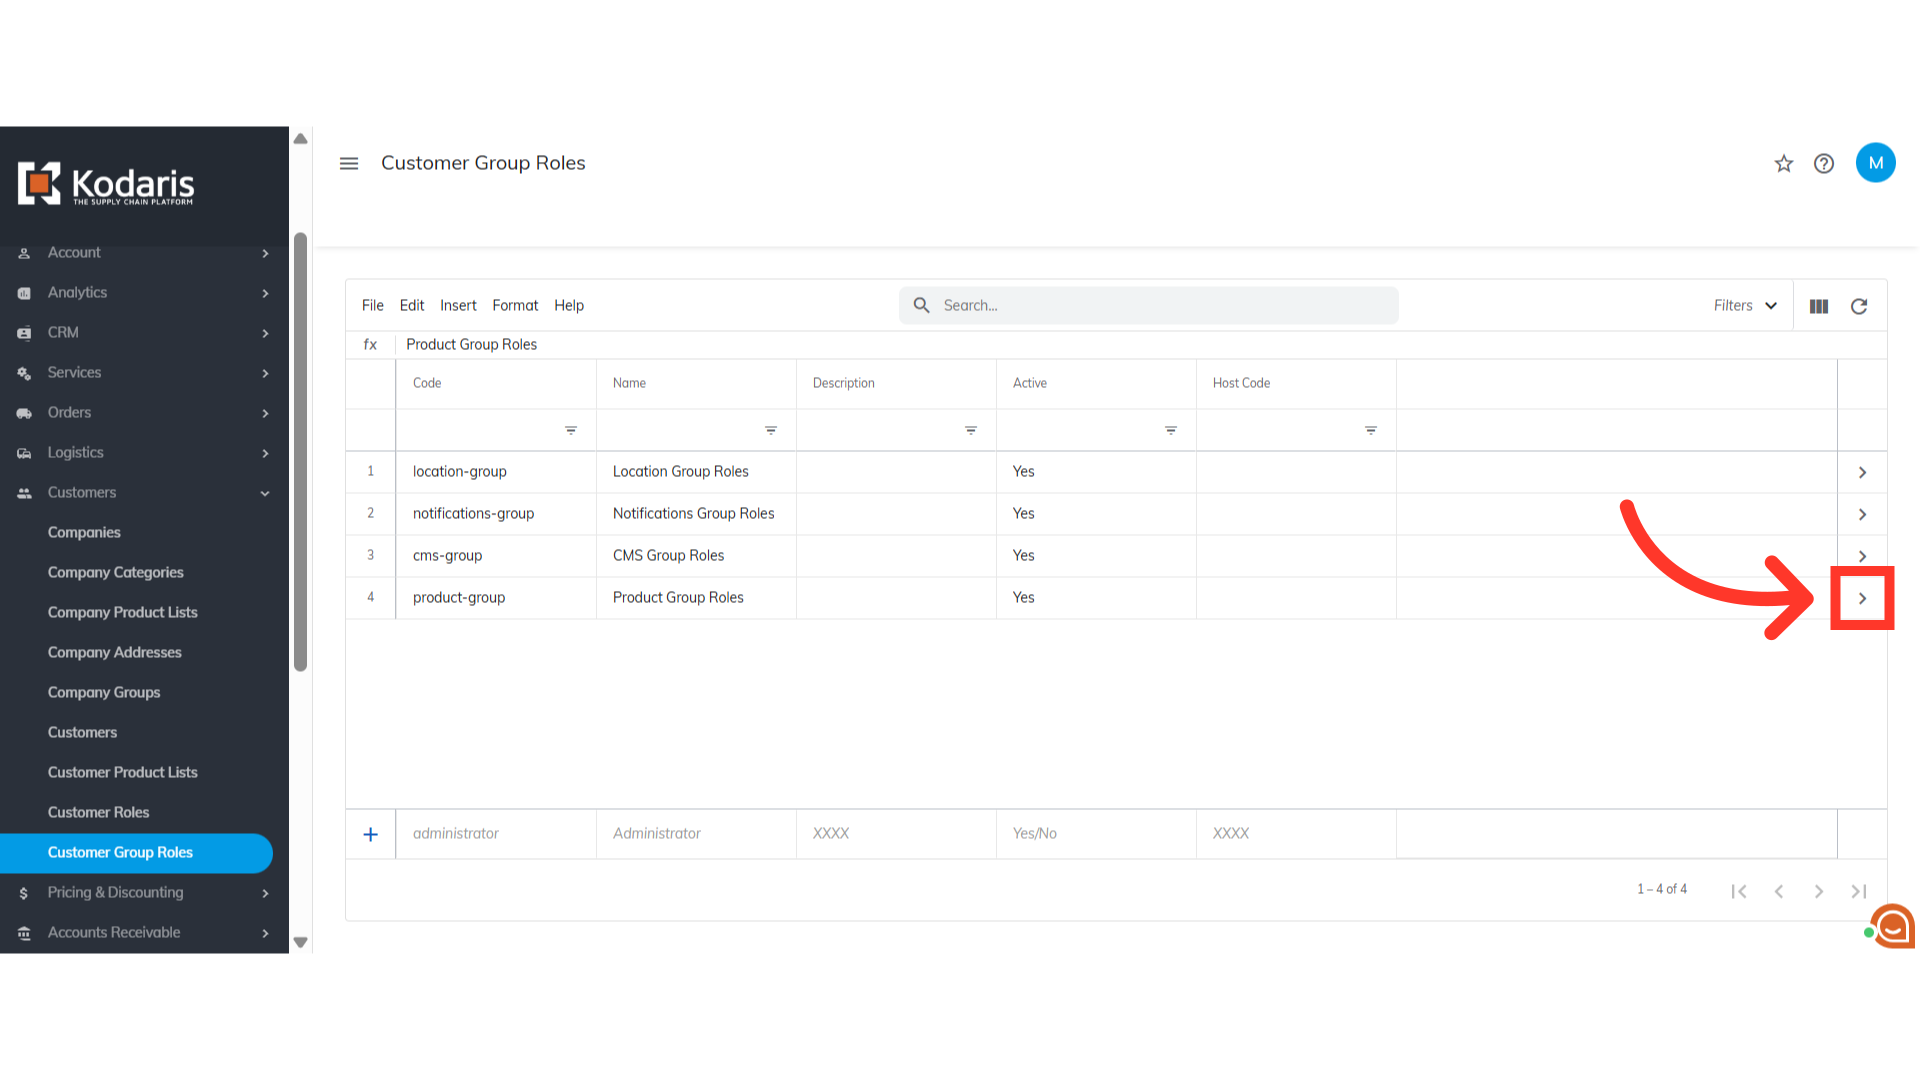
Go to the details page of the group role
The next thing to do is to assign the needed set of roles for this group. Click the more details icon on the customer group role to access its details page.
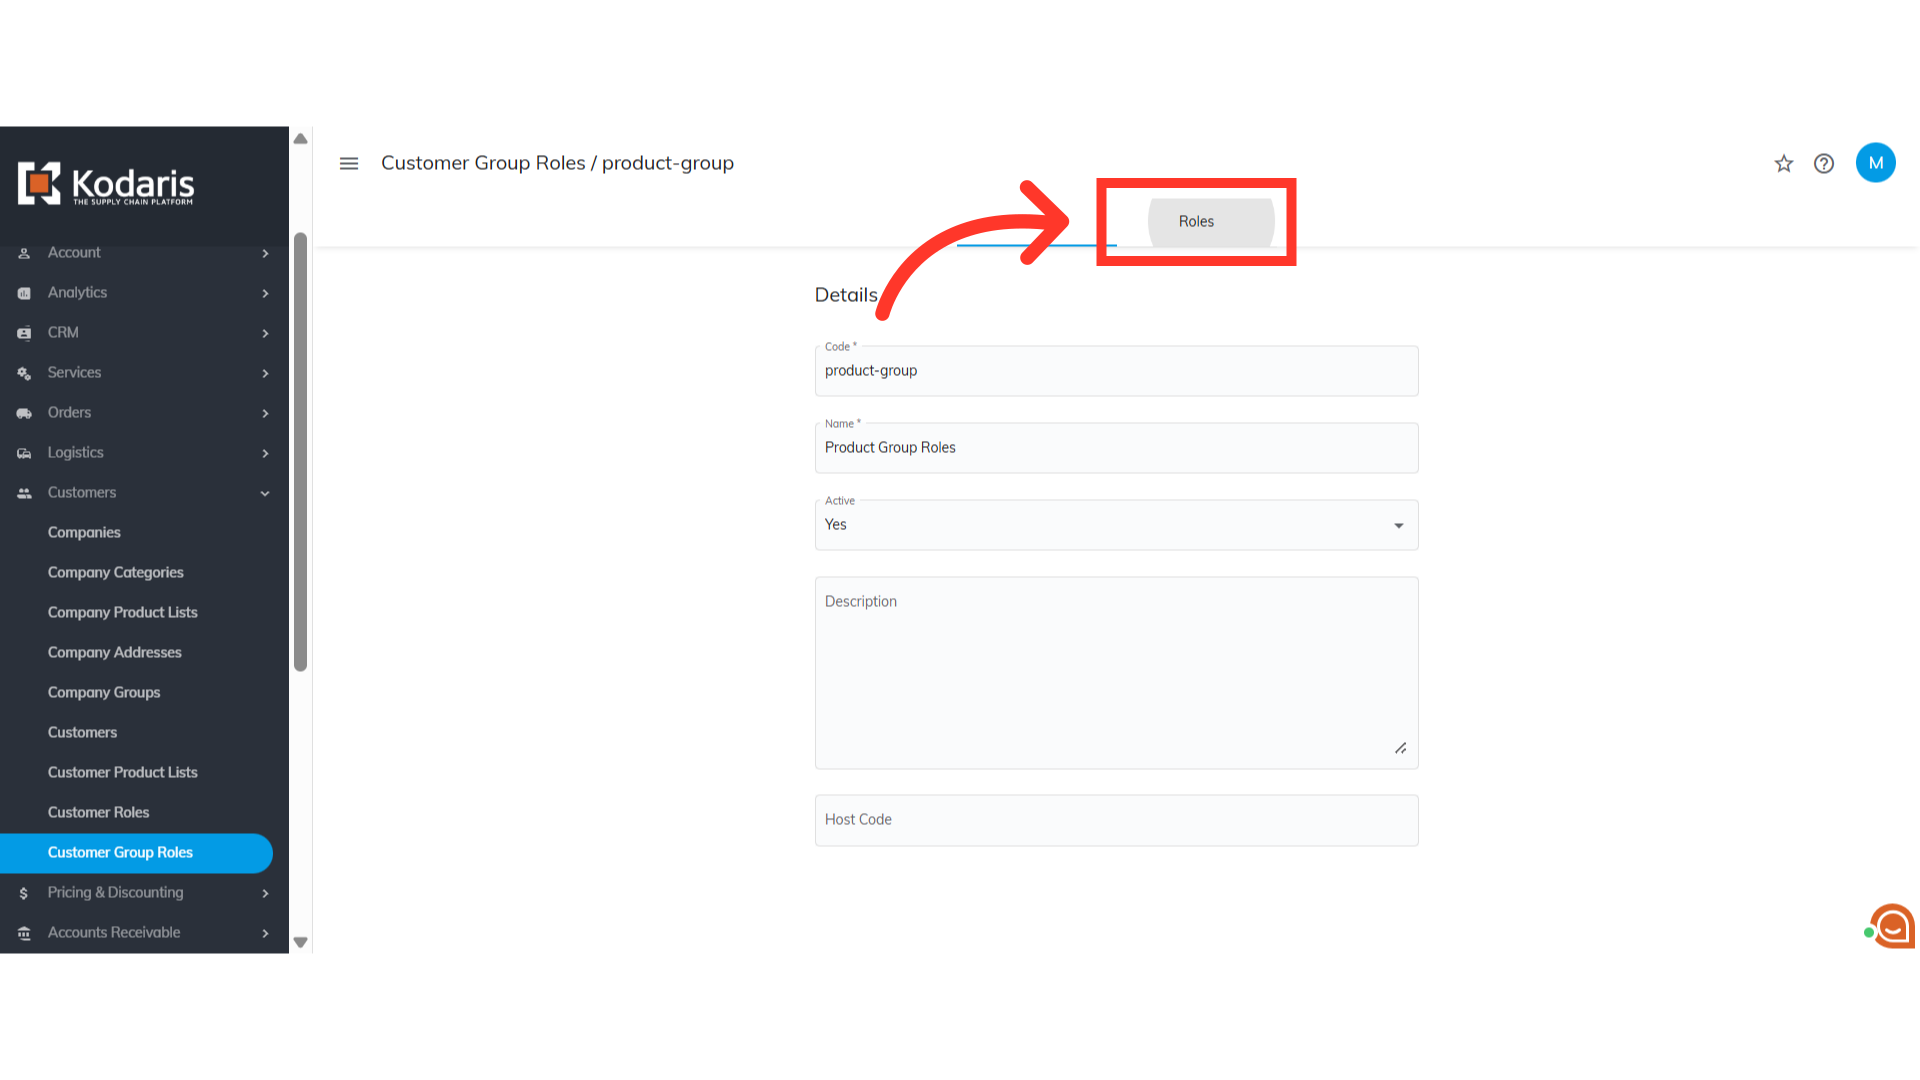
Go to the "Roles" tab
Go to the "Roles" tab.
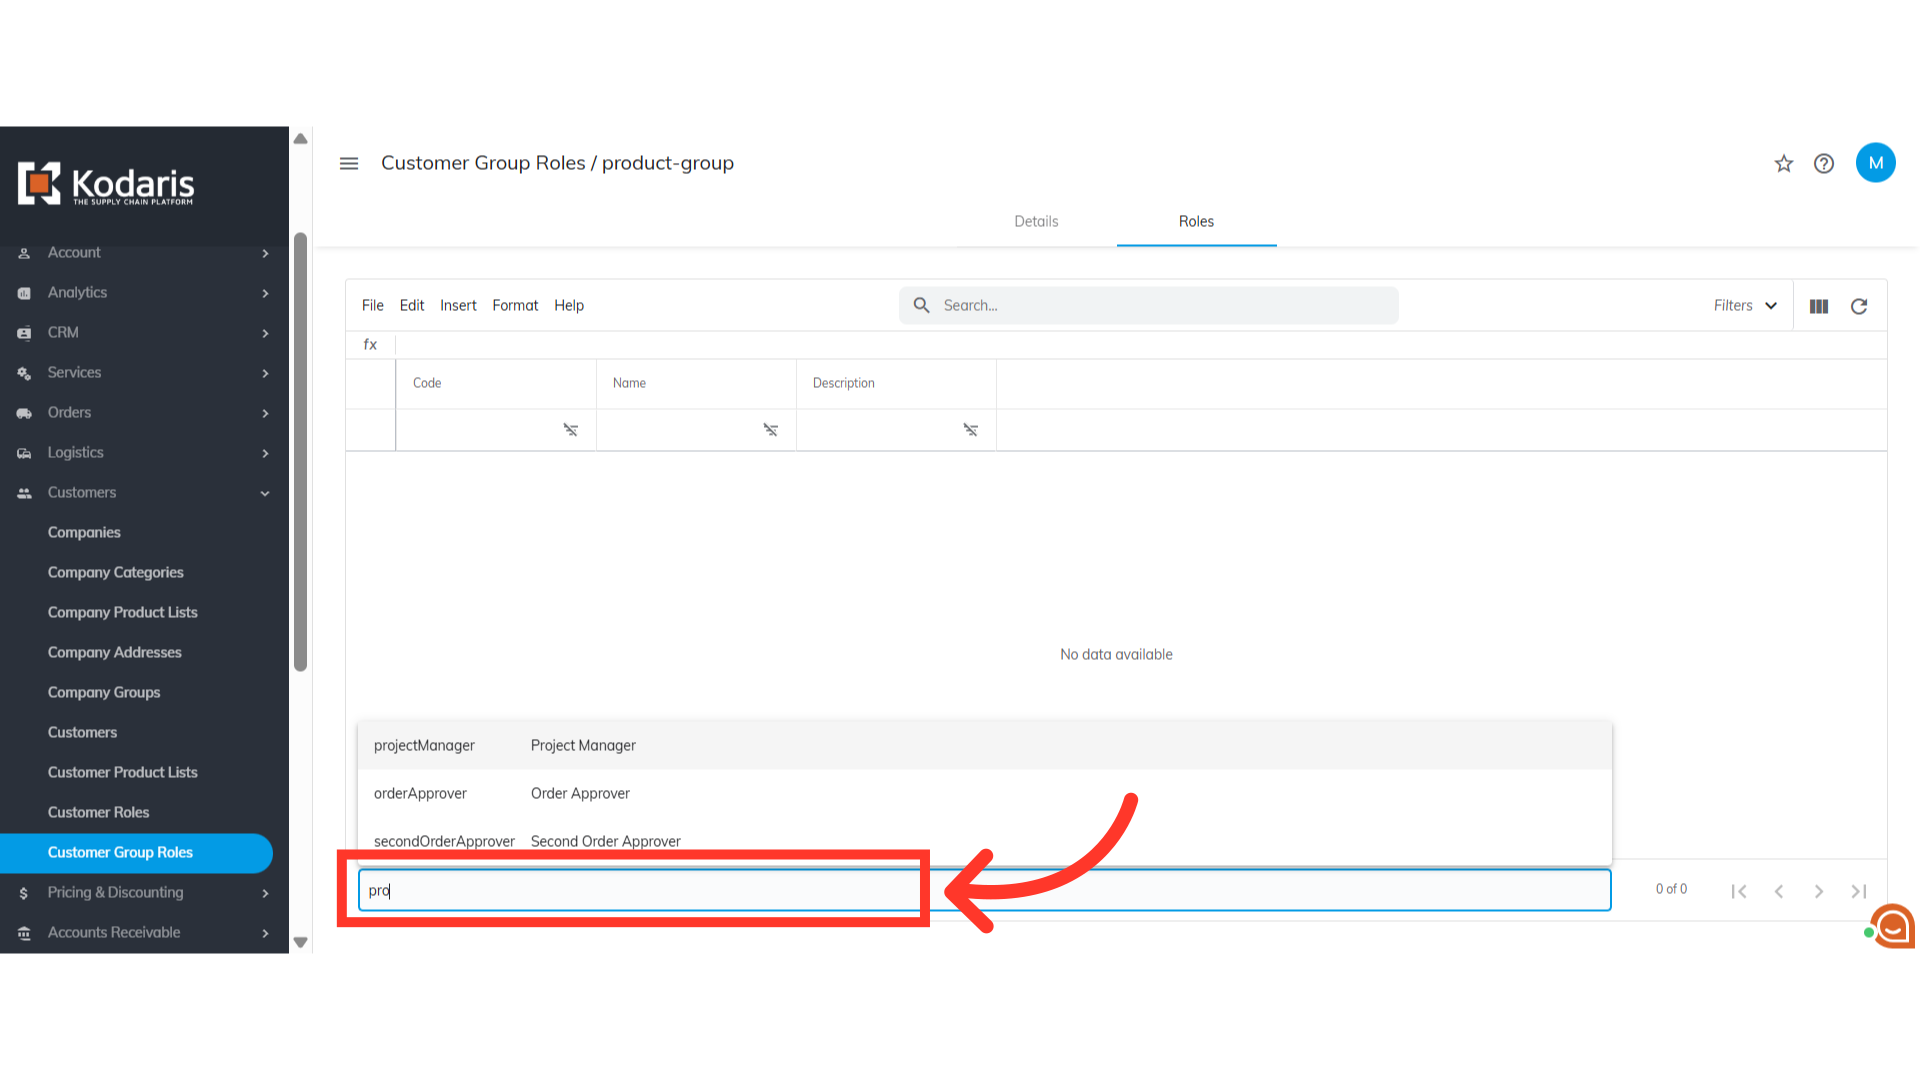
Click "+ Assign role"
Click the "+Assign role" field.

Type to search for the needed role
Type to search for the role(s) needed for the customer group role.
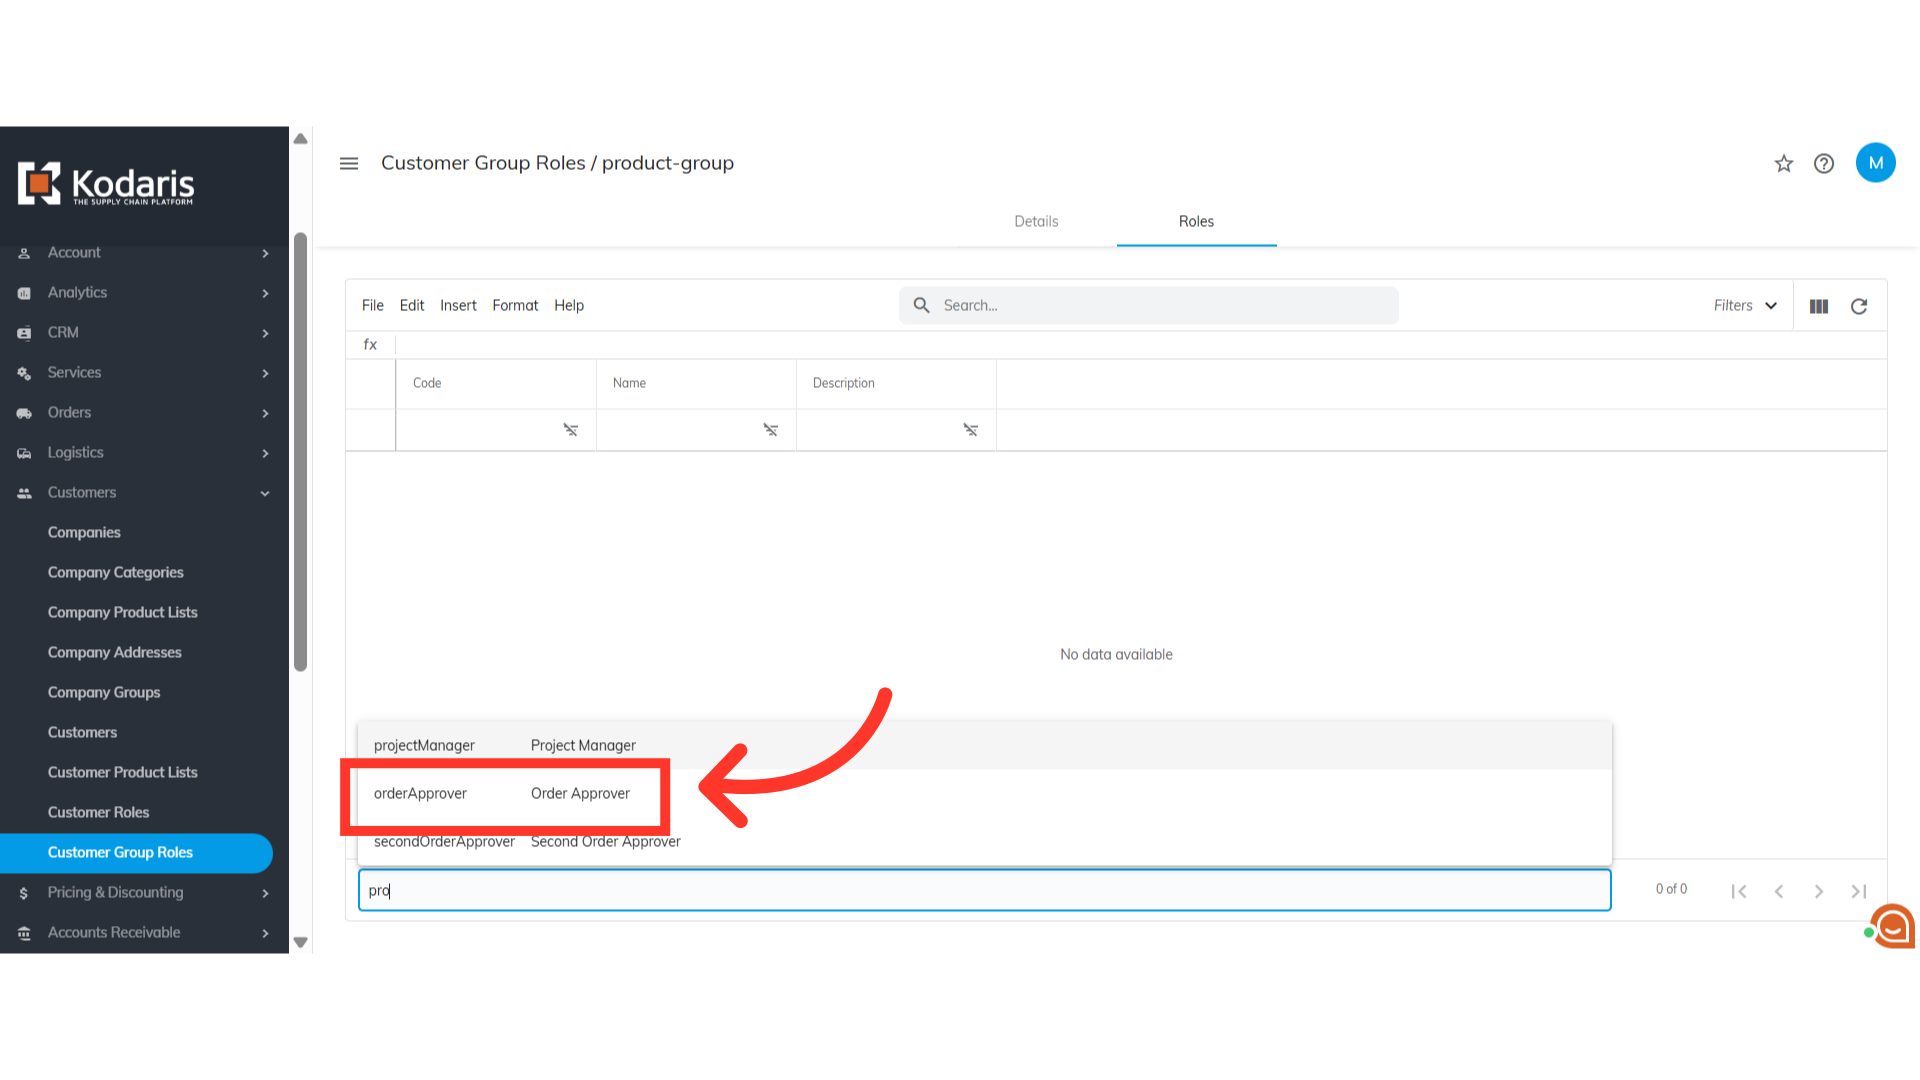
Select the role from the list
Then, select the role from the list to assign it to the group role.
Role has been assigned to the group role.
The role has been assigned to group role.
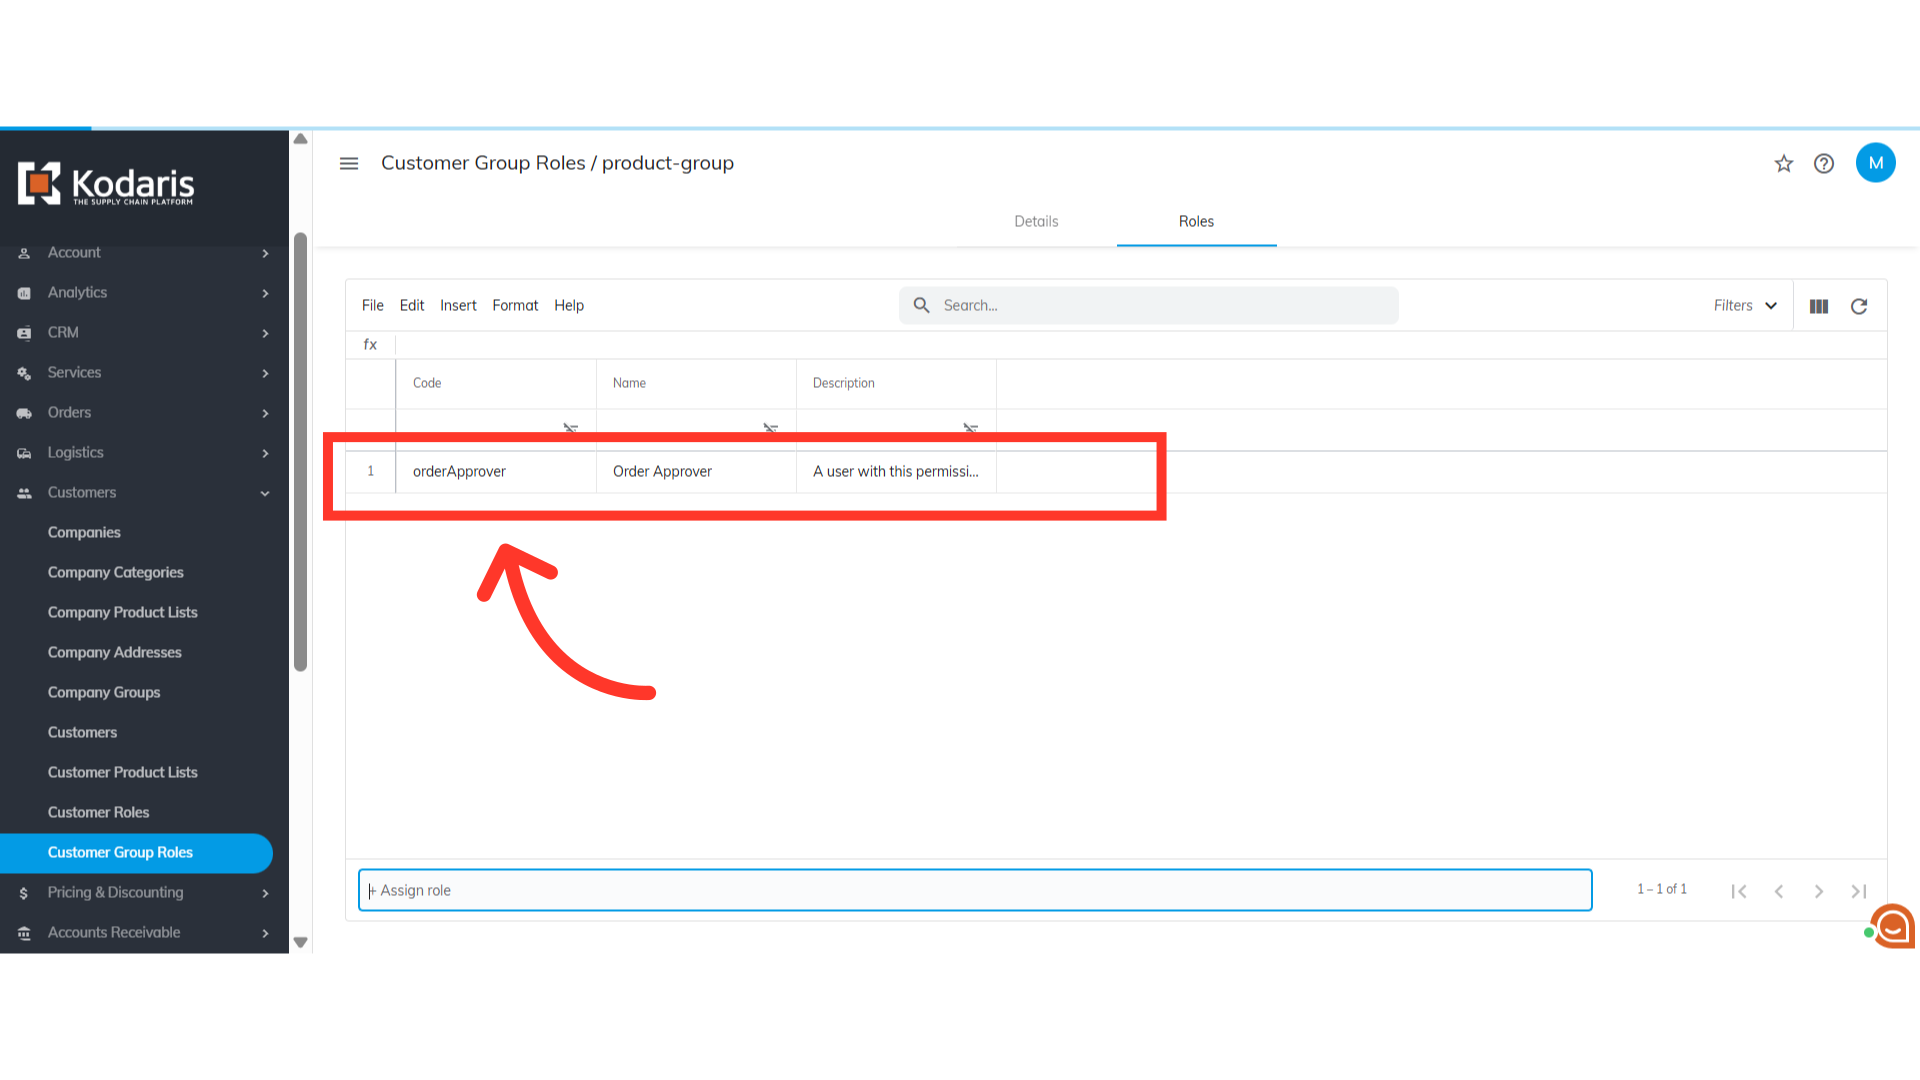
Assign as many roles as necessary
You can assign as many roles as necessary for the group role.